¶ Brief Overview
This guide provides step-by-step instructions for replacing four critical fans in your Vision Miner 22IDEX 3D printer: the Hotend Fan, Head Fan (Part Cooling Fan), Chamber Fan, and Chamber Heater Fan. Properly functioning fans are essential for print quality, printer longevity, and safety. This guide will walk you through the removal of the old fan and installation of a new one for each type.
¶ Introduction
Fans play vital roles in a 3D printer:
- Hotend Fan: Cools the heatsink of the hotend to prevent heat creep and filament jams.
- Head Fan (Part Cooling Fan): Cools the extruded filament as it is deposited, improving print quality for overhangs and fine details.
- Chamber Fan: Circulates air within the build chamber to maintain a consistent temperature or vent fumes.
- Chamber Heater Fan: Assists in distributing heat from the chamber heating element or cooling its components.
You may need to replace a fan if it fails (stops spinning), becomes excessively noisy, or if you are performing an upgrade. Always ensure you have the correct replacement fan model before starting.
¶ Tools & Materials
- Replacement Fan(s) (ensure correct voltage, size, and specifications for each type)
- 2 mm Hex Driver
- 2.5 mm Hex Driver
- PH2 Phillips Screwdriver
- 7 mm Wrench
- Small Flathead Screwdriver (for prying or connector clips)
- Tweezers (for connector pins)
- Wire Cutters (for zip ties)
- New Zip Ties (as needed)
¶ Safety & Pre-checks
WARNING: Allow all components, especially the hotend and chamber heater, to Cool Down completely before handling them to avoid burns.
WARNING: ALWAYS power OFF the printer and UNPLUG it from the mains power outlet before starting any disassembly or fan replacement procedure.
- Carefully note the orientation of the existing fans (direction of airflow, label position) before removal.
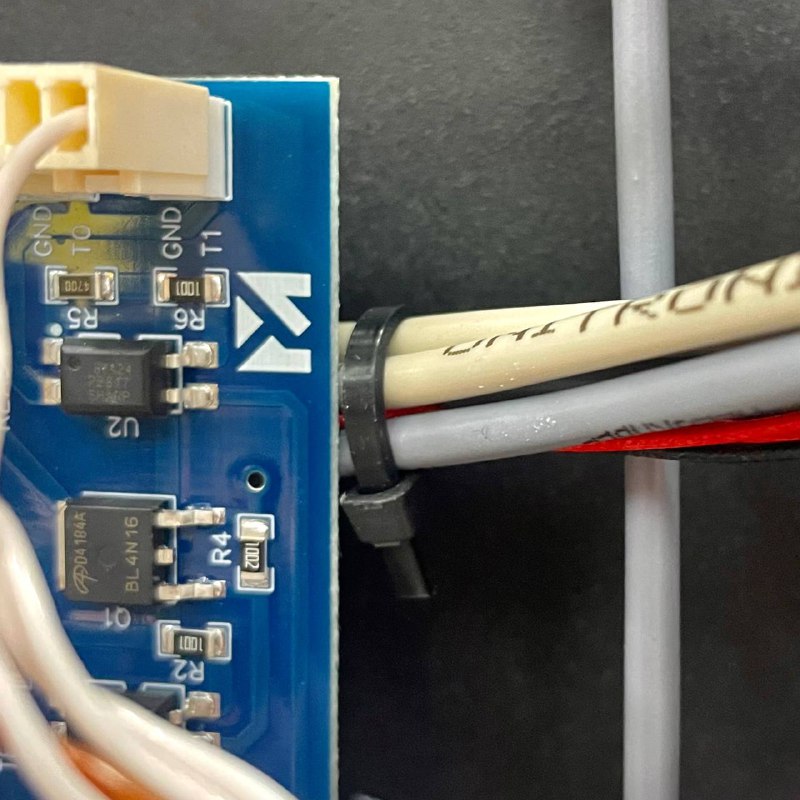
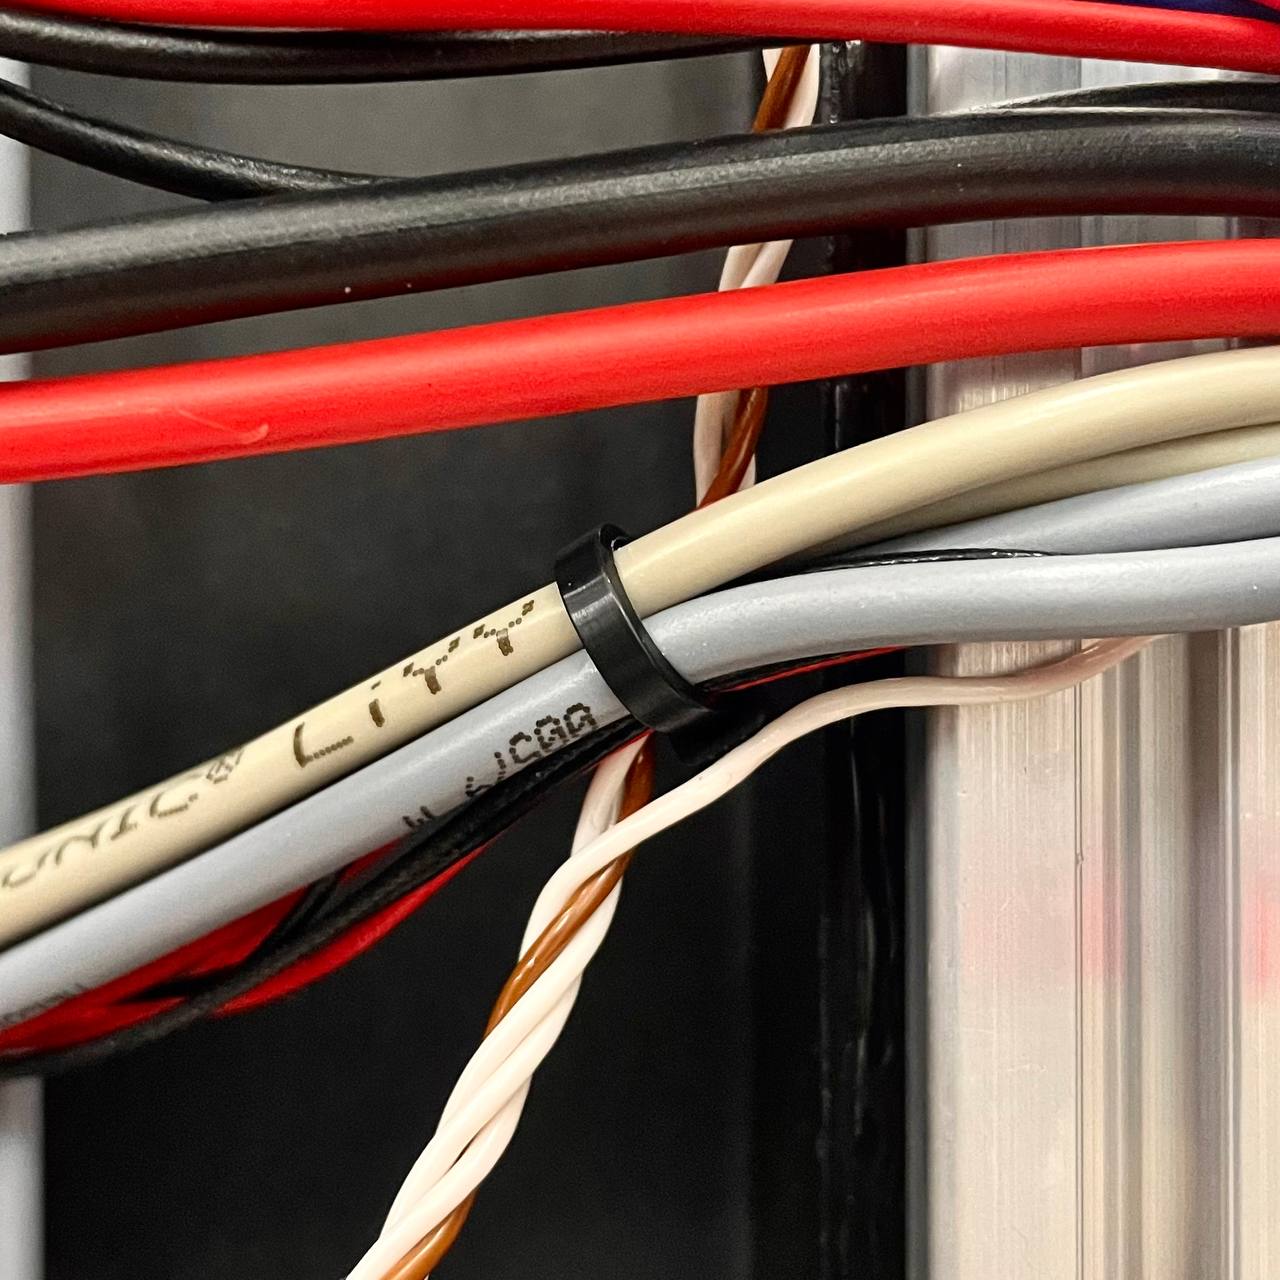
- Note the routing of fan cables and how they connect. Taking photos before disassembly is highly recommended.
- Ensure you have the correct replacement fan for the specific one you are changing. Using a fan with incorrect voltage or specifications can damage the fan or the printer.
- Work in a well-lit area and keep screws and small parts organized.
¶ Step-by-Step Instructions
¶ 1. Hotend Fan Replacement
The Hotend Fan is crucial for preventing heat creep up the filament path.
¶ 1.1 Disassembly
- Ensure Power Off & Cool Down: Confirm the printer is off, unplugged, and the hotend is cool.
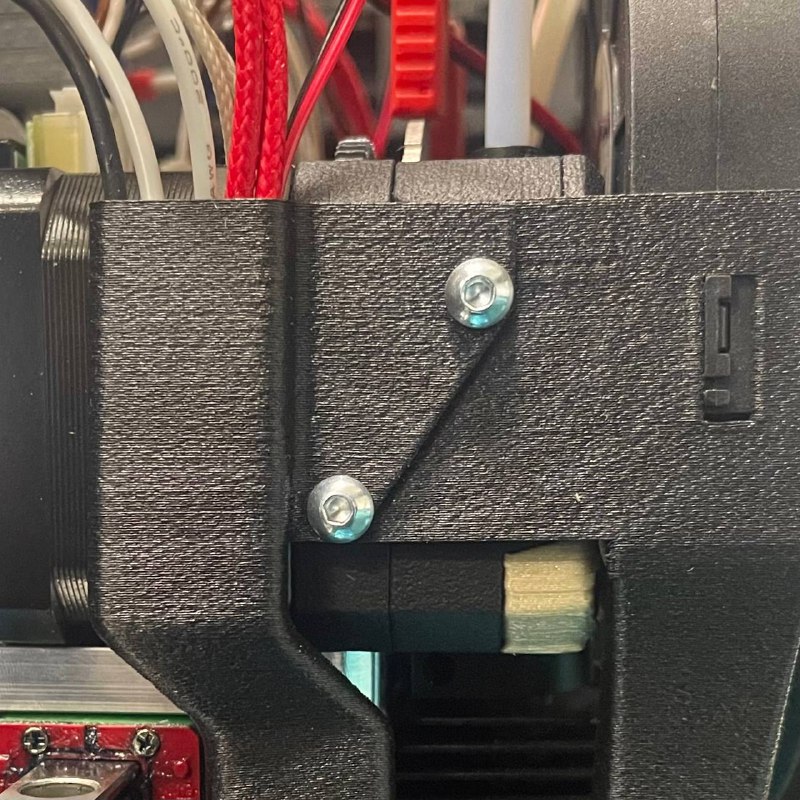
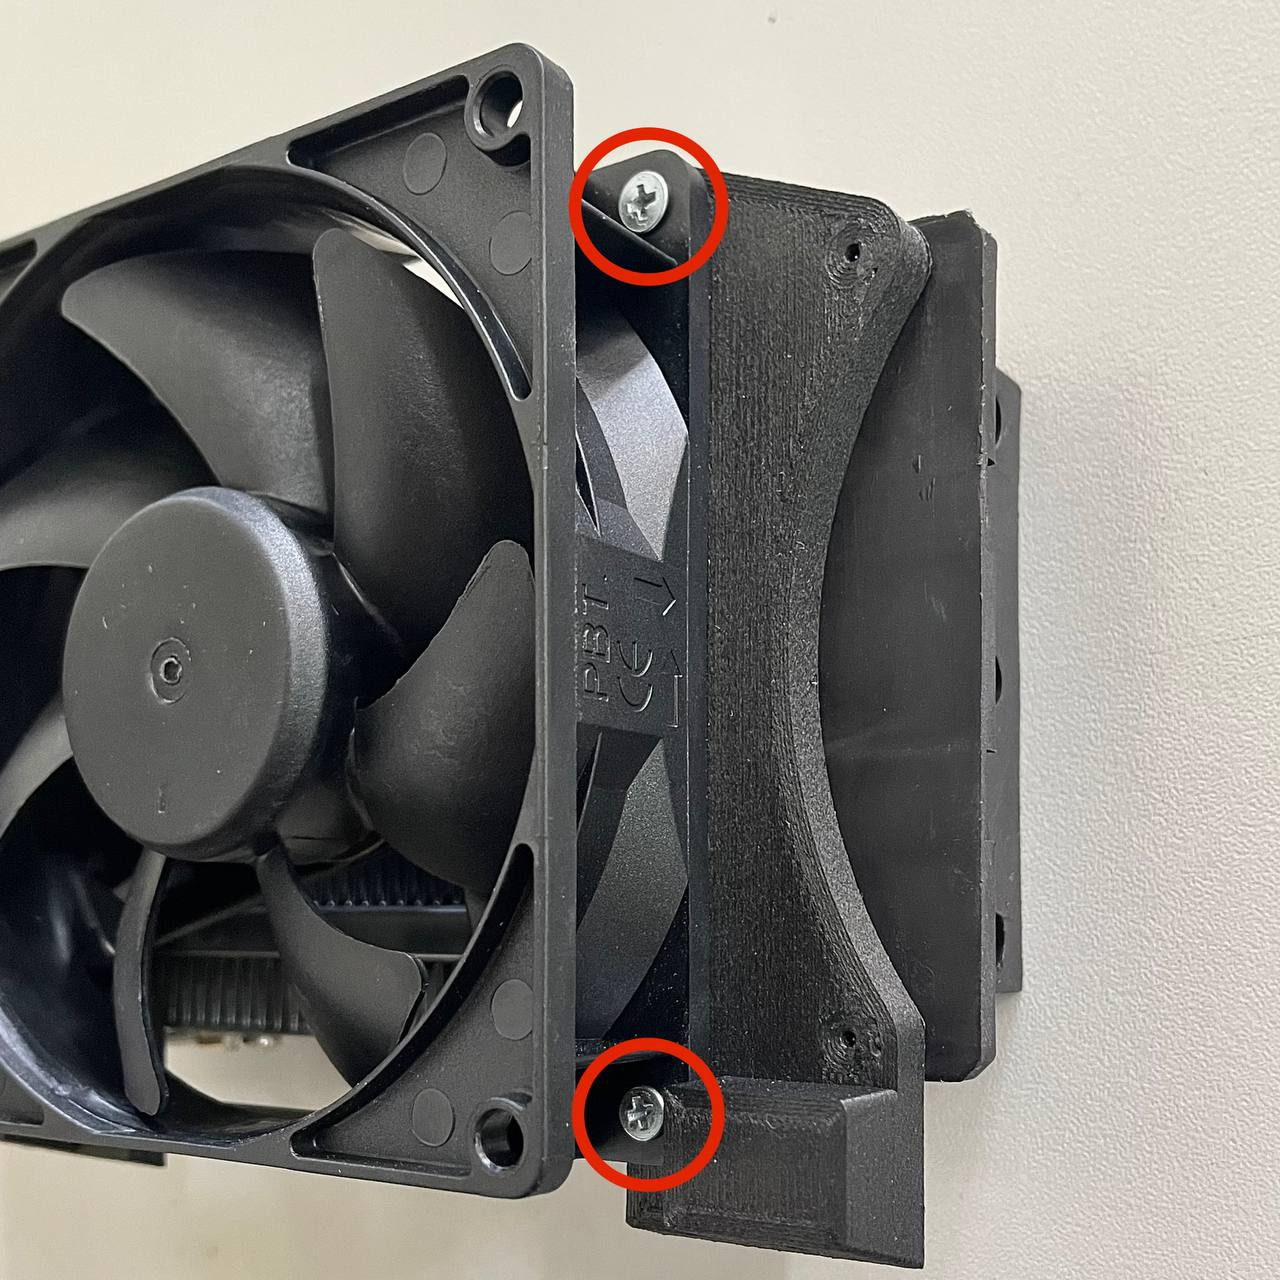
- Remove Fanshroud and Wire Guard: Using the 2 mm Hex Driver, unscrew the fasteners securing the fanshroud that directs airflow over the hotend radiator. Carefully remove the fanshroud with wire guard and set it aside.
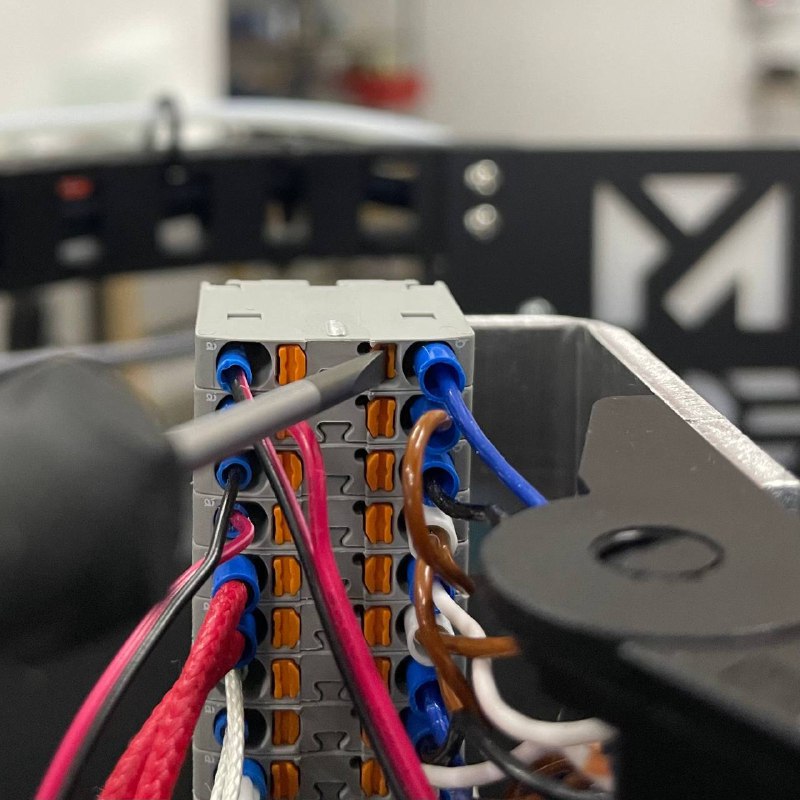
- Disconnect Fan Cable: Locate the Hotend Fan's cable connector on the toolhead's distribution block. Carefully disconnect it by pressing the orange button opposite the wire with a screwdriver, noting wires orientation if it's not keyed.
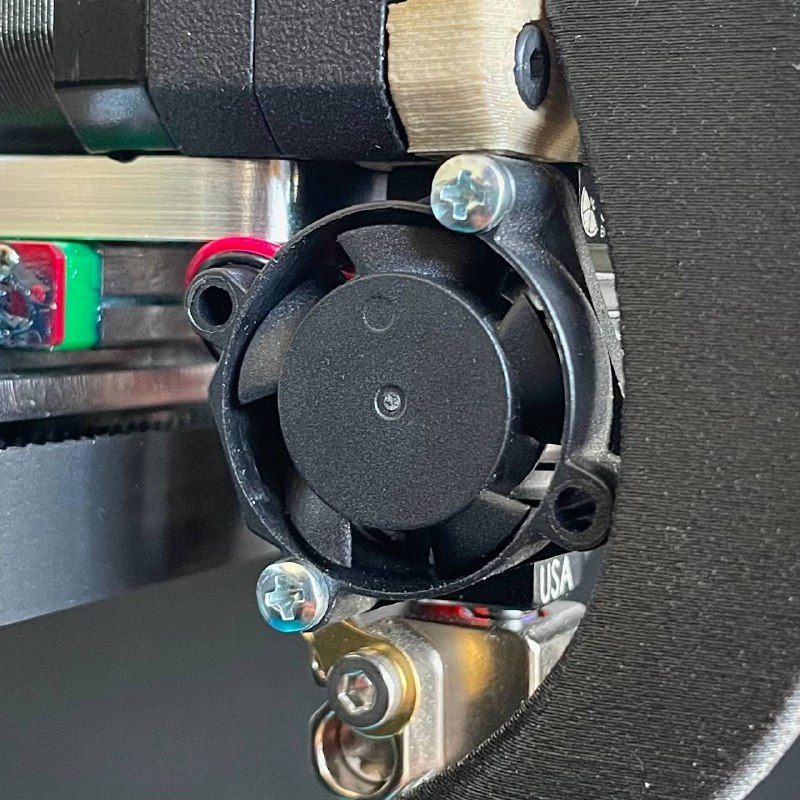
- Unscrew Fan: Using the PH2 Phillips Screwdriver, unscrew the Hotend Fan from its mounting points on the radiator. Support the fan as you remove the last screw.
¶ 1.2 Installation
- Position New Fan: Take the new Hotend Fan. Ensure it is oriented correctly.
- Mount Fan: Align the new fan with the screw holes on the radiator and secure it using the PH2 Phillips Screwdriver and the original screws. Do not overtighten.
- Reconnect Fan Wires: Plug the new fan's wires into the correct socket on the toolhead's distribution block, ensuring proper orientation.
- Reinstall Fanshroud and Wire Guard: Place the fanshroud with wire guard back into position and secure it using the 2 mm Hex Driver.
¶ 2. Head Fan (Part Cooling Fan) Replacement
The Head Fan, also known as the Part Cooling Fan, directs airflow onto the extruded filament.
¶ 2.1 Disassembly
- Ensure Power Off & Cool Down: Confirm the printer is off, unplugged, and the hotend is cool.
- Disconnect Fan Cable: Locate the Head Fan's cable connector on the toolhead's distribution block. Carefully disconnect it by pressing the orange button opposite the wire with a screwdriver.
- Remove Fanshroud: Using the 2 mm Hex Driver, unscrew the fasteners securing the fanshroud that directs airflow over the hotend radiator.
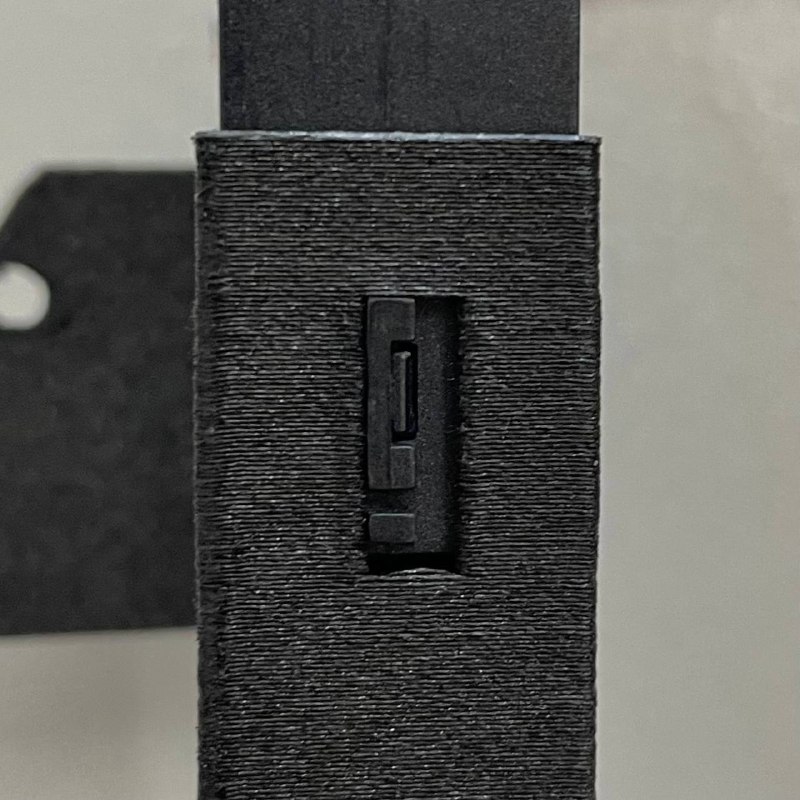
- Release Fan from Fanshroud: Many part cooling fans are clipped or pressure-fit into their shroud. Look for small plastic tabs or clips holding the fan in place. Using a small Flathead Screwdriver or similar thin, firm tool, gently press these clips or tabs to release the fan. Carefully pull the fan out of the fanshroud.

¶ 2.2 Installation
- Position New Fan: Take the new Head Fan. Note its airflow direction.
- Insert Fan into Fanshroud: Align the new fan with its slot or mounting points in the fanshroud. Gently press it into place until any clips or tabs engage securely.
- Reinstall Fanshroud: Attach the fanshroud assembly with wire guard back onto the toolhead, securing it with its screws.
- Reconnect Fan Cable: Plug the new Head Fan's cable into the correct socket on the toolhead's distribution block.
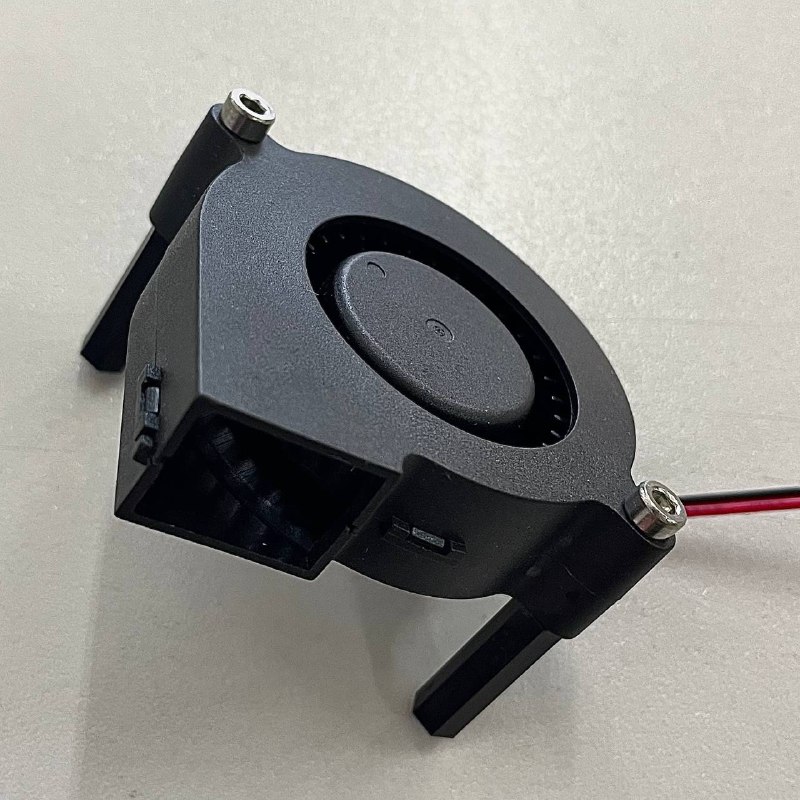
¶ 3. Chamber Fan Replacement
The Chamber Fan helps circulate air within the build enclosure.
¶ 3.1 Disassembly
- Ensure Power Off & Cool Down: Confirm the printer is off, unplugged, and the printer is cool.
- Access Mainboard: You may need to open a panel to access the mainboard where the Chamber Fan connects.
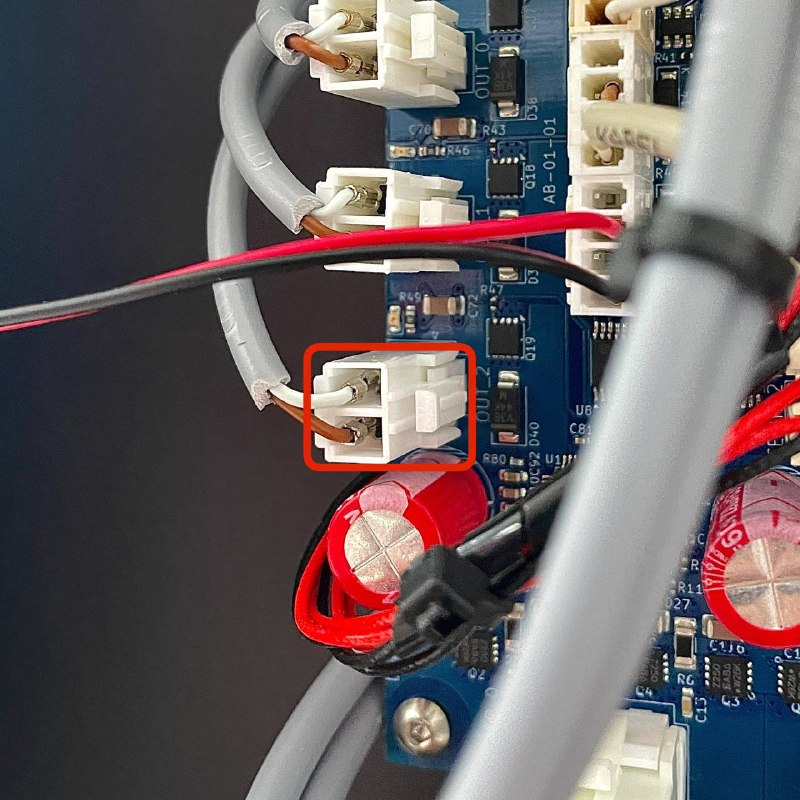
- Disconnect Fan Connector: Locate the Chamber Fan's connector on the mainboard. Carefully unplug it.
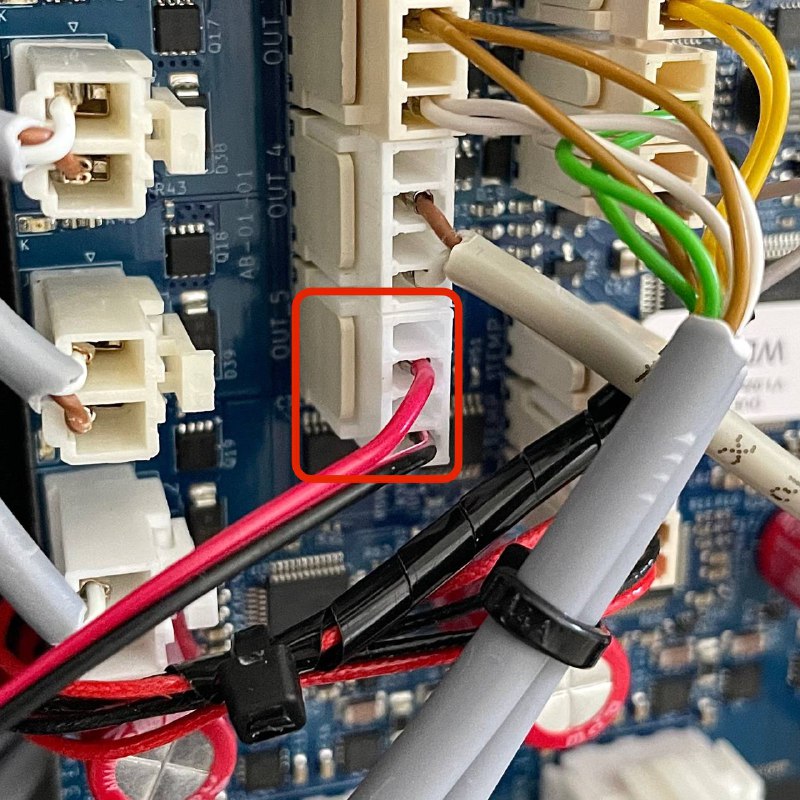
- De-pin Wires from Connector: To make routing the cable through small chassis openings easier, you might need to remove the wires from the plastic connector housing.
- Note the wire order/colors carefully.
- Using Tweezers or a dedicated de-pinning tool, gently press the small metal retaining clip on each pin visible through the connector housing.
- While the clip is pressed, gently pull the corresponding wire out from the back of the housing. Repeat for all wires.
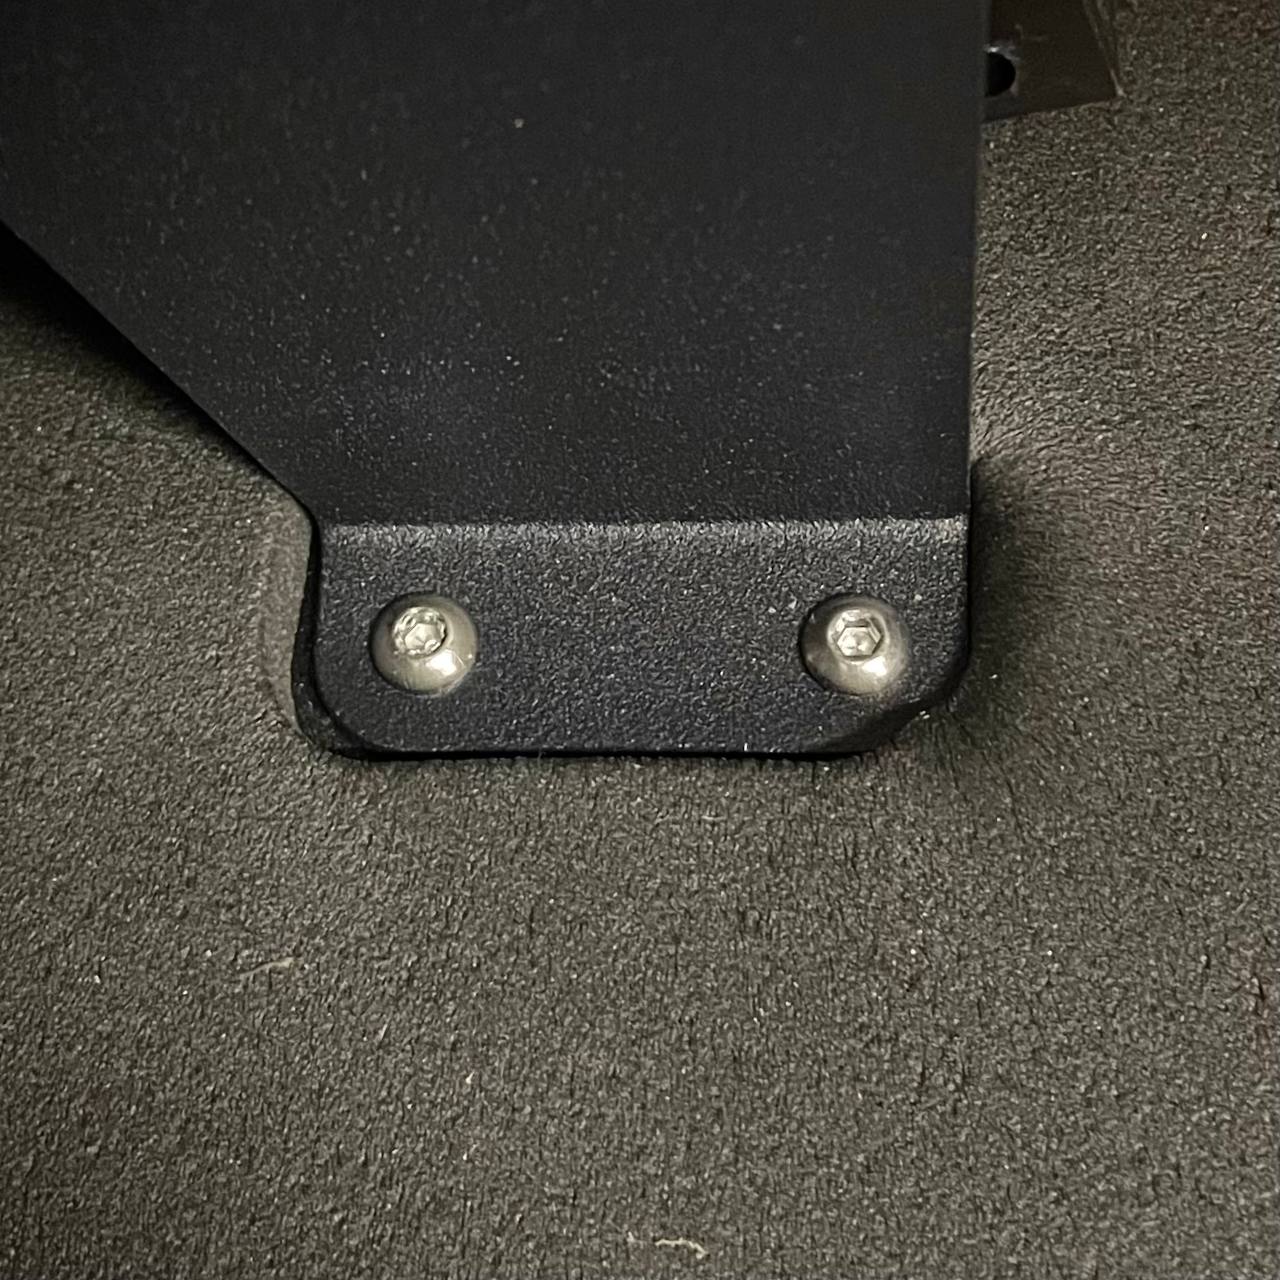
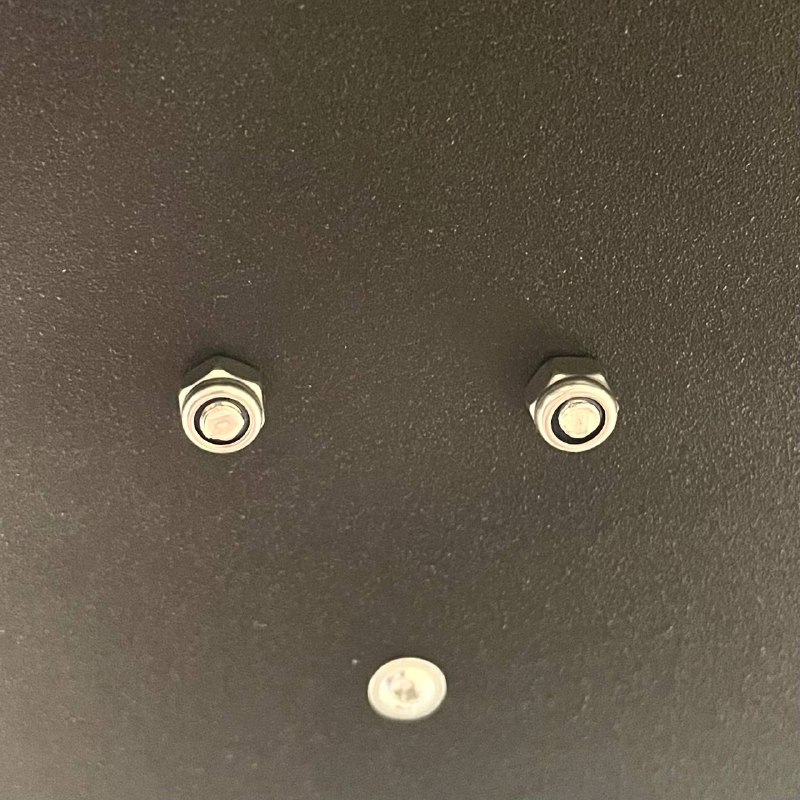
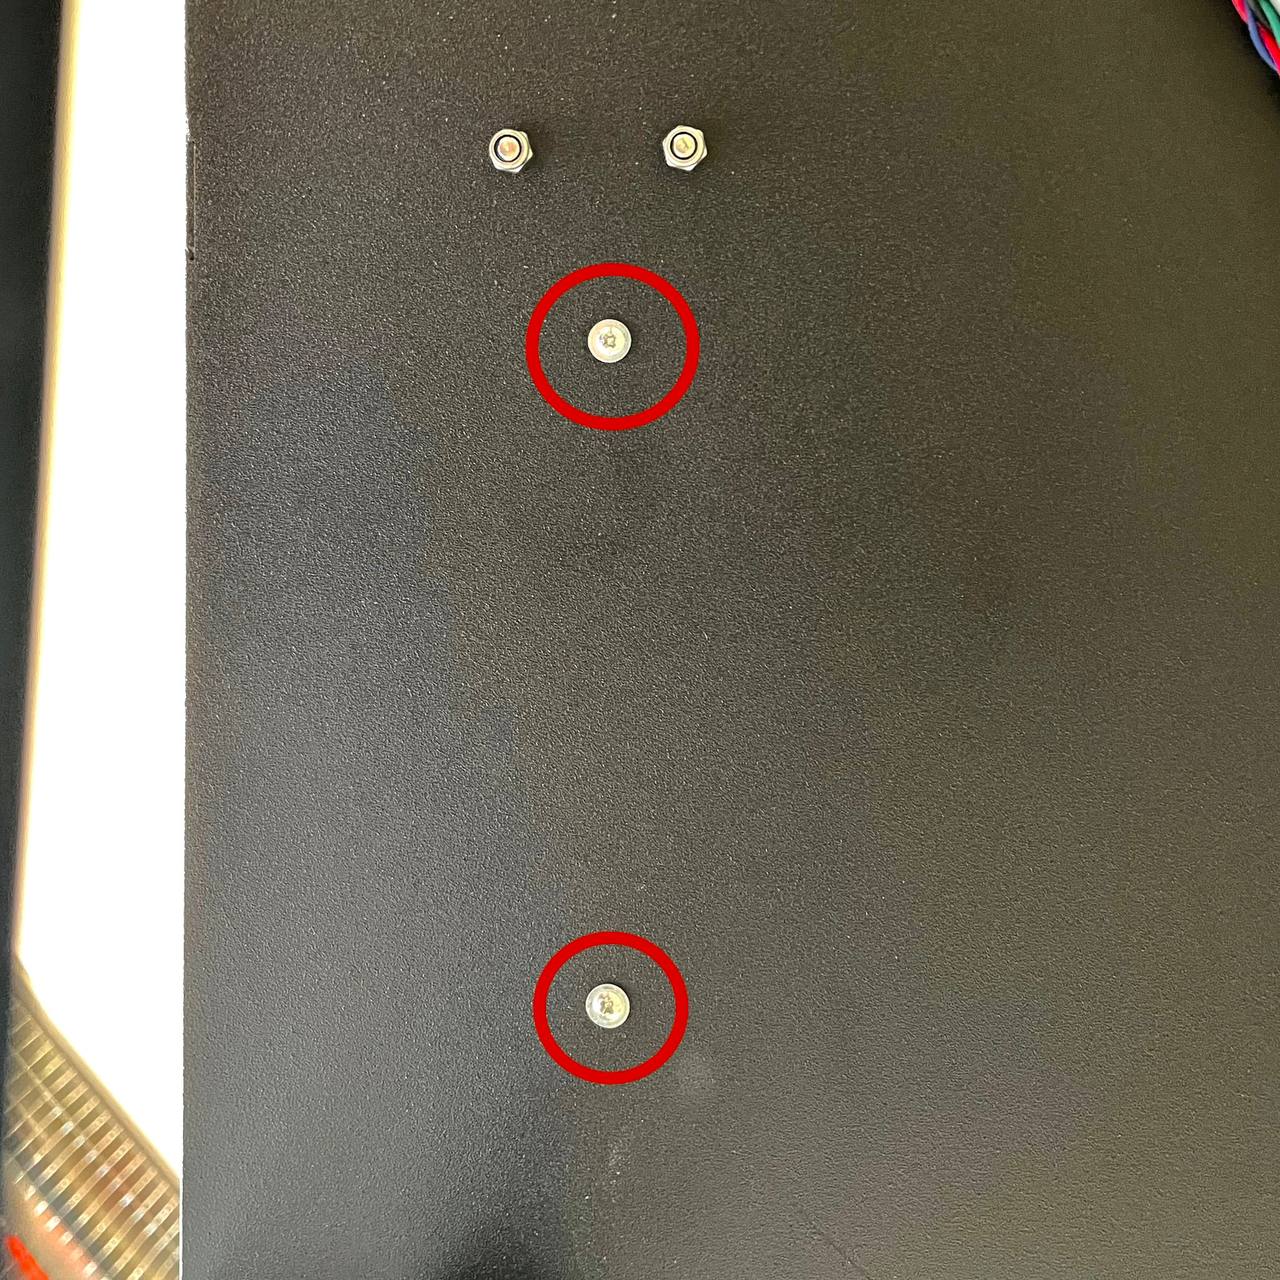
- Unscrew Fan: From outside the chamber, use the 2 mm Hex Driver to unscrew the Chamber Fan from the printer's frame. Support the fan as you remove it.
- Remove Standoffs/Mounts: Once the fan is removed, use the 2.5 mm Hex Driver to unscrew any standoffs or mounting brackets from the old fan. These will typically be reused with the new fan.
¶ 3.2 Installation
- Attach Standoffs to New Fan: Take the new Chamber Fan and screw the standoffs/mounts (removed from the old fan) onto it using the 2.5 mm Hex Driver. Ensure correct orientation.
- Route Cables: Carefully feed the new fan's cables through the designated hole in the printer frame from the fan mounting location towards the mainboard area.
- Mount Fan: Position the new fan (with standoffs attached) against the frame mounting points and secure it using the 2 mm Hex Driver and its screws.
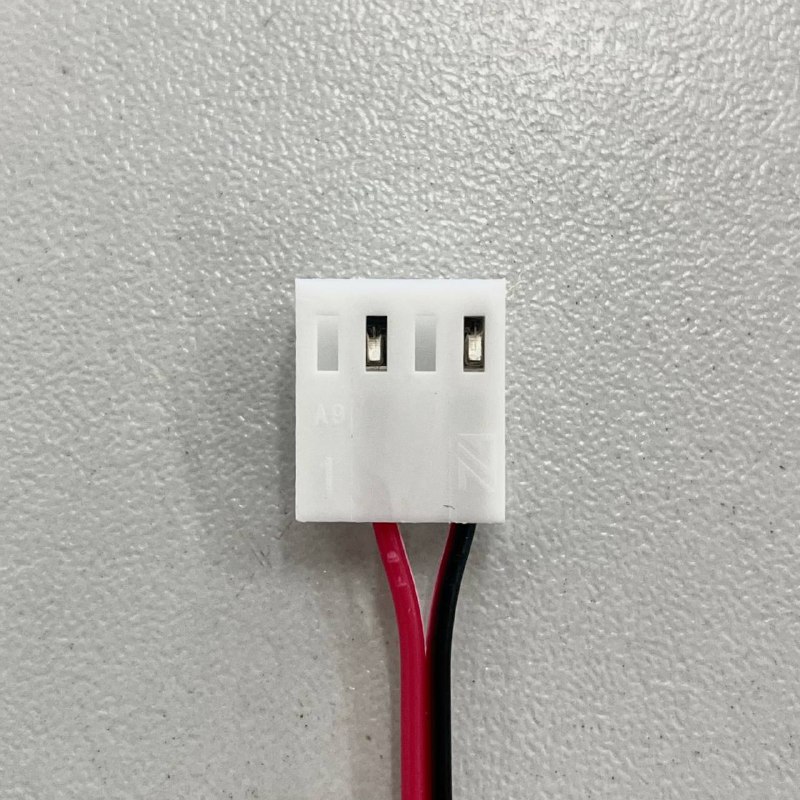
- Re-pin Connector Wires: If you de-pinned the wires, carefully re-insert them into the plastic connector housing in the exact same order as originally noted. Ensure each pin clicks securely into place.
- Reconnect Fan Connector: Plug the reassembled connector (or the new fan's connector if it wasn't de-pinned) into the correct socket on the mainboard.
¶ 4. Chamber Heater Fan Replacement
The Chamber Heater Fan is often associated with the chamber heating element.
¶ 4.1 Disassembly
- Ensure Power Off & Cool Down: Confirm printer is off, unplugged, and the chamber heater area is completely cool.
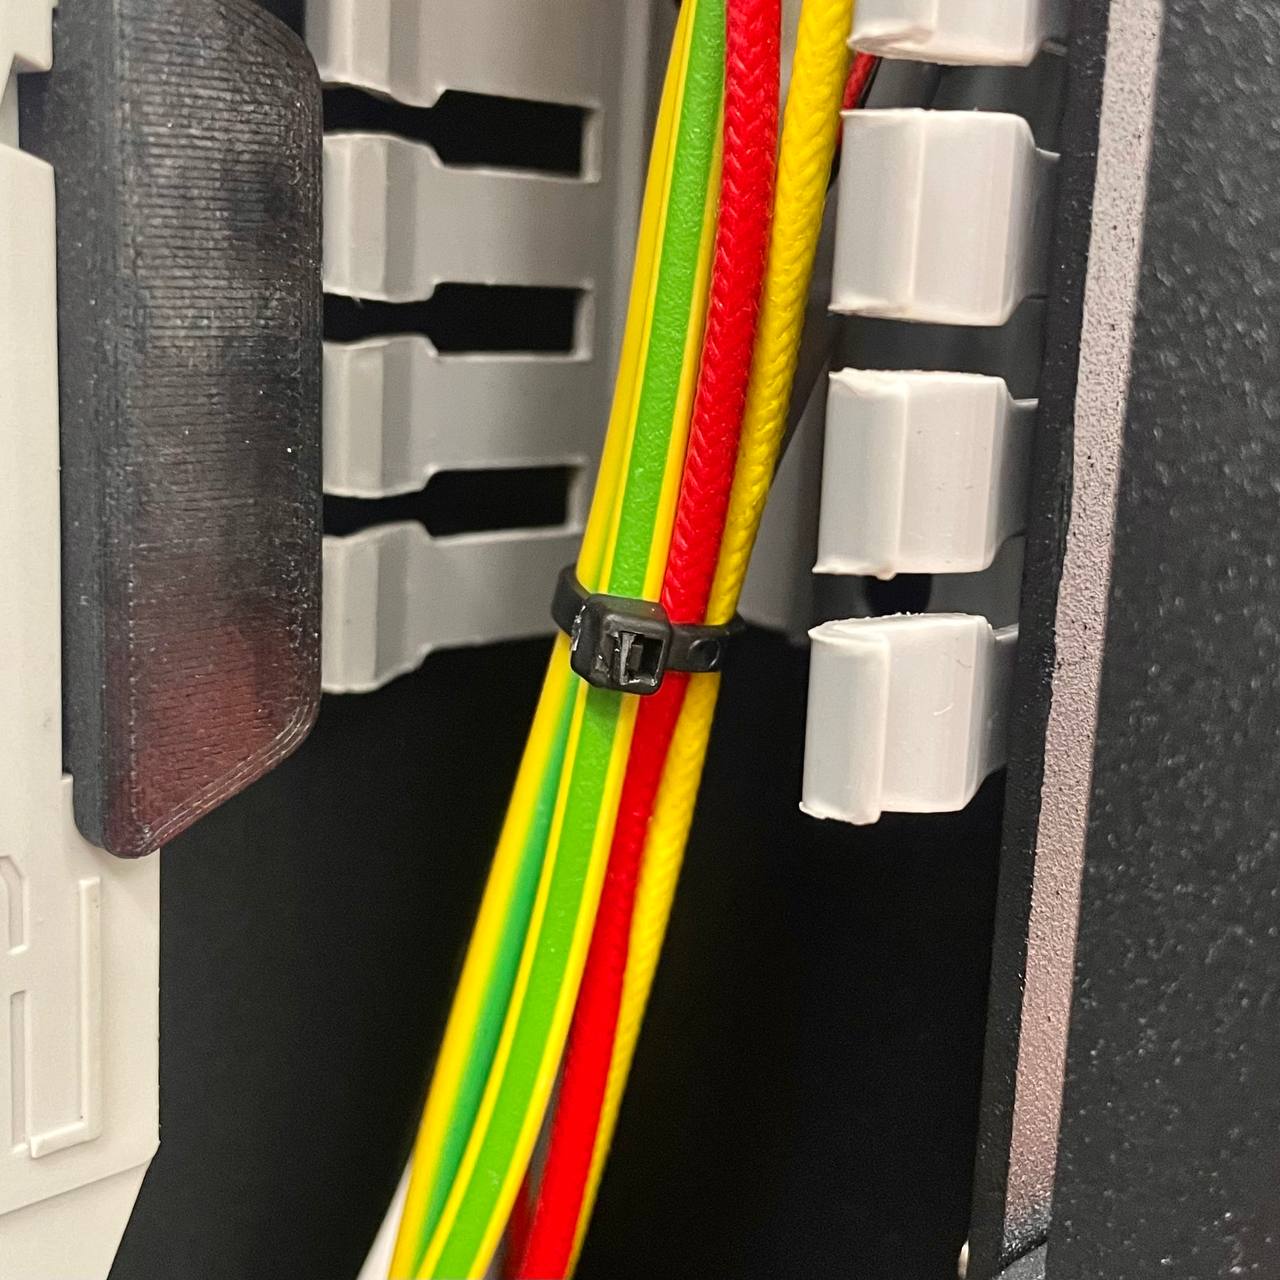
- Cut Zip Ties: Using Wire Cutters, carefully snip any zip ties securing the Chamber Heater Fan's cable.
- Disconnect Fan Connector: Trace the fan cable to the mainboard or a dedicated controller board and unplug its connector.
- Remove Chamber Heater Cover: Using the 2.5 mm Hex Driver and 7 mm Wrench, unscrew and remove the protective cover of the Chamber Heater assembly.
Tip: To access the screws and nuts, you can move the printer to the edge of the table so that it rests on three legs.Make sure your table is stable enough for this.
- Detach Chamber Heater Unit: Using the PH2 Phillips Screwdriver, unscrew the fasteners that secure the Chamber Heater unit to the printer's frame.
- Unscrew Fan: Locate the Chamber Heater Fan on the heater assembly. Using the PH2 Phillips Screwdriver, unscrew the fan from its mounting points on the heater unit.
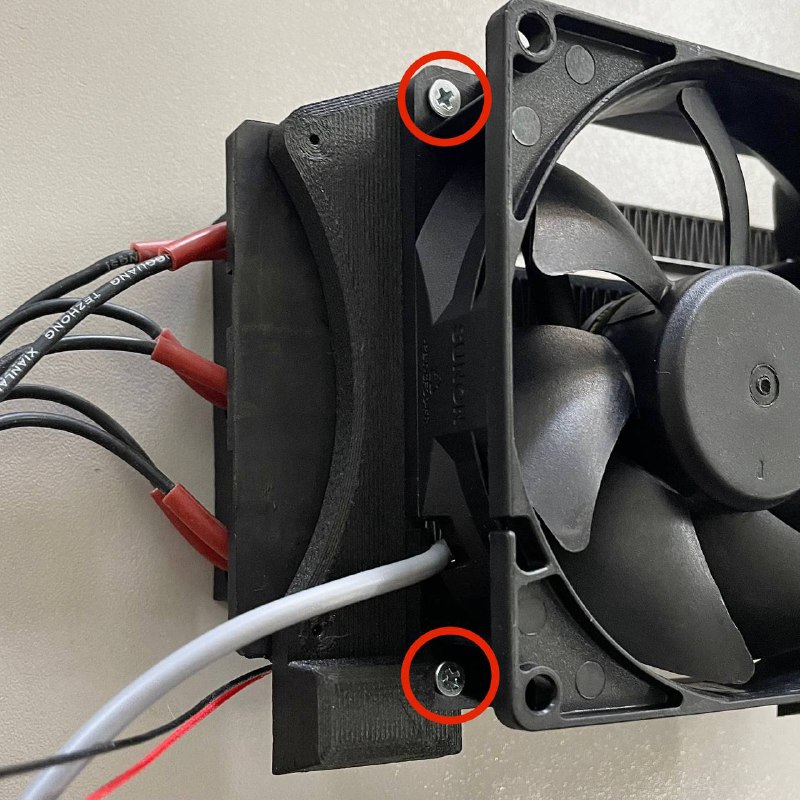
- Remove Fan: Carefully extract the fan. Be mindful of its cable, ensuring it doesn't snag or damage other components as you pull it through.
¶ 4.2 Installation
- Route Cables: Carefully feed the new fan's cable through the designated hole in the printer frame.
- Position New Fan: Take the new Chamber Heater Fan. Orient it correctly for proper airflow relative to the heater element (match original orientation).
- Mount Fan: Align the new fan with its mounting points on the Chamber Heater unit and secure it with its screws using the PH2 Phillips Screwdriver.
- Re-secure Chamber Heater Unit: Re-secure Chamber Heater unit to the printer frame using its screws and the PH2 Phillips Screwdriver.
- Reinstall Chamber Heater Cover: Attach the protective cover back onto the Chamber Heater assembly using the 2.5 mm Hex Driver and 7 mm Wrench.
- Route and Connect Cable: Route the new fan's cable neatly towards its connection point on the mainboard/controller. Plug the connector in securely.
- Secure Cable: Use New Zip Ties to bundle and secure the fan cable with other wiring.
¶ Final Checks & Testing
After replacing any fan:
- Secure Mounting: Double-check that the fan and any associated shrouds or covers are securely fastened.
- Clearance: Manually rotate the fan blades (if accessible) to ensure they spin freely and do not hit any wires or components.
- Wiring: Verify all electrical connectors are fully seated and secure. Ensure wiring is routed safely, away from moving parts and heat sources.
- Power On: Plug in the printer and turn it on.
- Test Fan Operation:
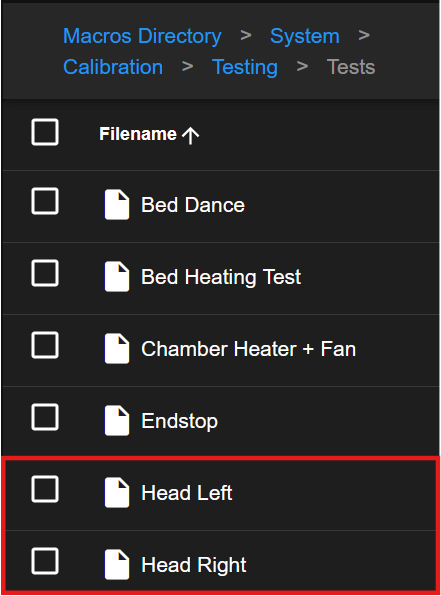
- Hotend Fan or Head Fan (Part Cooling): On the
Macrostab navigate toSystem > Callibration > Testing > Testsand chooseHead LeftorHead Rightmacro.
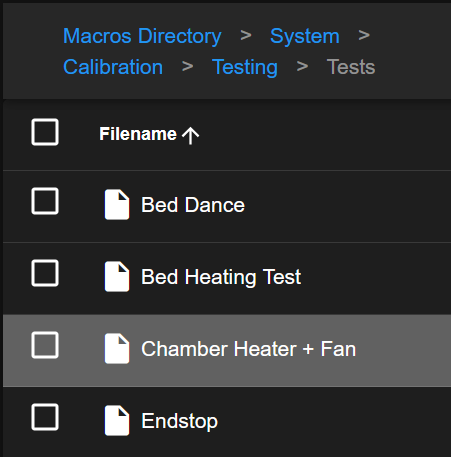
- Chamber Fan or Chamber Heater Fan: On the
Macrostab navigate toSystem > Callibration > Testing > Testsand chooseChamber Heater + Fanmacro. - Listen for any unusual noises and confirm airflow direction if possible.
- Hotend Fan or Head Fan (Part Cooling): On the
¶ Troubleshooting & FAQs
- Q: Fan is not spinning after replacement.
- A: Power off and unplug. Check the fan's electrical connector is fully seated and in the correct orientation. Verify it's plugged into the correct port. Ensure the fan is the correct voltage for your printer.
- Q: Fan is spinning in the wrong direction.
- A: Most fans are designed for one-way airflow. If it's a simple 2-wire fan and polarity was reversed (if connector allows), it might spin backward or not at all. More likely, the fan was installed facing the wrong way. Double-check orientation.
- Q: Fan is excessively noisy.
- A: Ensure the fan is securely mounted and no wires are vibrating against it or the fan blades. The fan itself might be defective.
¶ Conclusion & Additional Resources
Replacing fans is a common maintenance task that can keep your Vision Miner 22IDEX running efficiently and producing high-quality prints. Always work carefully, prioritize safety, and ensure you are using the correct replacement parts.