¶ Brief Overview
This guide details the procedures for establishing either a wired (Ethernet) or wireless (Wi-Fi) network connection for your 22 IDEX V3. A stable network connection enables remote monitoring, control via the web interface, and file transfers.
¶ Introduction
Connecting your printer to your local network is essential for leveraging its full capabilities, including the web-based Web Control interface. This guide covers both Ethernet and Wi-Fi setup methods. Ethernet provides the most stable connection, while Wi-Fi offers flexibility. Prerequisites include having access to your network details (SSID/Password for Wi-Fi) and installing Pronterface software for initial command-line communication.
¶ Tools & Materials
- Computer (with Pronterface installed)
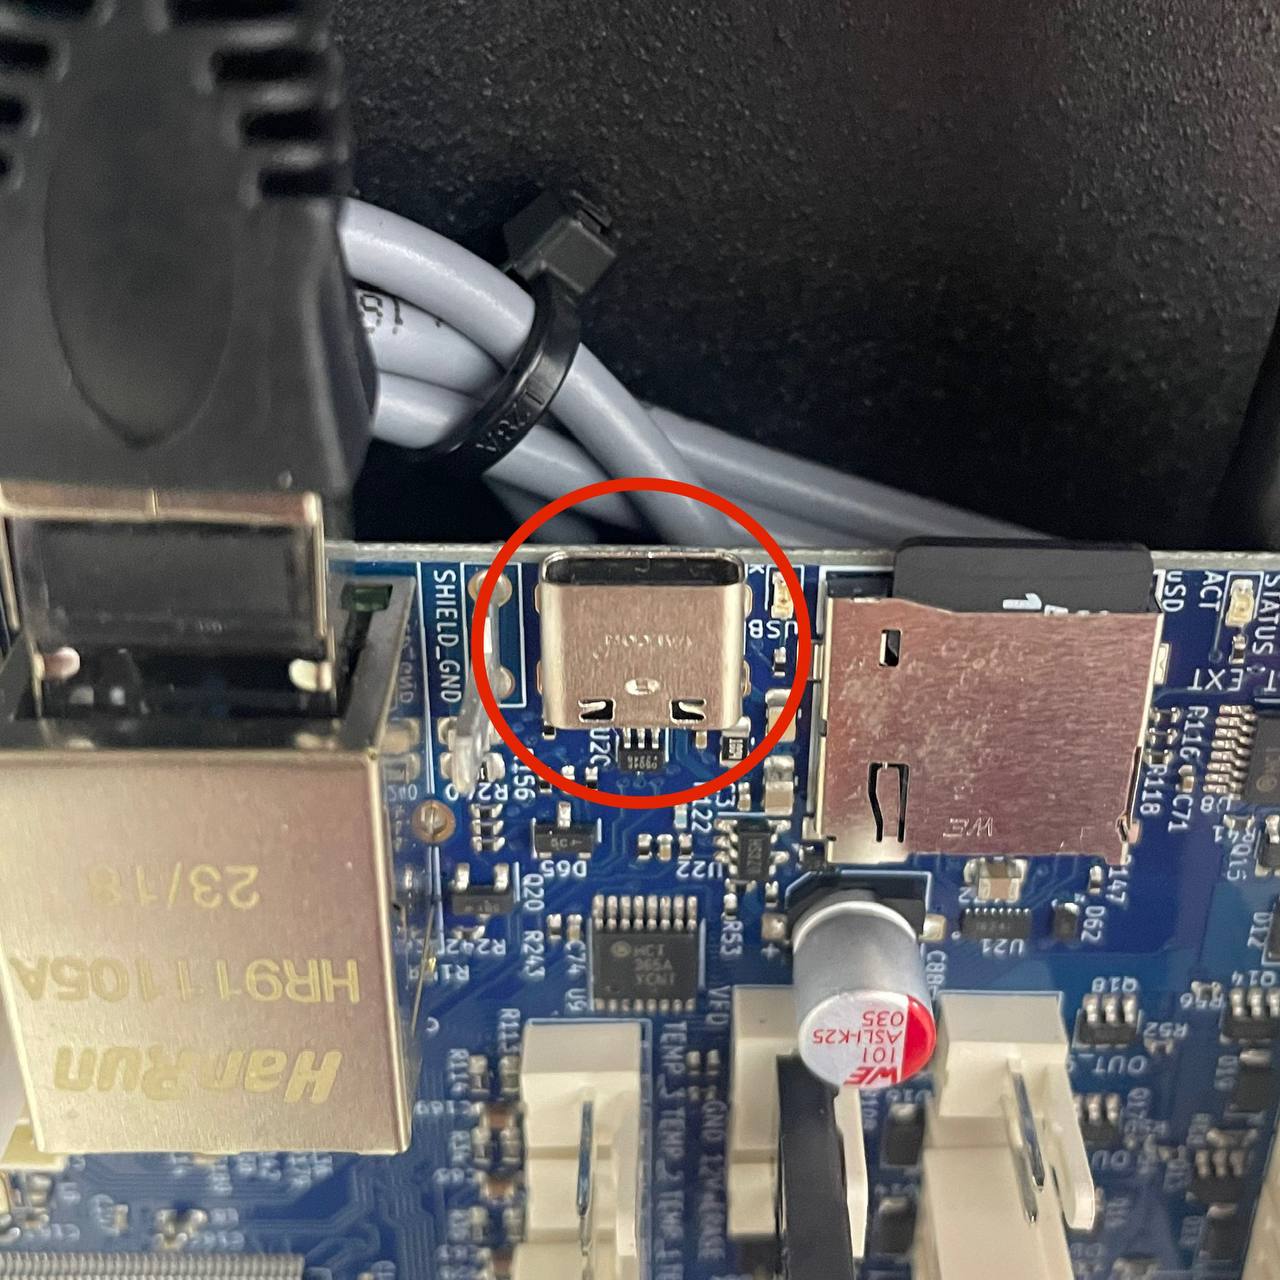
- USB-C Cable (for initial Pronterface connection)
- Ethernet Cable (if using wired connection)
- Wi-Fi Antenna (securely installed on the printer for Wi-Fi)
- Network Information:
- Wi-Fi: Network Name (SSID) and Password for a 2.4 GHz network.
- Ethernet: Access to a network port with DHCP enabled is recommended.
¶ Safety & Pre-checks
- Network Type: Ensure your Wi-Fi network operates on the 2.4 GHz band. The printer is not compatible with 5 GHz networks. If you have a dual-band router, ensure the 2.4 GHz band is active and ideally has a distinct name (SSID). Consult your router documentation or IT department if needed.
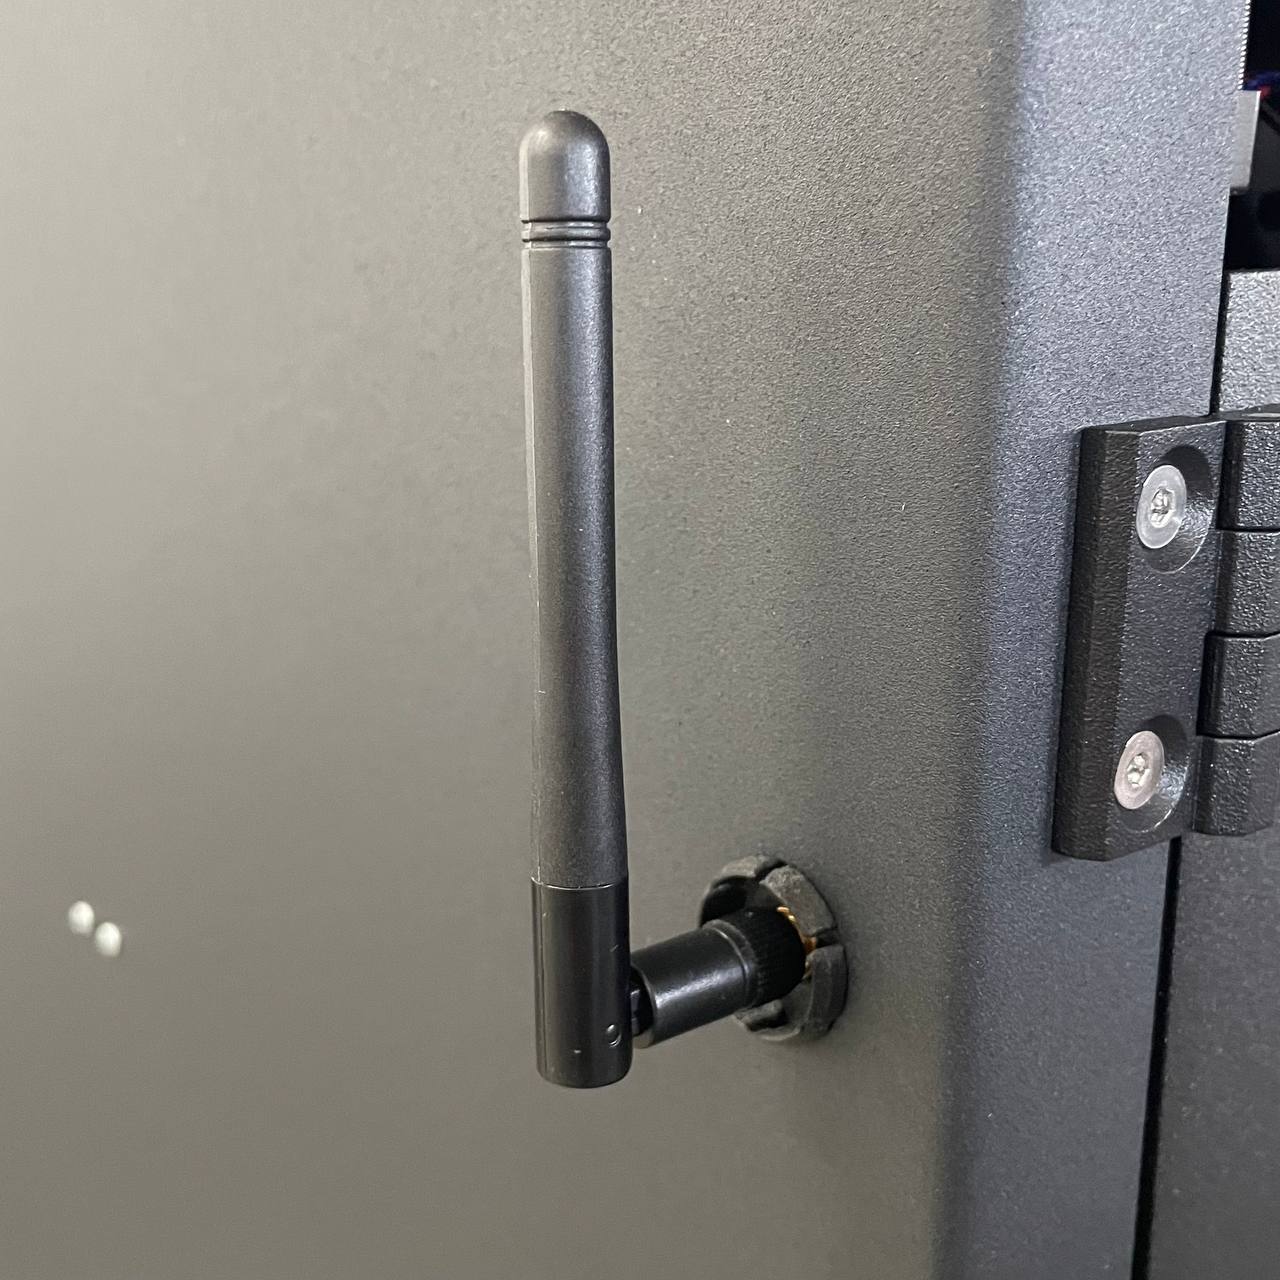
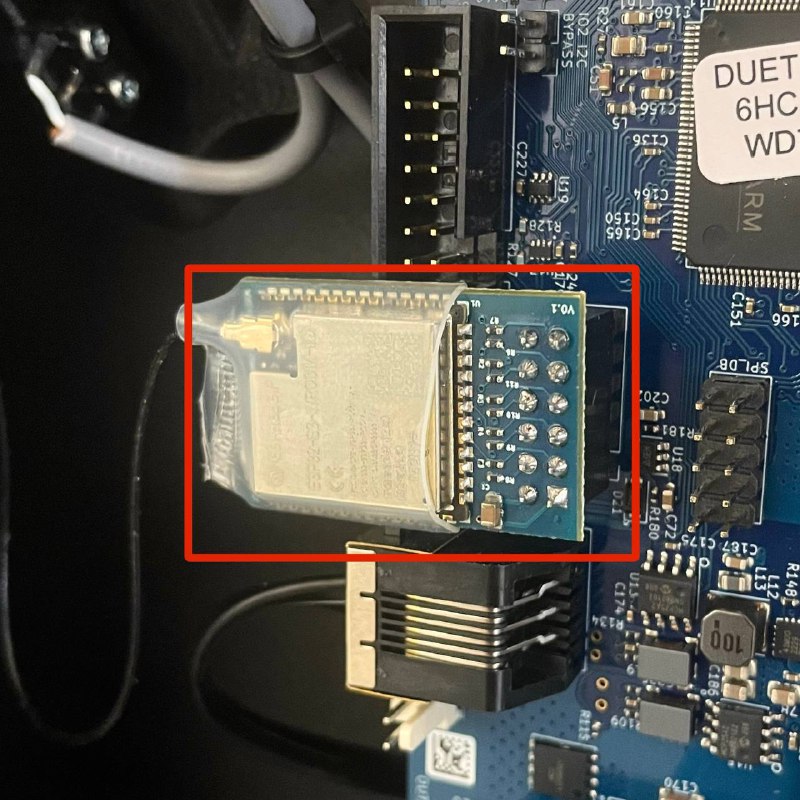
- Wi-Fi Antenna: Confirm the Wi-Fi antenna is securely screwed into the designated port on the printer. Check that the internal cable connecting the antenna port to the Wi-Fi module is firmly seated and undamaged.
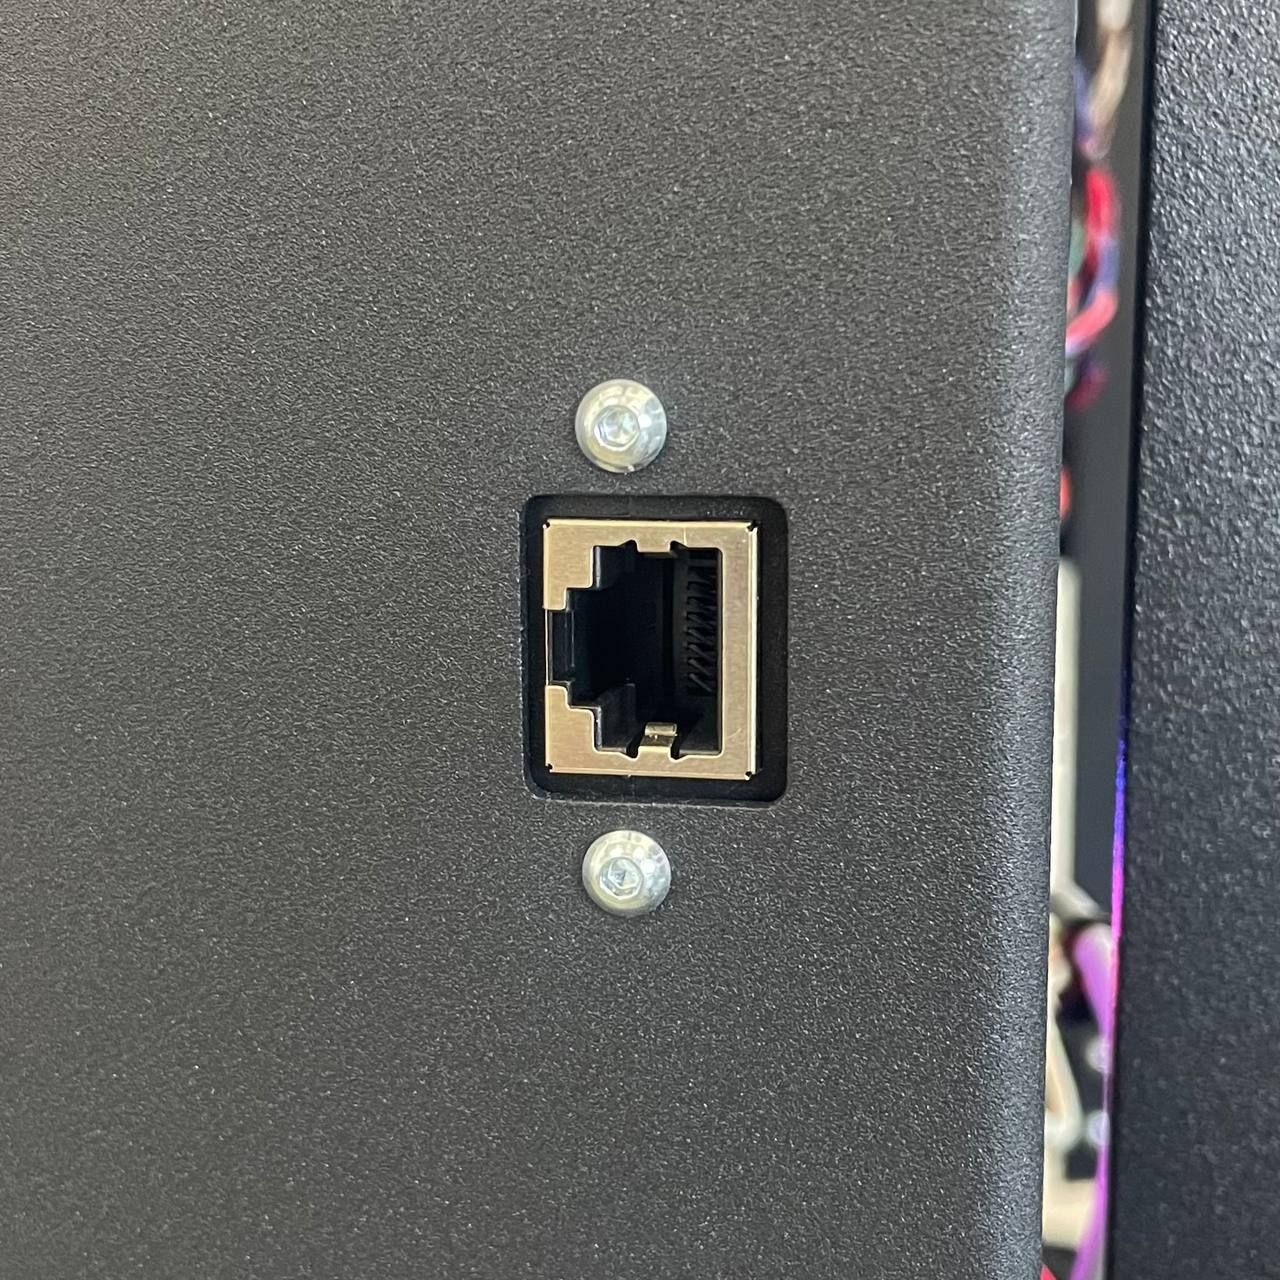
- Ethernet Cable: Ensure the Ethernet cable is undamaged and clicks securely into both the printer's port and the network switch/router port.
- Pronterface: Download and install Pronterface software. Instructions for connection can be found here: Pronterface Connection Guide
Important: Incorrect network configuration can prevent access to the printer's web interface. Follow steps carefully.
¶ Step-by-Step Instructions
¶ 1. Establish Initial Connection via USB
- Connect your computer to the printer using the USB cable.
- Launch the Pronterface software.
- Connect Pronterface to the printer according to the instructions in the Pronterface Connection Guide. This establishes a direct command line interface necessary for network setup.
¶ 2. Reset Network Settings
To ensure a clean setup, reset any previous network configurations stored on the printer.
- In the Pronterface command input field, enter the following command and press Enter:
M98 P"0:/macros/System/Settings/Network/Reset Network Settings" - Wait for the command to complete. This clears stored Wi-Fi SSIDs, passwords, and IP settings.
¶ 3. Disable Network Interfaces
Temporarily disable both Ethernet and Wi-Fi interfaces.
- Send the command to disable Ethernet:
M552 I0 S0 - Send the command to disable Wi-Fi:
M552 I1 S-1Note:
I0refers to the Ethernet interface, andI1to the Wi-Fi interface.S0orS-1commands disable the respective interface.
¶ 4. Configure Ethernet Connection (Recommended)
Ethernet offers the most reliable connection.
- Physically connect the Ethernet cable from your network switch or router to the printer's Ethernet port. Ensure it clicks into place.
- In Pronterface, send the command to enable the Ethernet interface and request an IP address via DHCP:
M552 I0 S1 - Monitor the Pronterface console. Within a few seconds, you should see a message indicating the network is enabled and providing an IP address (e.g.,
Network enabled, IP address = 192.168.1.100). - If no IP address appears automatically after ~20 seconds, send the status check command:
M552 - Repeat the status check every 5 seconds if necessary. If an IP address is not assigned, verify the cable connection and ensure your network has DHCP enabled. Persistent issues may indicate a broader network problem unrelated to the printer. Contact your network administrator or support.
¶ 5. Configure Wi-Fi Connection
Ensure all prerequisites from the "Safety & Pre-checks" section are met (2.4 GHz network, antenna installed, close proximity to router).
- Navigate to the Wi-Fi Command Generator section within the Pronterface Guide.
- Enter your 2.4 GHz Wi-Fi Network Name (SSID) and Password into the generator tool.
Important: SSID and Password are case-sensitive. Use the generator to ensure correct formatting.
- Copy the generated command, which will start with
M587. - In Pronterface, first, put the Wi-Fi module into an idle state:
M552 I1 S0 - Wait a moment for the command to execute, then paste the
M587command (copied from the generator) into Pronterface and press Enter. This command stores your network credentials on the printer.; Example M587 command - use the one from the generator! M587 S"Y'O'U'R SSID" P"Y'O'U'R P'A'S'S'W'O'R'D" - Wait a few seconds for the settings to be saved.
- Enable the Wi-Fi interface and attempt to connect:
M552 I1 S1 - Monitor the Pronterface console for a message indicating connection success and the assigned IP address.
- If no IP address appears after ~30 seconds, check the Wi-Fi status by sending:
M552 I1 - Repeat the status check every 5 seconds. If it fails to connect, double-check your SSID/Password, ensure you used the 2.4 GHz network, verify antenna connection, and check router proximity. Re-run the
M587andM552 I1 S1steps if necessary.
¶ 6. Access the Web Interface
Once Pronterface confirms an IP address has been assigned (either via Ethernet or Wi-Fi):
- Ensure the computer you are using is connected to the same local network as the printer. The first three sets of numbers in the IP address (e.g.,
192.168.1.xxx) must match between your computer and the printer. - Open a web browser (Chrome, Firefox, Edge) on your computer.
- Type the IP address assigned to the printer into the browser's address bar and press Enter.
- The Duet Web Control interface should load.
¶ 7. Save Network Configuration
The previous steps configured the network for the current session. Save the configuration permanently so the printer automatically connects on reboot.
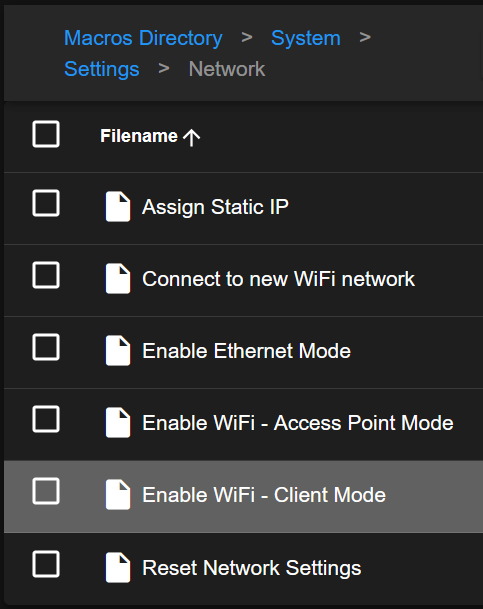
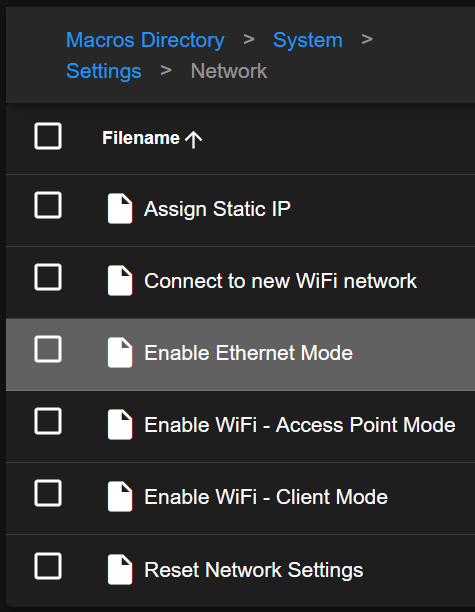
- Go to the
Macrostab and navigate throughSystem > Settings > Network(exact path may vary slightly by firmware version). - Locate the macro corresponding to your connection type:
- If connected via Wi-Fi: Find and run the macro typically named
Enable WiFi Client Modeor similar.
- If connected via Ethernet: Find and run the macro typically named
Enable Ethernet Modeor similar.
- If connected via Wi-Fi: Find and run the macro typically named
- The system may prompt you about testing the connection or reconnecting.
- For Ethernet: Choose Skip test and change mode (or similar) as the connection is already active.
- For Wi-Fi: Choose Change and reconnect later (or similar), as you are already connected.
- Running the appropriate macro saves the current network setup (
M552state) to the printer's configuration file (config.g). - Restart the printer to verify it automatically connects to the network upon boot-up. Check the connection status by accessing the IP address in your browser again after reboot.
¶ Troubleshooting & FAQs
- Cannot connect via Pronterface: Ensure the correct COM port and baud rate are selected. Check the USB cable. See the Pronterface Connection Guide.
- Ethernet IP address not assigned: Verify the Ethernet cable is securely plugged in at both ends. Confirm your network uses DHCP or configure a static IP (advanced). Check network switch/router status lights for the connected port.
- Wi-Fi connection fails:
- Double-check SSID and Password (case-sensitive). Use the Wi-Fi Command Generator.
- Confirm you are using a 2.4 GHz network band.
- Ensure the Wi-Fi antenna is securely installed and the internal cable is connected.
- Move the printer closer to the Wi-Fi router to rule out range issues.
- Retry the
M587andM552 I1 S1commands.
- Web Interface (Duet Web Control) doesn't load:
- Verify the printer has an IP address (check Pronterface console or printer screen).
- Ensure your computer is on the exact same network (IP address range must match except for the last number).
- Diagnosing Weak Wi-Fi Signal: If you suspect poor signal strength is causing instability:
- Connect via Pronterface.
- Send the command:
M122 - This command generates a detailed diagnostic report in the console. Look for the "WiFi" section and the "Signal strength" value reported in dBm (RSSI).
- Interpret the RSSI value:
Signal Strength (RSSI) Quality Notes -30 to -50 dBm Good Reliable connection expected -50 to -60 dBm OK Generally stable -60 to -70 dBm Marginal Connection may be unstable Below -70 dBm Weak / Unreliable Prone to dropouts, relocation needed - If the signal is Marginal or Weak, try moving the printer closer to the router or consider a Wi-Fi range extender.
¶ Conclusion & Additional Resources
Successfully connecting your printer to the network unlocks powerful remote control and monitoring features. Always ensure your network settings are saved after making changes via Pronterface commands by running the appropriate "Enable" macro in the web interface. If connection issues persist after following these steps and troubleshooting, please gather details about your network setup and the steps you've tried.