¶ Download the Latest Stable Release
Download Slicer:
- Download the latest stable release of the slicer software compatible with your operating system.
- Or download from Prusa3D
¶ Download Latest Profiles
Download Profiles:
-
Download Slicer Profiles.
-
Download Build Plate Models & Images.
-
Save the Build Plate Models & Images in a permanent location on your computer.
¶ Install the Slicer
Install Software:
- Follow the installation instructions for the slicer software on your operating system.
¶ Initial Setup
Open Slicer:
- Open the slicer software.
- Cancel or skip any initial setup prompts to access the slicer interface directly.
Import Configuration Bundle:
- In the slicer interface, navigate to
File>Import>Import Config Bundle.
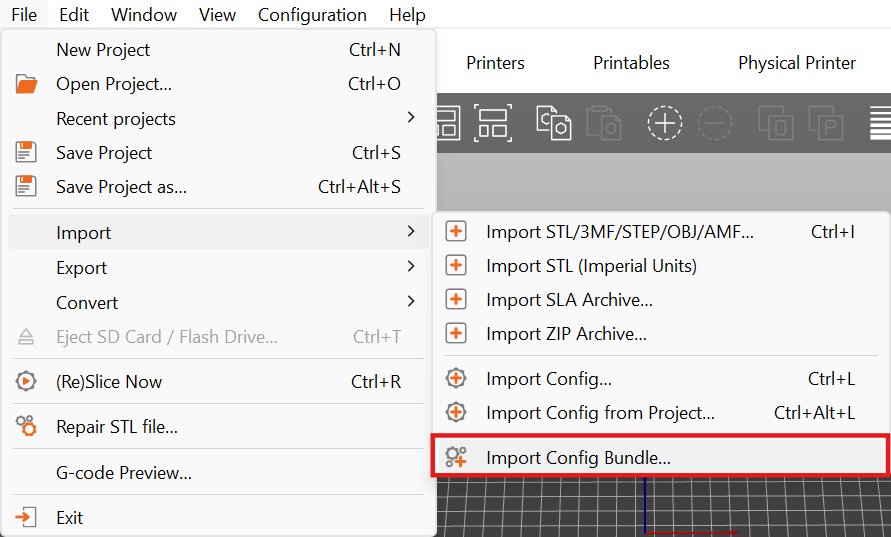
- Select
PrusaSlicerConfigBundle.inifrom the location where you saved the profiles. - This will load the latest machine and material profiles and settings into your slicer.
¶ Connect Slicer to Your Machine
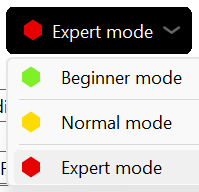
- Ensure "Expert Mode" is selected in the top right corner of the slicer interface.
- Go to
Printers. - Select Printer:
22IDEX * Standard Mode.

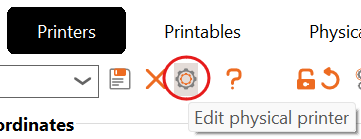
- Click
Edit Physical Printer.
- Set
HostnametoDuetandIPto22IDEX.localor your machine's IP address.
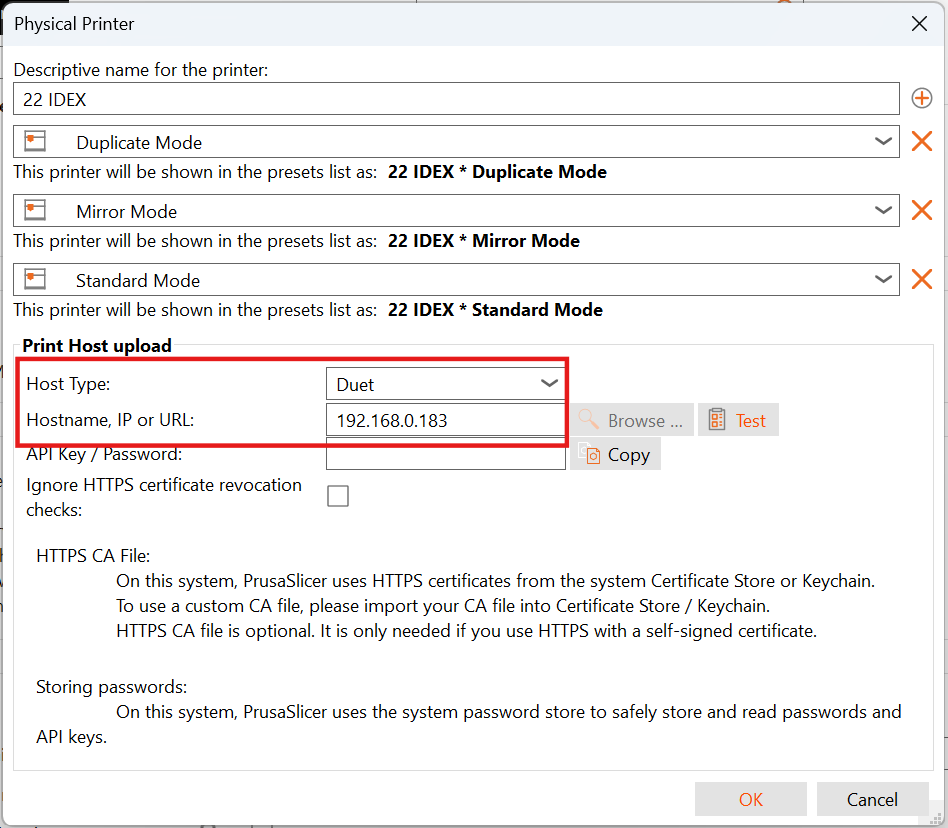
- Click
Testto verify the connection. - Click
OKto save the settings.
¶ Define 3D Model and Image of Build Plate
¶ 4. Configuring Build Plate Models
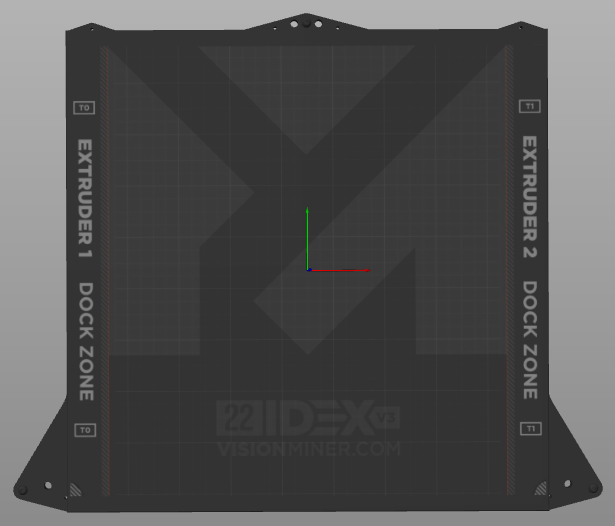
Properly setting the build plate model provides an accurate visual representation of the print area in the slicer, which is essential for part placement, especially in Standard Mode.
¶ Standard Mode Setup
- Ensure you are still in Expert mode.
- Navigate to the Printer Settings tab.
- In the left-hand menu, select the General section.
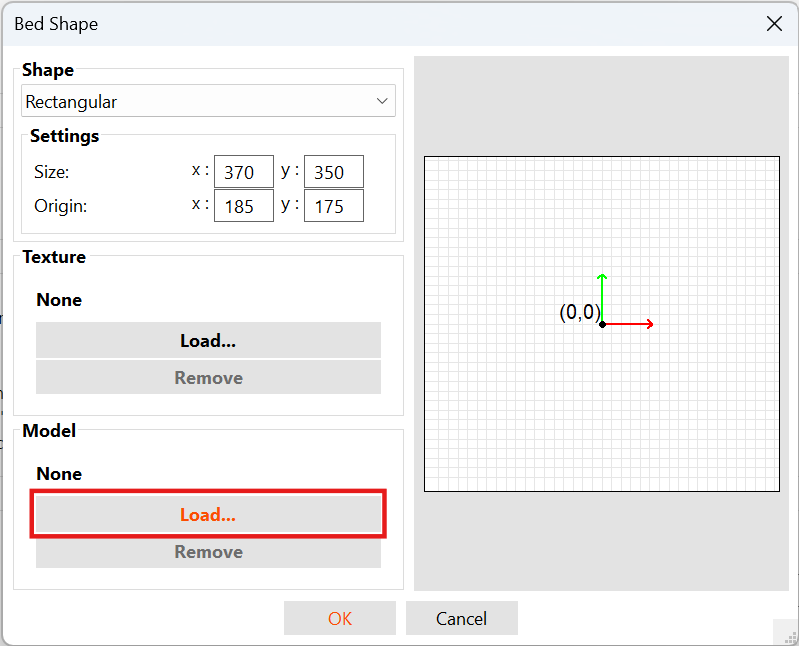
- Under the Bed Shape settings, click the Set... button.

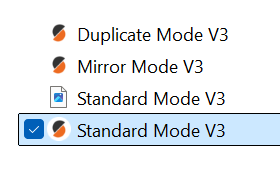
- For the Model, click Load... and select the
Standard Mode V3.stlfile from the build plate assets you downloaded.
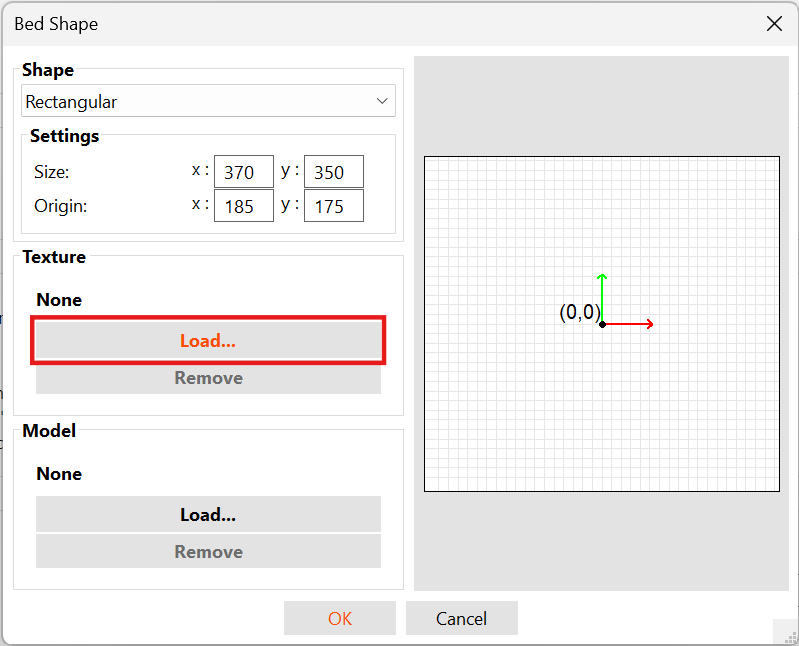
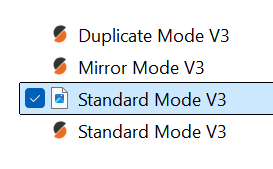
- For the Texture, click Load... and select the
Standard_v3_grids.pngfile. This texture provides visual guides for the toolhead docking zones.
- Click OK. The slicer's platter view should now display the textured 22IDEX build plate.
- Crucially, save this configuration. Click the save icon next to the Printer profile name (
22IDEX * Standard Mode) to lock in these changes.
¶ Mirror & Duplicate Mode Setup
Repeat the process for Mirror and Duplicate modes with one key difference: they do not require a bed texture.
- From the Printer dropdown on the main Plater tab, select
22IDEX * Mirror Mode. - Navigate to Printer Settings > General > Bed Shape and click Set....
- For the Model, click Load... and select the
Mirror Mode V3.stlfile. - Do not load a texture. Leave the texture field blank. These modes utilize the full build volume, so visual docking guides are unnecessary.
- Click OK.
- Click the save icon next to the
22IDEX * Mirror Modeprofile to save the changes. - Repeat steps 1-6 for
22IDEX * Duplicate Mode, loading theDuplicate Mode V3.stlfile.