¶ Hotend Temperature Sensors & Hotend Heaters Maintanence
Tools: Hex 2mm driver, pliers
Parts: thermistor PT1000 15mm x 2.5mm, heater 24V 70W 20mm x 5.5 mm
Сonsumables: thermal paste
¶ Removal Procedure
- Prepare Hotend:
- If the printer was in use, set the hotend temperature to 0°C and wait until the sensor shows a safe, operable temperature.
- Power off the printer.
If you don’t turn off the printer, it may cause a short circuit and damage the equipment.
- Disconnect Wires:
- Unplug the Temperature Sensor and Hotend Heater wires from the distribution block. Use a 2mm screwdriver to press the orange button opposite the desired wire and remove it.
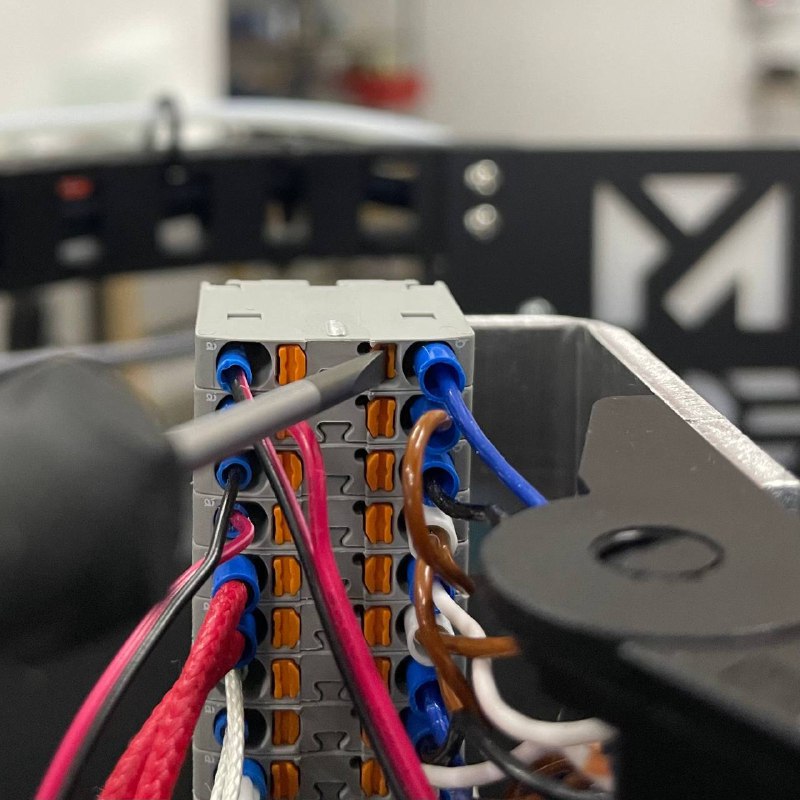
- Unplug the Temperature Sensor and Hotend Heater wires from the distribution block. Use a 2mm screwdriver to press the orange button opposite the desired wire and remove it.
- Loose Wire Shroud
- Unscrew a bit two bolts on the side of the toolhead to let eject wires from the wire shroud. But not to much - it can cause fan shroud removing to.
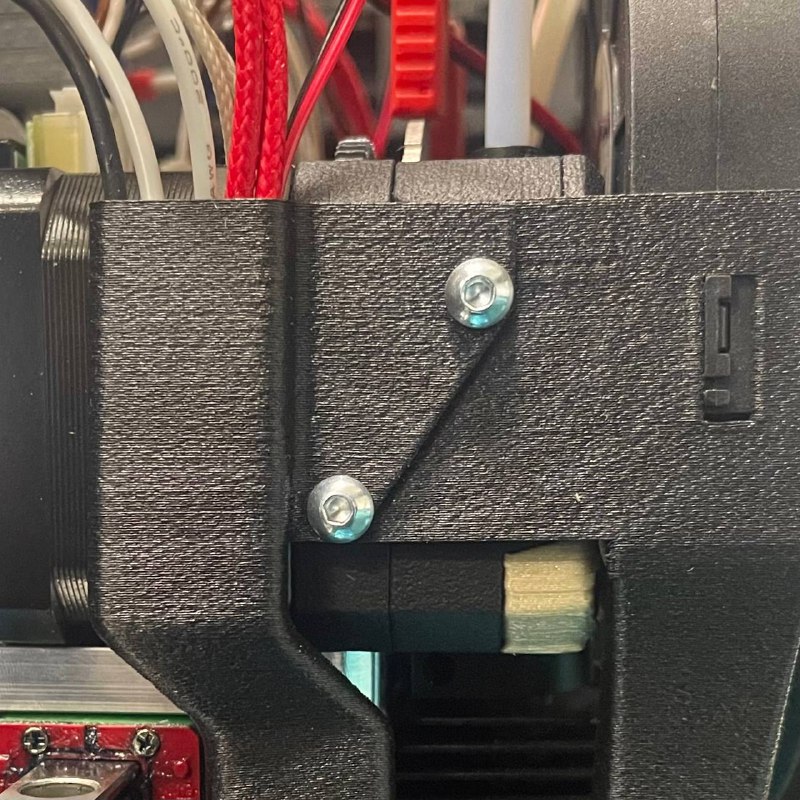
- Unscrew a bit two bolts on the side of the toolhead to let eject wires from the wire shroud. But not to much - it can cause fan shroud removing to.
- Unscrew Fastener:
- Unscrew the fastener from the side where the wires are connected.
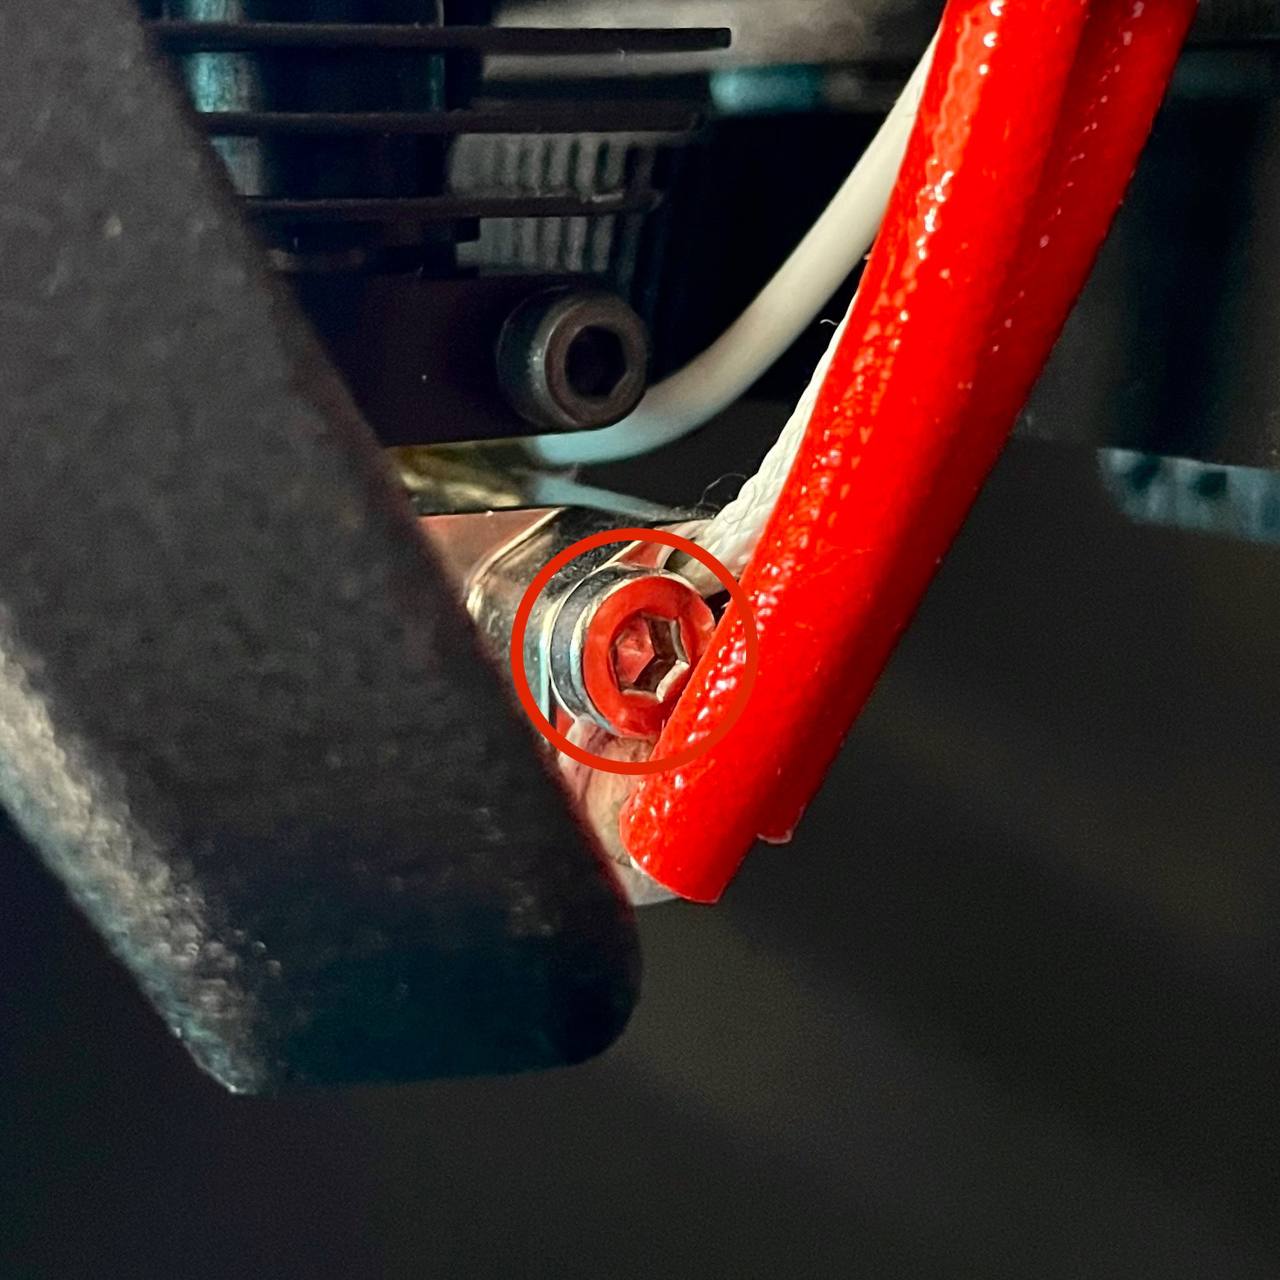
- Unscrew the fastener from the side where the wires are connected.
- Remove Components:
- Gently pull out the Temperature Sensor and Hotend Heater. They should come out easily. Be prepared for them to be covered in thermal paste.
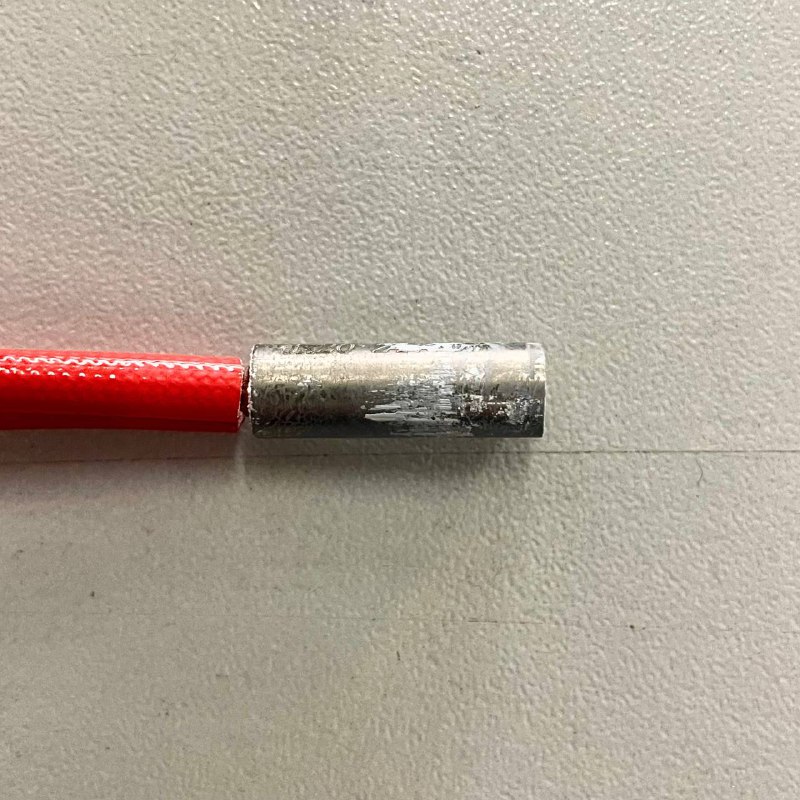

- Gently pull out the Temperature Sensor and Hotend Heater. They should come out easily. Be prepared for them to be covered in thermal paste.
¶ Installation Procedure
- Safety Check:
- Before servicing, ensure all heating components—including the nozzle, build plate, chamber heater, and internal parts—have cooled completely and are safe to touch. Allow the printer to cool naturally to room temperature for at least one hour to prevent burns.
- Inspect Components:
- Carefully inspect the temperature sensor, heater cartridges, and associated wiring for damage or wear. Always replace damaged or worn components with new ones to prevent short circuits, inaccurate temperature readings, or other safety hazards.
- Apply Thermal Paste:
- Apply thermal paste to the Temperature Sensor and Hotend Heater.
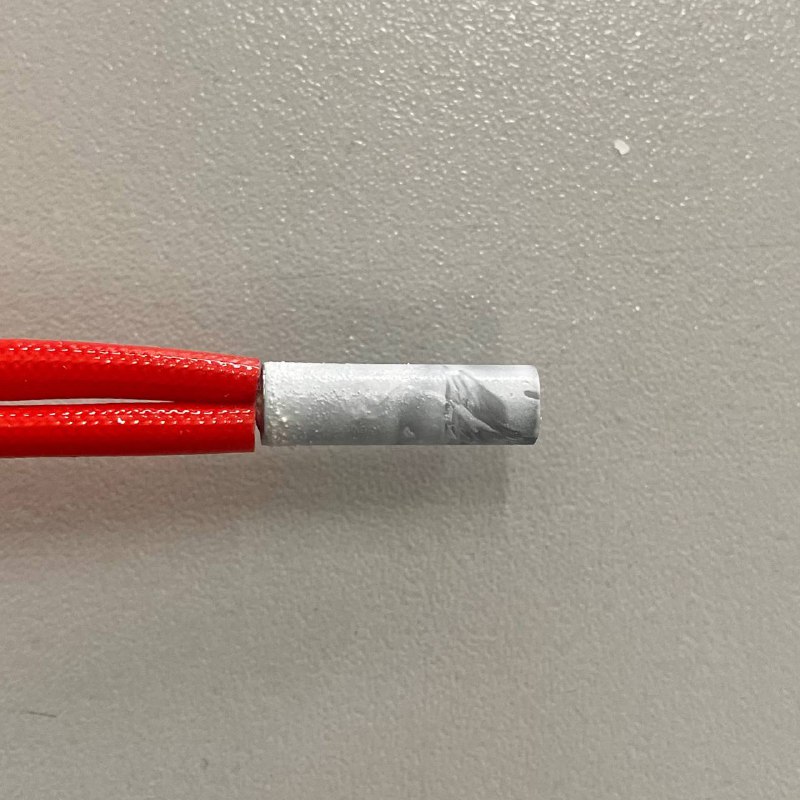
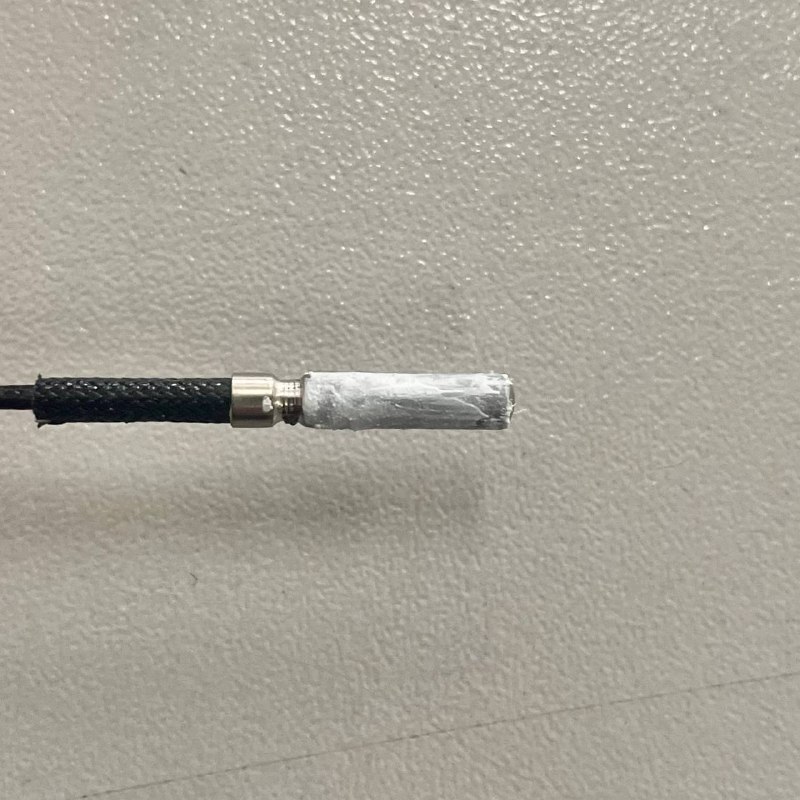
- Apply thermal paste to the Temperature Sensor and Hotend Heater.
- Insert Components:
- Push the Temperature Sensor and Hotend Heater into their respective places.
- Secure Components:
- Tighten the fixing screw.
- Tighten the fixing screw.
- Clean Up:
- Clear any leftover thermal paste.
- Fix Wires Under Shroud
- Slide wires under shroud on the side of the toolhead and tighten the screws.
- Slide wires under shroud on the side of the toolhead and tighten the screws.
- Reconnect Wires:
- Connect the wires to the distribution block according to the Toolhead Wiring
- Check Results
- Go to the Web Interface, set some temperature for the toolhead and see how it is changing on the information panel.