Clogs can occur at various points in the filament path, including the nozzle, heat break, PTFE tube, and extruder gears. This guide will walk you through diagnosing and resolving clogs to ensure smooth filament extrusion.
¶ Common Clog Points
- Nozzle: The most common clog location, particularly when switching between high and low-temperature materials.
- Heat Break: Clogs can form due to heat creep, where inadequate cooling allows filament to expand and block the path.
- PTFE Tube: Rarely clogs but can occur if molten filament retracts into the tube and solidifies.
- Extruder Gears: Can clog, especially when printing flexible materials or if molten filament reaches the gears, causing them to jam.
¶ Troubleshooting Steps
¶ 1. Removing the Nozzle
Preparation:
- Tools: 7 mm wrench, gripping tool for the hotend.
- Preheat the tool head to prevent the plastic from hardening.
Procedure:
- Carefully loosen the nozzle using the wrench while holding the hotend to prevent it from spinning.
- Remove the nozzle and attempt to extrude filament. If the filament doesn't extrude, the blockage may be further up in the system.
¶ 2. Checking for Clogs Above the Nozzle
Testing Extrusion:
- Try to extrude filament without the nozzle. If extrusion fails, the blockage may be in the heat break or higher.
Using a Rod to Clear the Clog:
- Insert a 1mm steel rod from the top and gently push through to clear any blockage. This can help push the clog out of the system.
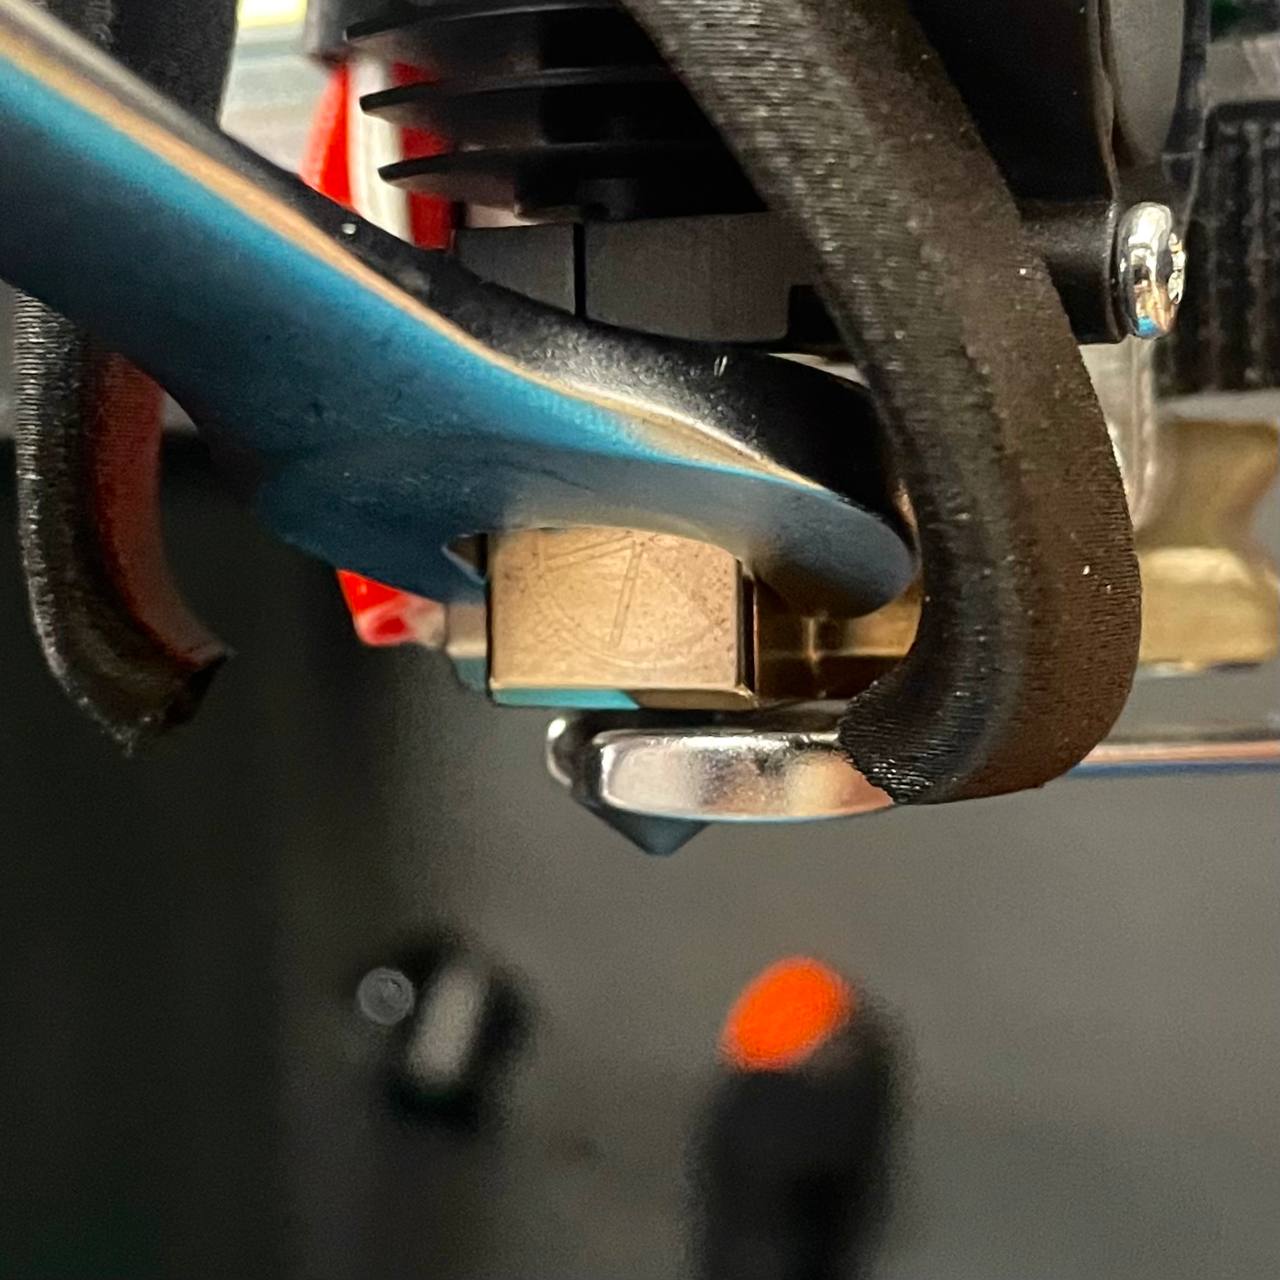
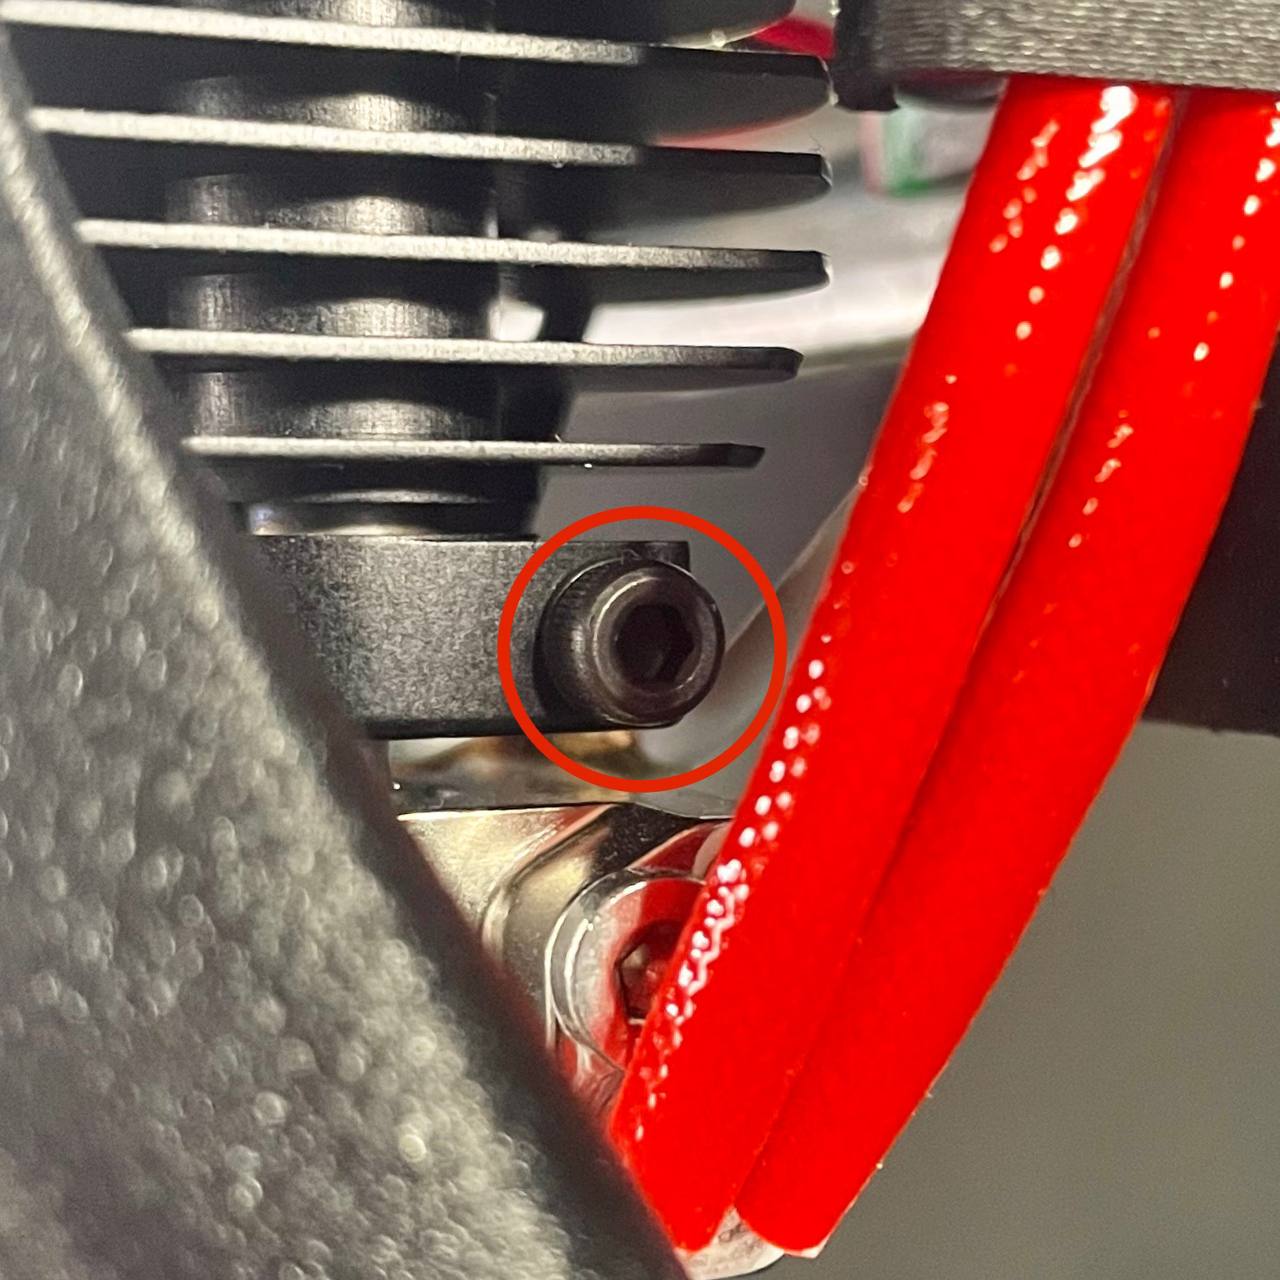
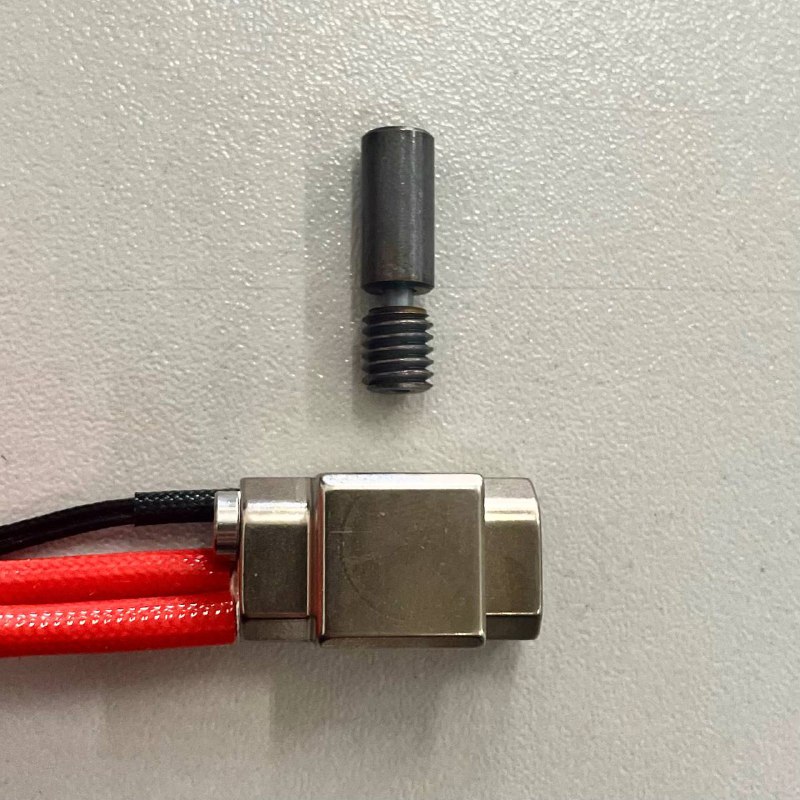
¶ 3. Removing the Heat Break
Procedure:
- Let the machine cool down and turn it off.
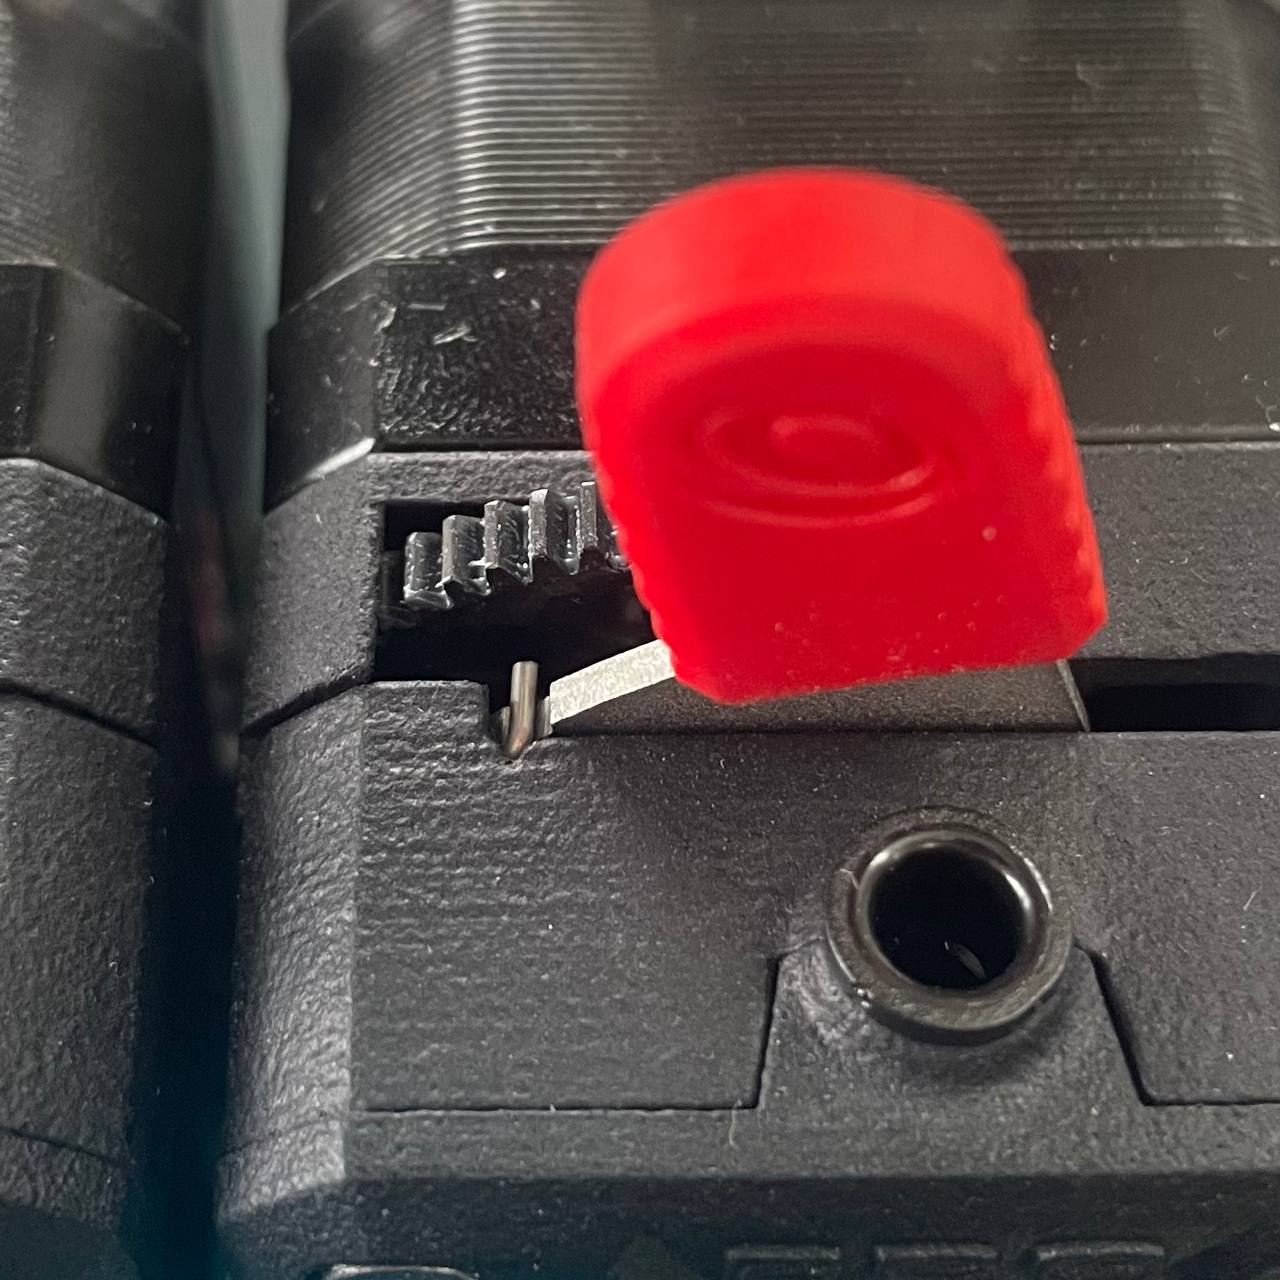
- Move the Extruder's Filament Tension Lever to the leftmost position to allow the filament to move freely.
- Loosen the heat break holding screw and gently pull the hotend down.
- If wires obstruct removal, disconnect them from the distribution block (take pictures to remember their positions).
- Unscrew and remove the heat break.
- More details about disassembling the head are written Here
If the Heat Break Cannot Be Removed Cold:
- Preheat the hotend to help free the heat break.
- Use appropriate tools to handle the hot components safely.
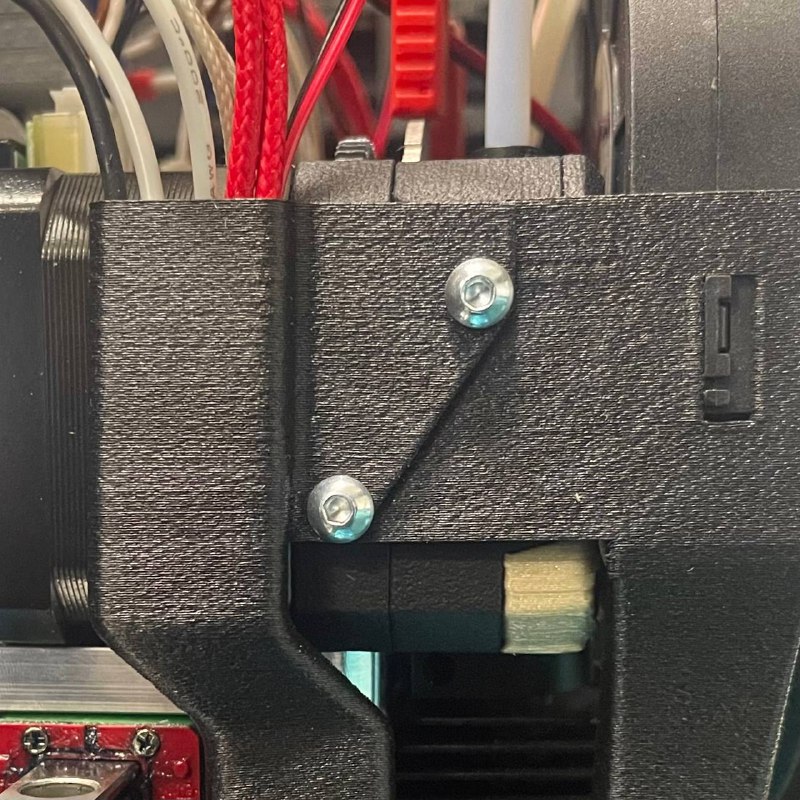
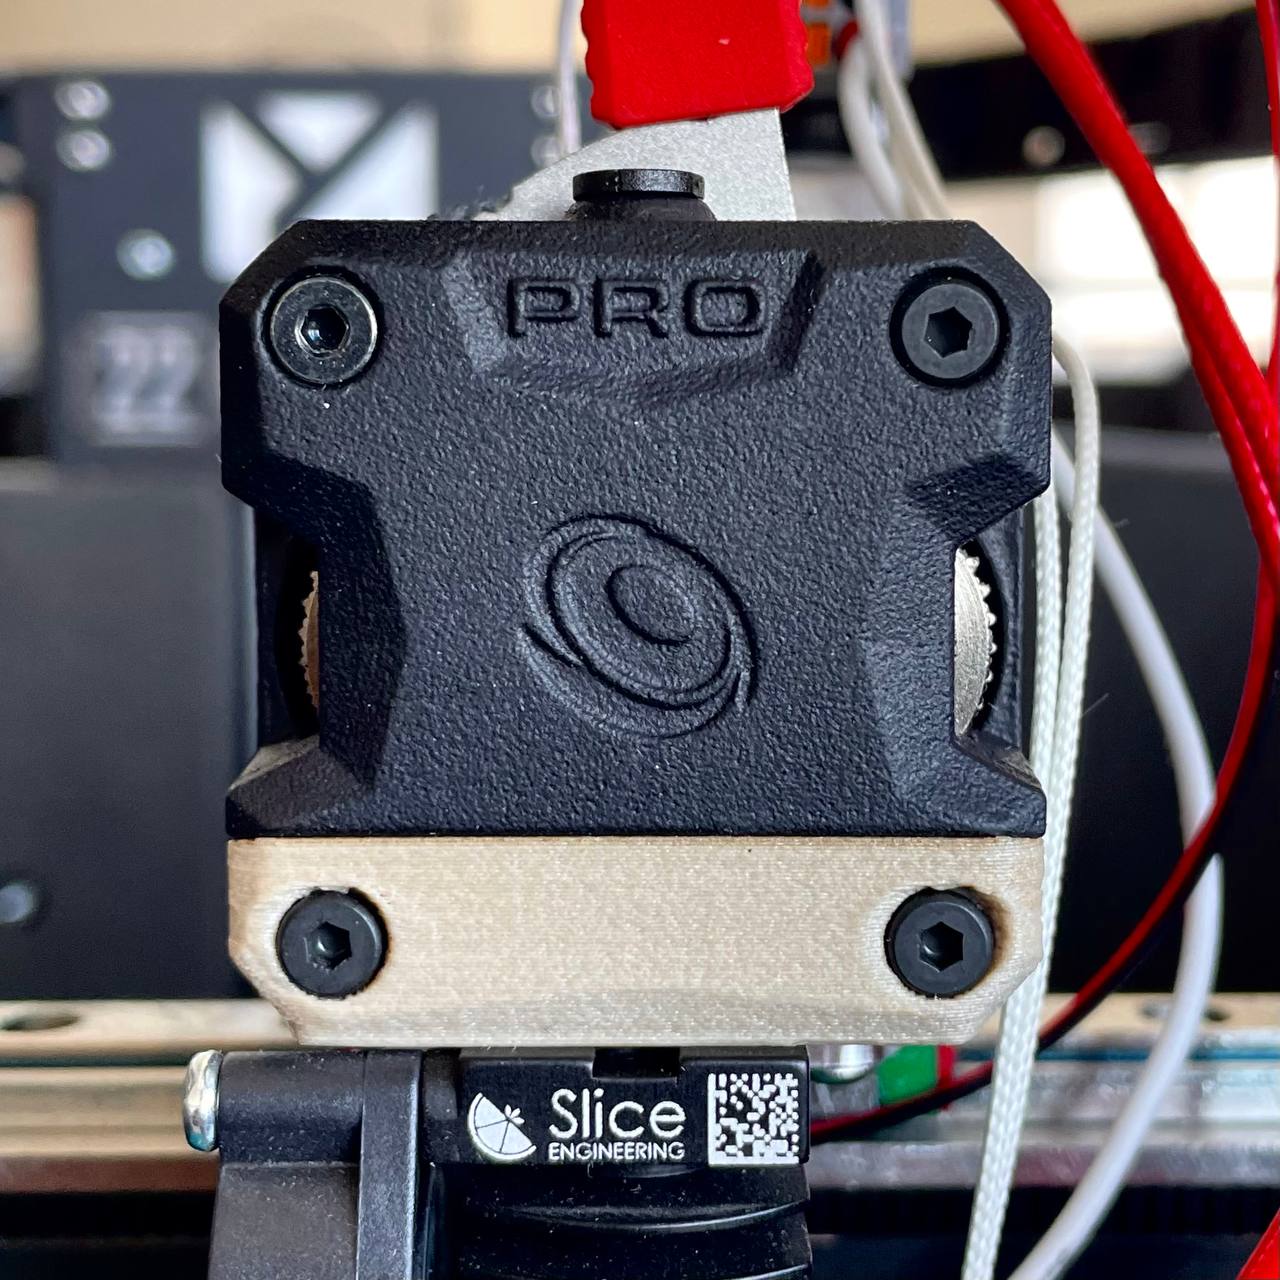
¶ 4. Disassembling the Extruder
Inspecting the Extruder Gears:
- Remove the fan shroud screws and then the screws on the front of the extruder.
- Check for filament binding or obstruction in the gears.
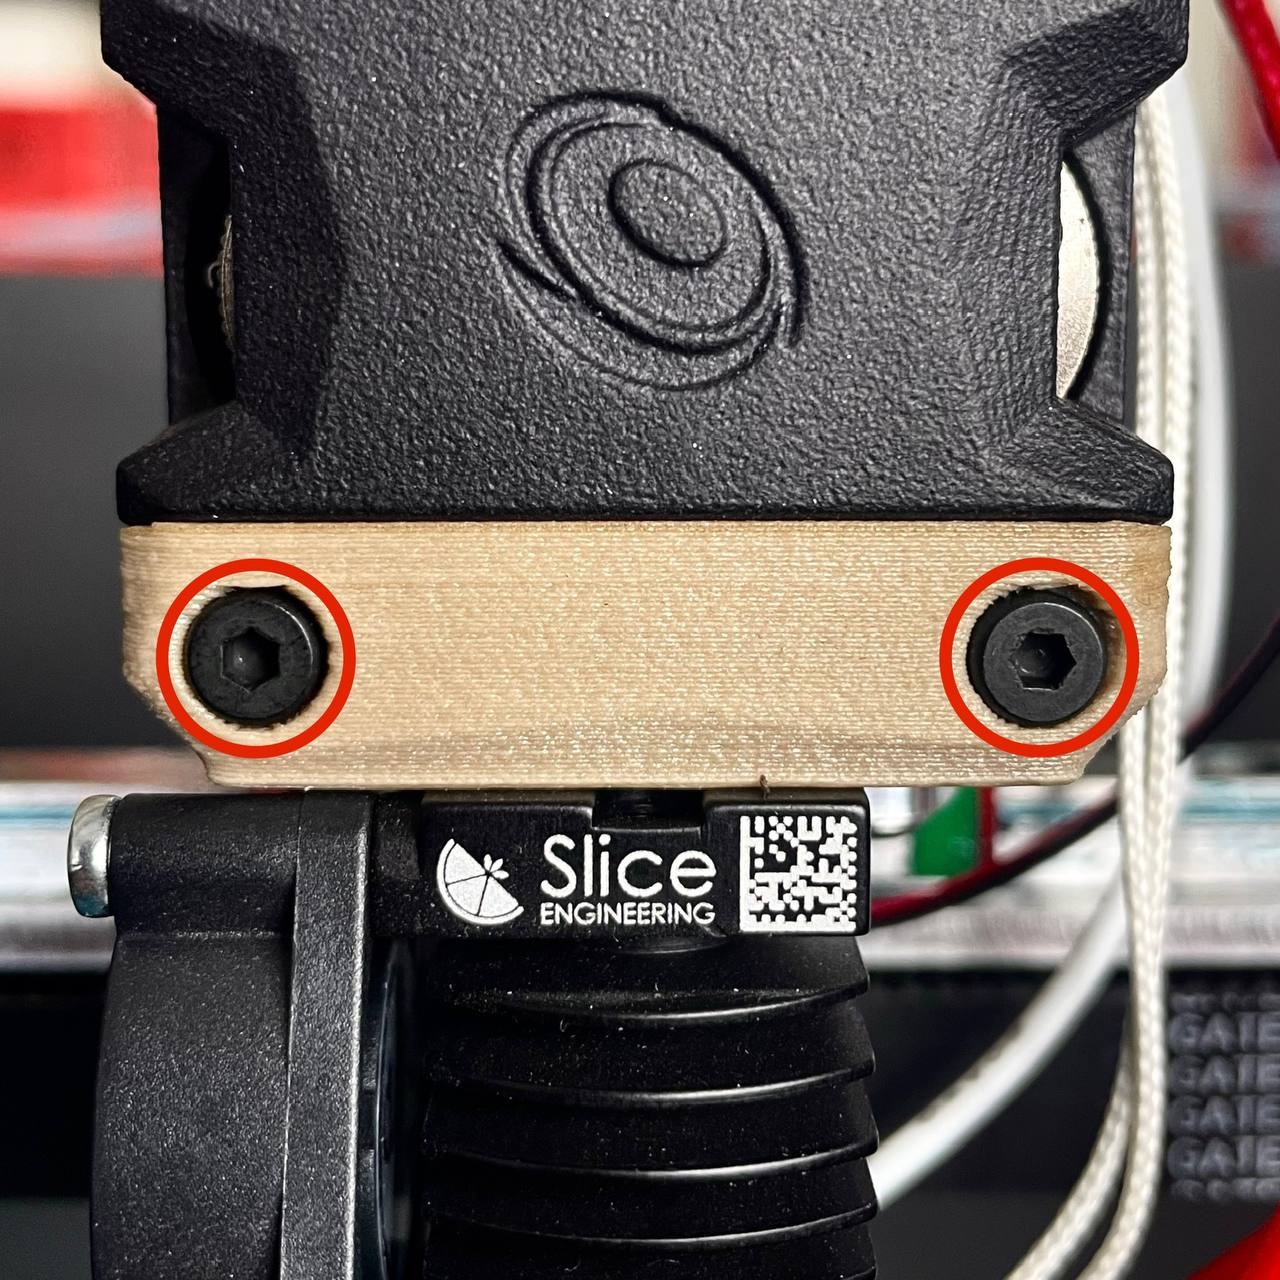
Removing the 3D Printed Interface Plate:
- Remove the two screws on the bottom of the extruder.
- If filament removal is difficult, preheat the tool head to soften the filament, then pull it out from the extruder.
- Pull the interface plate out and inspect the filament path for any blockages.
¶ Reassembly
- After clearing the filament path, reassemble the components in reverse order.
- Replace components if necessary.
- Move Extruder's Filament Tension Lever to the right into optimal position for the selected filament.