Filament Drying
Dry filament in the heated chamber using the temperature and time table for PEEK, nylon, ABS and PLA, then store it under vacuum to stop reabsorption.
This guide provides step-by-step instructions for drying high-performance 3D printing filaments using various methods. Proper drying prevents moisture-induced defects such as popping noises, bubbles in prints, and reduced mechanical properties. Use the guidelines below to select the appropriate method for your setup.
YouTube media is off. Allow it in cookie settings to load this video.
Watch on YouTubeBefore you begin - safety and risk
Read the Safety - Before You Begin article to understand the hazards involved in working on the Vision Miner 22IDEX V4 - including electrical, thermal, mechanical, and chemical risks. All procedures in this wiki are provided as recommendations only. By choosing to follow any procedure, you do so at your own risk.
Tools and Materials
For All Methods:
- Filament spool(s)
- Safety equipment (heat-resistant gloves, safety glasses)
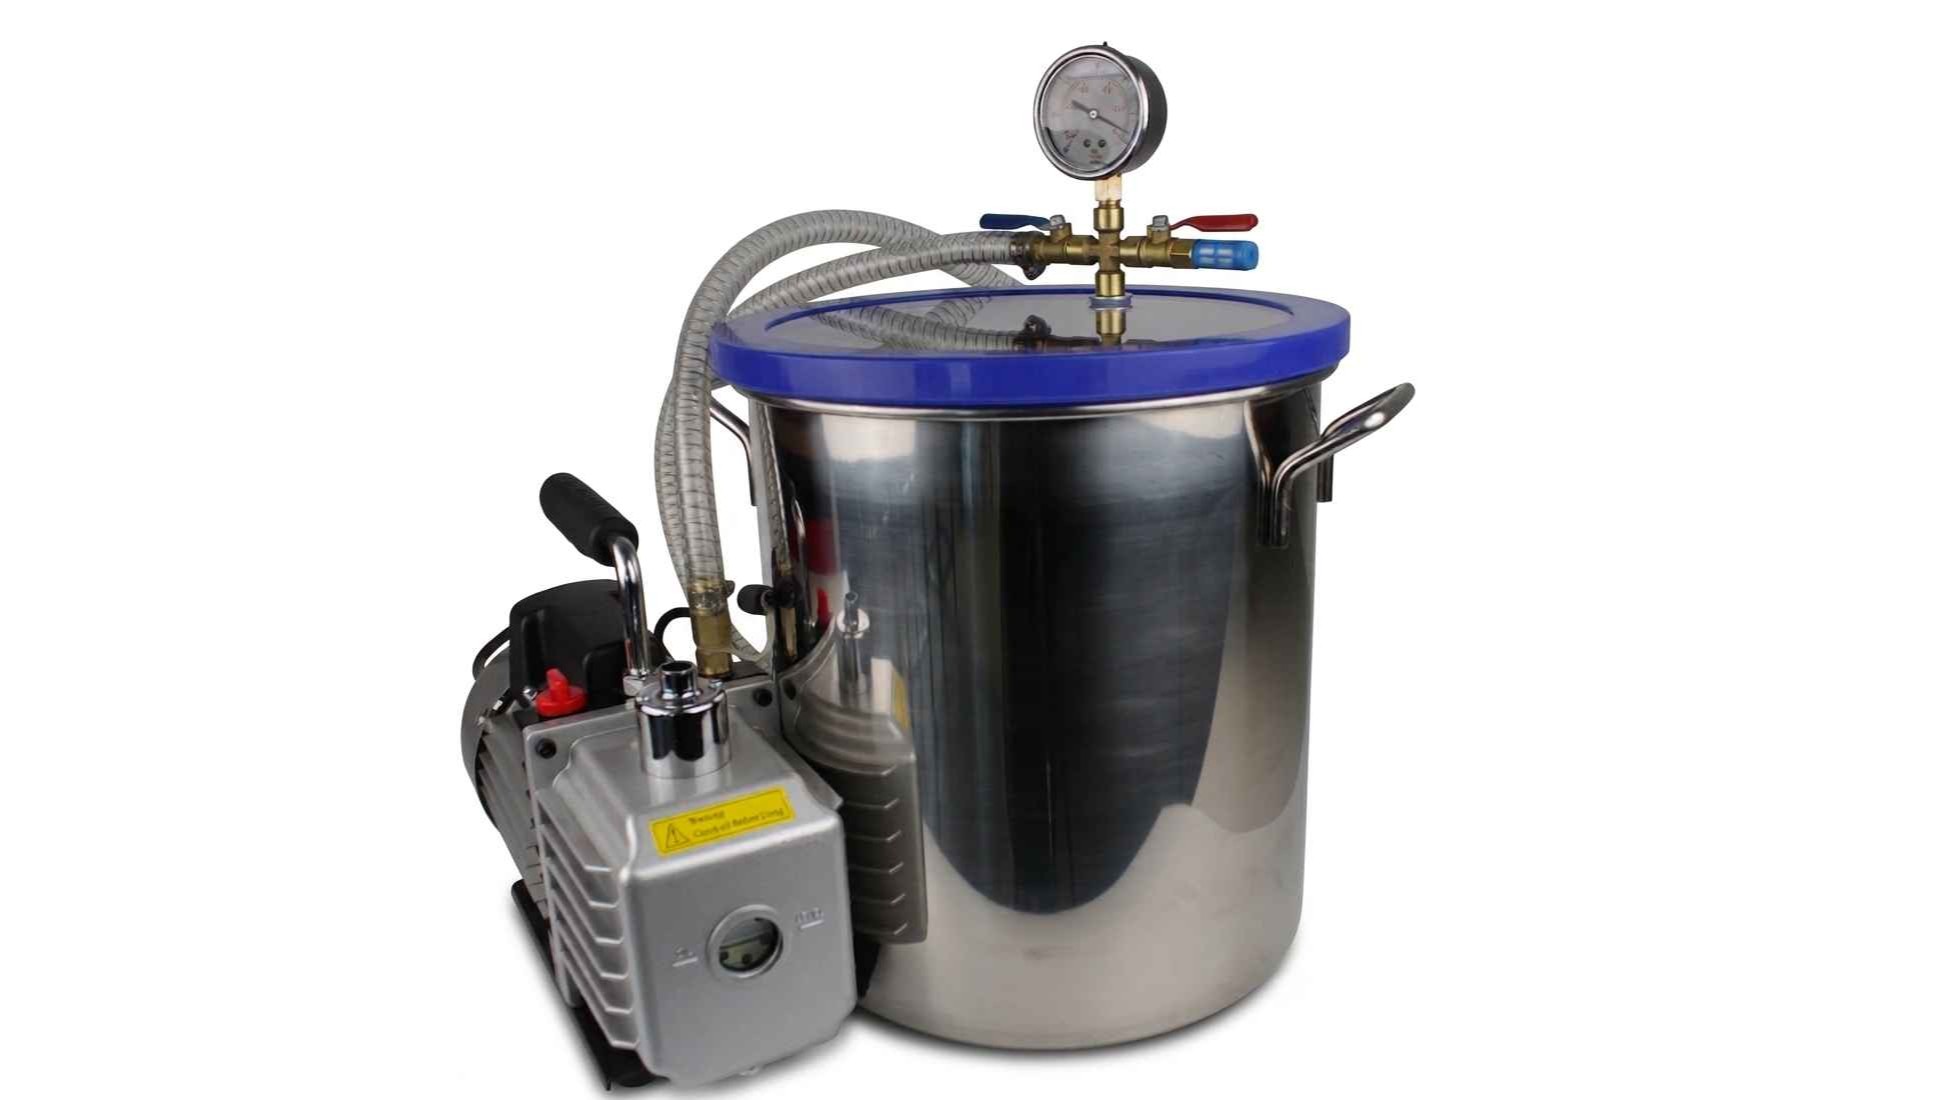
- Vision Miner Vacuum Storage Chamber
Recommended Drying Times and Temperatures
| MATERIAL | DRYING TEMP (°C) | DURATION (HOURS) |
|---|---|---|
| PEEK | 90 | 12-24 |
| PEI | 90 | 12-24 |
| PPSU | 90 | 12-24 |
| PSU | 90 | 12-24 |
| PPS | 90 | 12-24 |
| NYLON | 90 | 12-24 |
| PC | 80 | 8-12 |
| PC/ABS | 80 | 8-12 |
| PC/ASA | 80 | 8-12 |
| ASA | 80 | 8-12 |
| ABS | 80 | 8-12 |
| TPU | 65 | 8-12 |
| PETG | 65 | 8-12 |
| PLA | 60 | 6-12 |
Adjustments may be needed
These values are general recommendations. Adjustments may be necessary based on specific environmental conditions and filament manufacturer specifications.
Drying Methods
1. Drying Filament Inside the 22IDEX V4 Printer
Purpose:
Uses the 22IDEX V4's heated chamber to dry filament through thermal heating. The chamber provides consistent temperature for effective moisture removal.
Procedure:
- Preheat the chamber. Set the chamber heater to the drying temperature in the drying table.
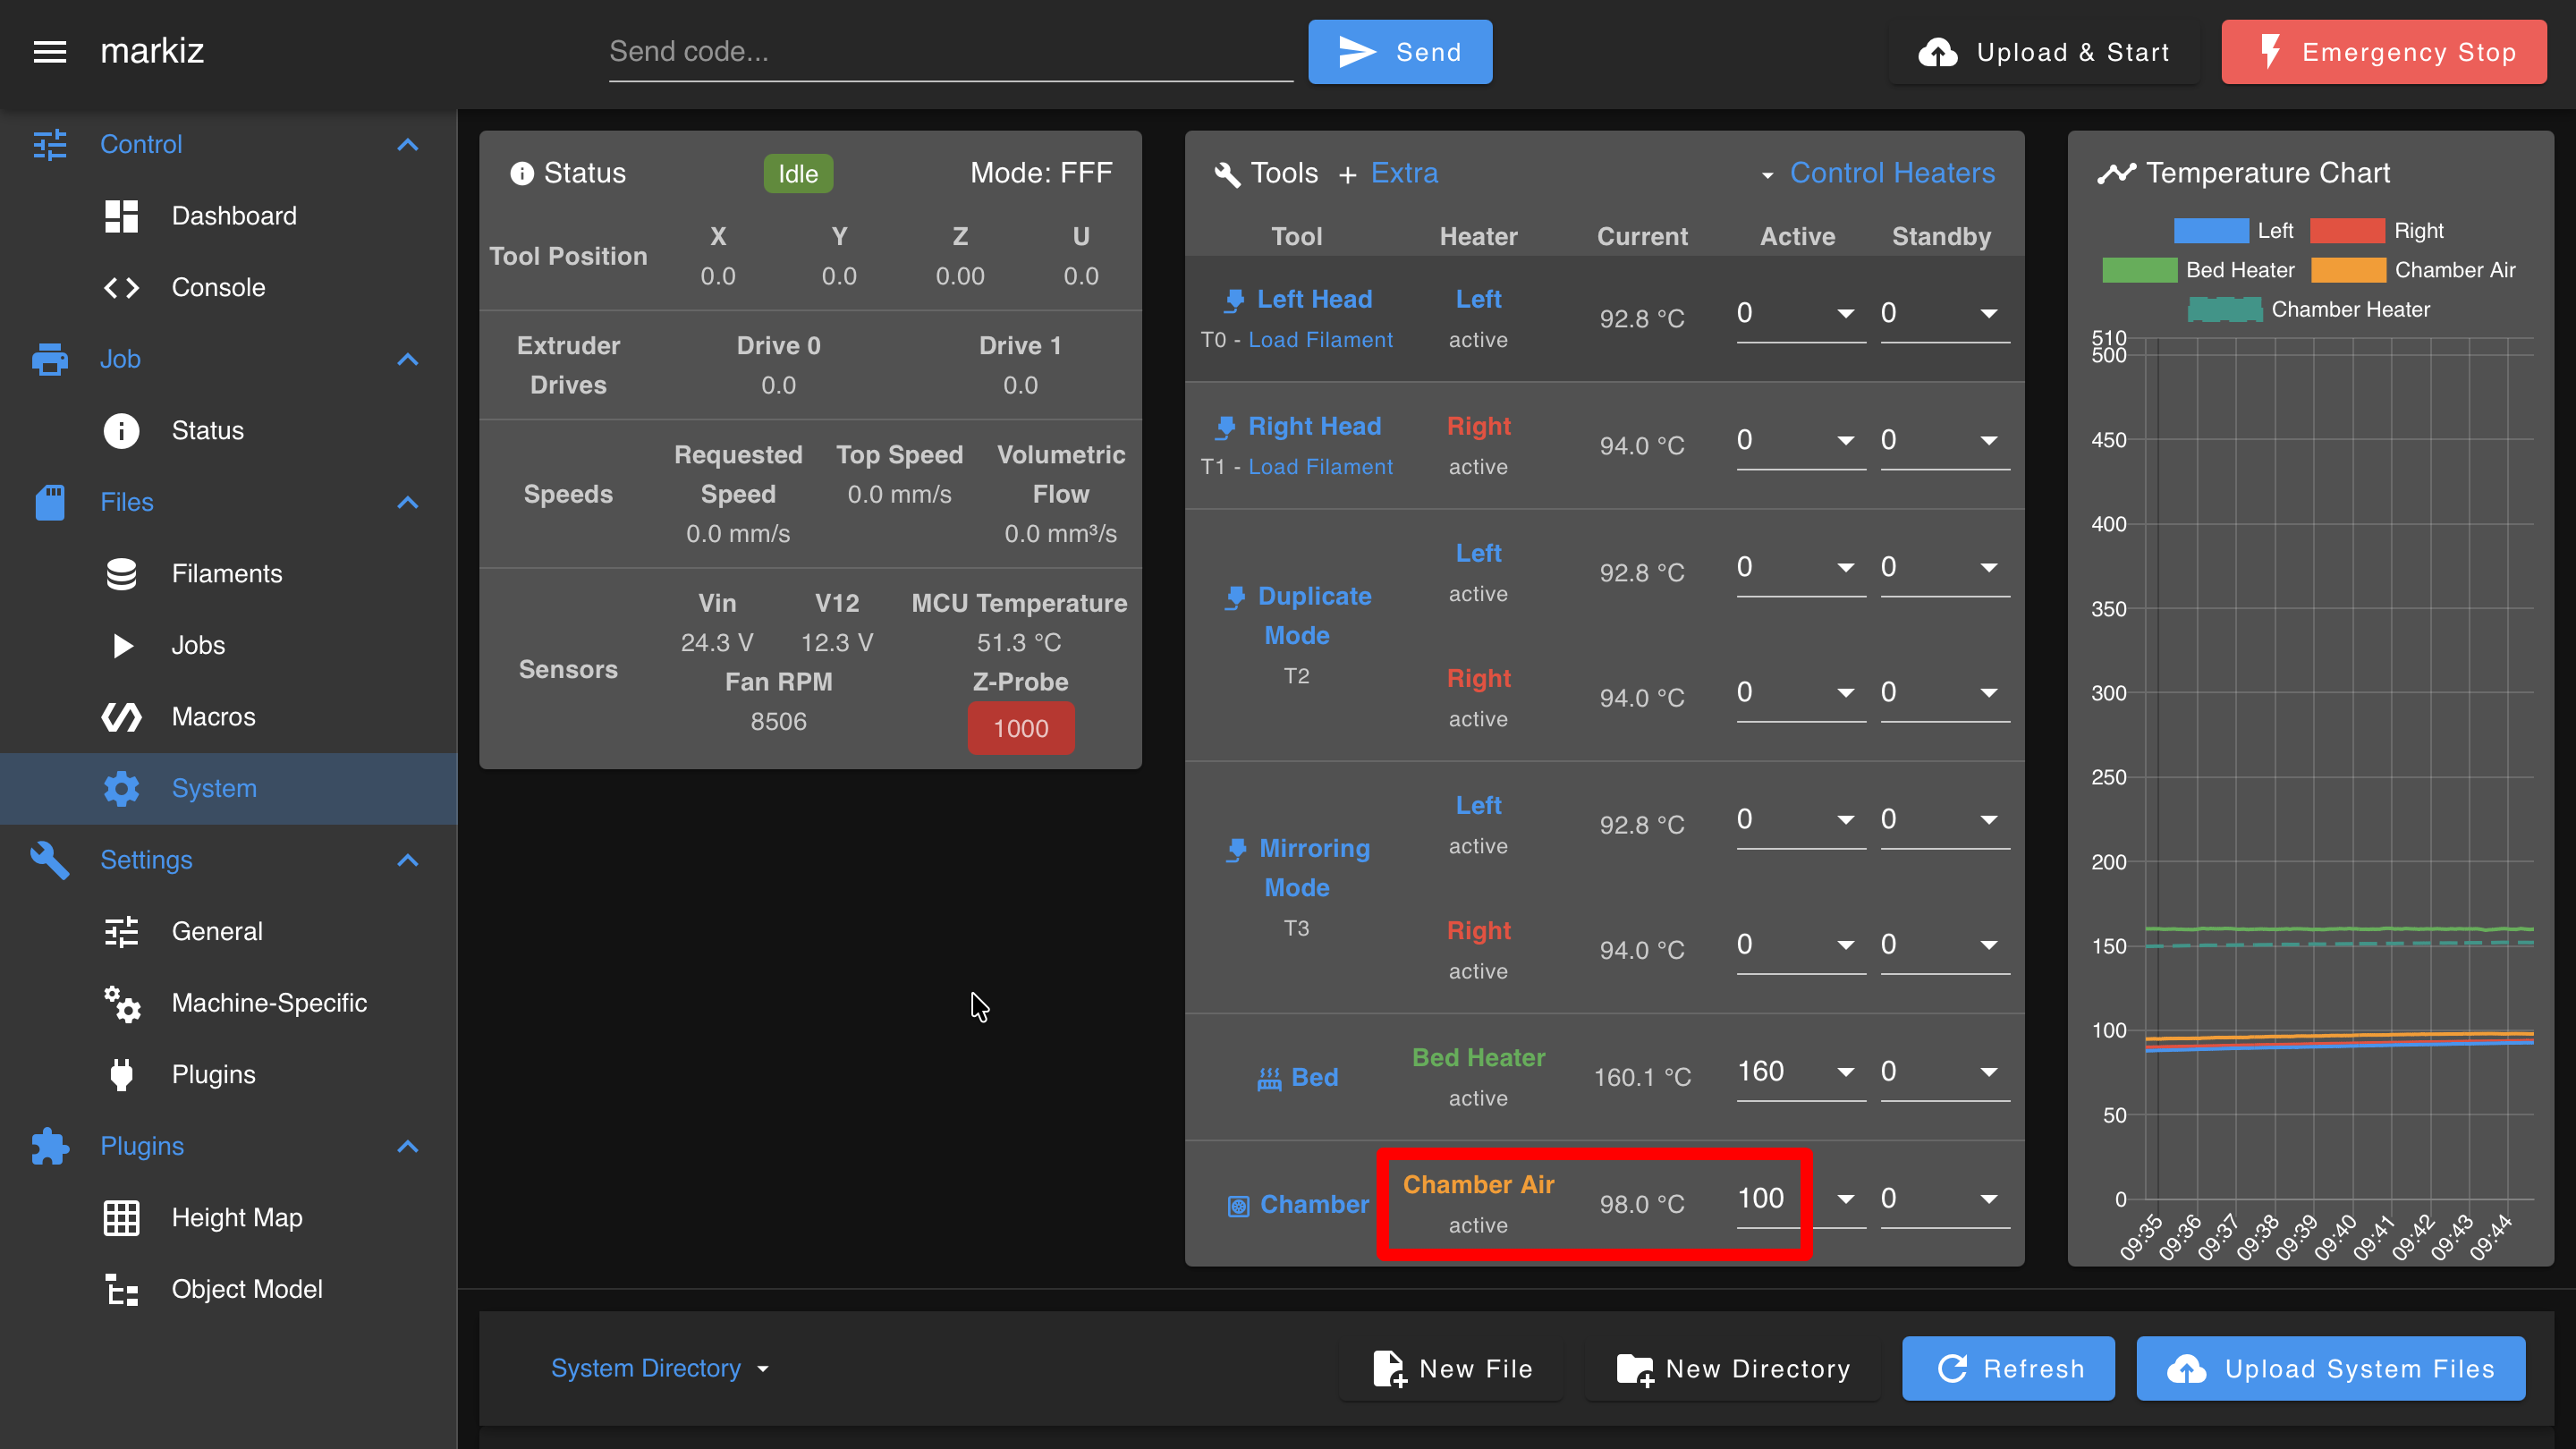
Use the bed to help the chamber reach 100 °C
The chamber heater alone can struggle to pull the chamber all the way up to 100 °C. Vision Miner recommends also setting the bed to 160 °C. The bed acts as a second large heat source, so the chamber reaches its target faster and holds it more steadily.
This is a recommendation for drying, not a requirement, and it applies when you are aiming at the top of the chamber range.
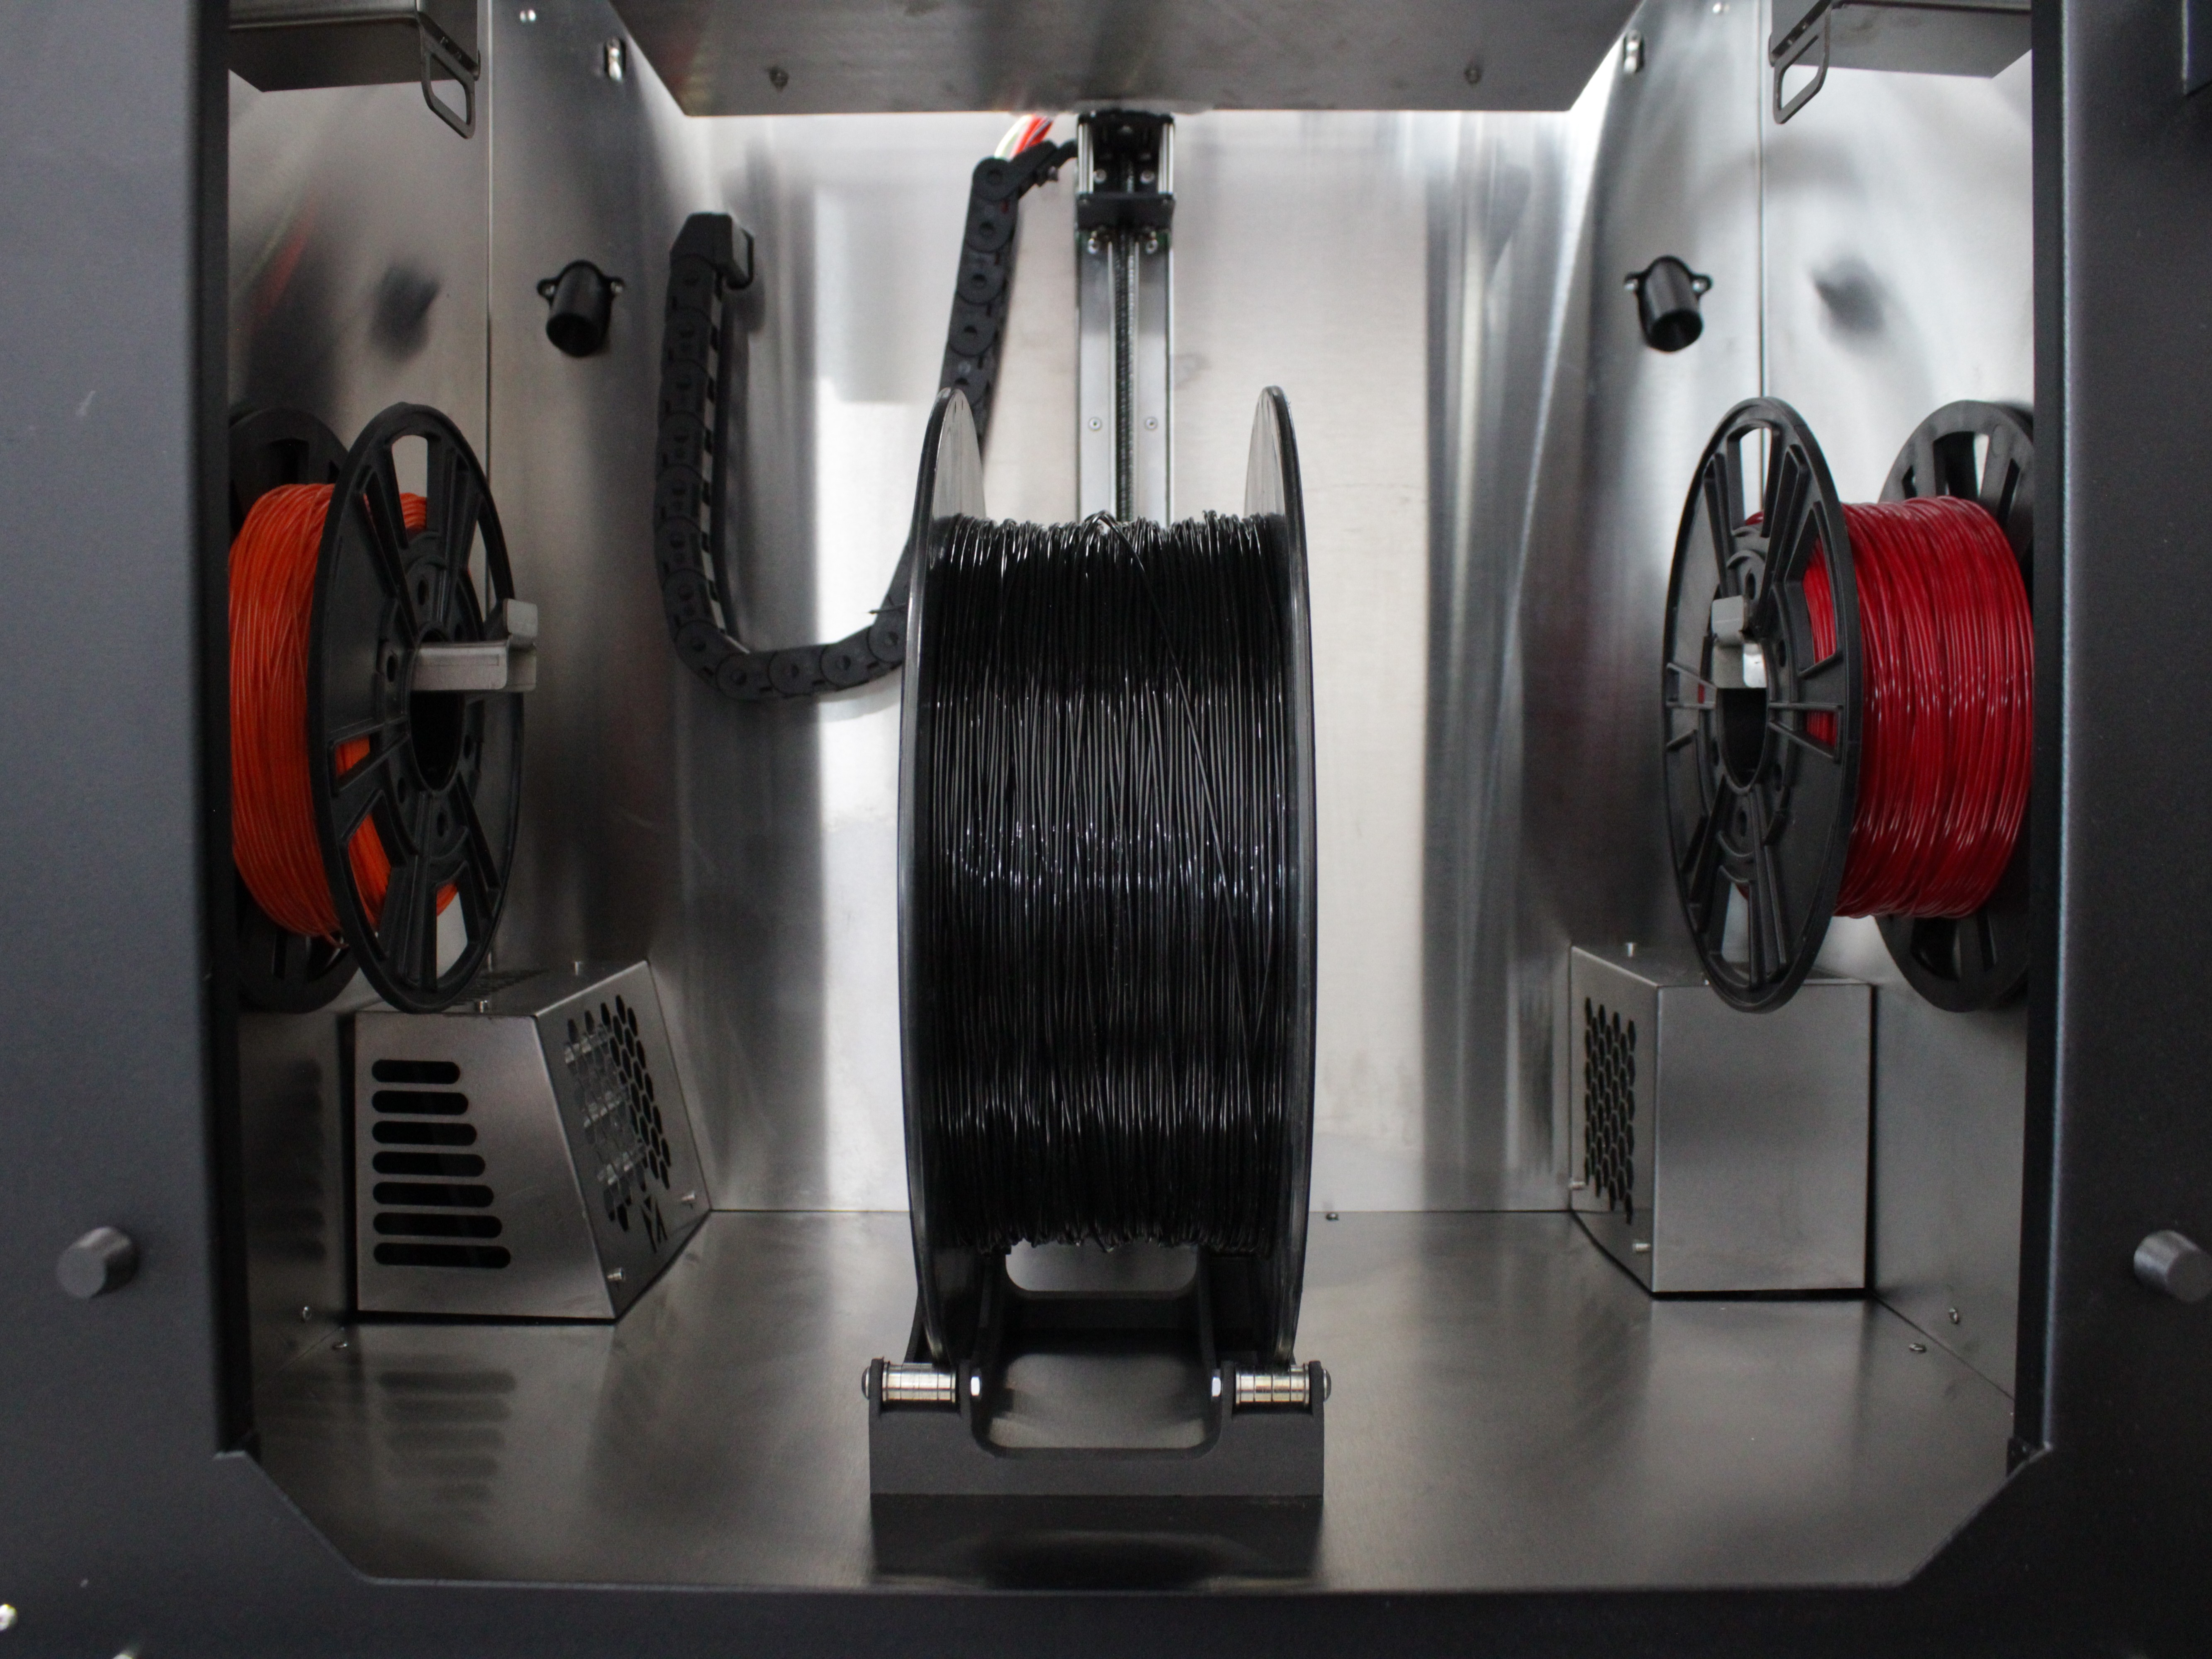
- Load the filament. Place the spool(s) into the printer's heated chamber.
-
Dry the filament. Allow it to dry for the duration in the drying table, keeping the chamber door closed the entire time.
-
Optional - dry while printing. Place additional spool(s) in the chamber while printing with another material; the chamber heats up and dries them at the same time. For low-height parts, place spools below the build plate level.
-
Remove and use. Once dried, use the filament immediately, or transfer it to a vacuum storage chamber (see Method 2 below).
Continuous storage and maintenance of dry filament
The 22IDEX V4's chamber allows you to store dried filament continuously. If you don't have a vacuum chamber, simply leave the filament in the closed chamber. During each print, the chamber temperature will automatically keep the filament dry and ready for your next job. You can also place additional spools in unused areas of the chamber - they will dry simultaneously during your current print.
Note: For extremely hygroscopic materials (PEEK, PEI, ULTEM), a vacuum storage chamber (Method 2) is strongly recommended for guaranteed long-term storage without moisture reabsorption.
2. Storing Dried Filament in a Vacuum Chamber
Purpose:
Preserves dried filament in a moisture-free environment for long-term storage. The vacuum chamber is a separate product from the printer and prevents moisture reabsorption after drying.
Procedure:
-
Dry the filament first. Use Method 1 (22IDEX V4 chamber) to dry the filament completely.
-
Transfer while hot (recommended). Immediately after drying, while the filament is still hot, transfer it to the vacuum storage chamber. Sealing it hot prevents it from absorbing atmospheric moisture.
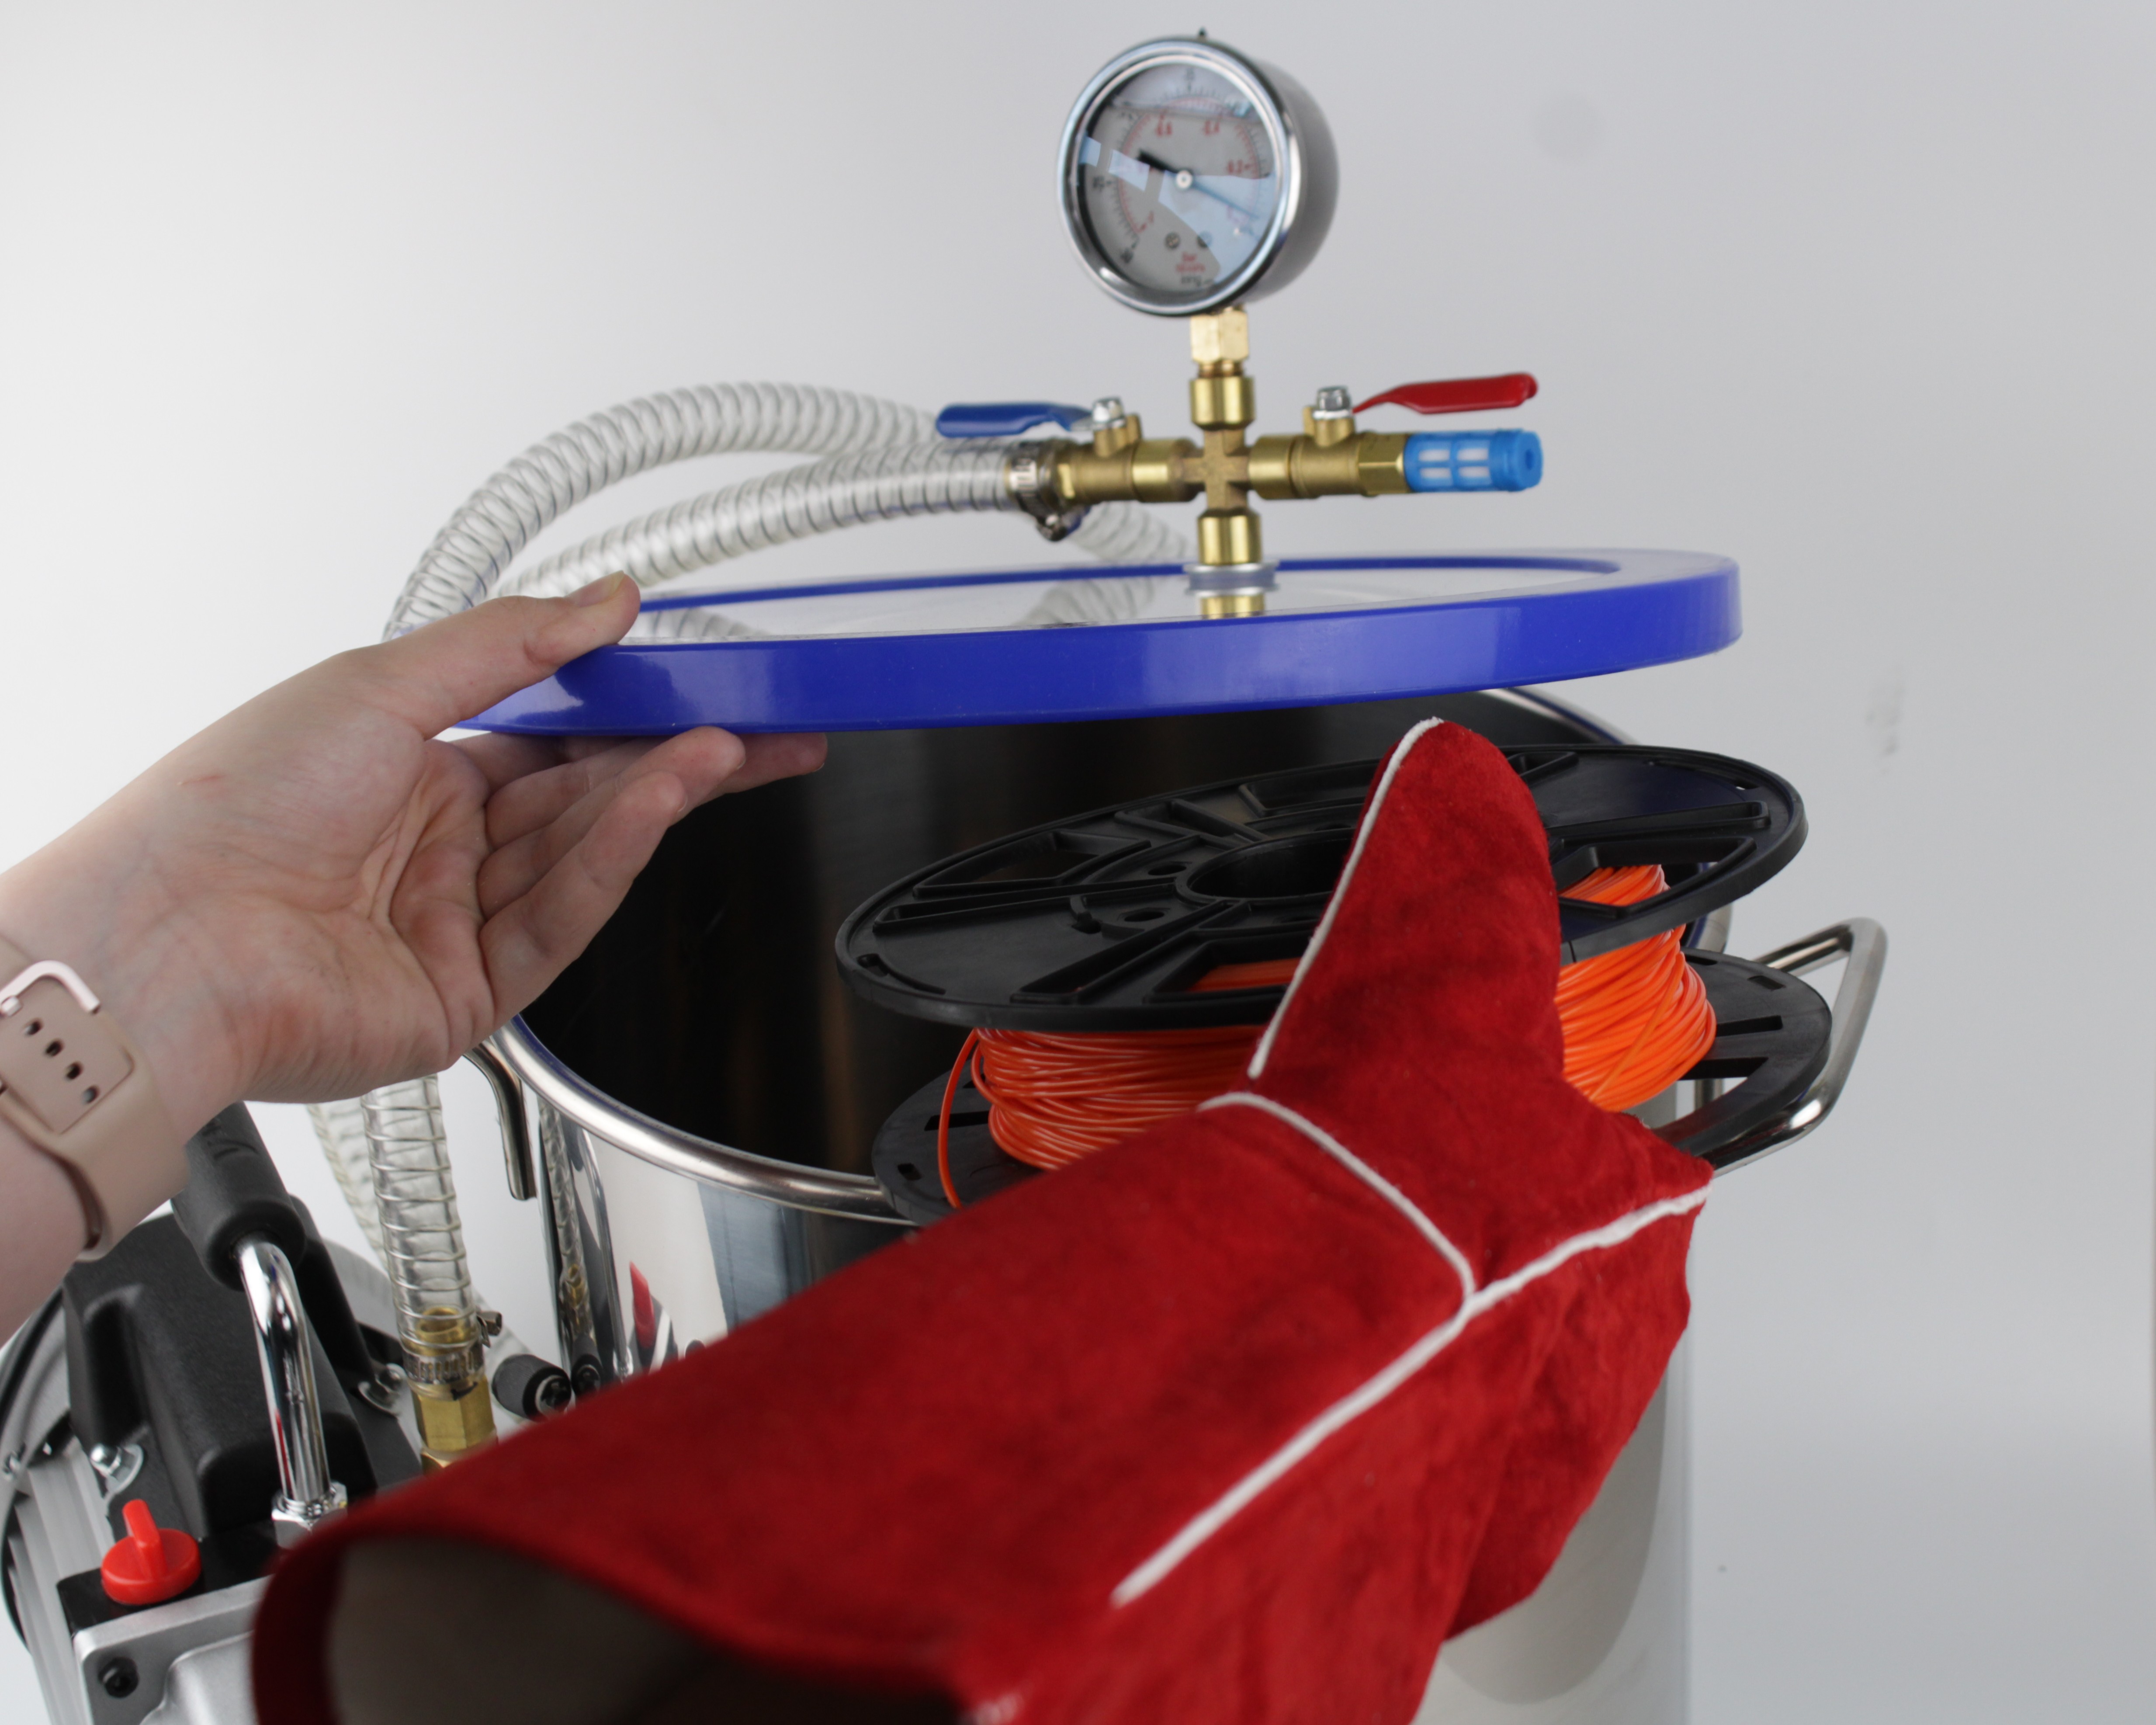
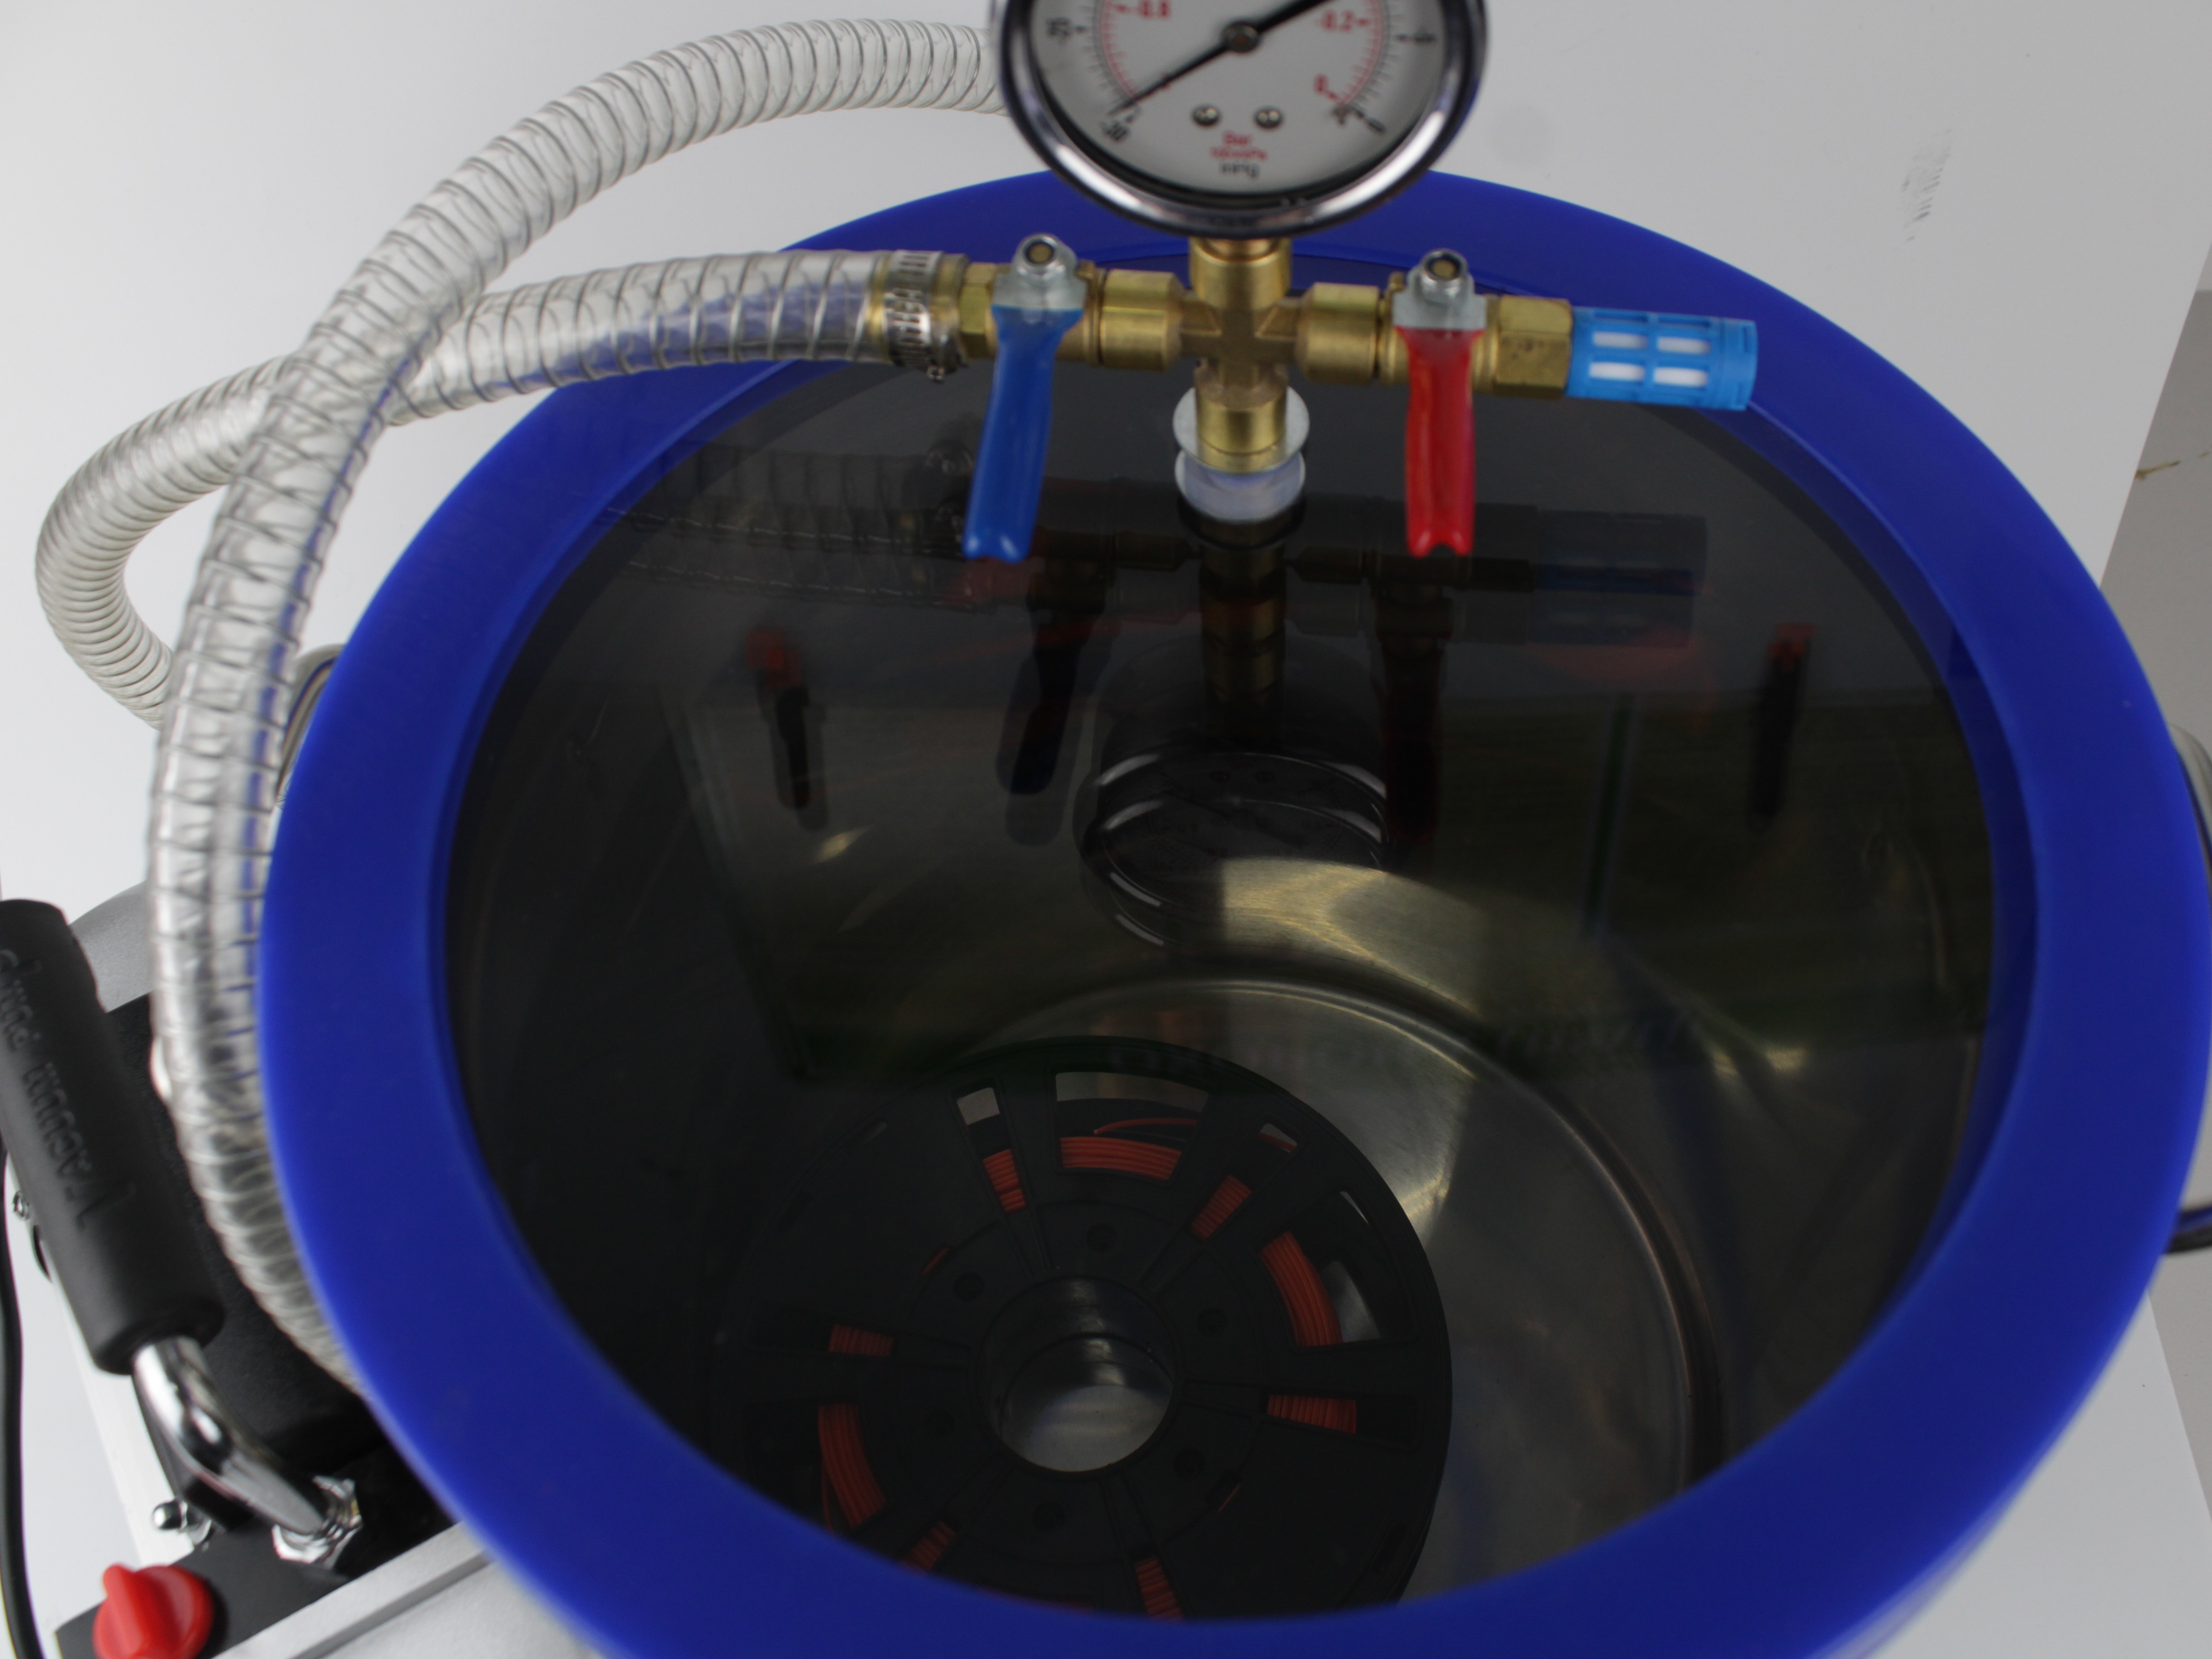
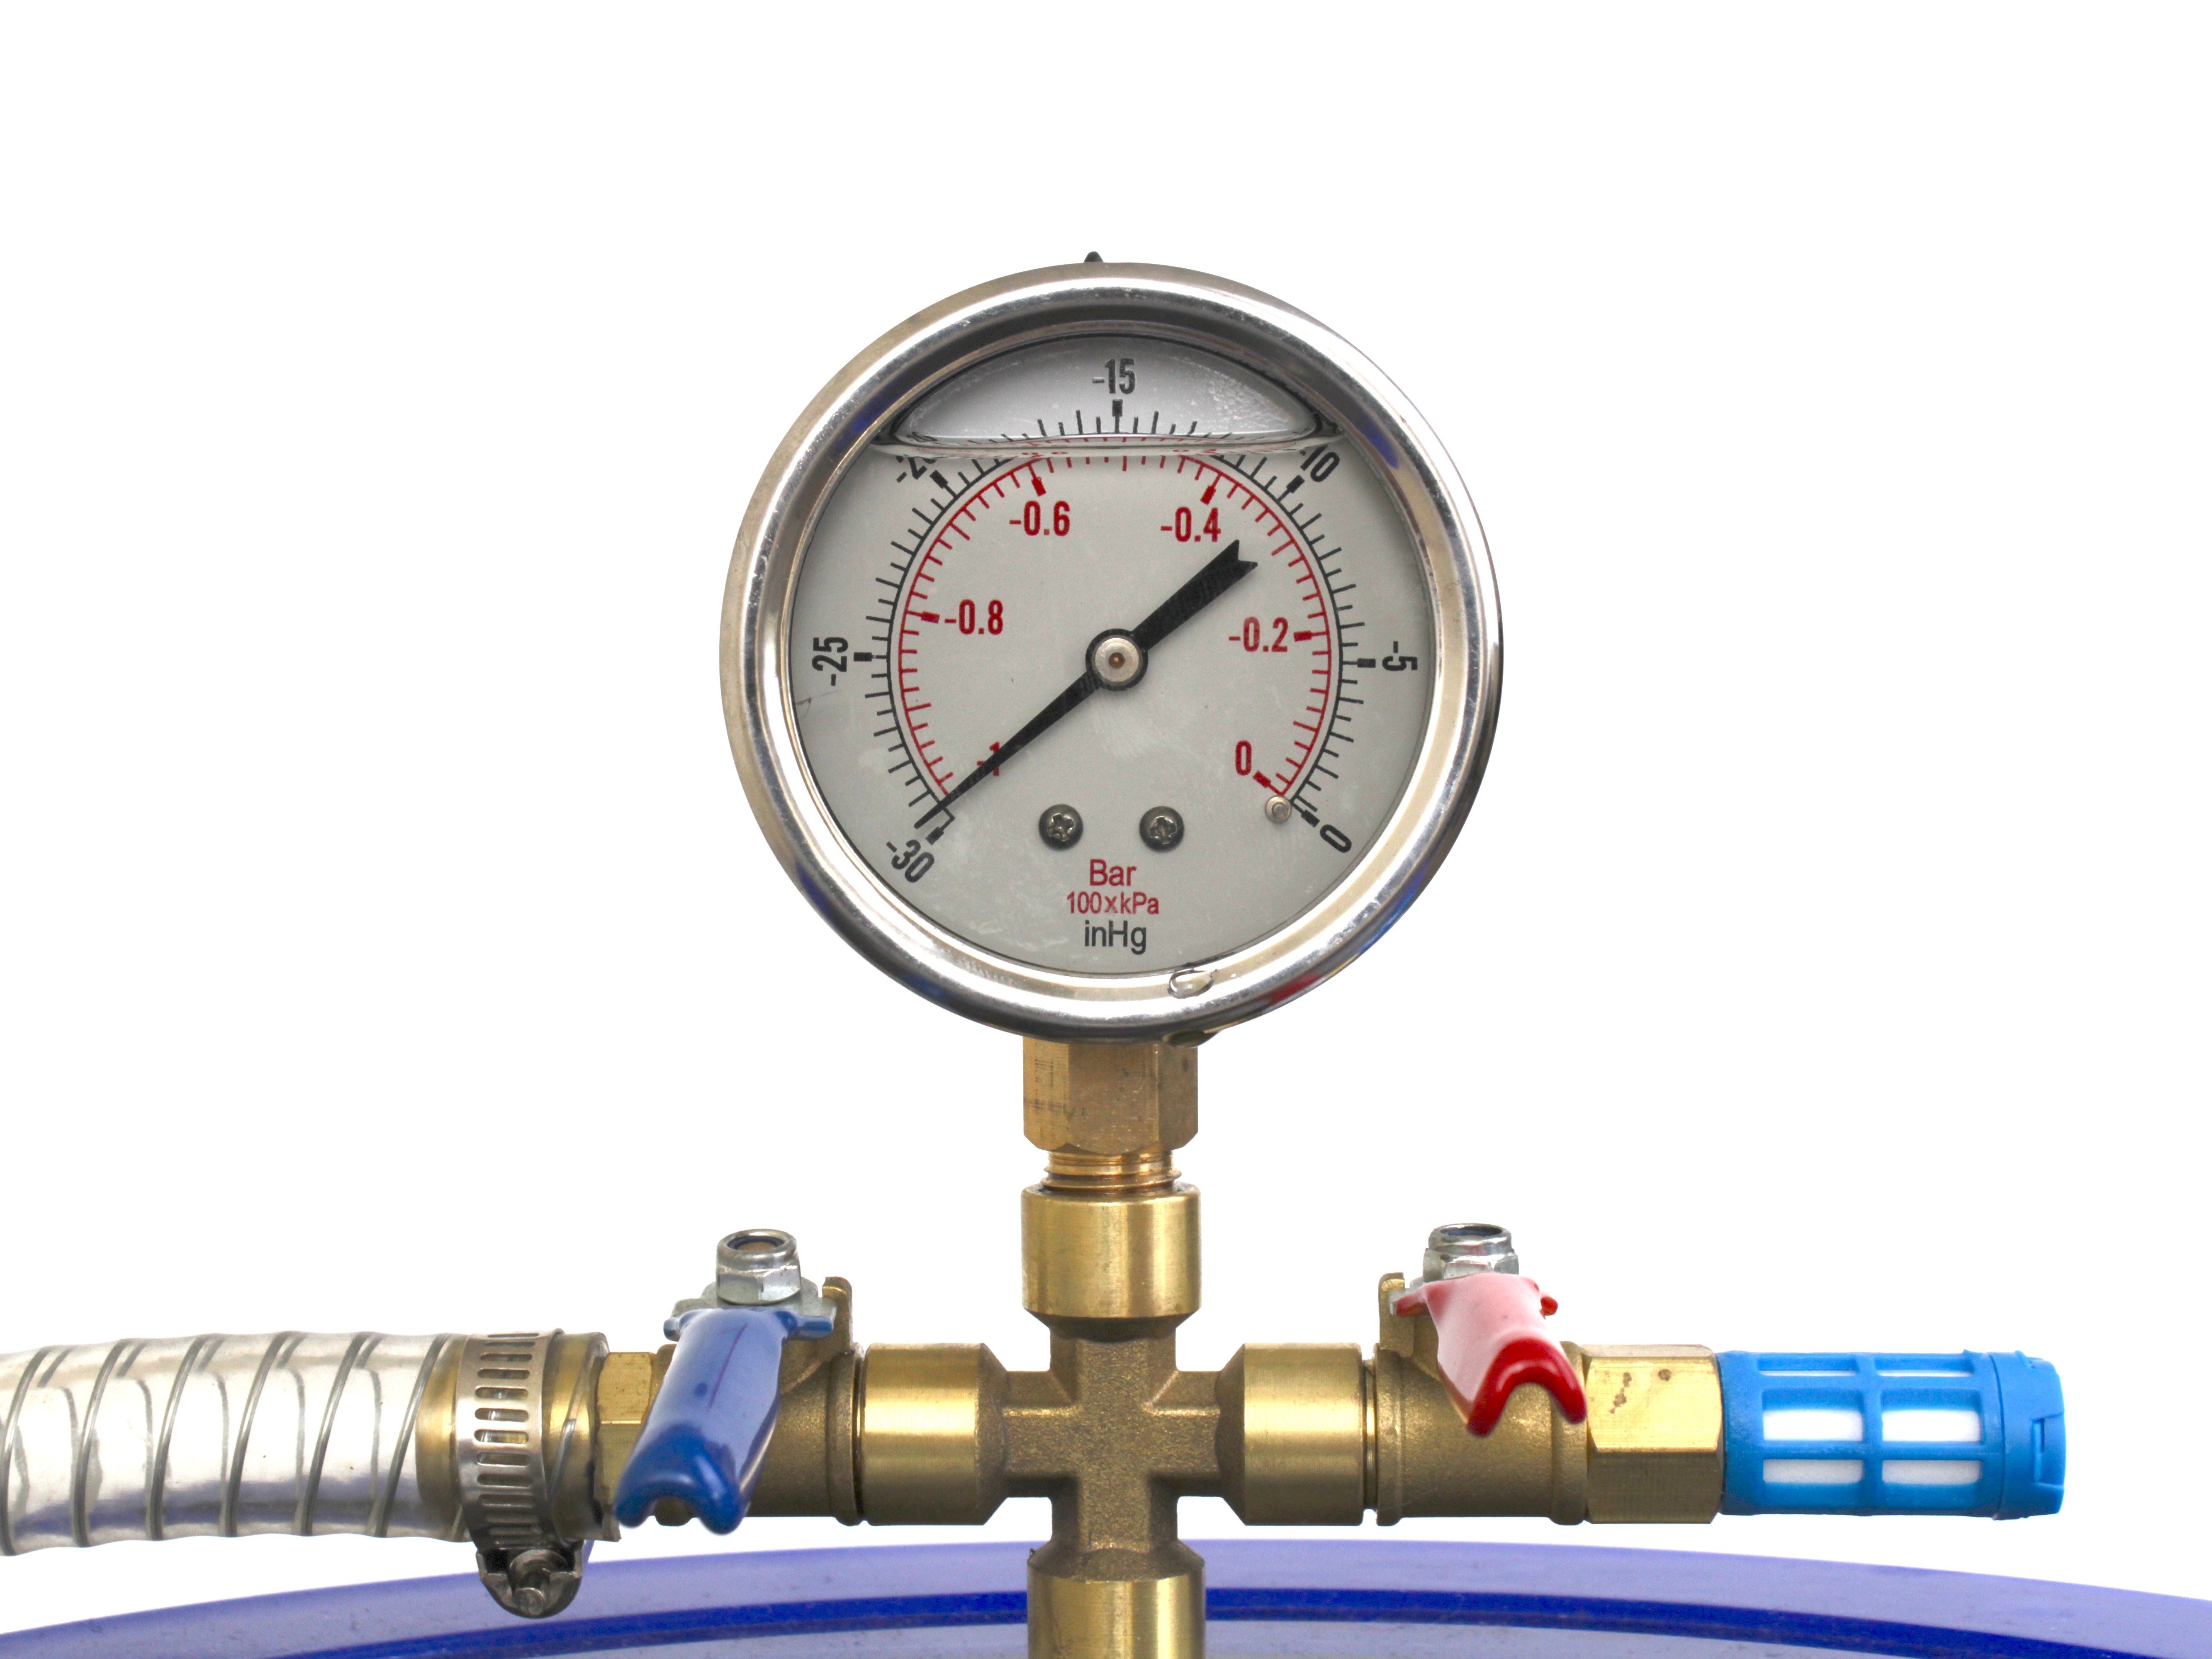
- Seal and evacuate. Place the spool(s) inside the chamber, close the lid, open the blue valve, keep the red valve closed, and start the pump. Run it until the gauge reaches -1 bar (equivalently -30 inHg), then stop the pump and close the blue valve.
Go by the gauge, not by the clock
Do not time this. The chamber pulls down quickly, and how long it takes depends on the pump, the seal, and how full the chamber is. The gauge reaching -1 bar is what tells you it is done. A chamber that never reaches -1 bar has a leak, usually the lid seal or a valve left open.
Working the two valves. The chamber has one valve of each colour and they do opposite jobs:
| Valve | Job | Pulling vacuum | Releasing vacuum |
|---|---|---|---|
| Blue | Line to the pump | Open | Closed |
| Red | Vent to atmosphere | Closed | Open, slowly |
To open the chamber again, reverse it. Open the red valve slowly and gradually, never all at once, so the chamber does not slam back to atmospheric pressure. Let the air in until the gauge returns to 0 and the vacuum is fully gone. Only then open the blue valve, lift the lid, and take the spool out.
Transfer hot filament quickly
Sealing hot filament under vacuum immediately after drying prevents any moisture reabsorption from the air during transfer.
-
Storage. Keep the vacuum sealed until you are ready to print. Filament stored under vacuum stays dry for weeks or months, depending on seal quality.
-
Return to the printer. When ready to print, remove the spool from the vacuum chamber and load it into the 22IDEX V4. Keep the chamber heated during printing to prevent moisture reabsorption.
-
Post-print storage. After printing, place any unused filament back into the vacuum chamber to keep it dry.
FAQ
Support
If you could not find an answer here, reach out to our support team.