PID Tuning
Run the PID tuning macros for the build plate and both hotends to stop temperature oscillation, overshoot and repeated heating-failed errors.
This guide explains the Process-Integral-Derivative (PID) tuning procedure for the heaters (Build Plate, T0 & T1 Heaters) on your Vision Miner 22IDEX V4. PID tuning calibrates the temperature control algorithm, ensuring stable and accurate temperatures, which is crucial for print quality, consistency, and safety. This process is performed using automated macros provided in the printer's firmware.
The PID controller in your printer's firmware is responsible for precisely maintaining the set temperatures for the hotends and the bed heater. It does this by intelligently managing power to the heating elements. Over time, or after changes like replacing a heater cartridge or temperature sensor, the default PID parameters might no longer be optimal.
Before you begin - safety and risk
Read the Safety - Before You Begin article to understand the hazards involved in working on the Vision Miner 22IDEX V4 – including electrical, thermal, mechanical, and chemical risks. All procedures in this wiki are provided as recommendations only. By choosing to follow any procedure, you do so at your own risk.
Symptoms indicating a need for PID tuning:
- Temperature oscillations – the temperature graph on the Web Interface shows a consistent "wavy" pattern, where the actual temperature fluctuates rhythmically above and below the target temperature instead of holding steady
- Significant temperature overshoot/undershoot – when a target temperature is set, the actual temperature might rise far above the target before slowly coming down (overshoot), or it might struggle to reach the target, stabilizing noticeably below it (undershoot)
- Slow to reach target temperature – the heater takes an unusually long time to reach the desired setpoint
- Frequent temperature-related errors – the printer may frequently report errors such as "Heating failed," "Temperature rising too slowly/quickly," "Temperature too high/low," or other thermal model protection errors
Proper PID tuning minimizes these issues, leading to more stable temperatures, better print quality, and more reliable printer operation.
Tools and Materials
- No external tools required
1. Preparation
- Start from ambient temperature – before you run any PID tuning macro, verify that the heating element you're tuning is at true room temperature.
- Bed PID tuning:
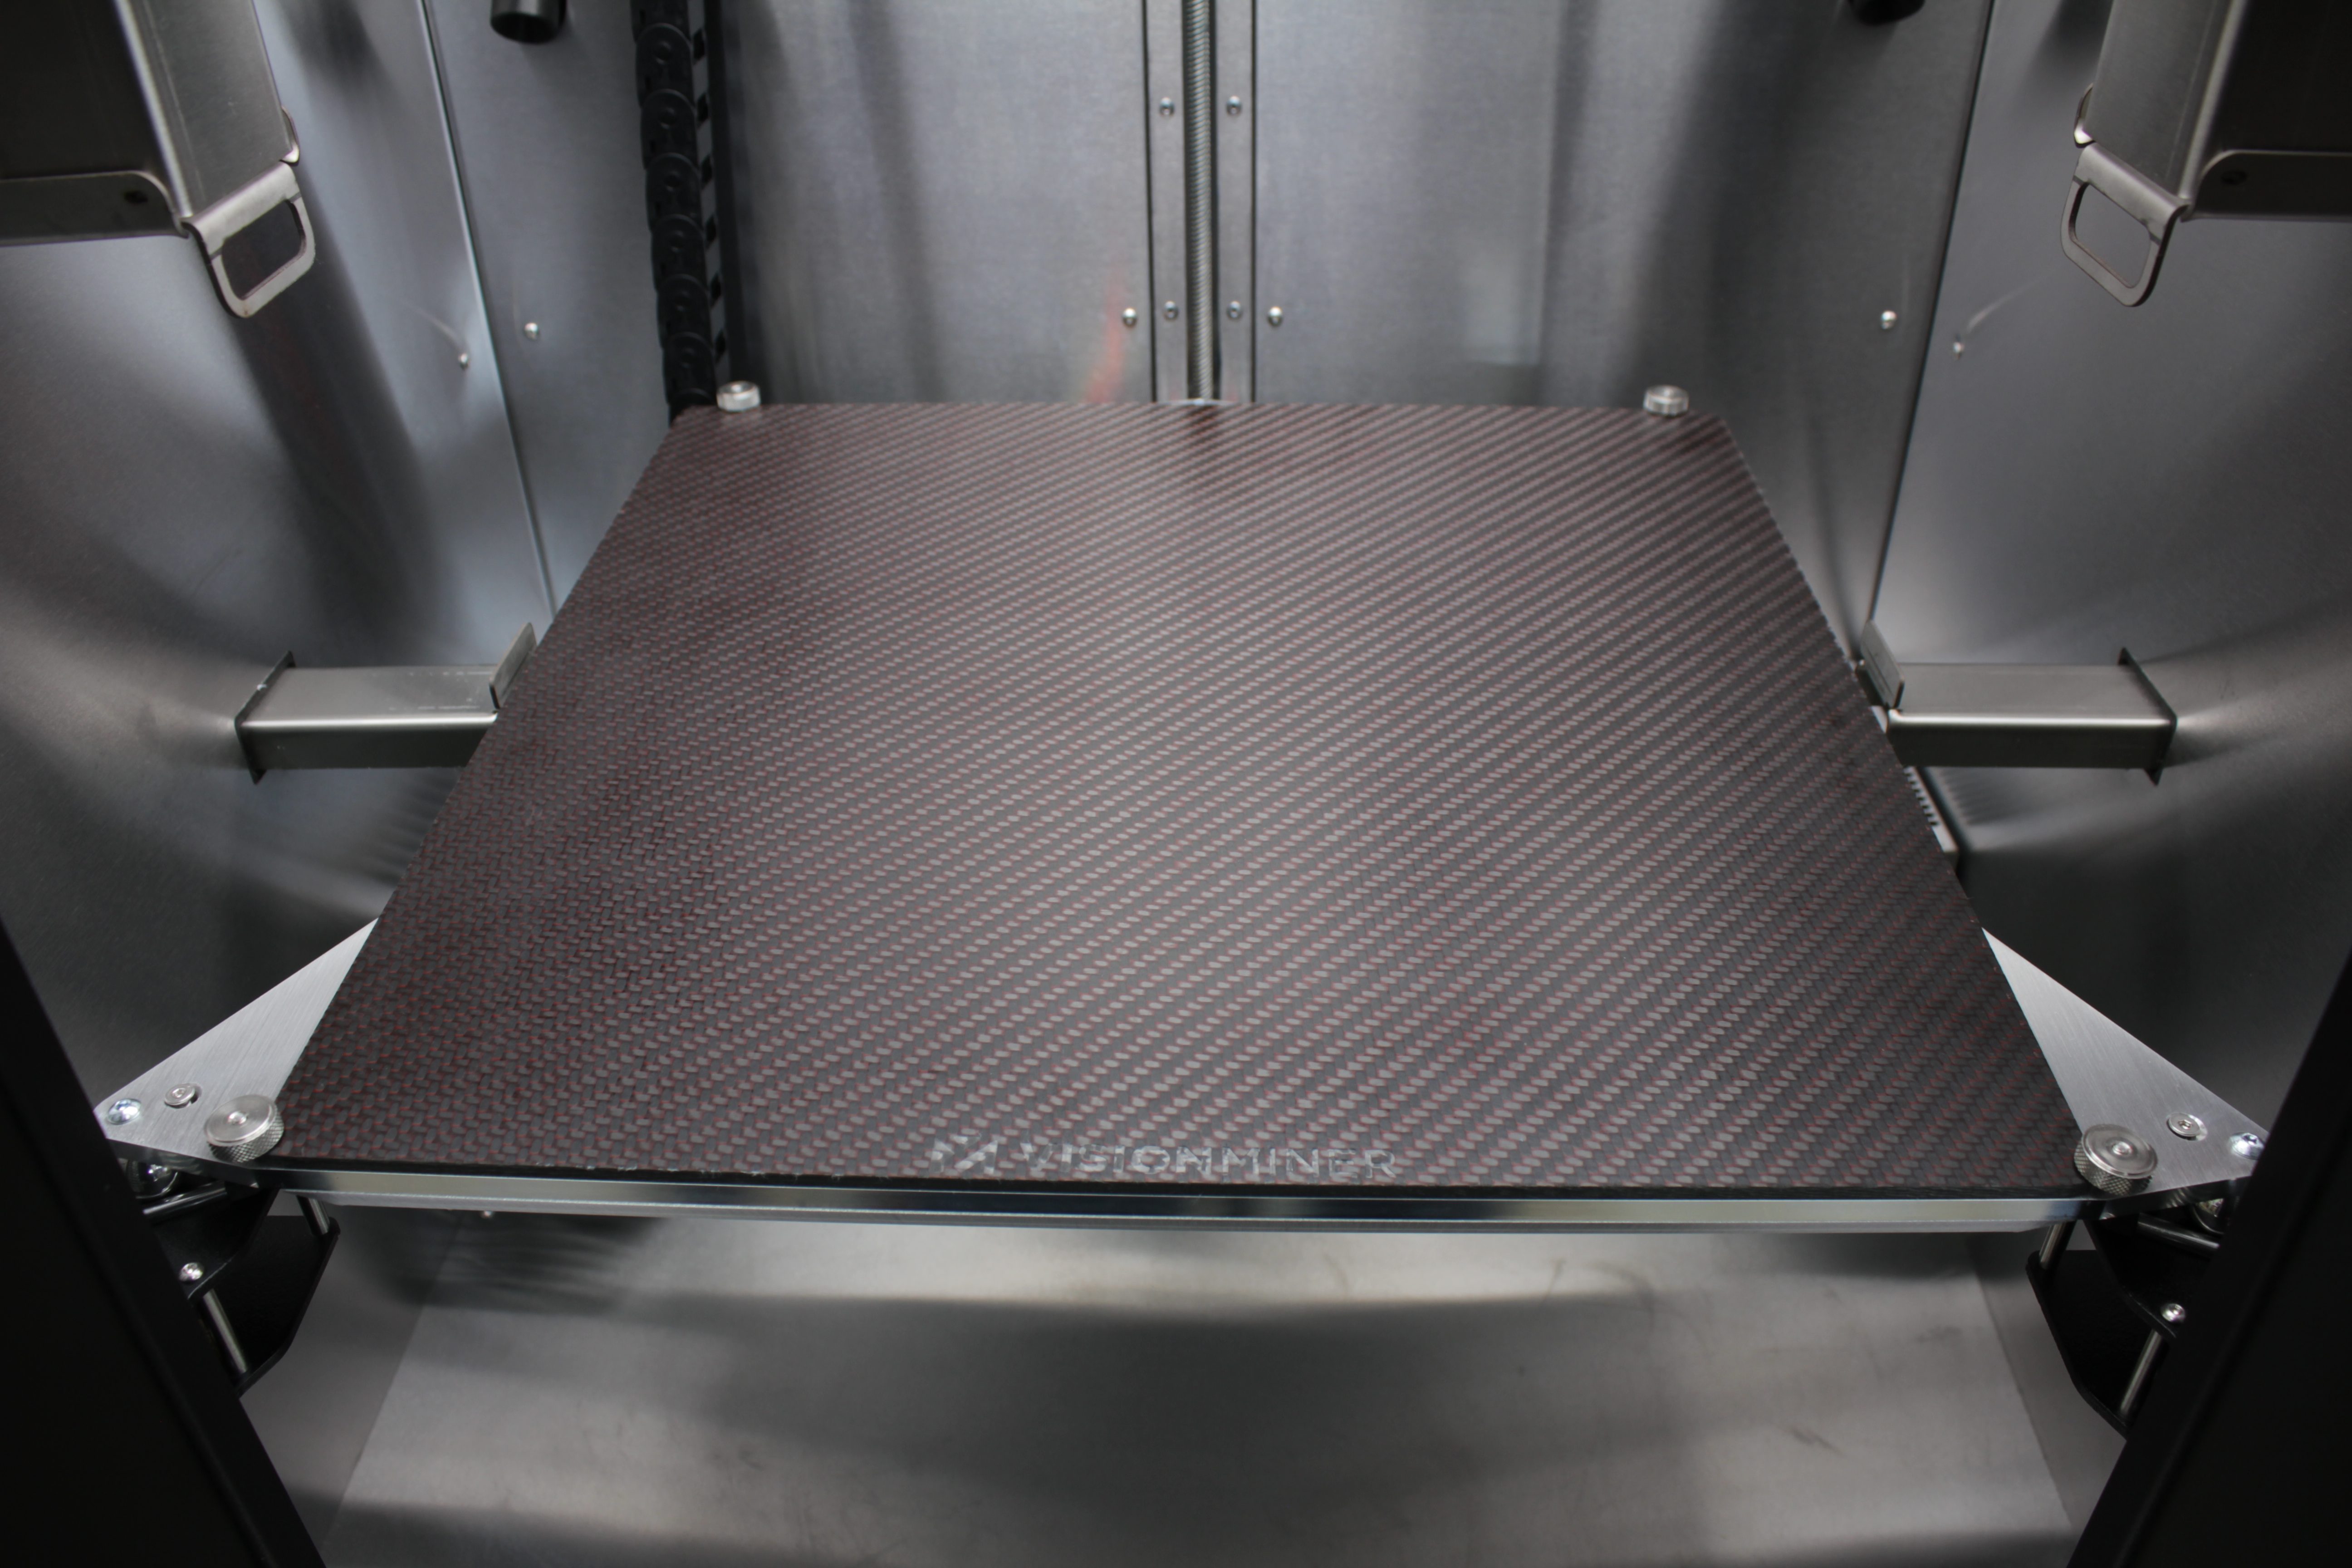
- Remove all parts from the build plate
- Wipe the bed surface clean to ensure accurate temperature readings
- Hotend PID tuning – run the automatic ColdPull routine to fully retract filament before tuning.
2. Accessing the PID Tuning Macros
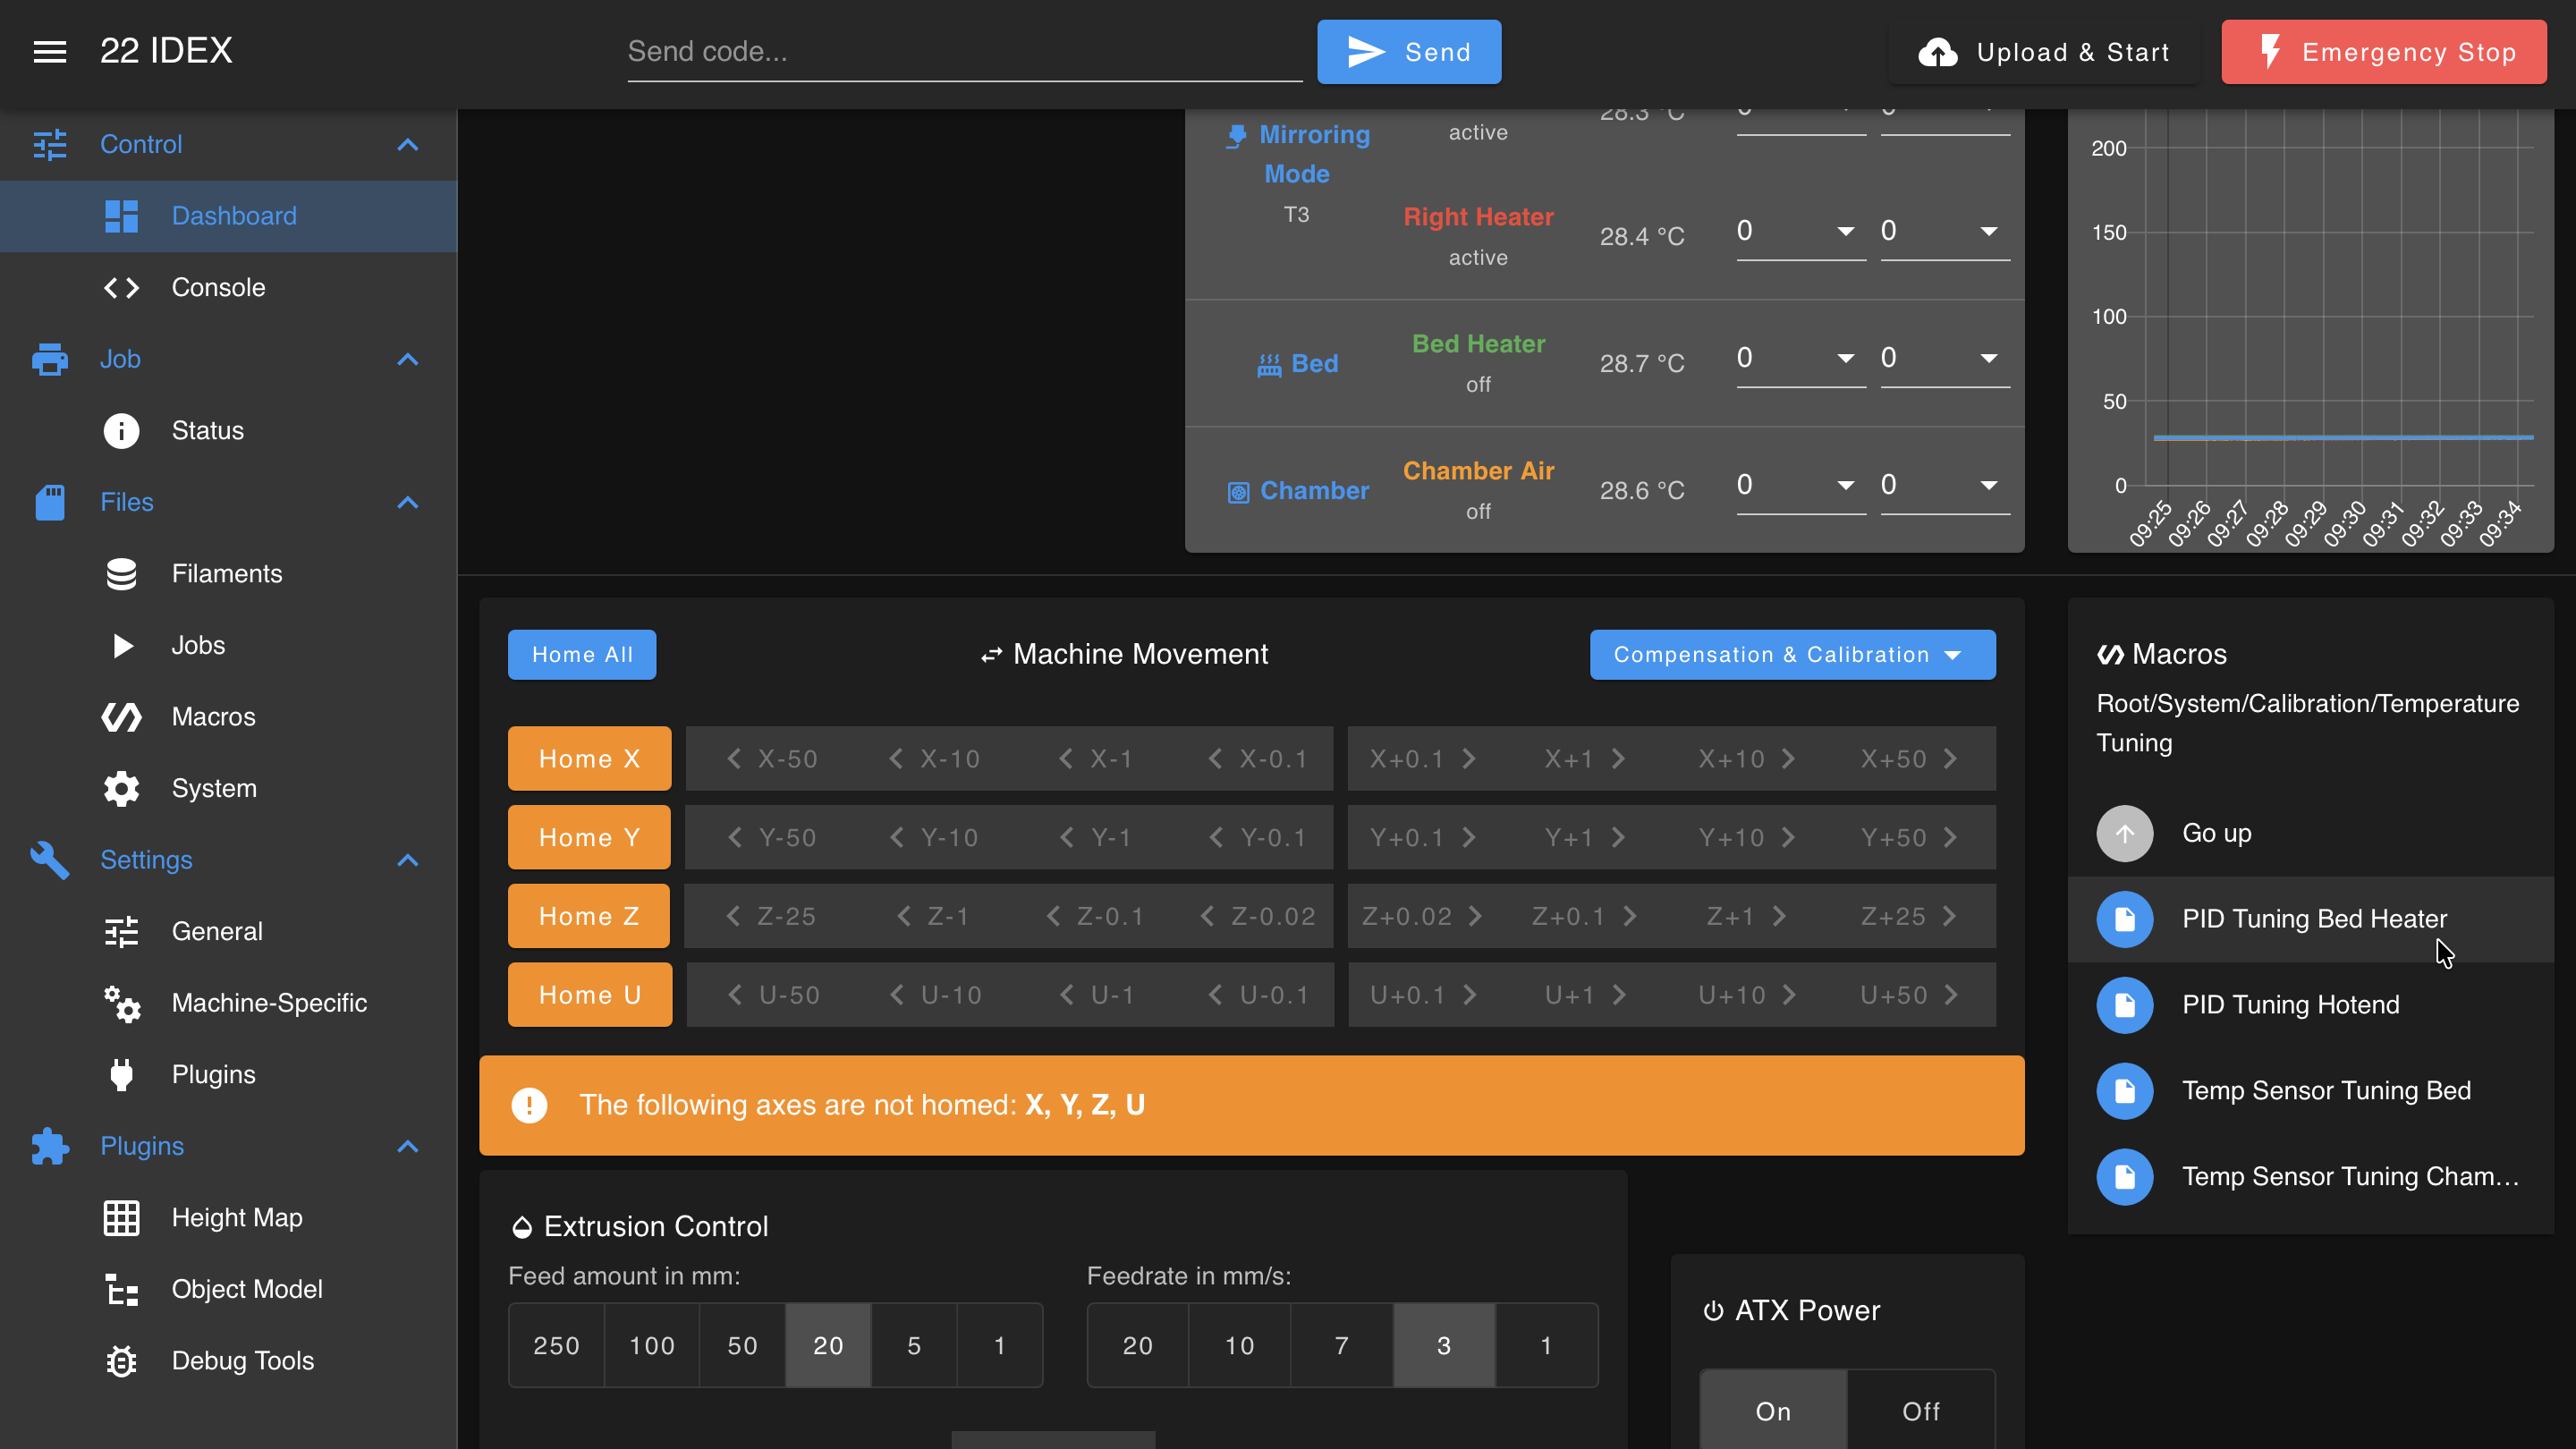
- On the Web Interface, navigate to the Macros tab.
- Navigate to the System > Calibration > Temperature Tuning folder.
- Inside this folder, you should find separate macros for each heater.
3. Running the PID Tuning Macro
- Select the macro for the heater you want to tune.
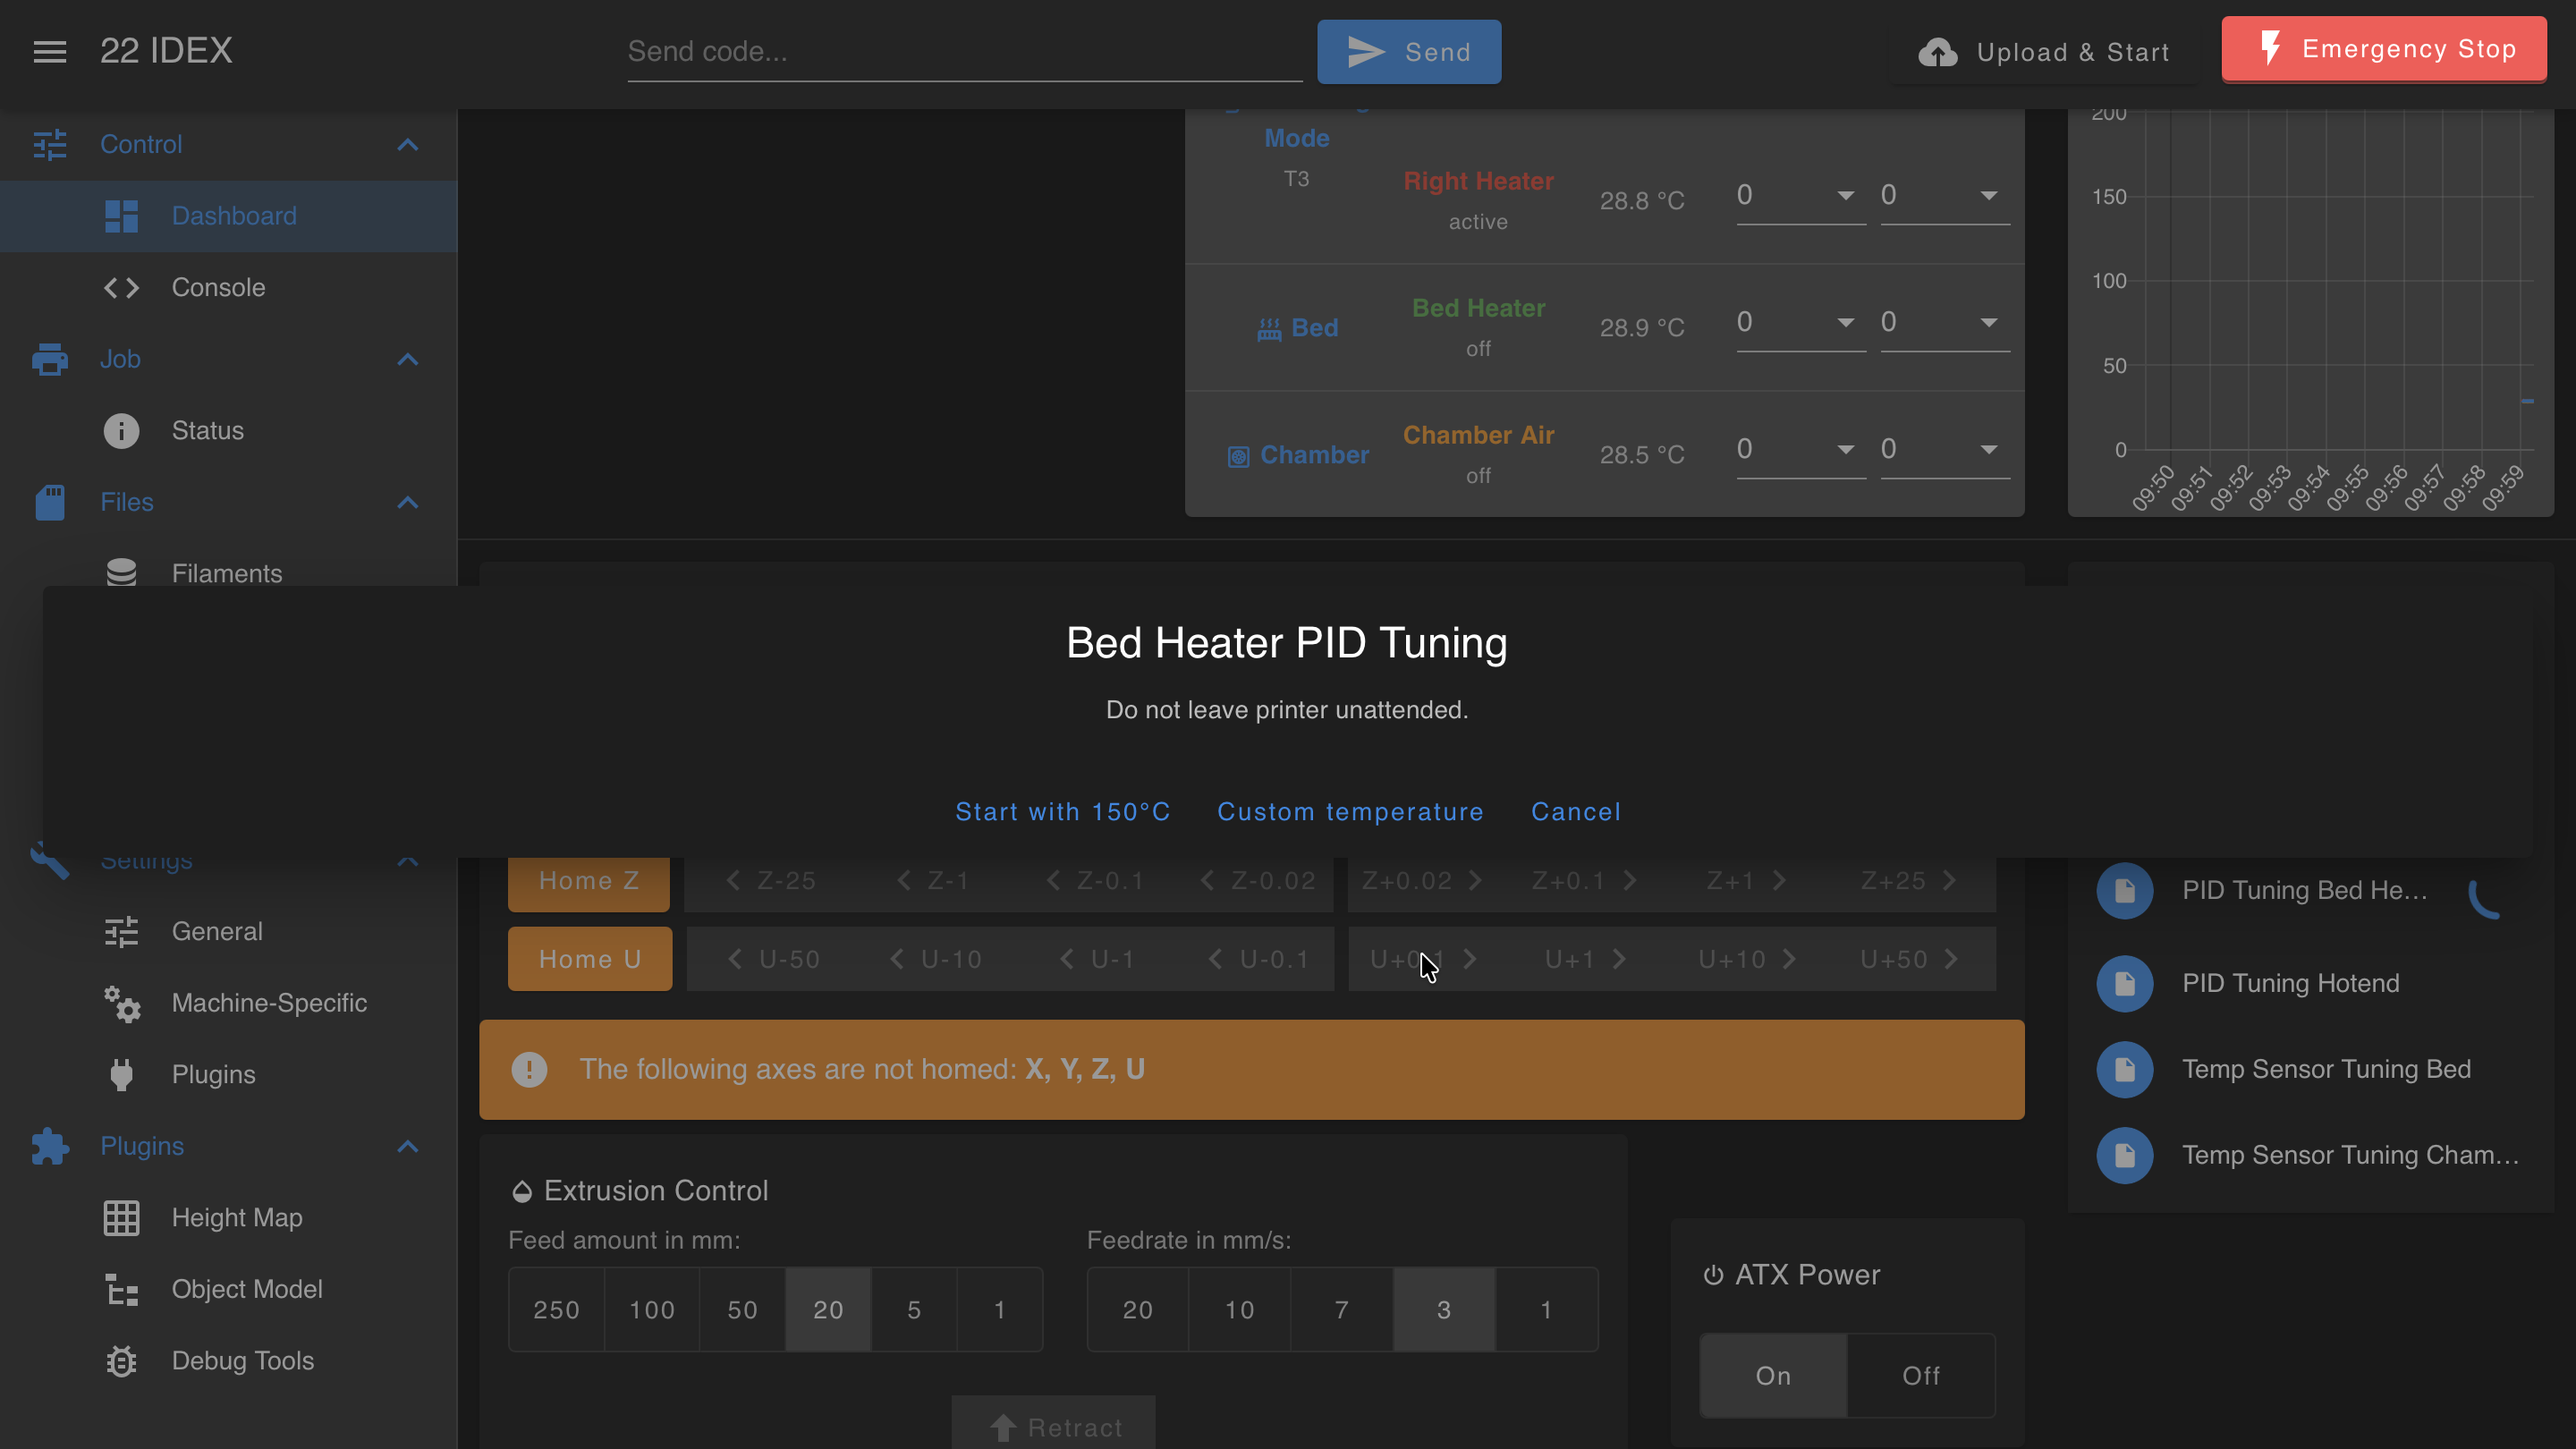
- The macro will prompt you to start with the default target temperature or pick a custom one. This should generally be the highest or most often used temperature for that component.
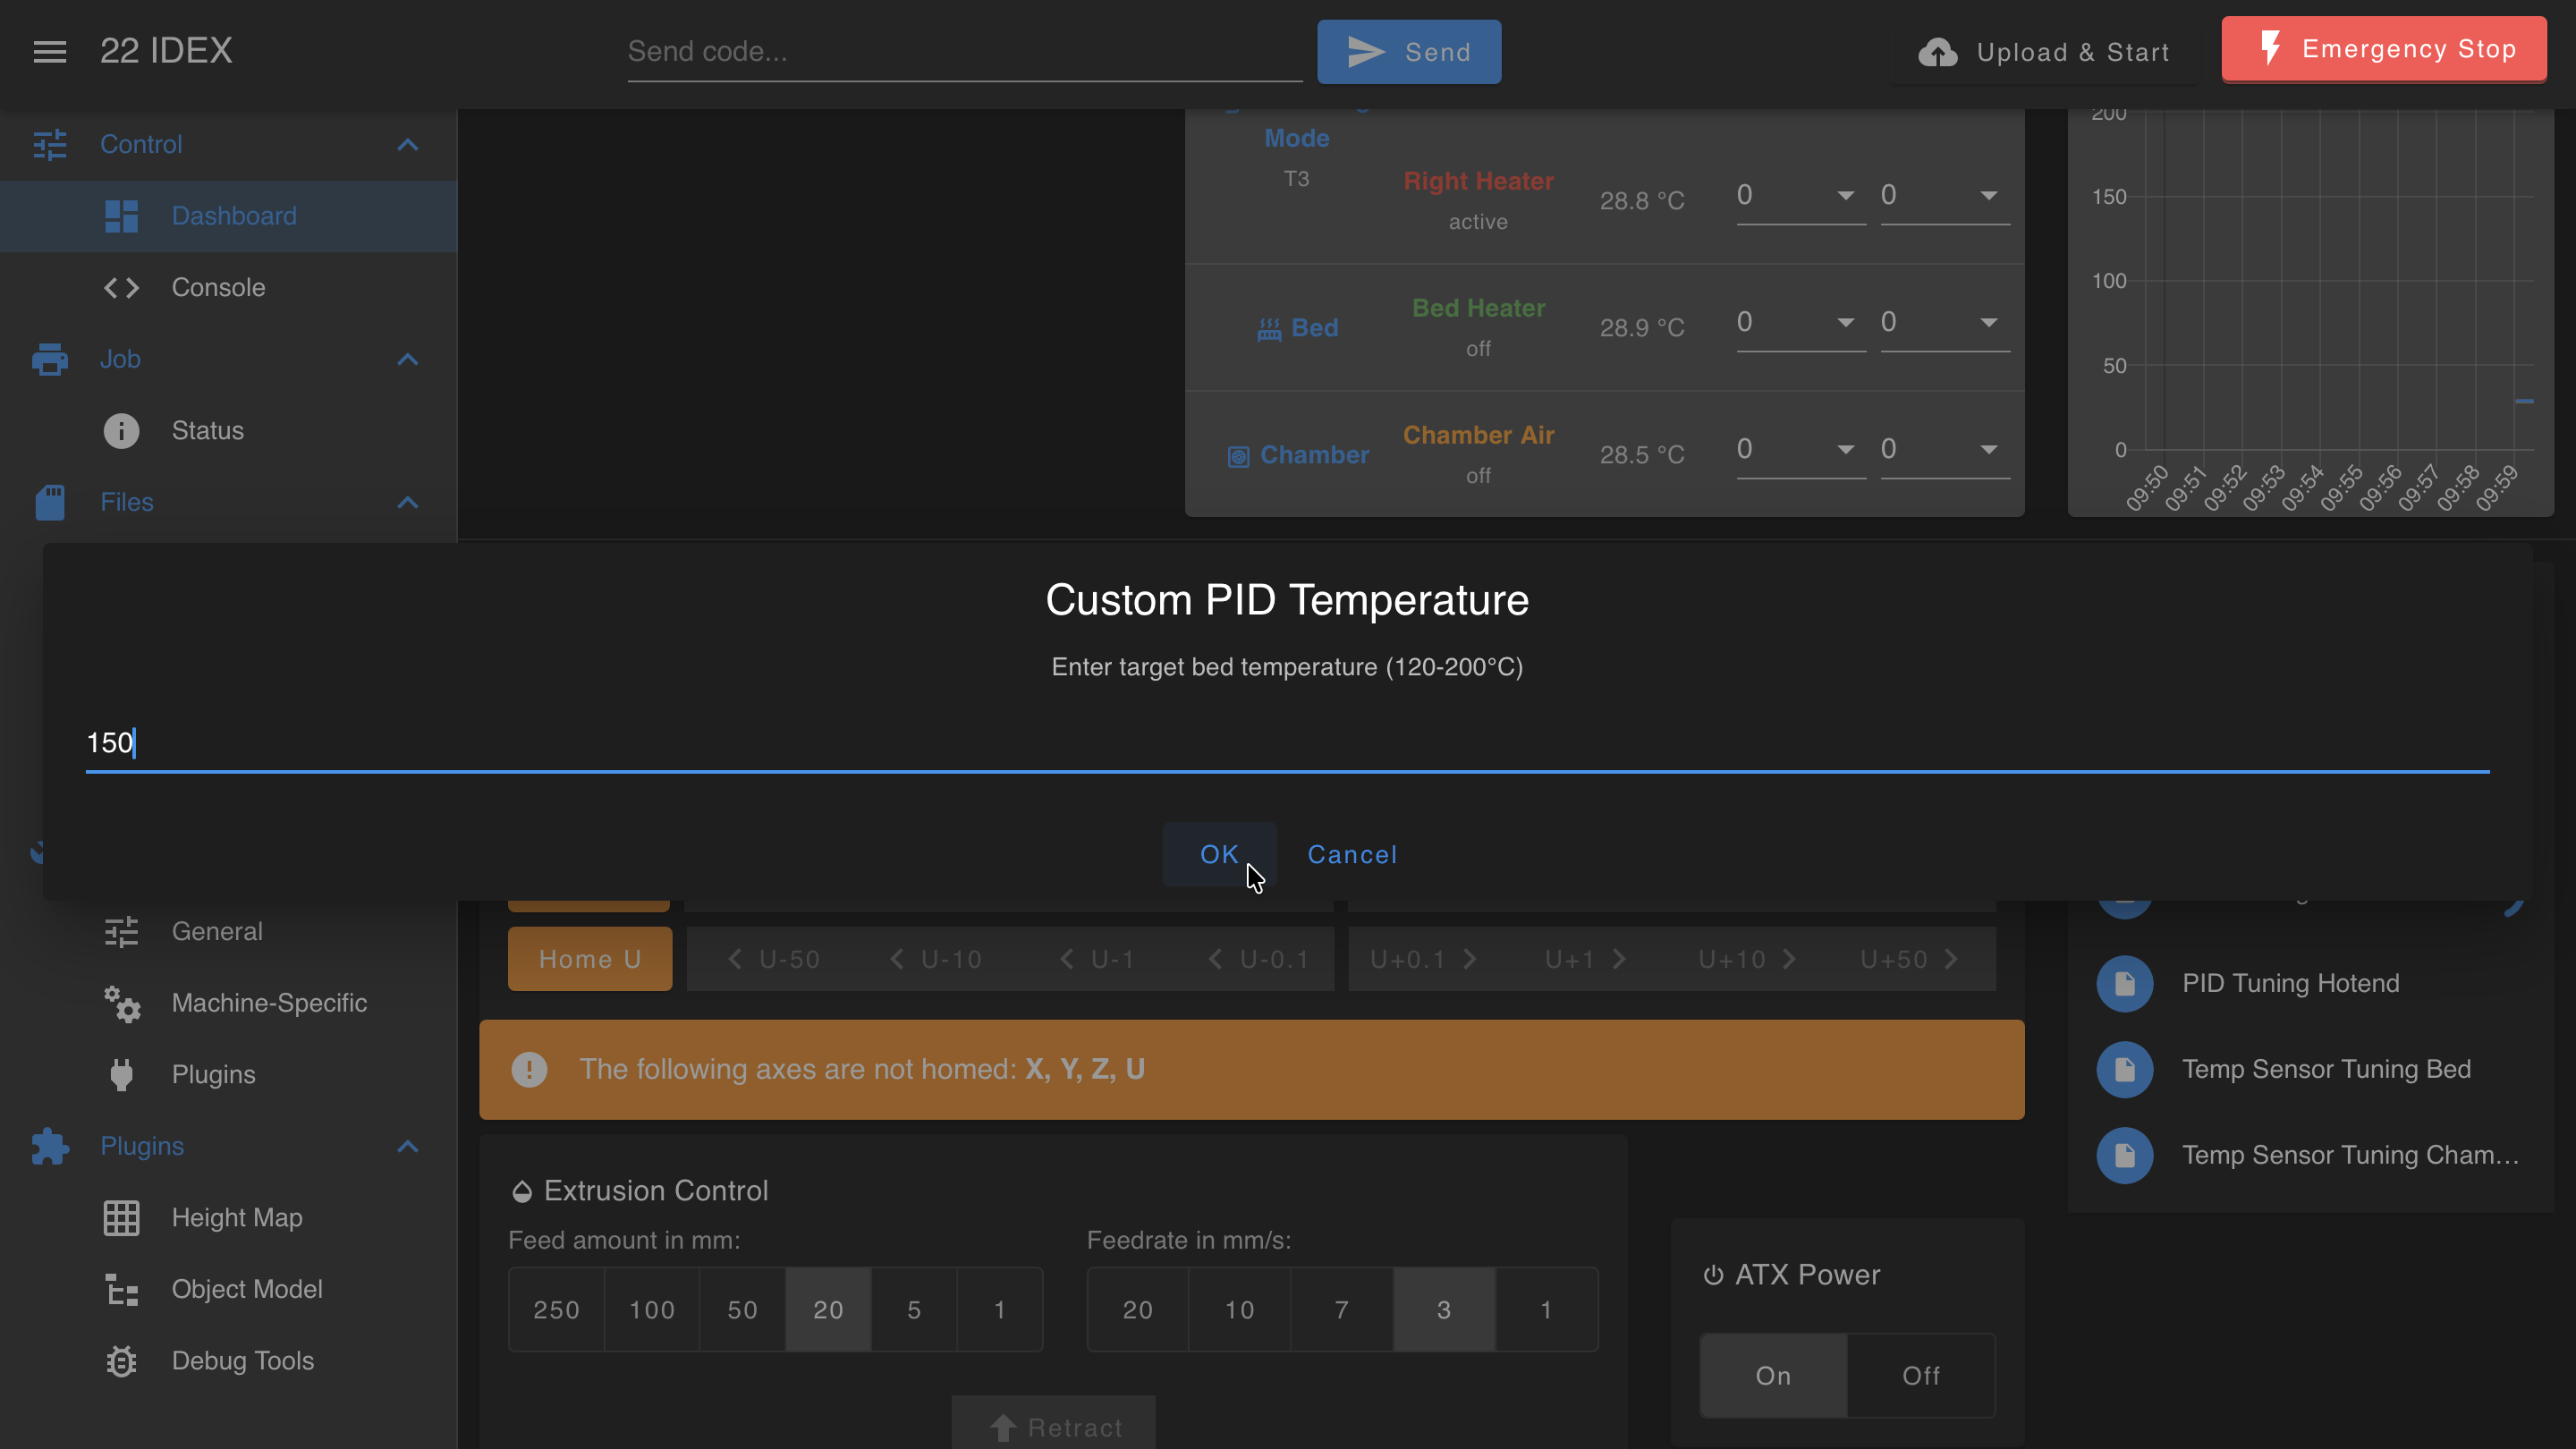
- If you tap Custom temperature, enter the target value in the dialog and confirm with OK.
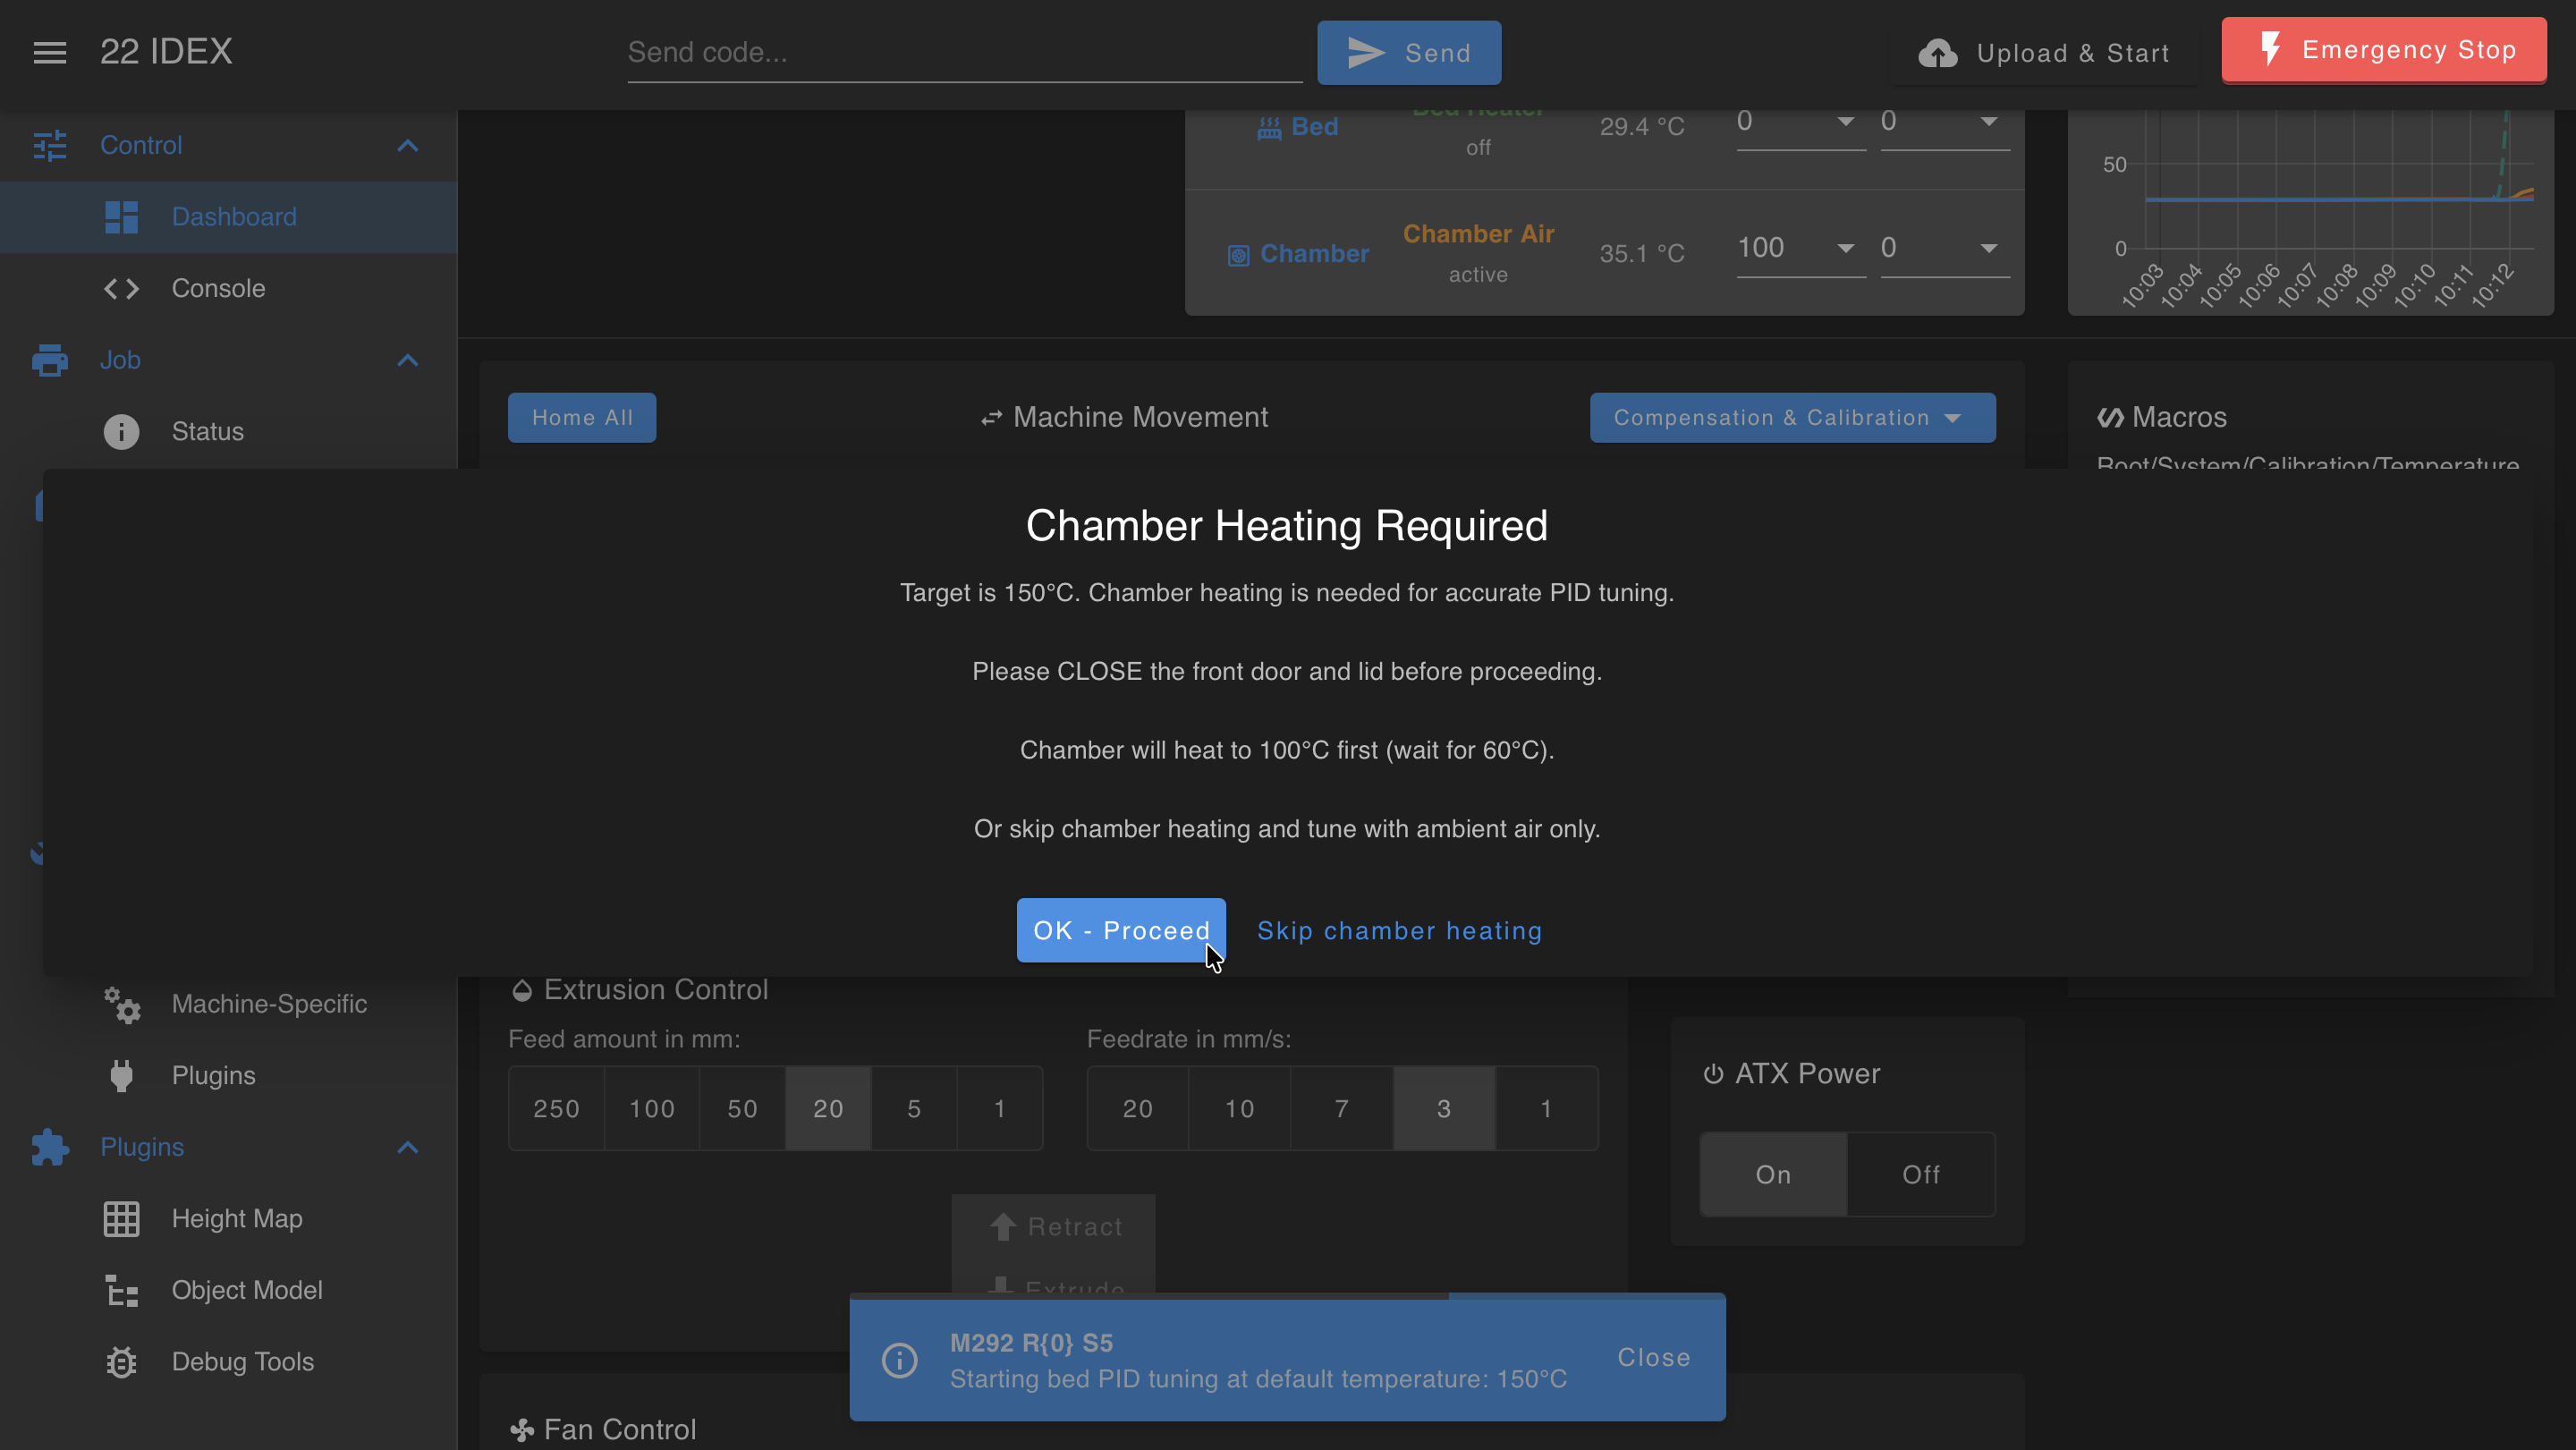
- For higher target temperatures, the macro then asks about chamber heating. For the most accurate results, close the front door and the lid and let the chamber preheat - tuning starts once it warms up. Tap the skip option to tune with ambient air only.
- Bed Heater (target above 140 °C): the "Chamber Heating Required" dialog offers OK - Proceed or Skip chamber heating. The chamber heats to 100 °C, and bed tuning starts when it reaches 60 °C.
- Hotend (higher targets): the "Chamber Heating Recommended" dialog offers Preheat chamber or Skip chamber heating. The bed heats to 160 °C and the chamber to 100 °C before tuning starts.
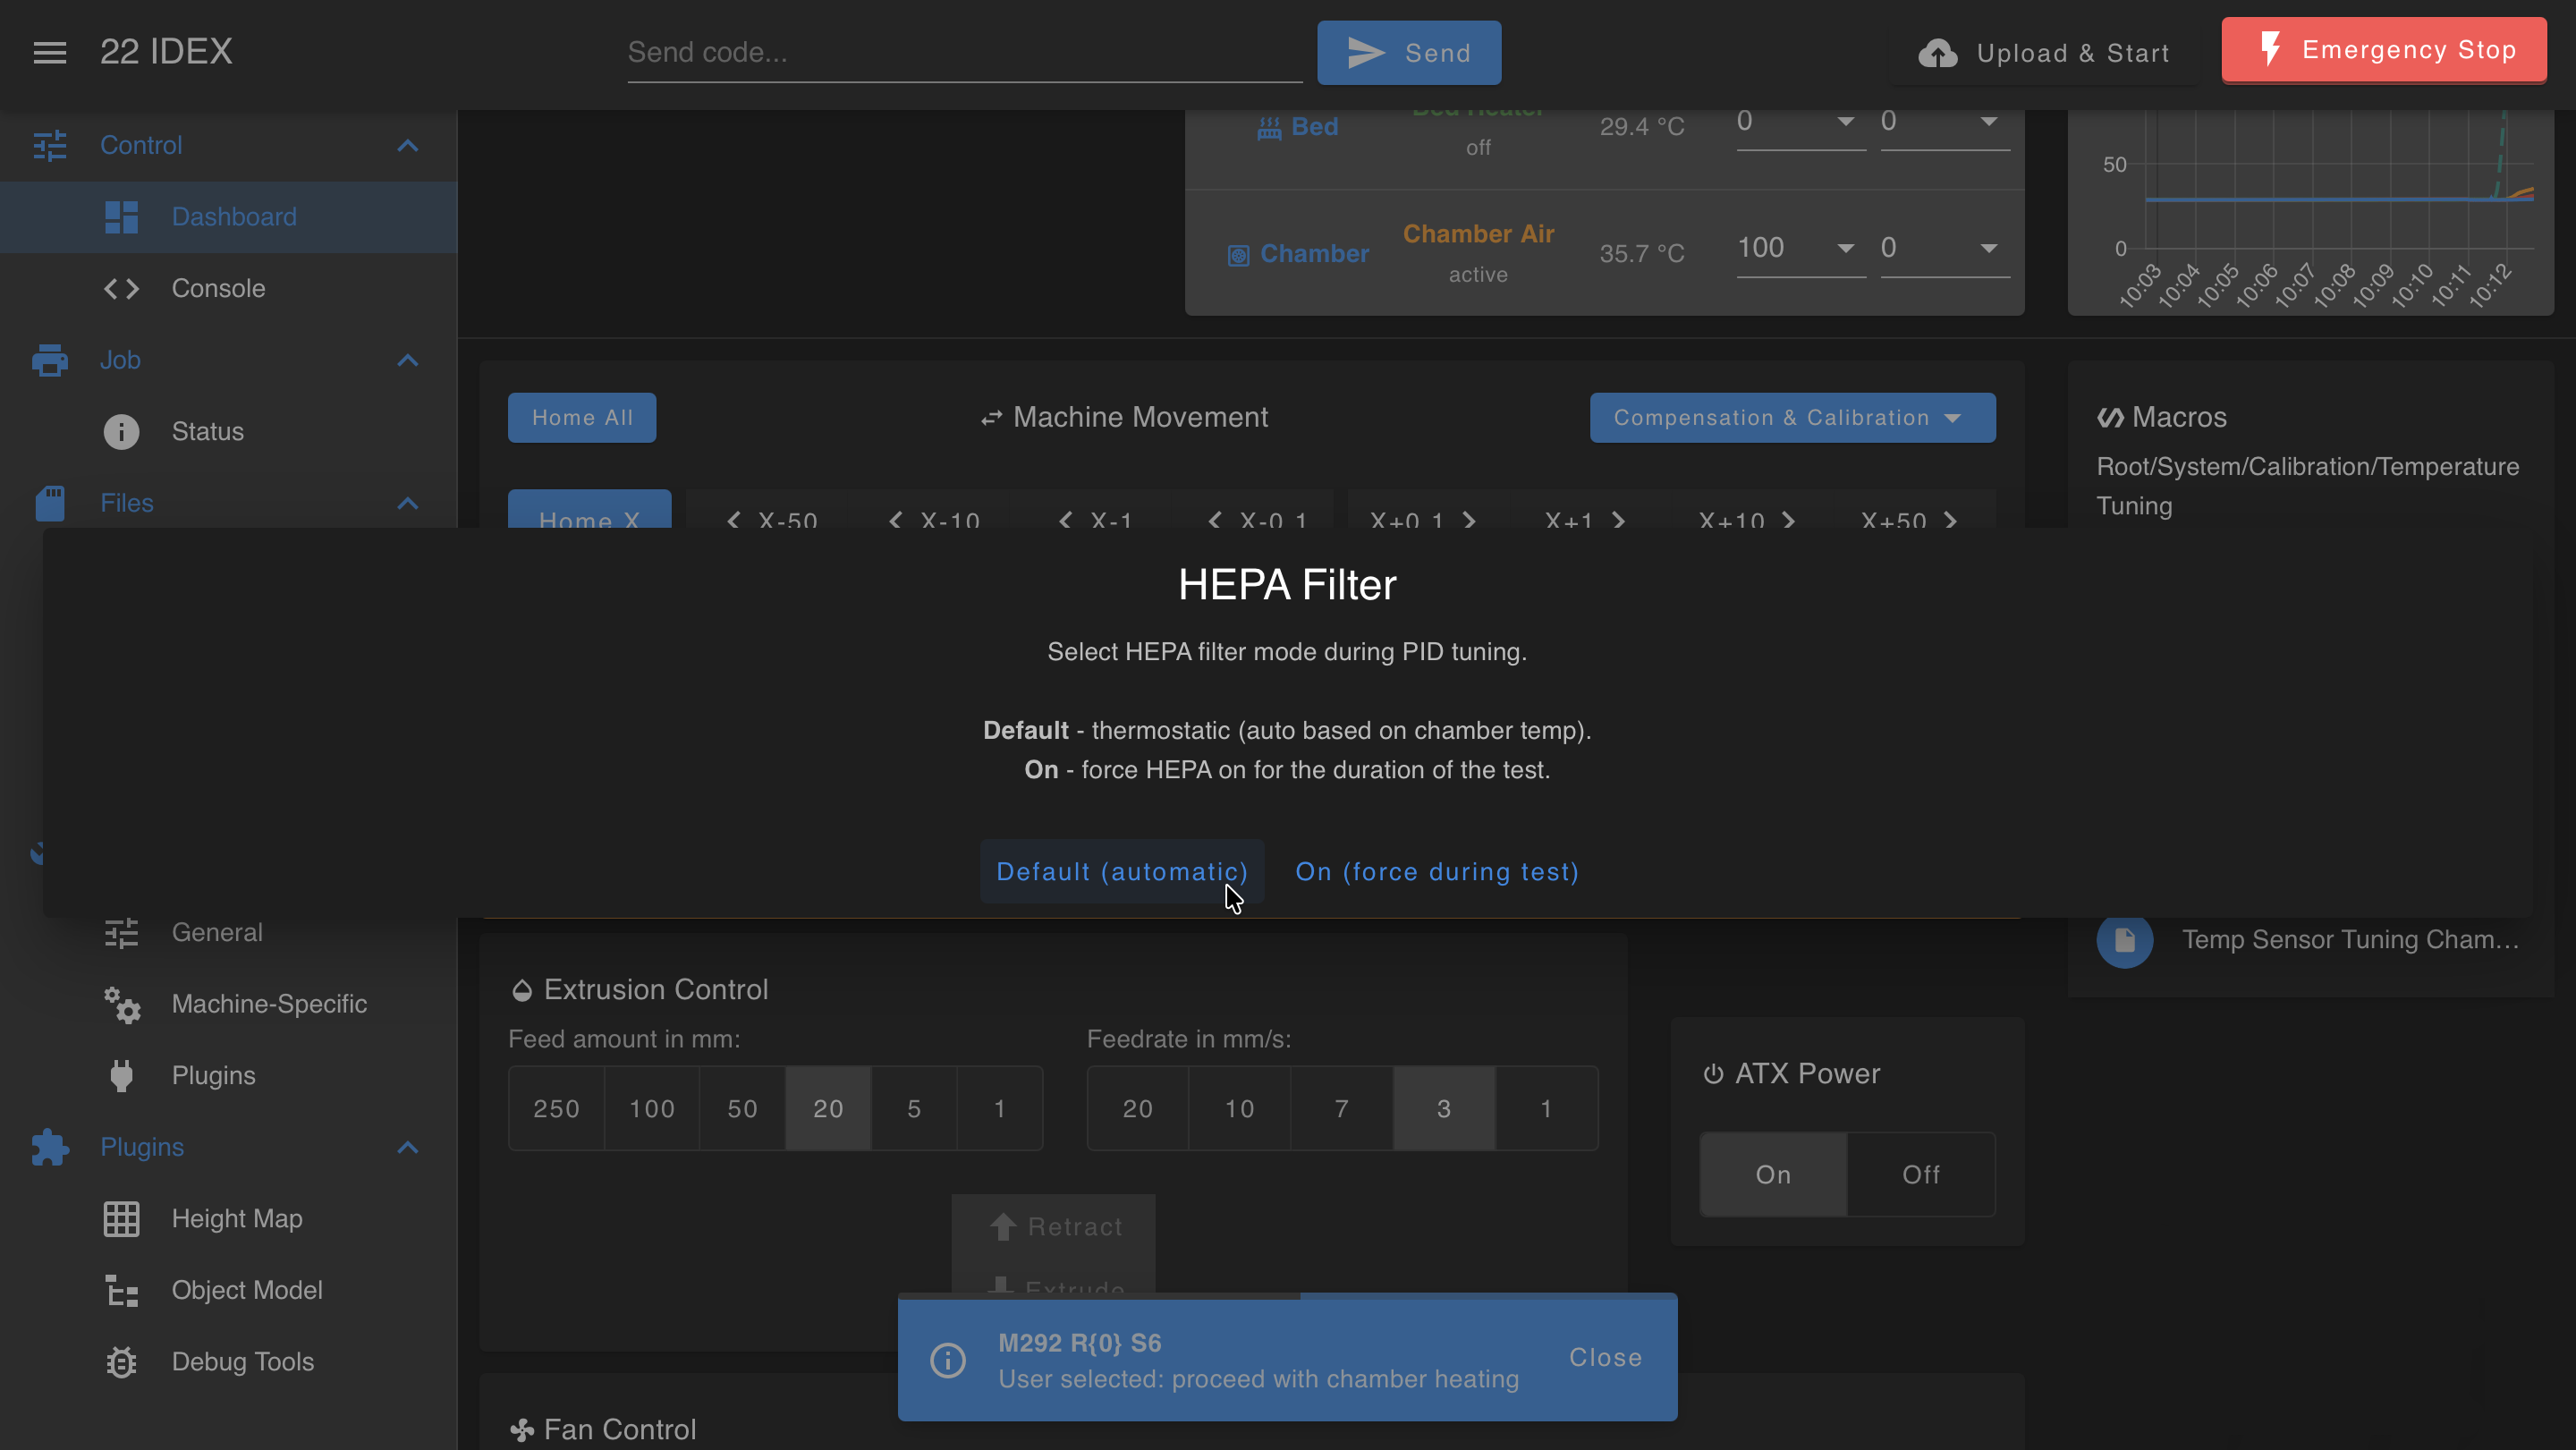
- Next, select the HEPA filter mode for the duration of the tuning: Default (automatic) keeps the thermostatic control based on chamber temperature, while On (force during test) keeps the filter fan running for the whole test.
- Once confirmed, the PID tuning macro starts.
4. Monitoring the Automated Process
- The printer will now begin the automated PID tuning cycle. This involves heating the selected component to the target temperature and then cycling the power to it multiple times, allowing the temperature to rise and fall slightly around the setpoint. This process allows the firmware to measure the thermal response of the heater and calculate the optimal P, I, and D parameters.
- This tuning process is fully automatic and can take several minutes to complete for each heater.
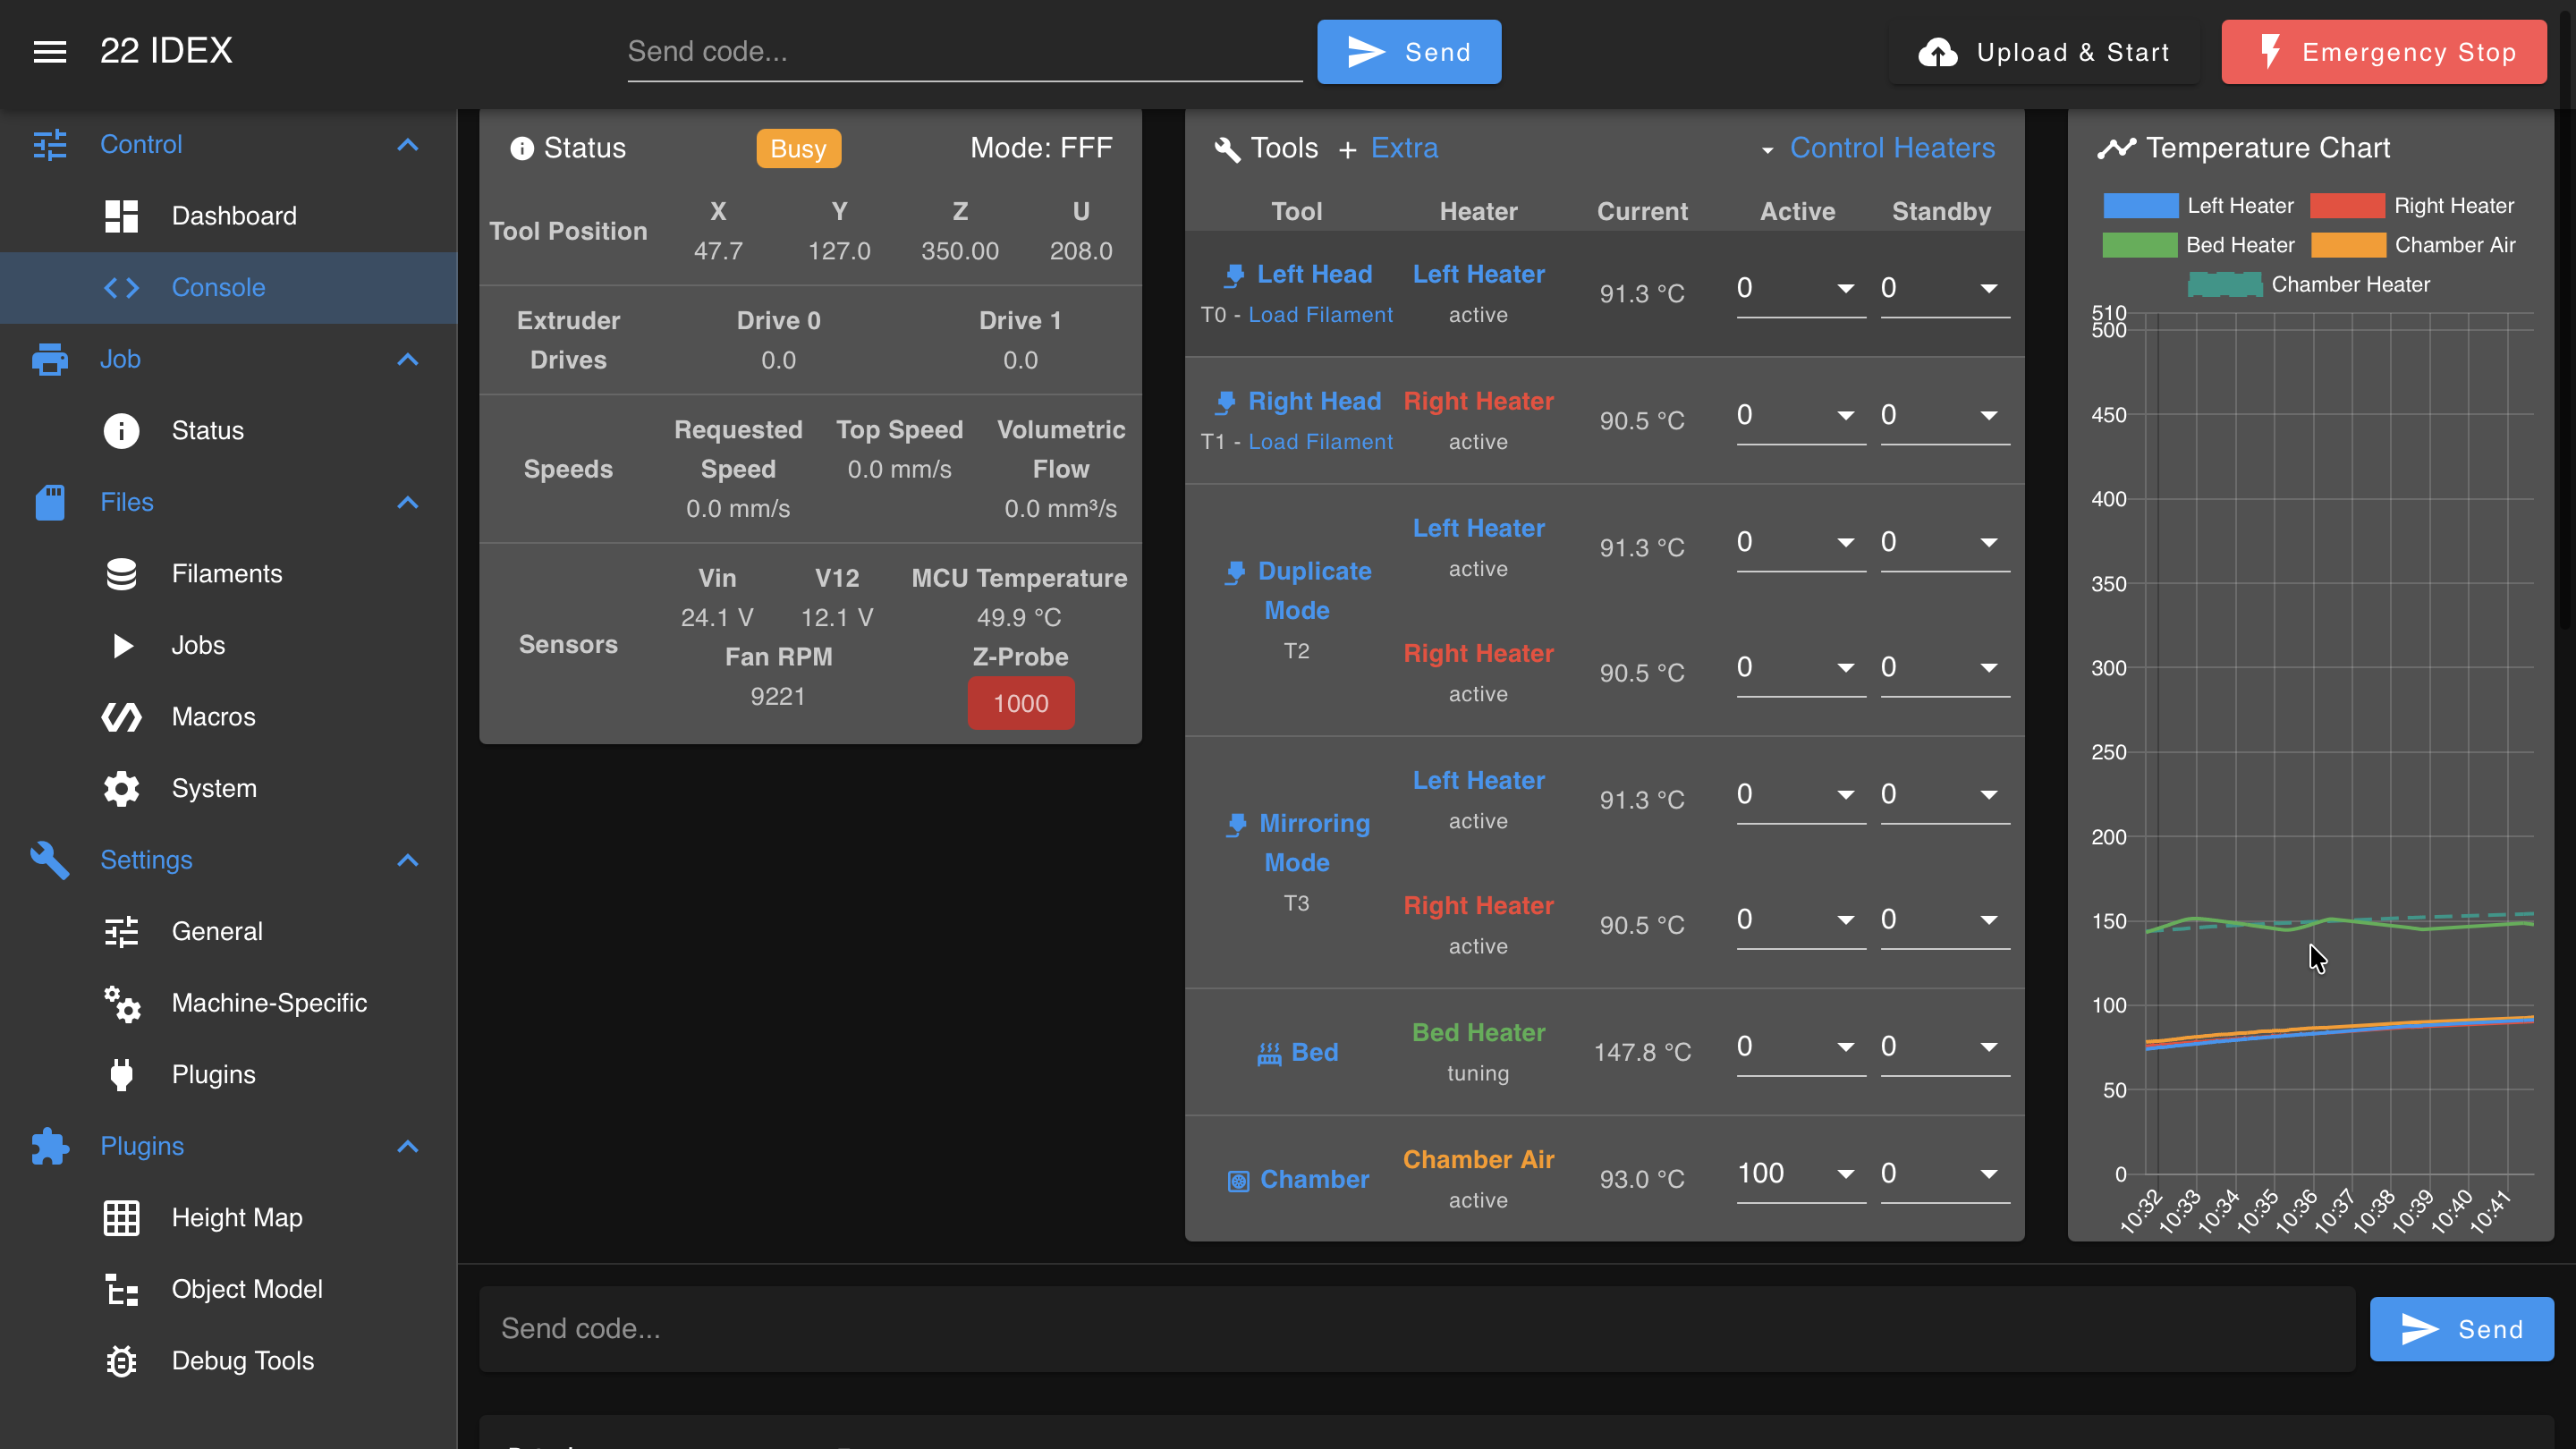
Monitor the tuning process continuously
You MUST actively watch the printer and its temperature graph/readings on the screen throughout the entire tuning cycle. If you observe the temperature rising uncontrollably, exceeding the target by a large margin, or any other signs of malfunction such as smoke, unusual smells, or error messages indicating a thermal runaway, IMMEDIATELY POWER OFF THE PRINTER using the main power switch or emergency stop.
5. Completion and Saving Parameters
- Once the PID tuning cycle for the selected heater is complete, the printer displays a PID Tune Complete message showing the old and the newly calculated PID values.
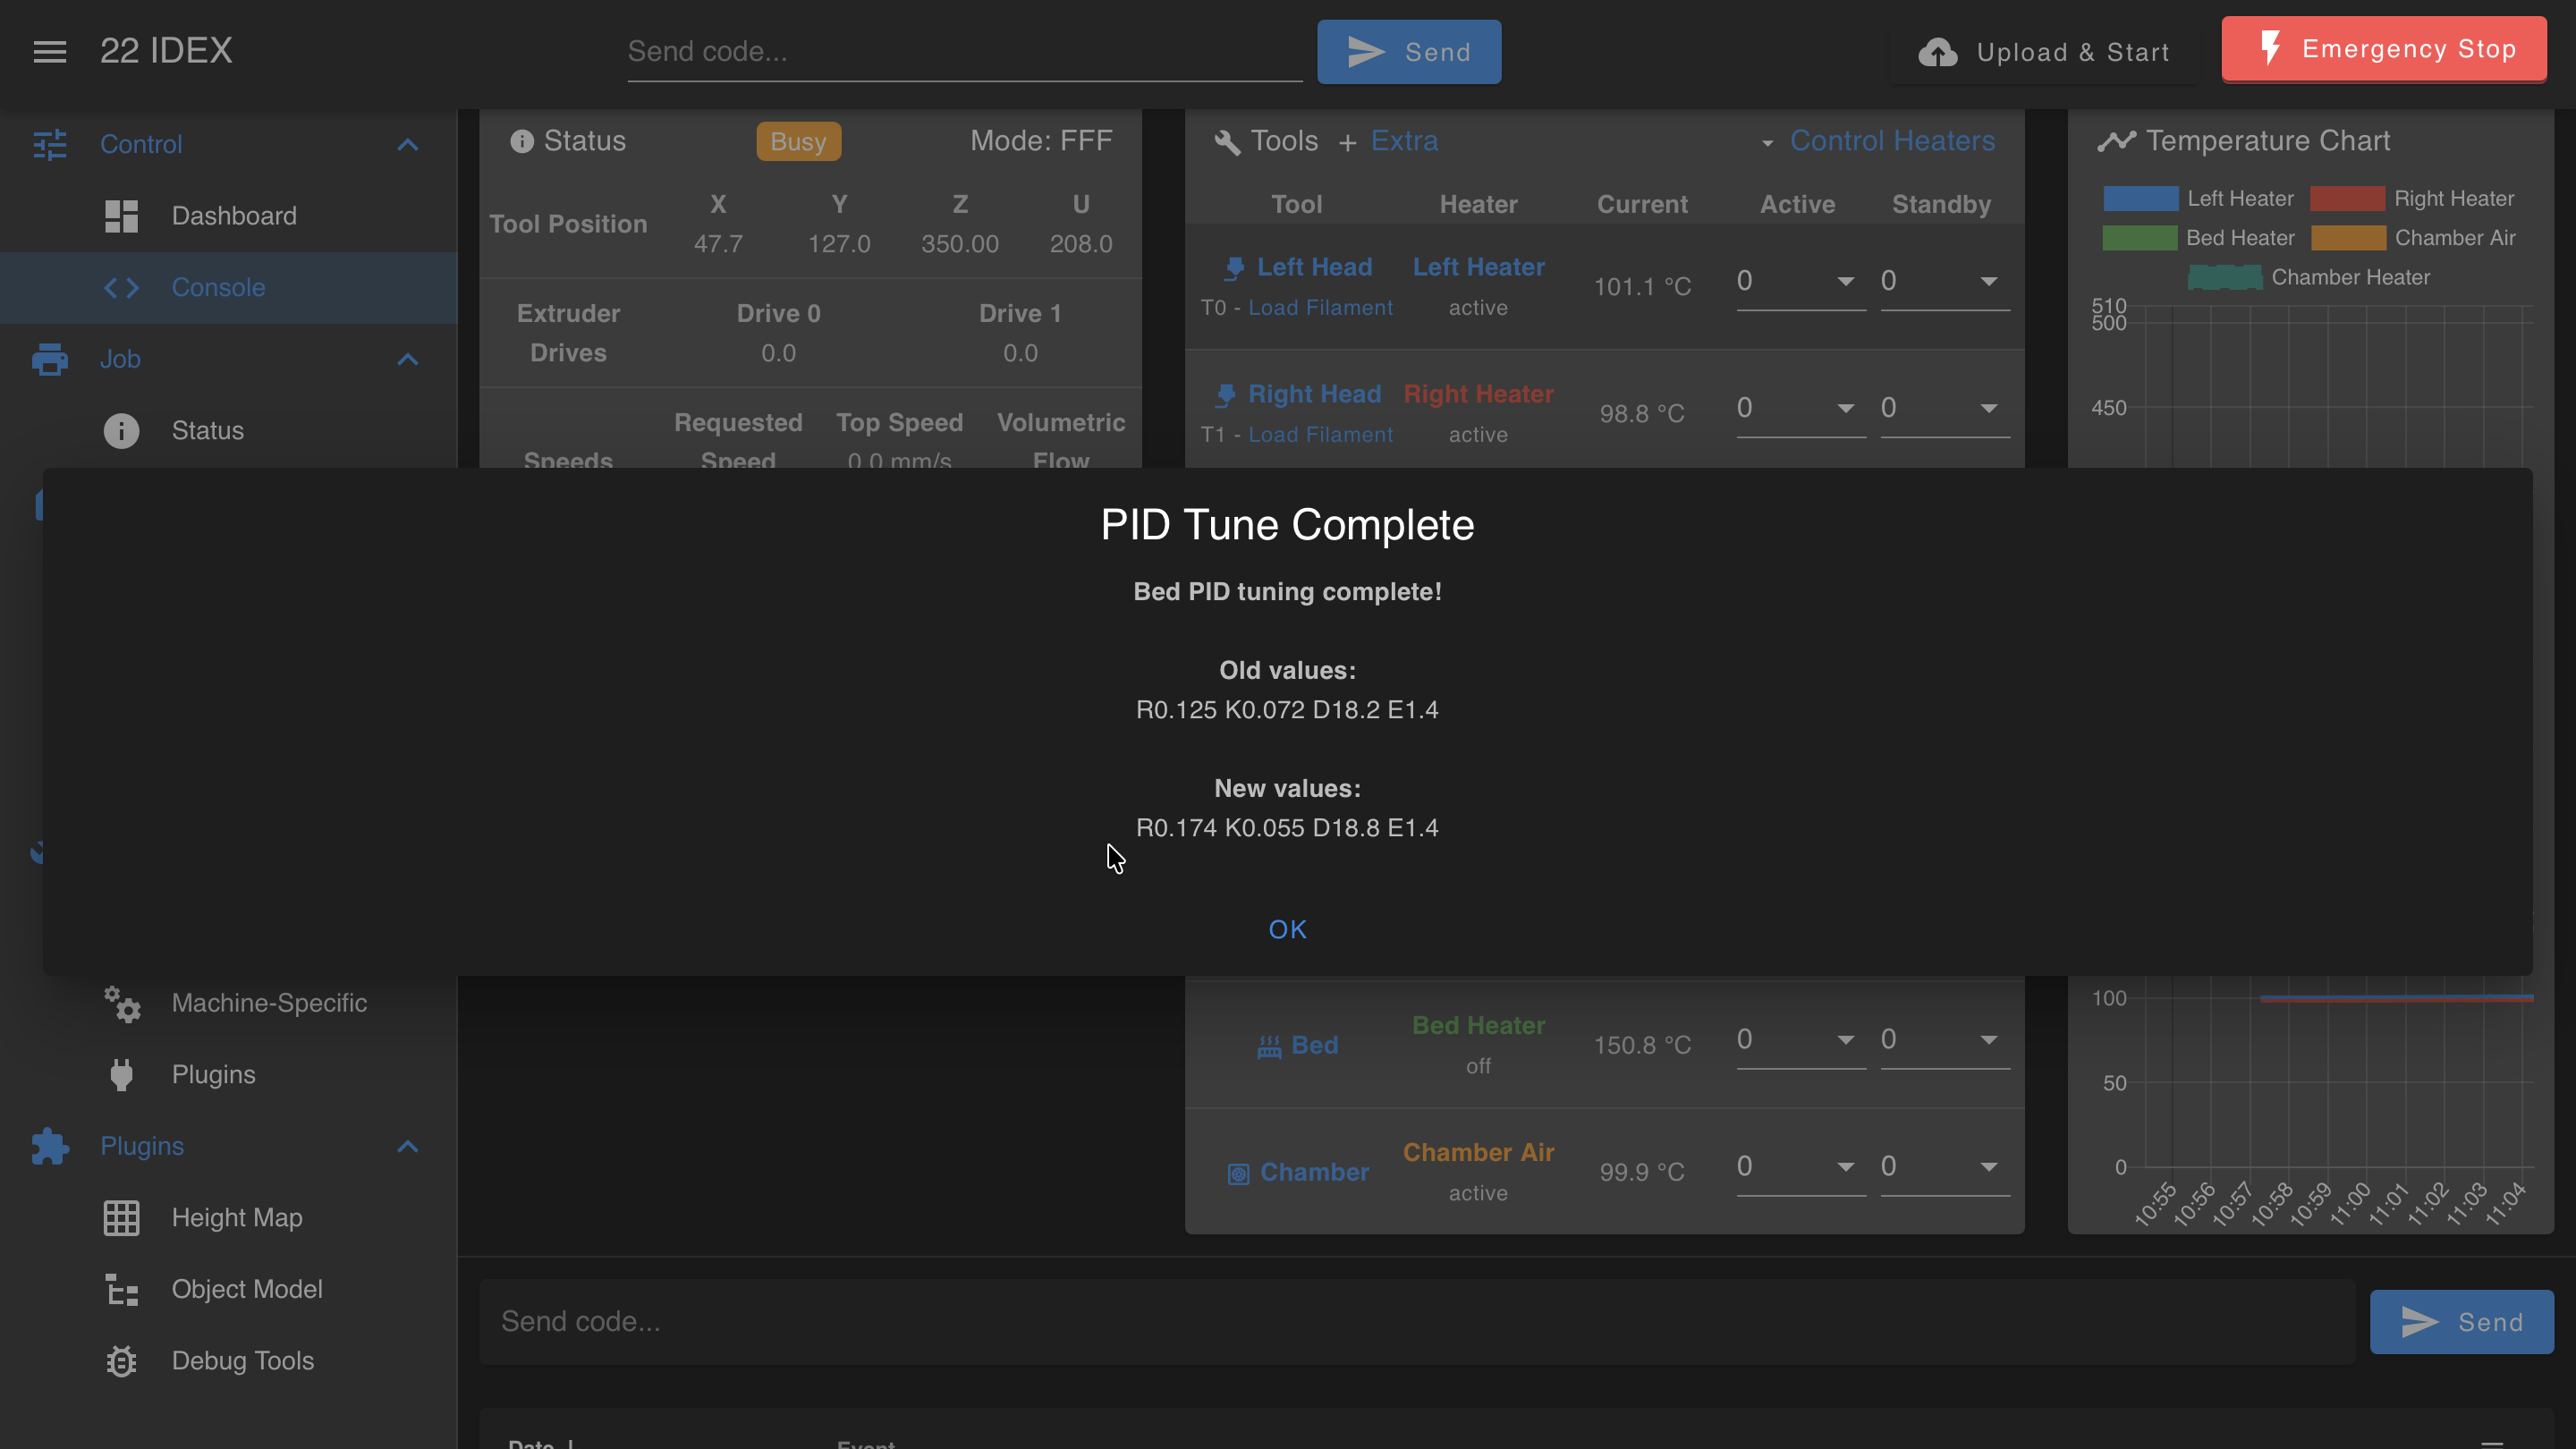
- The newly calculated PID parameters for that heater are saved automatically to the printer's configuration file.
6. Verification
- After completing PID tuning for a heater, it's good practice to verify its performance.
- Set the tuned heater to a typical operating temperature.
- Observe the temperature graph on the Web Interface. The temperature should:
- Rise smoothly to the target
- Have minimal overshoot (not going much higher than the target)
- Settle quickly and remain stable at the target temperature with very little fluctuation (a smooth, flat line once stable)
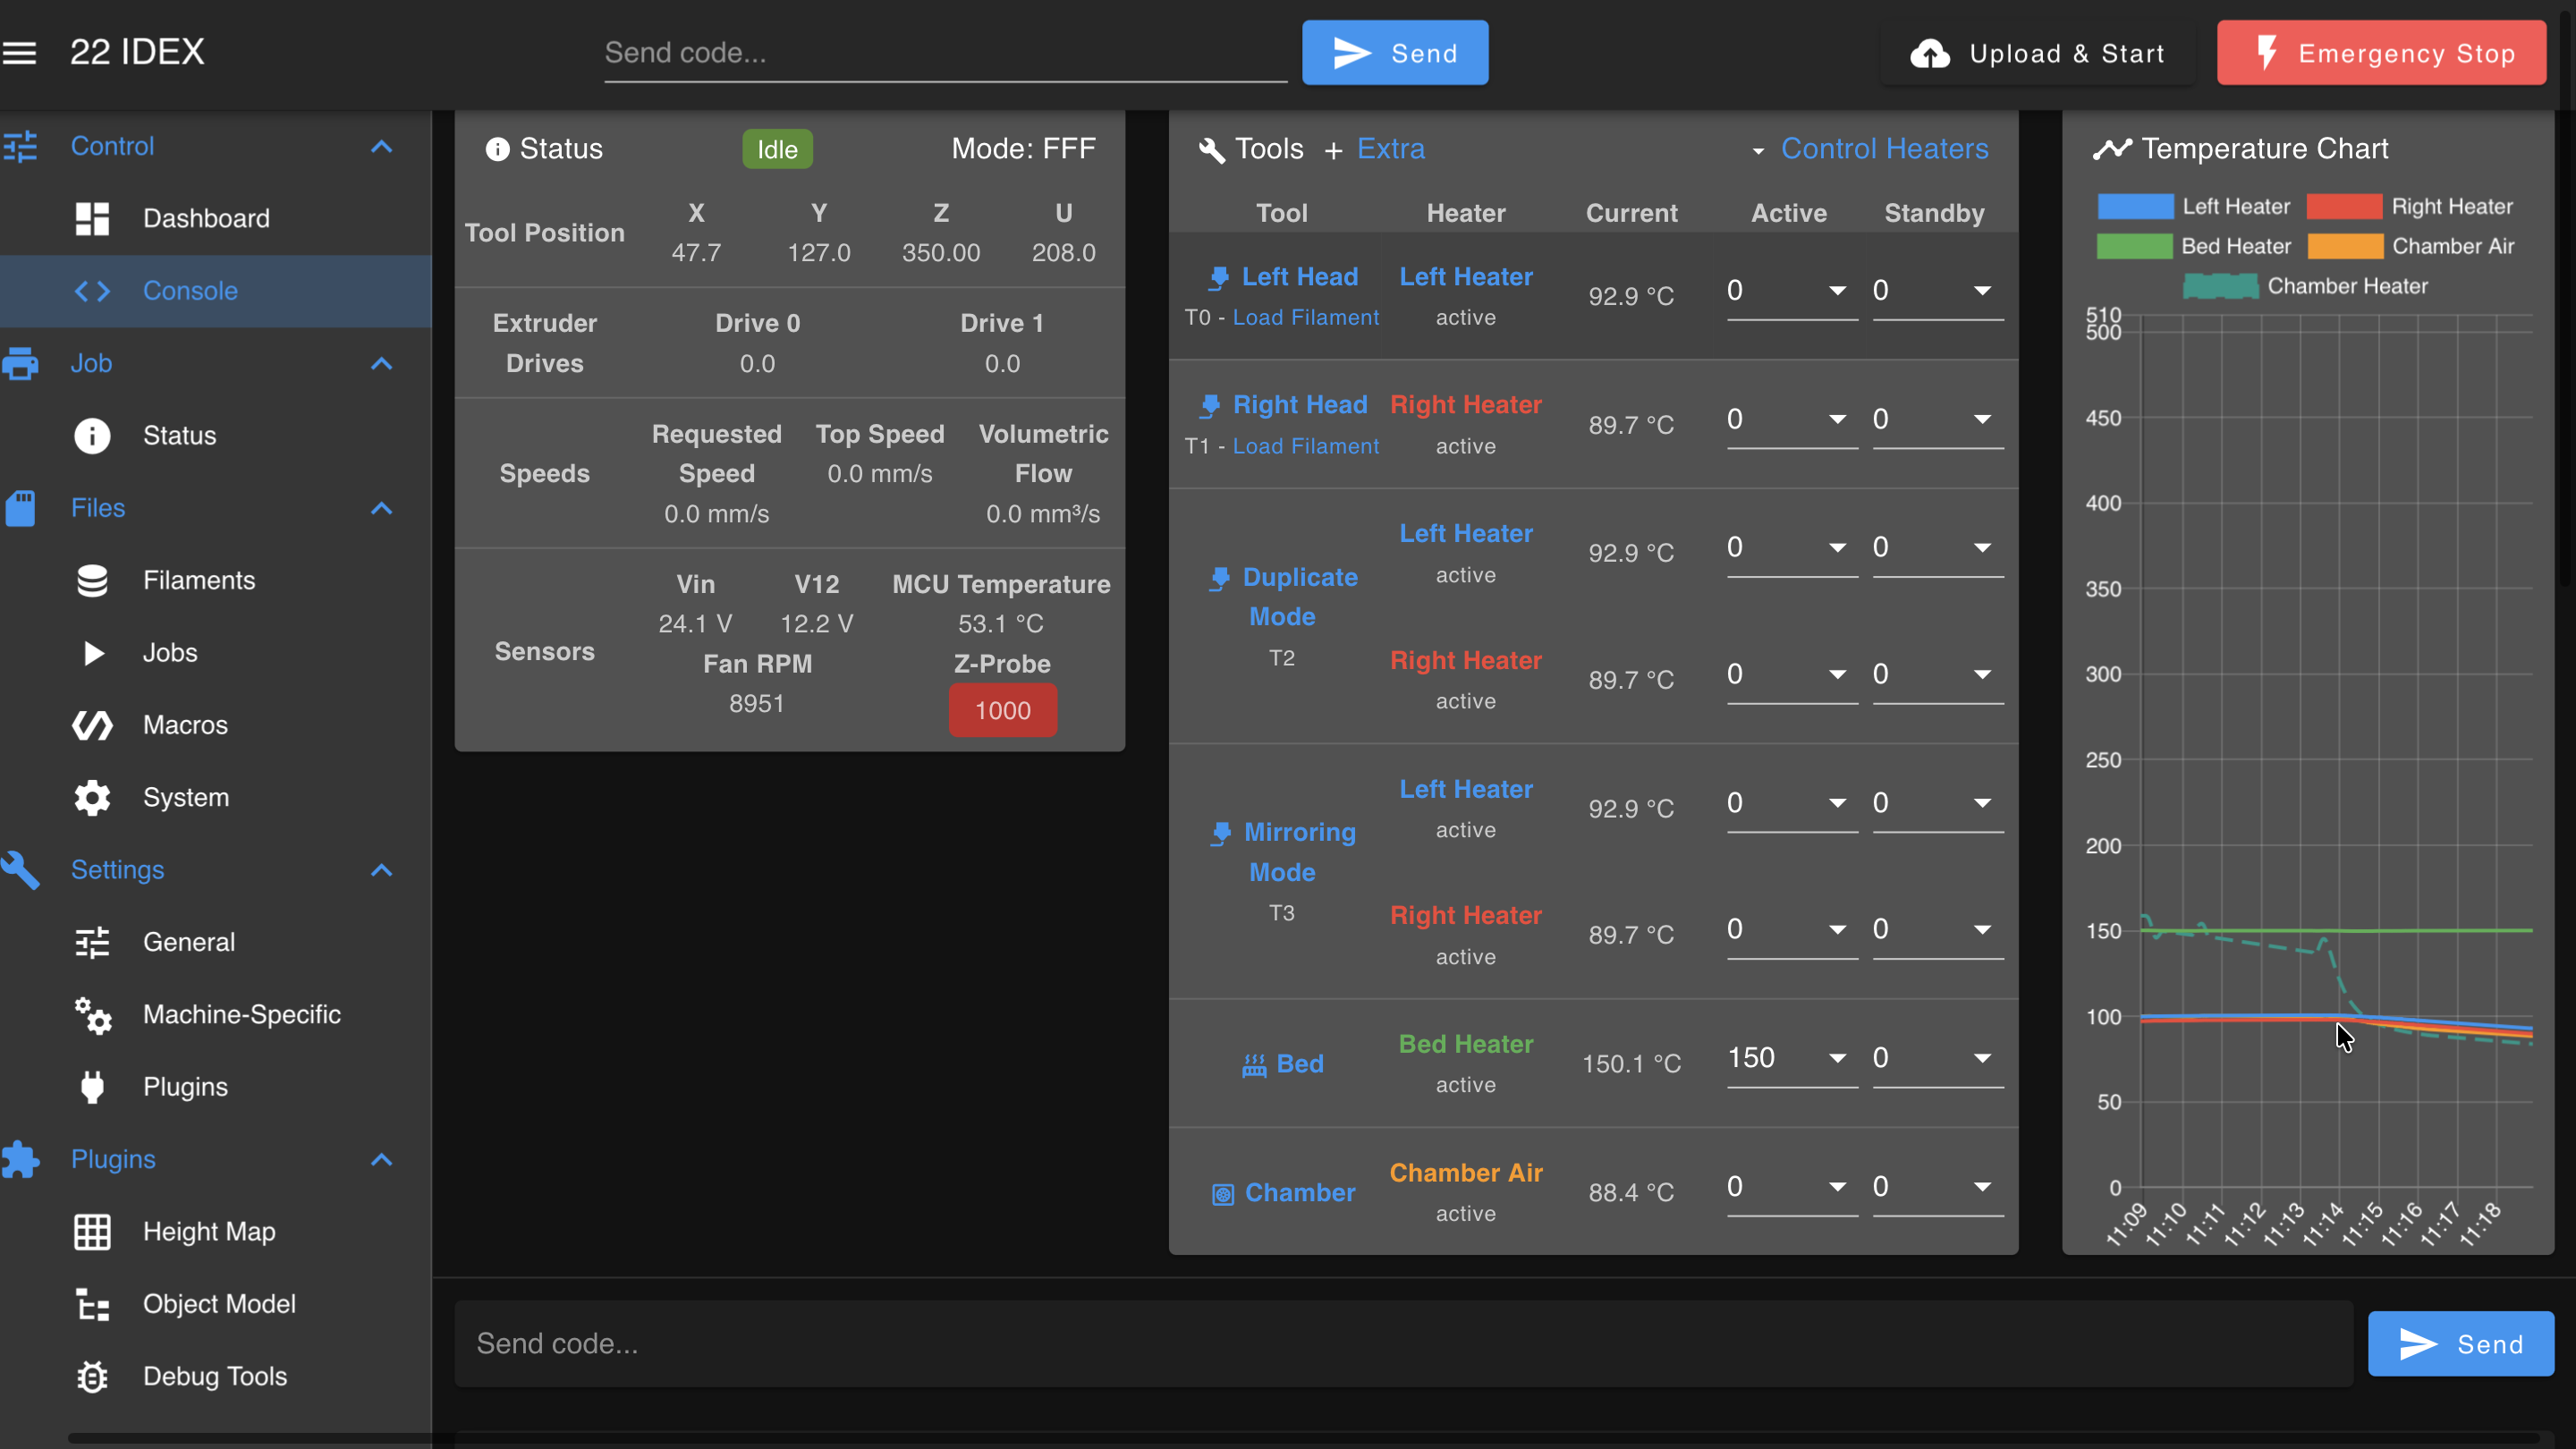
If the temperature behavior is significantly improved and stable, the PID tuning was successful.
FAQ
Support
If you could not find an answer here, reach out to our support team.