Ethernet Connection
Set up a wired Ethernet connection on the 22 IDEX V4 - DHCP, static IP or direct-to-PC - using the touchscreen macro, and read the chamber LED colors.
The Vision Miner 22IDEX V4 supports Ethernet for a stable, high-speed wired connection to the Web Interface. You set it up entirely from the touchscreen: connect the cable, run the Enable Ethernet Mode macro, pick a mode, and the printer tests the link and configures itself.
Ethernet and WiFi cannot run at the same time
Enabling Ethernet automatically disables WiFi in software. You do not need to open the printer or remove any hardware.
Before you begin - safety and risk
Read the Safety - Before You Begin article to understand the hazards involved in working on the Vision Miner 22IDEX V4, including electrical, thermal, mechanical, and chemical risks. All procedures in this wiki are provided as recommendations only. By choosing to follow any procedure, you do so at your own risk.
Tools and Materials
- Vision Miner 22IDEX V4
- Ethernet patch cable (Cat5e or better), long enough to reach the router, switch, or computer
- DHCP / Static IP: a network router or switch with a free port
- Ethernet to PC: a PC or Mac with an Ethernet port (or a USB-to-Ethernet adapter) and rights to set a static IP
Connection modes
The Enable Ethernet Mode macro offers three options:
| Mode | Cable path | Addressing | Use when |
|---|---|---|---|
| DHCP (Automatic) | Printer to switch/router | Router assigns the IP automatically | You have a router or switch and want the easiest setup |
| Static IP (Manual) | Printer to switch/router | You set a fixed IP, subnet, and gateway | Your network requires a fixed address |
| Ethernet to PC | Printer directly to one computer | Printer 192.168.1.50, PC 192.168.1.51 | You have no router, or you want an isolated link to one computer |
After you save a mode, the printer reuses it after every restart until you change it.
If your machine has no Wi-Fi module, or your network blocks unknown devices (government and corporate LANs), see Restricted Networks and Ethernet-Only Machines for the SD card recovery method and an IT checklist.
LED status indicators
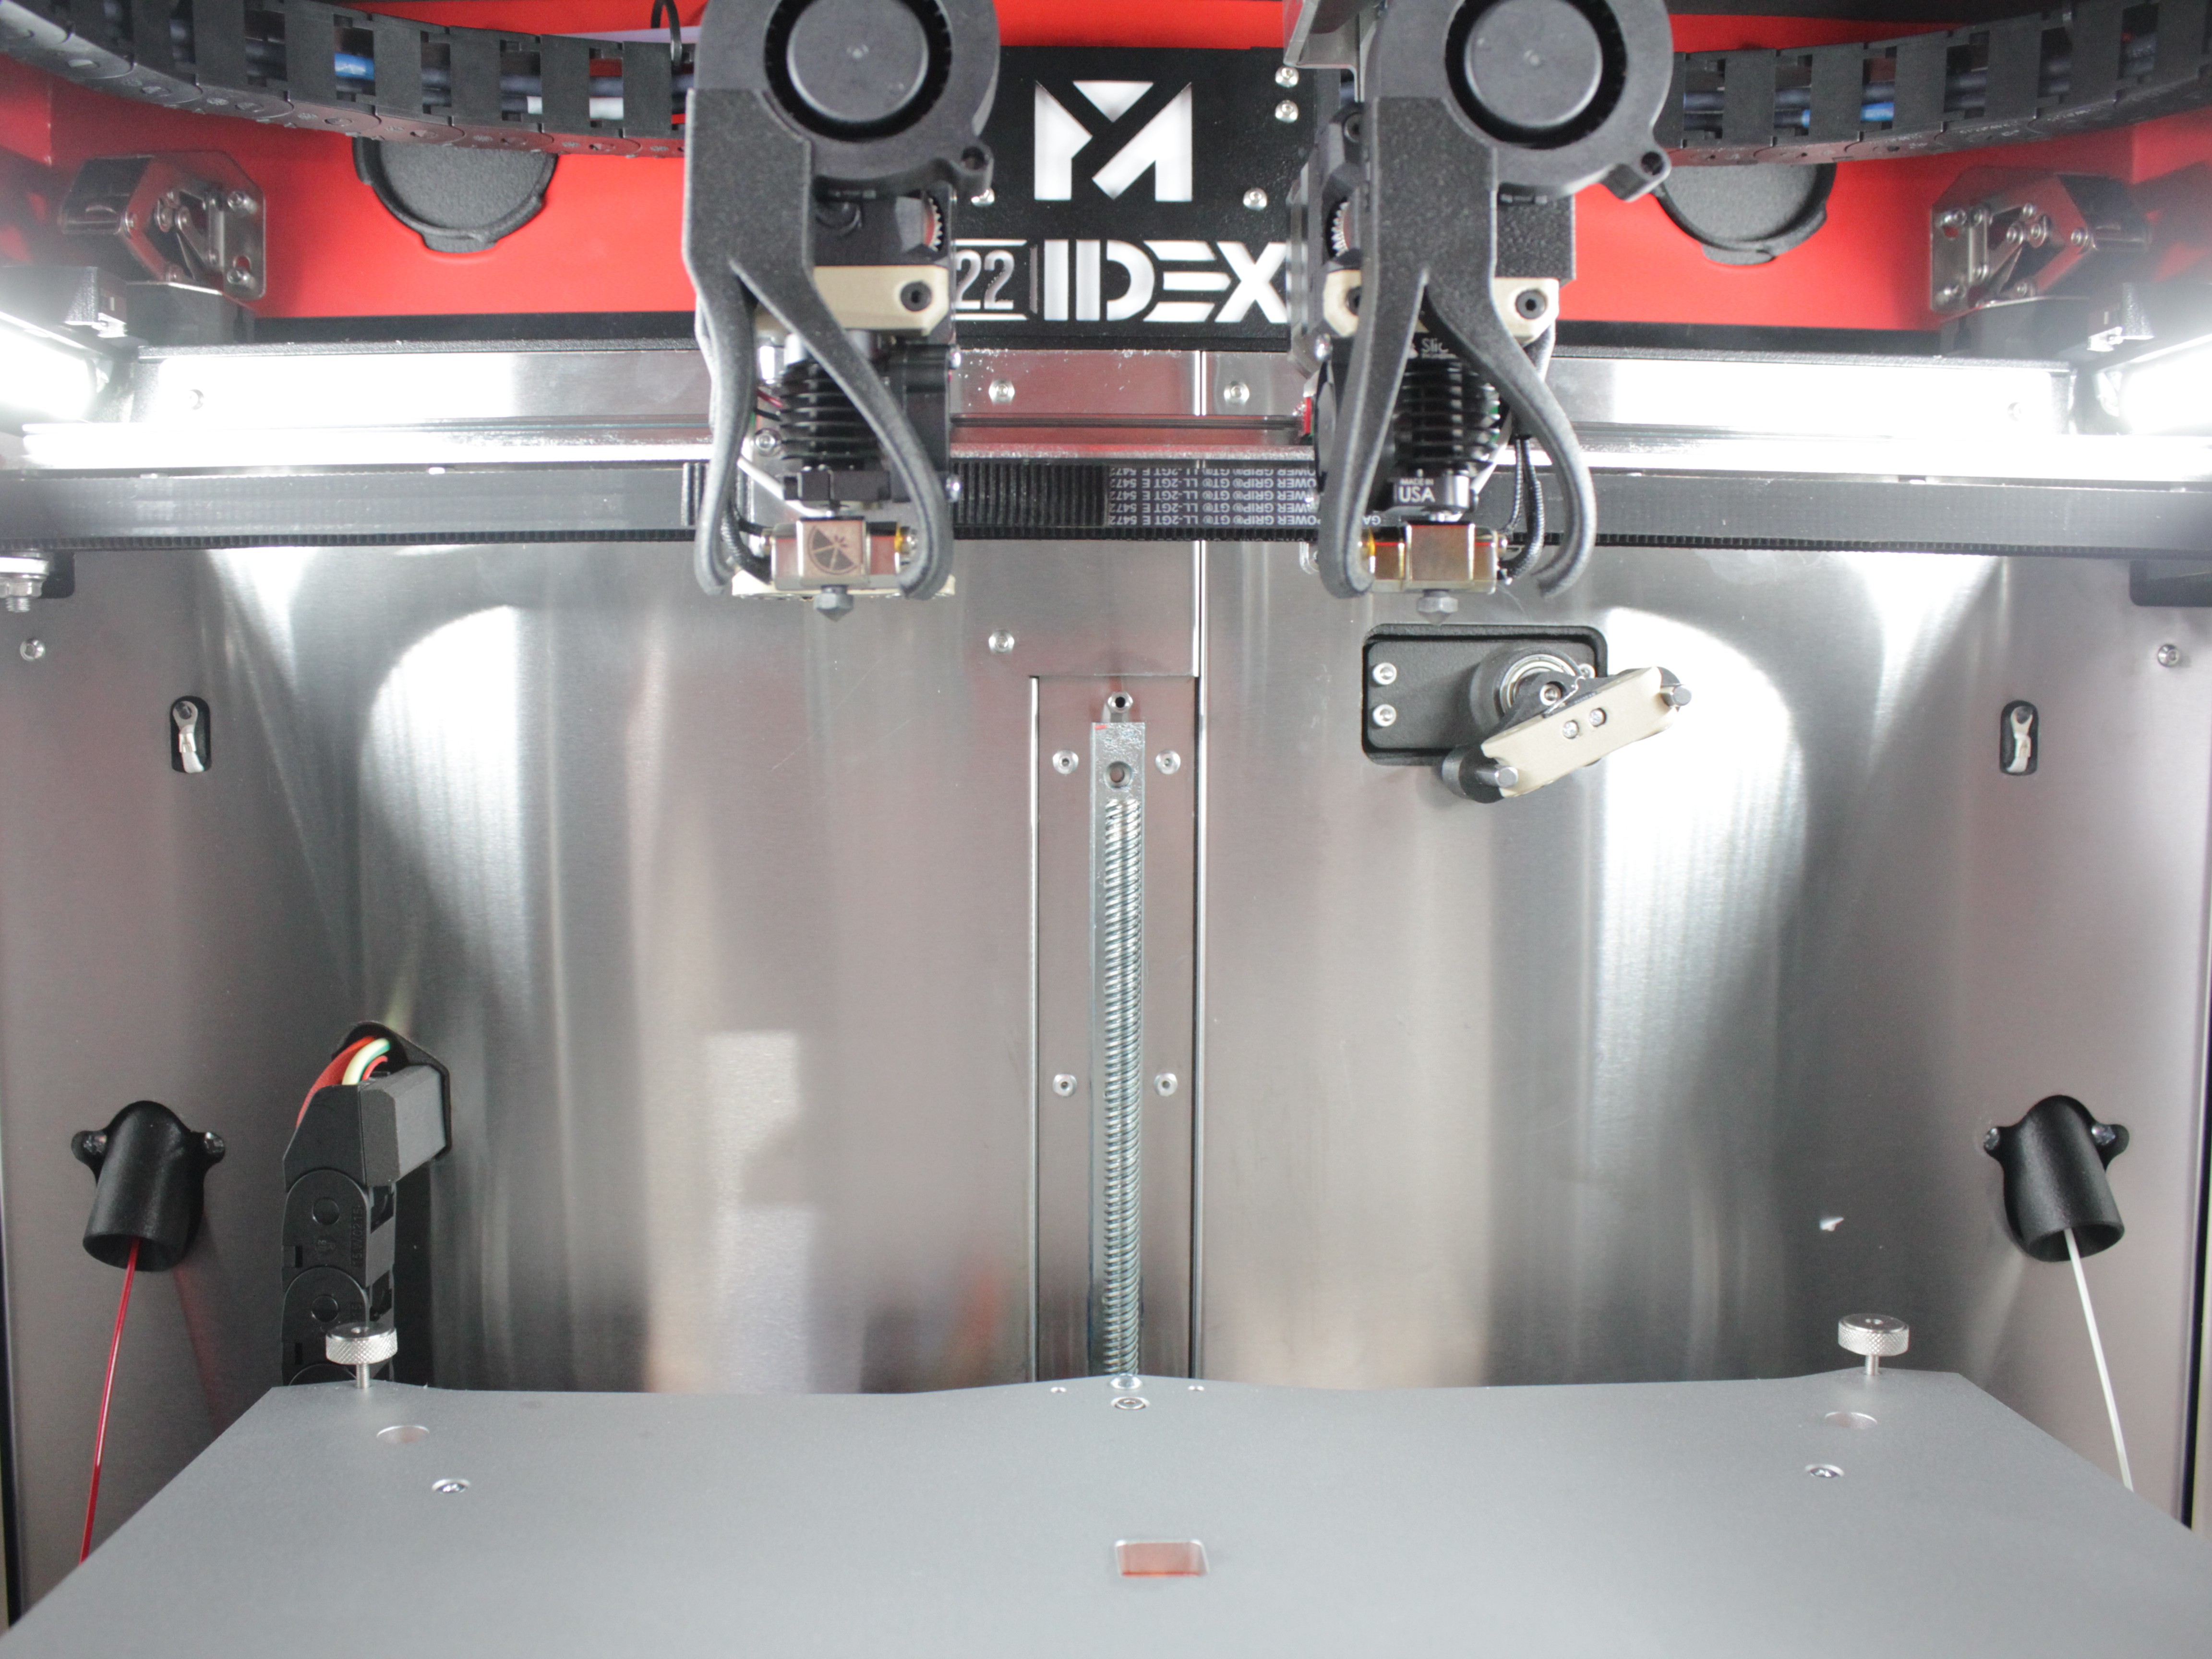
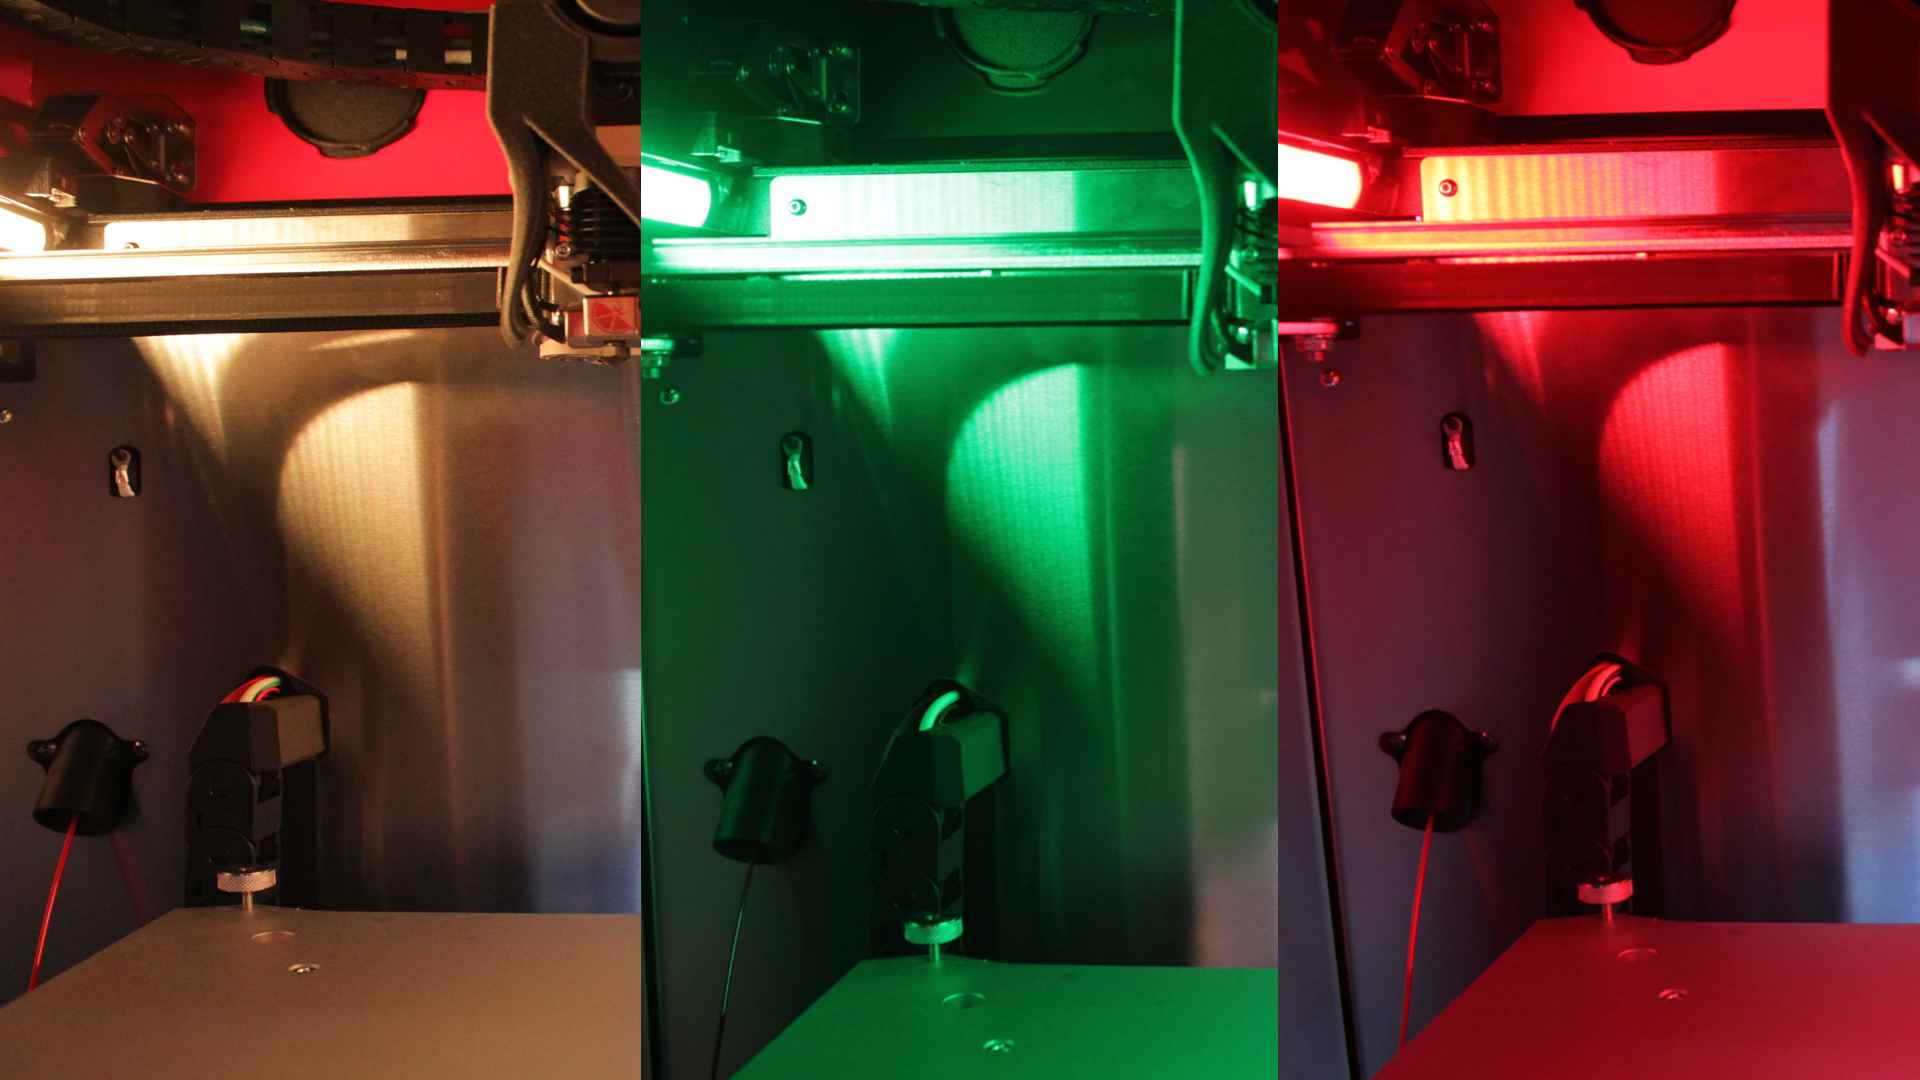
The chamber LEDs tell you what the network is doing. The same colors mean one thing while you set up (the printer is testing the link) and another at startup (the printer reports which mode it connected in).
While running the setup macro
| LED | Meaning |
|---|---|
| 🟡 Yellow | Testing the connection |
| 🟢 Green | Test succeeded (waiting for you to save) |
| 🔴 Red | Test failed. The printer automatically reverts to the previous mode |
| ⚪ White | Back to normal after you save, revert, or cancel |
At startup
When the printer boots, the self-test shows which mode came up:
| LED | Meaning |
|---|---|
| 🟡 Yellow | Connected over Ethernet (DHCP or static LAN IP) |
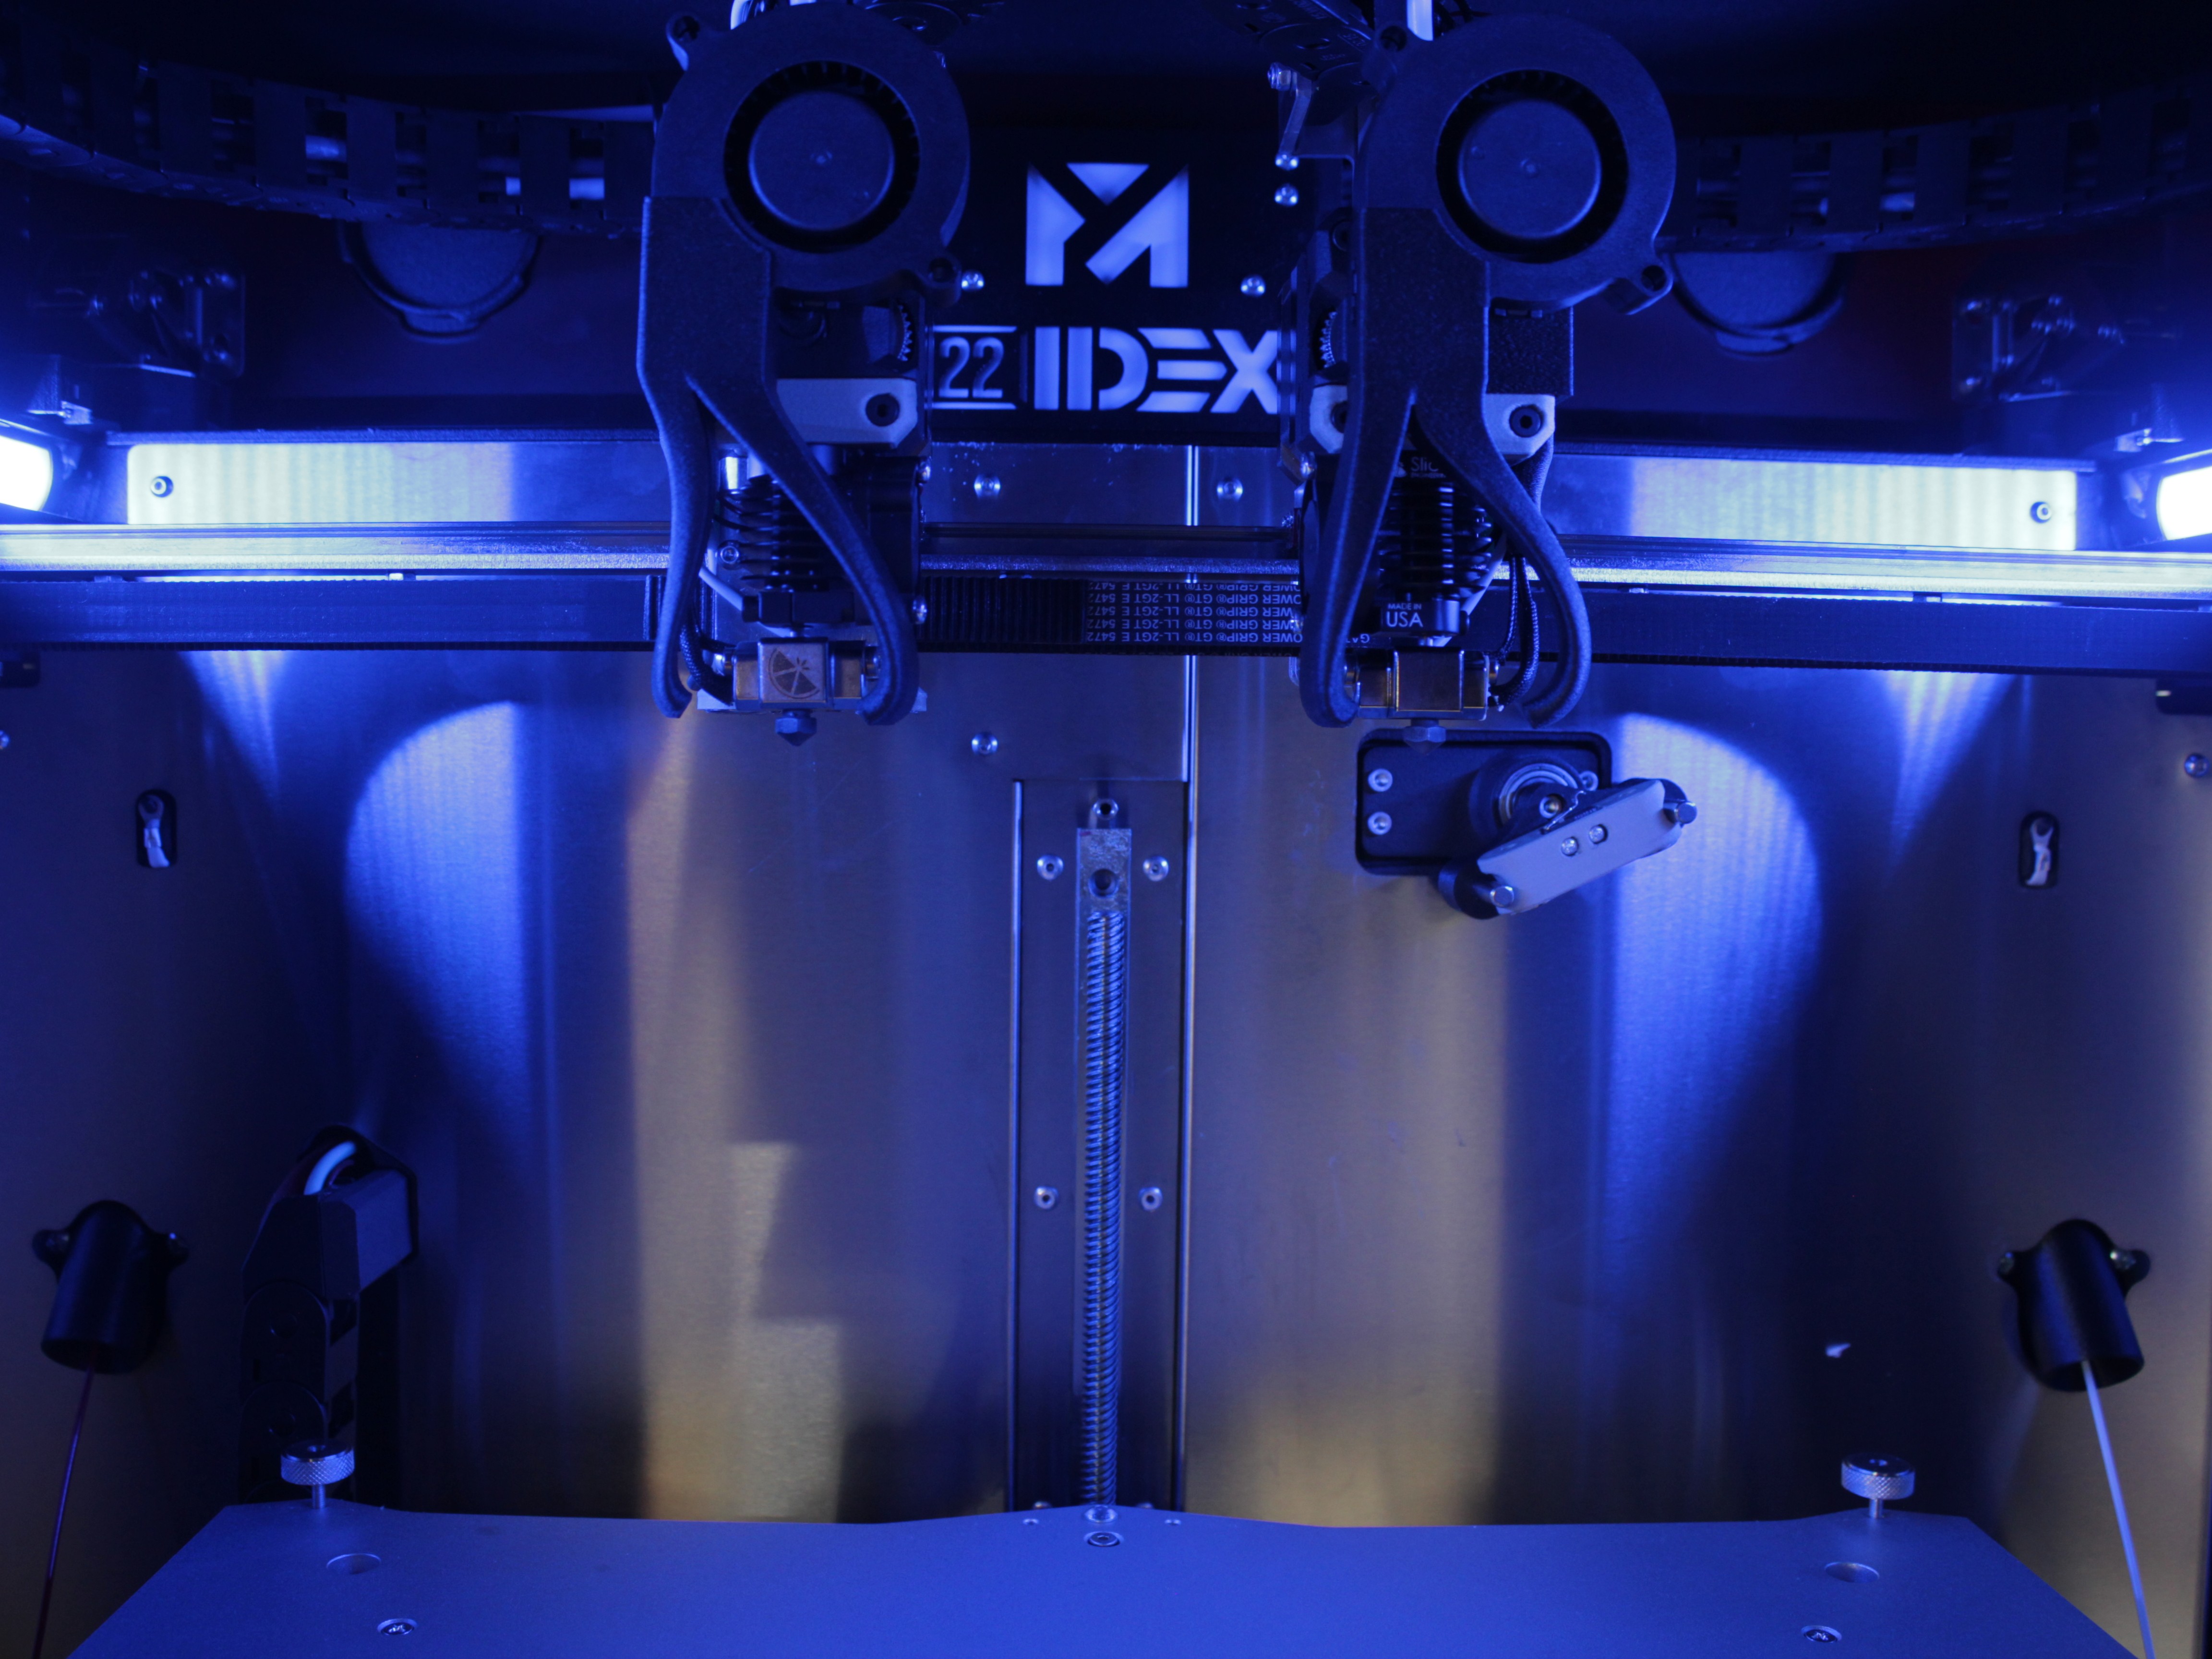
| 🔵 Blue | Connected over Ethernet to PC (192.168.1.50) |
| 🟢 Green | Connected over WiFi Client |
| 🔴 Red | Fell back to WiFi Access Point (the wired link did not come up) |
| ⚪ White | Already connected from the saved profile. Normal operation |
| ⚫ Off | Critical failure - not even the Access Point fallback could start (typical for machines without a WiFi module). The touchscreen shows a Network Connection Failed dialog |
After a fallback to Access Point, the red LEDs return to white once you tap OK on the touchscreen dialog - so white LEDs alone do not prove the saved profile connected. When in doubt, check 0:/IP_address.txt on the SD card.
Setup procedure
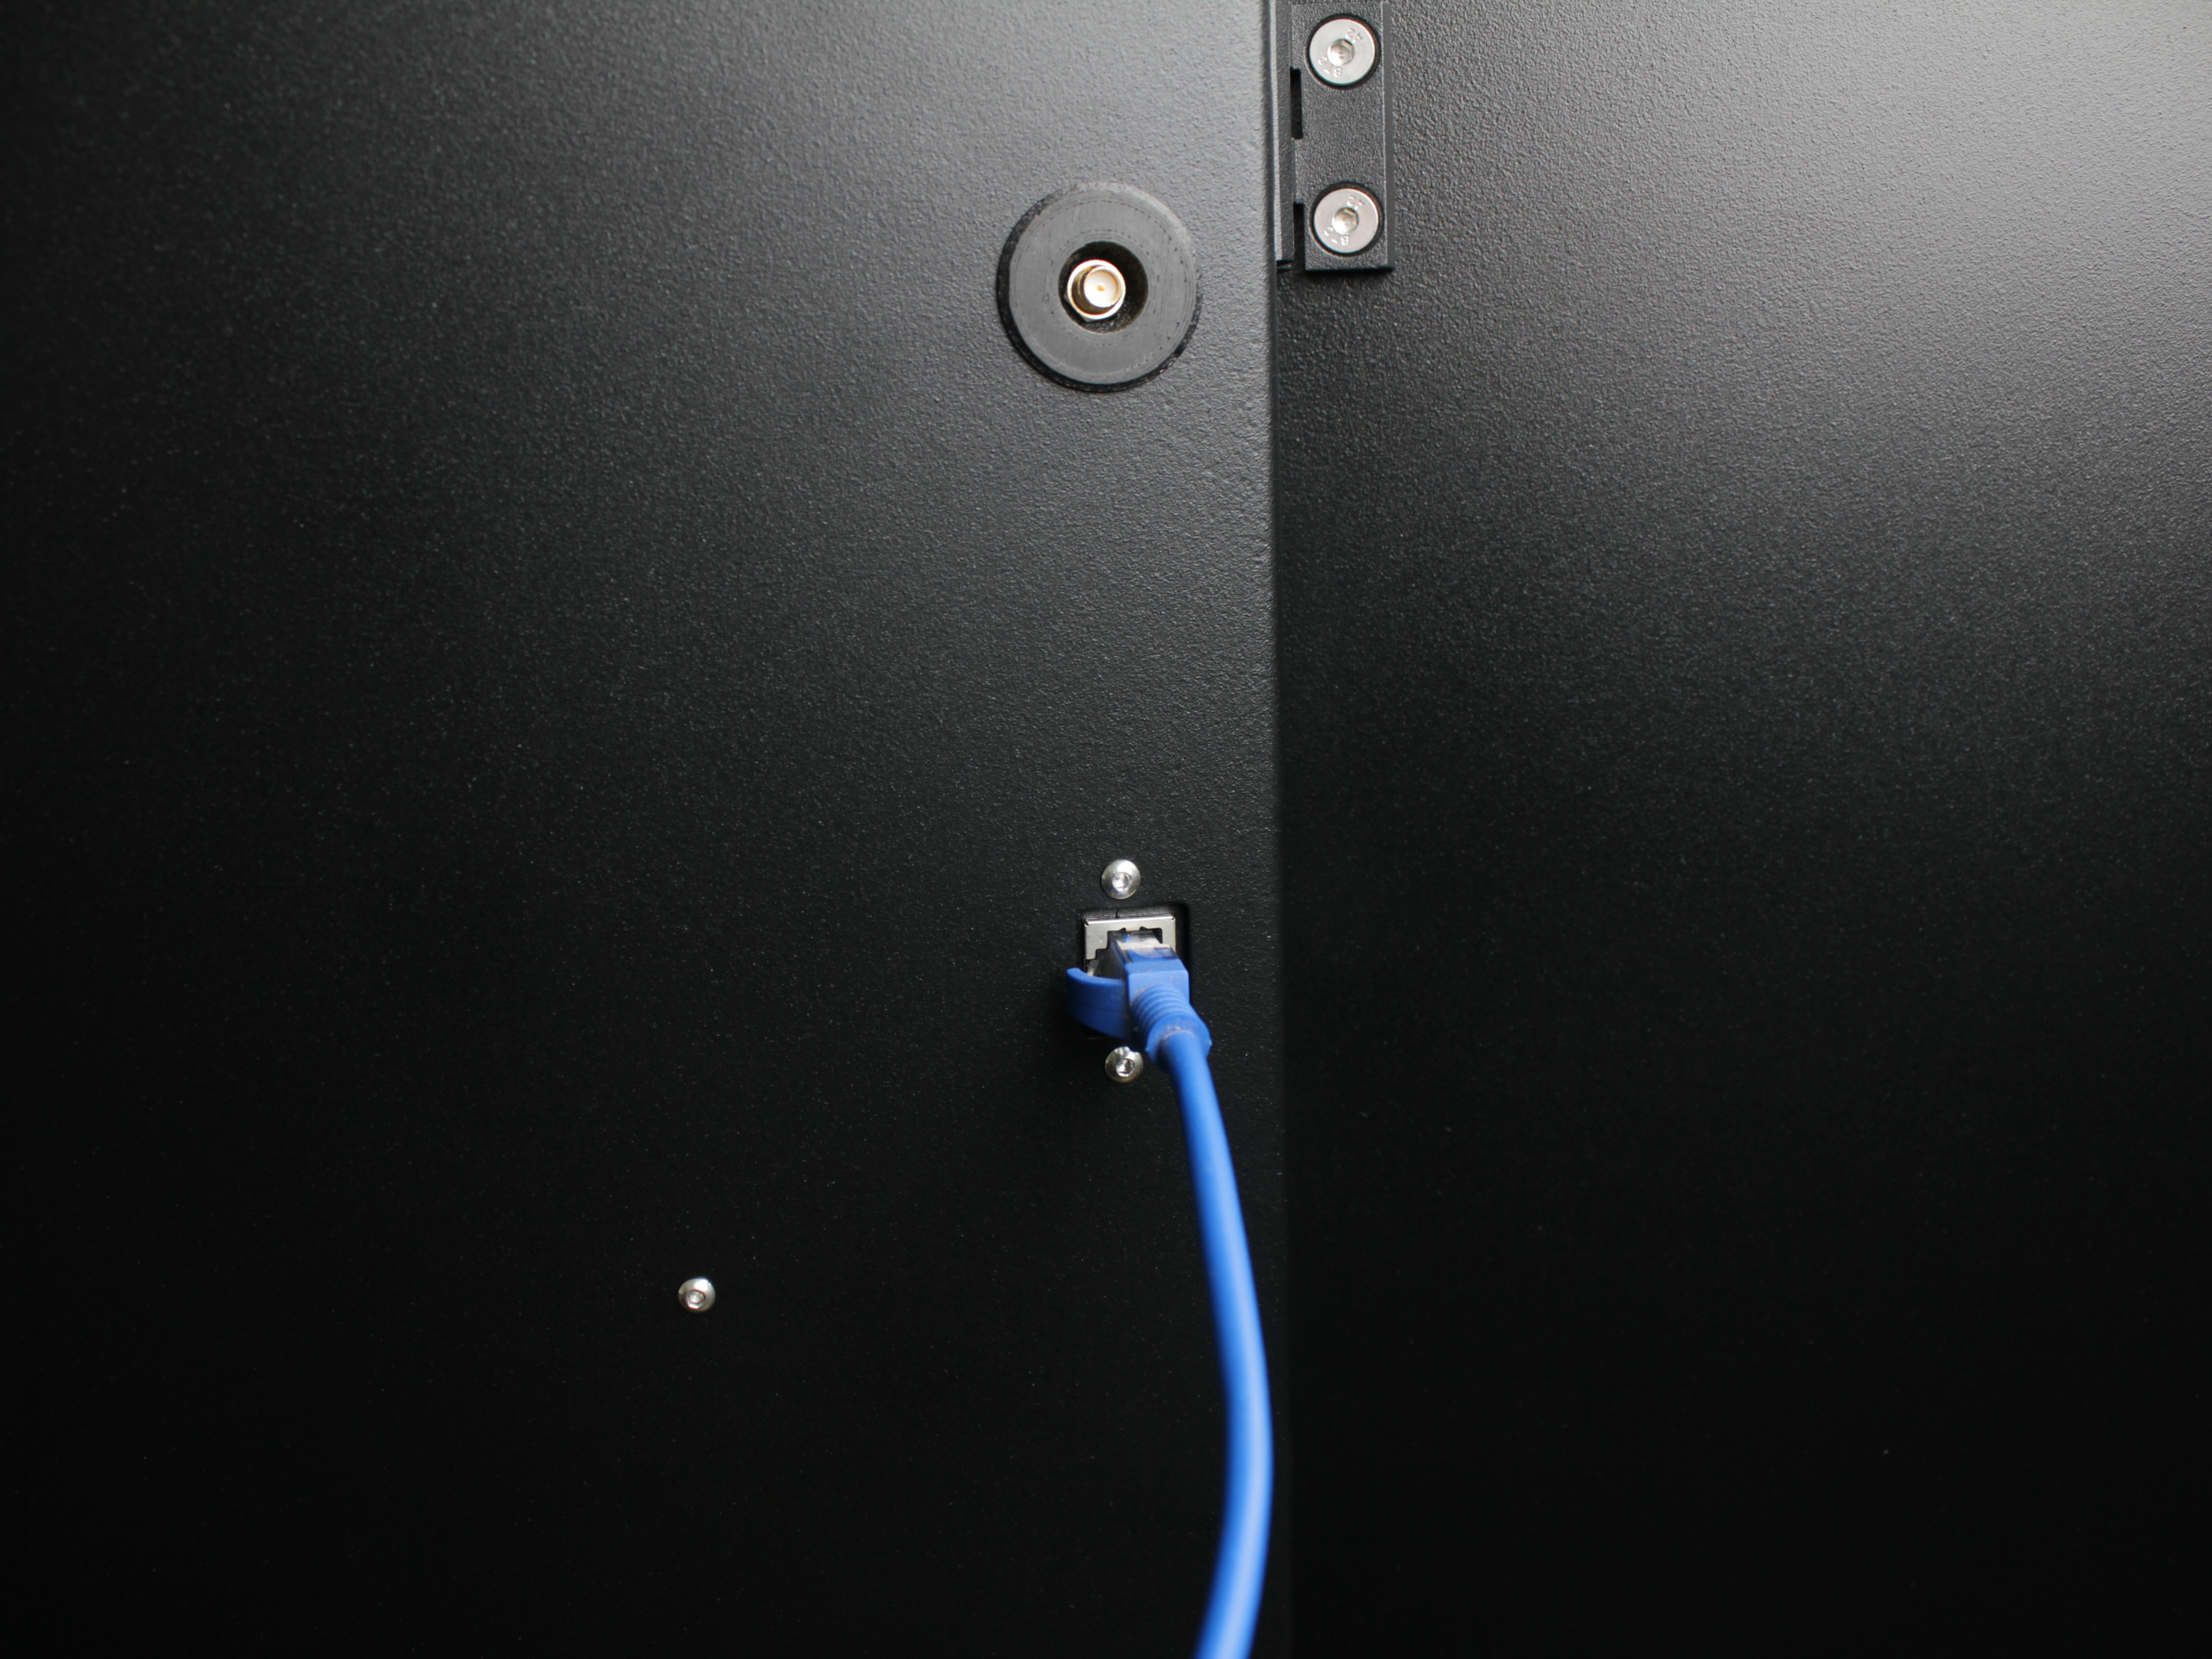
1. Connect the Ethernet cable
- DHCP or Static IP: connect the cable from the printer to a free LAN port on your router or switch. Seat both plugs fully and confirm the port's link LEDs.
- Ethernet to PC: connect the cable directly from the printer to the computer. Do not go through a router or switch.
2. Open the Enable Ethernet Mode macro
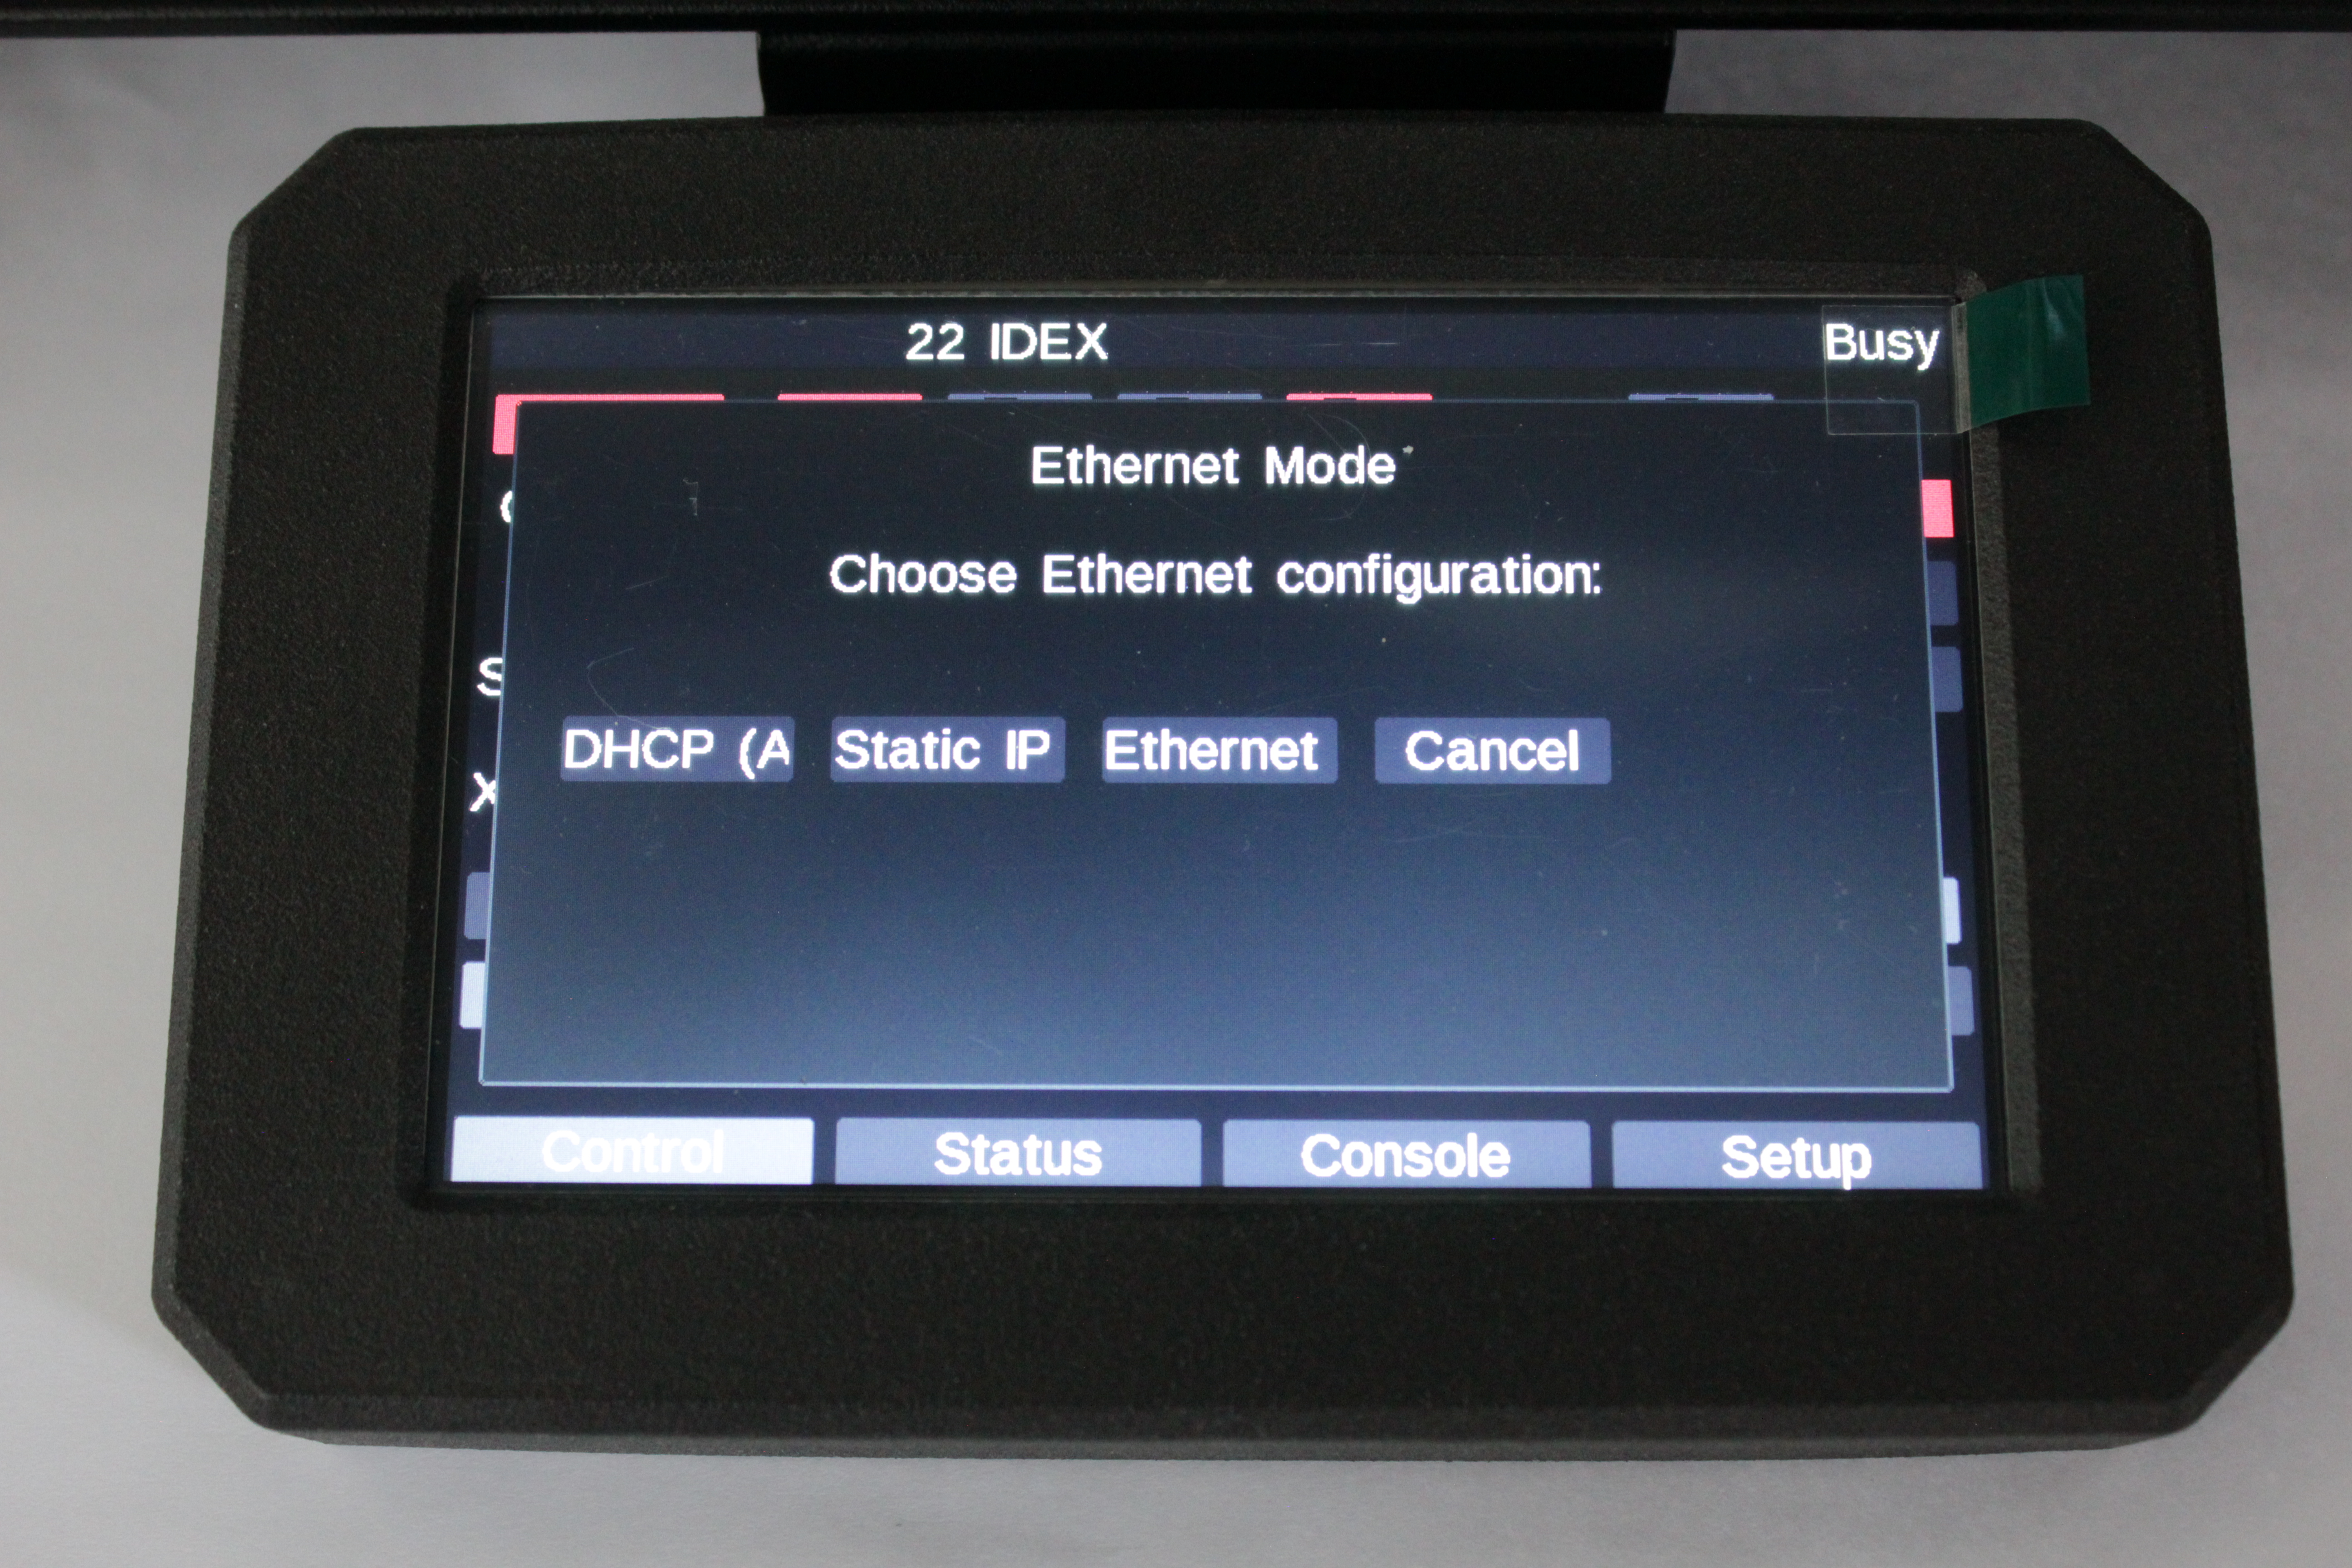
On the touchscreen, go to Macros > System > Settings > Network > Enable Ethernet Mode.
A dialog titled Ethernet Mode appears with four buttons:
- DHCP (Automatic)
- Static IP (Manual)
- Ethernet to PC Mode
- Cancel
3. Enter configuration details
DHCP (Automatic): no input needed. Continue to the next step.
Static IP (Manual): the touchscreen prompts, in order, for:
| Field | Default |
|---|---|
| IP Address | 192.168.1.100 |
| Subnet Mask | 255.255.255.0 (enter 0 to skip) |
| Gateway | 192.168.1.1 (enter 0 to skip) |
Ethernet to PC Mode: a PC Mode Configuration dialog offers Use Default Settings (printer at 192.168.1.50) or Use Custom IP Values. Defaults work for most users. If you pick custom, you are prompted for IP, subnet, and gateway.
Ethernet to PC needs a static IP on the computer too
In Ethernet to PC mode you must also set the computer to a matching static IP (192.168.1.51). See Configure your computer for Ethernet to PC below before you run the test.
4. Confirm the cable and start the test
A Switching to Ethernet Mode dialog reminds you the connection will drop briefly and lists the LED colors. Confirm the cable is connected, then tap Ethernet cable is connected to begin.
The printer disables WiFi, enables Ethernet, and tests the link. Watch the chamber LEDs:
- 🟡 Yellow: testing in progress. Wait (usually 10 to 30 seconds).
- 🟢 Green: the test succeeded. Continue to the next step.
- 🔴 Red: the test failed and the printer reverted to the previous mode. See Troubleshooting.
5. Verify the Web Interface, then save
On green, the touchscreen shows a Connection Successful dialog with the printer's IP address and local domain (22idex.local), and asks whether to save.
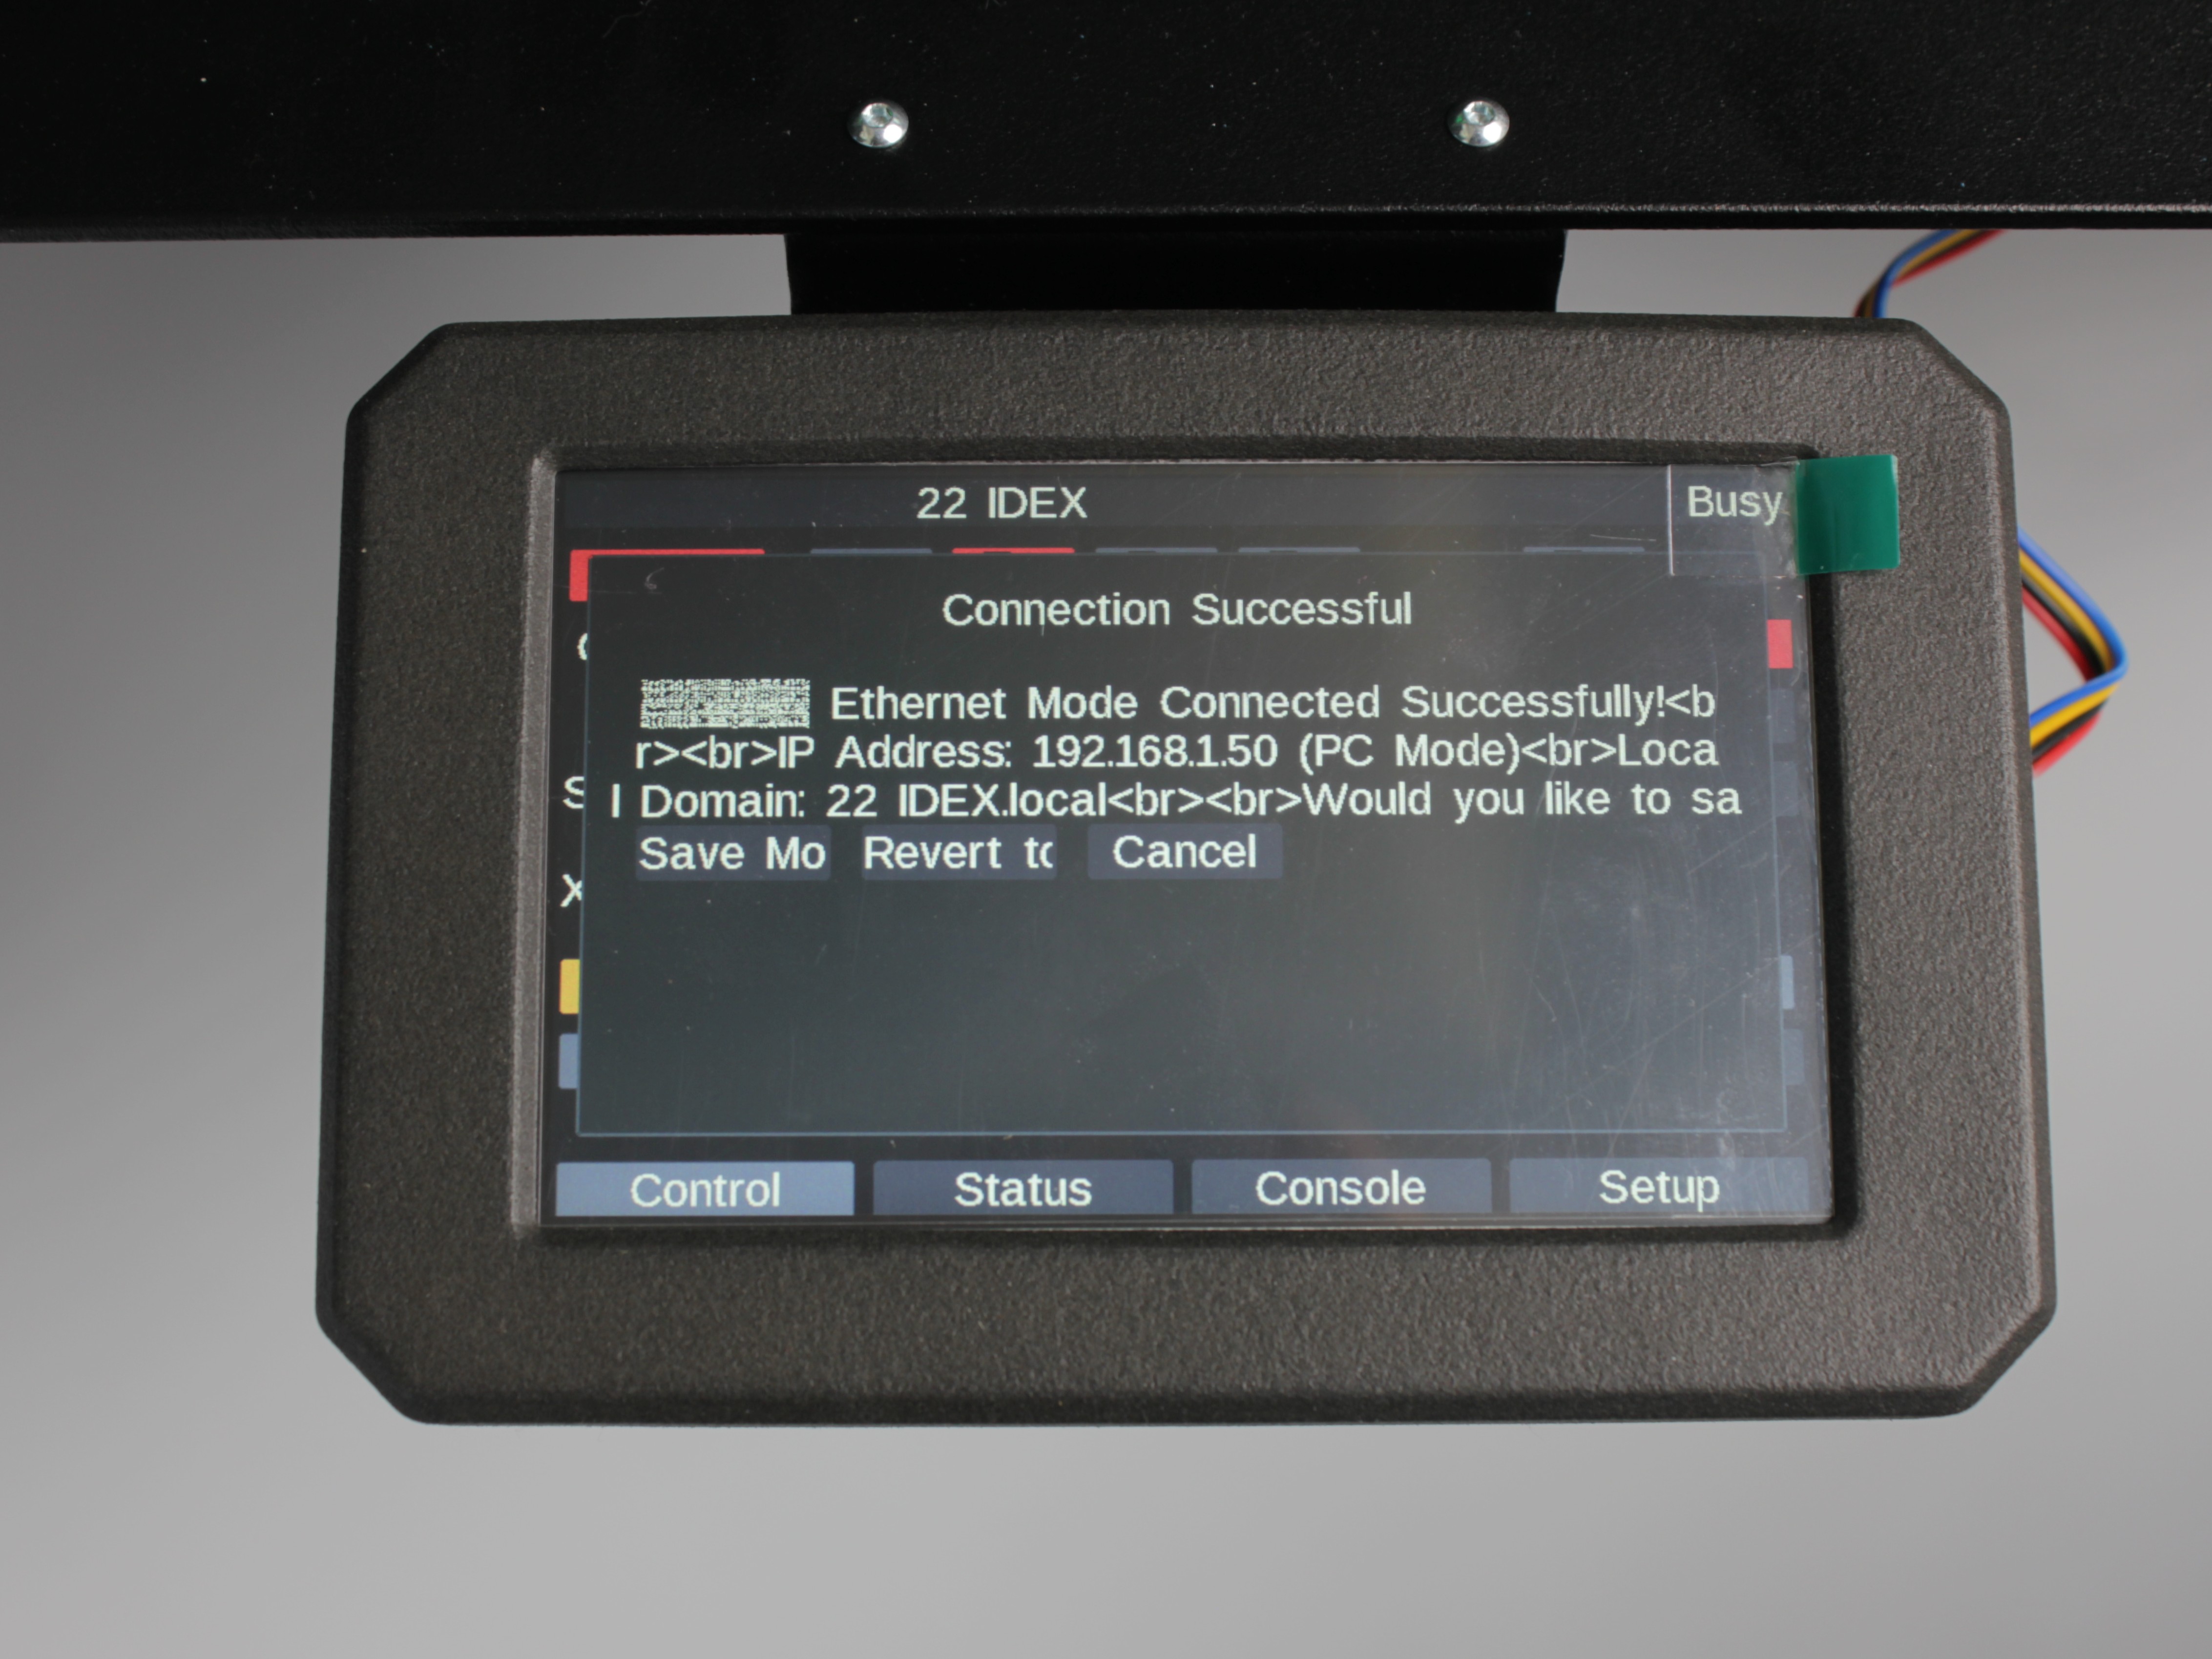
Before saving, confirm the connection actually works:
- Note the IP address shown.
- On a computer on the same subnet, open a browser to that address (for example
http://192.168.1.50), or tryhttp://22idex.local. - Confirm the Web Interface loads.
Once the Web Interface loads, tap Save Mode on the touchscreen. The LEDs turn white and the mode is now permanent. If the Web Interface does not load, tap Revert to Previous or Cancel and see Troubleshooting.
Hostname vs IP address
http://22idex.local works where multicast DNS is allowed. On locked-down networks, use the numeric IP.
Configure your computer for Ethernet to PC
If you chose Ethernet to PC Mode, set your computer to a static IP on the same 192.168.1.* network before you run the test.
Set these IPv4 values on the computer
| Field | Value |
|---|---|
| IP address | 192.168.1.51 |
| Subnet mask | 255.255.255.0 |
| Gateway / router | Leave empty or use 192.168.1.50 |
Only the last number may differ from the printer's 192.168.1.50. Do not use 192.168.0.*, 10.*, or another network.
| Step | Action |
|---|---|
| 1 | Open Settings > Network & Internet > Ethernet. |
| 2 | Select your Ethernet adapter. |
| 3 | Next to IP assignment, choose Edit > Manual. |
| 4 | Turn IPv4 on. |
| 5 | IP address: 192.168.1.51, Subnet mask: 255.255.255.0, Gateway: empty or 192.168.1.50. |
| 6 | Save. |
| Step | Action |
|---|---|
| 1 | Open System Settings > Network. |
| 2 | Select Ethernet > Details. |
| 3 | Open the TCP/IP tab, set Configure IPv4 to Manually. |
| 4 | IP address: 192.168.1.51, Subnet mask: 255.255.255.0, Router: empty or 192.168.1.50. |
| 5 | OK, then Apply. |
| Step | Action |
|---|---|
| 1 | Open the wired Ethernet connection settings (wording varies by distro). |
| 2 | Set the method to Manual (or Static). |
| 3 | Address: 192.168.1.51, Netmask: 255.255.255.0, Gateway: empty or 192.168.1.50. |
| 4 | Save and apply the profile. |
No internet on that wired adapter
That adapter is on an isolated network. Use WiFi or another adapter if you need internet at the same time.
Then connect the cable directly from the printer to the computer and run the macro (Ethernet to PC Mode).
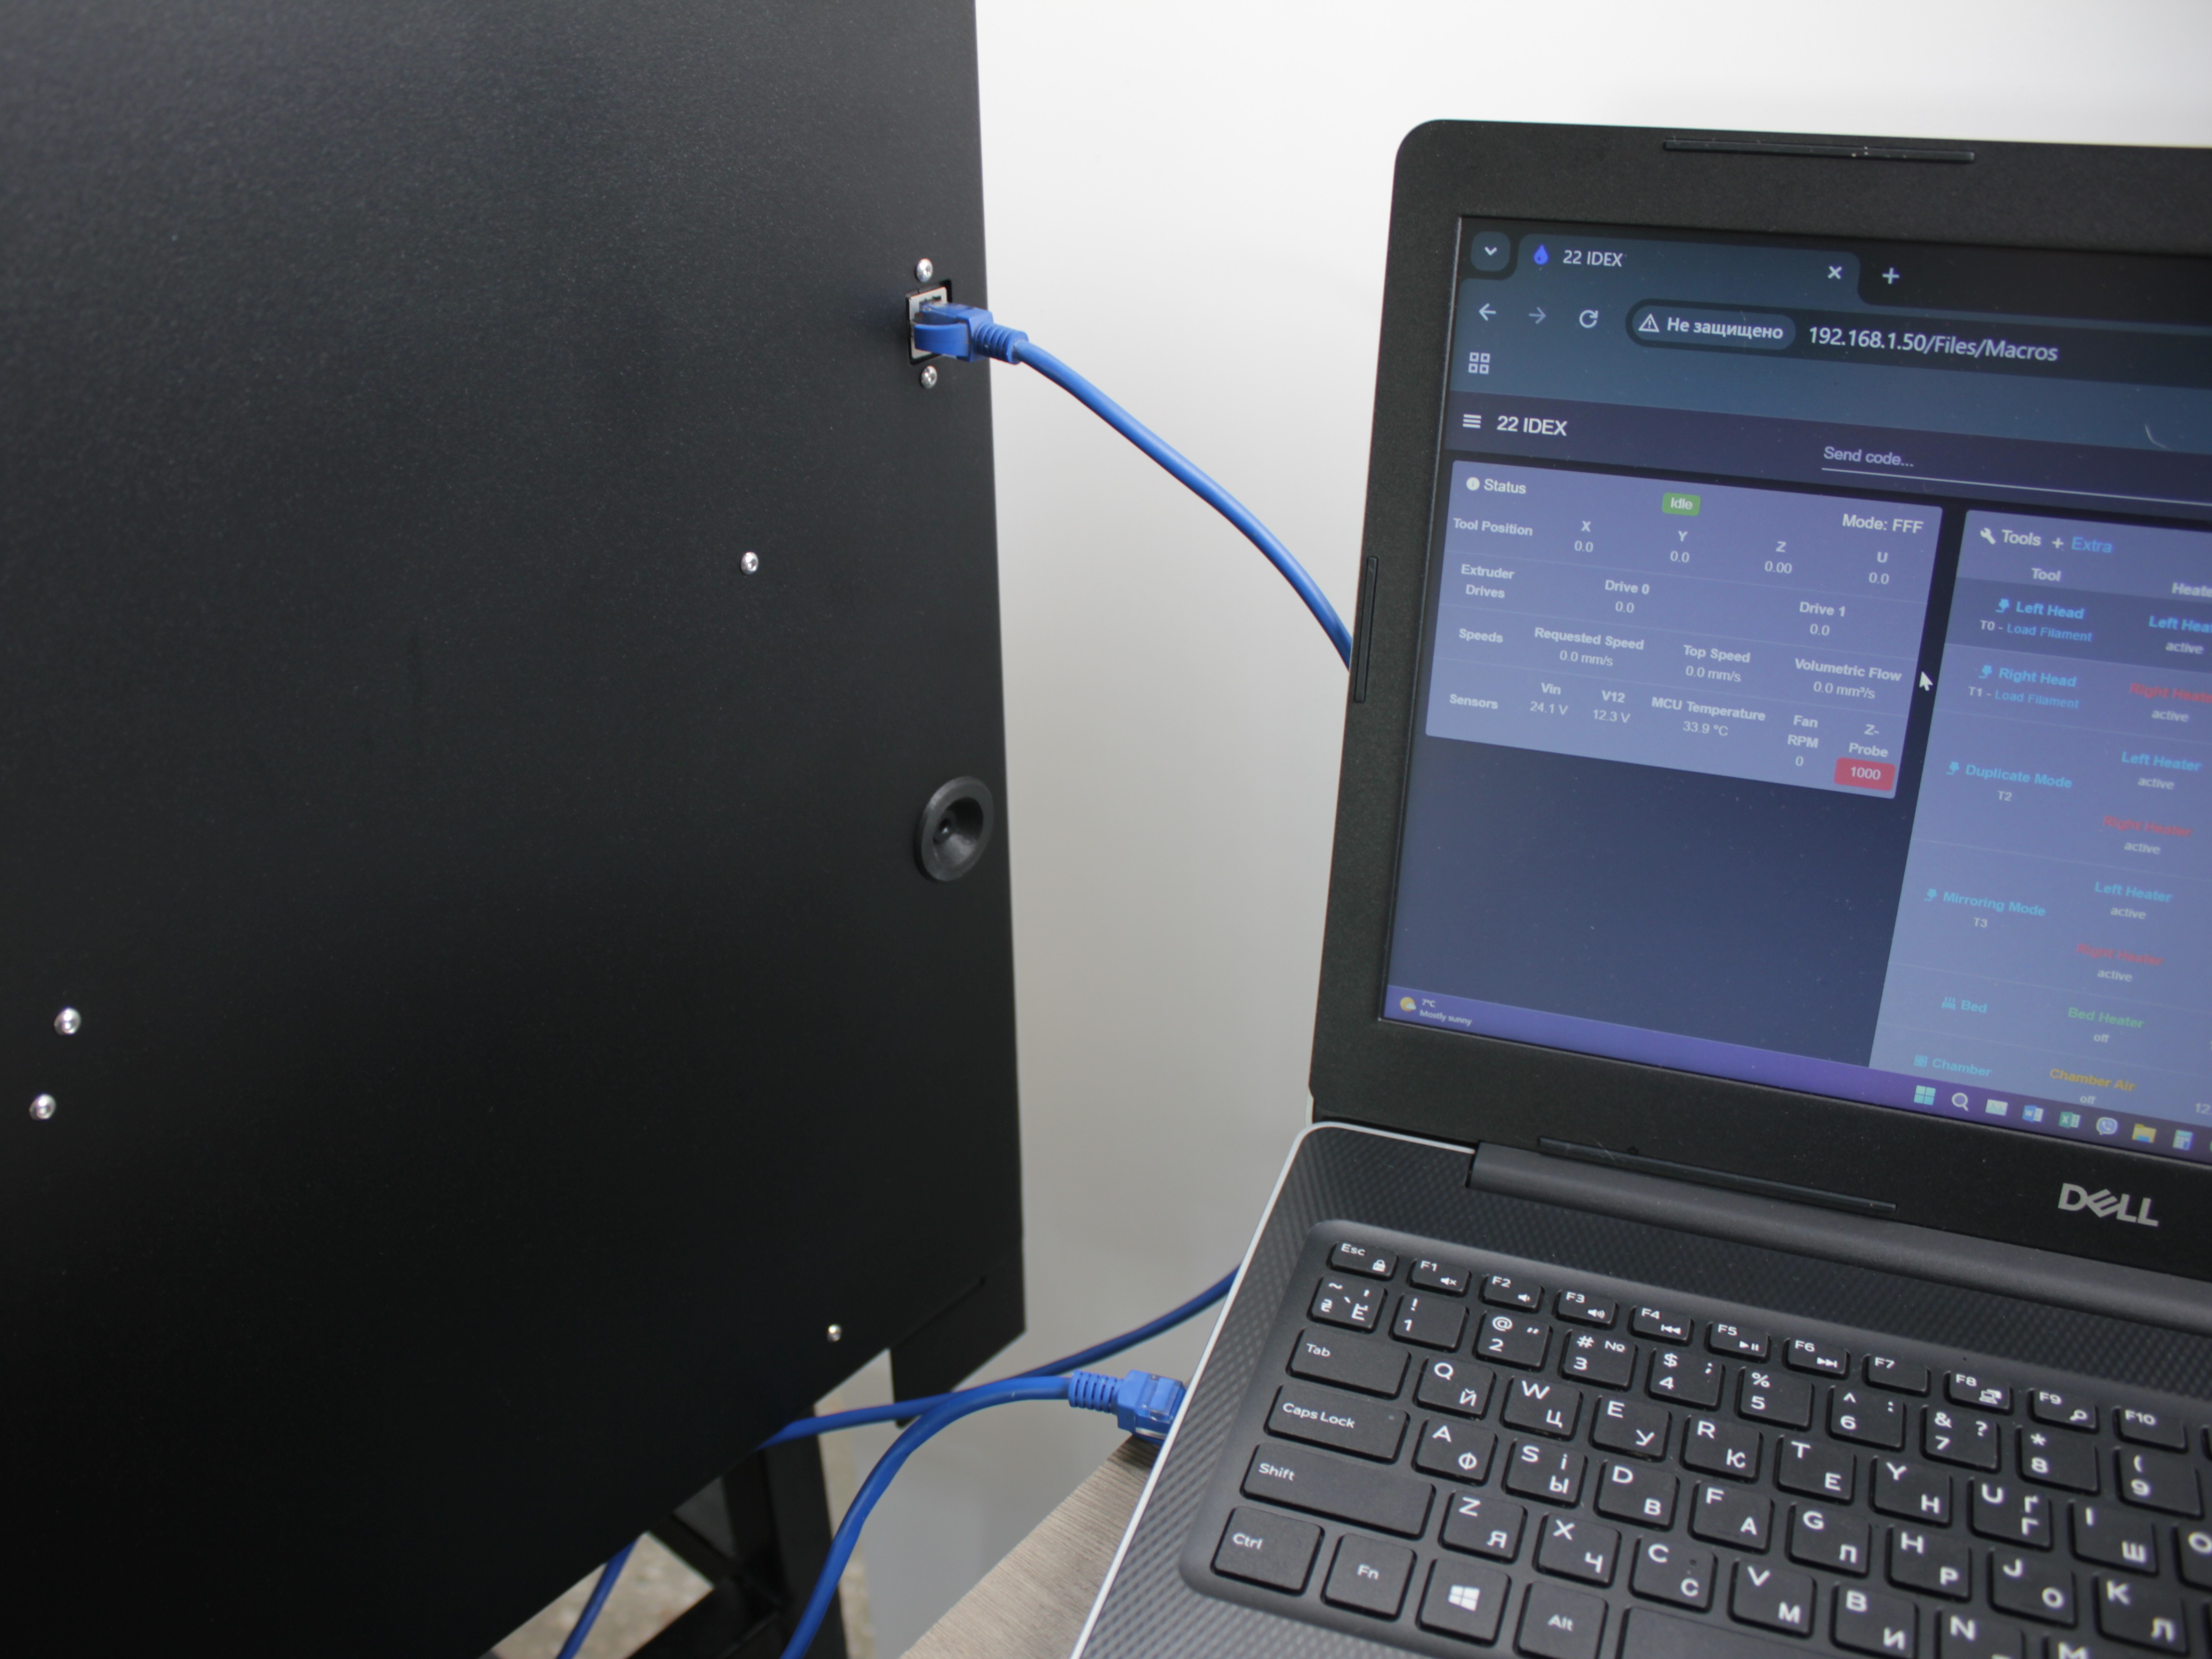
At startup in this mode, the chamber LEDs turn blue.
Finding the printer's IP
- Touchscreen: the Connection Successful dialog shows the IP during setup.
- Hostname: try
http://22idex.localin a browser if multicast DNS is allowed. - SD card: the printer writes the current mode and IP to
0:/IP_address.txt. Power off, remove the SD card, and read the file on a computer.
Troubleshooting
Support
If you could not find an answer here, reach out to our support team.