Network Troubleshooting
Diagnose 22 IDEX V4 Ethernet faults: red chamber LEDs, no DHCP address, wrong subnet, and find the printer IP from the SD card log or the M552 I0 command.
This guide helps you troubleshoot the Ethernet connection on the Vision Miner 22IDEX V4. After power-on, the firmware runs automatic network detection for about 60 seconds, then shows chamber LEDs and may prompt on the touchscreen.
This page covers:
- Regular Ethernet - printer on a switch or router with DHCP.
- Ethernet to PC - single cable to one computer, static
192.168.1.xon both ends. - Chamber LED meaning, touchscreen save prompt, opening the Web Interface.
- Reading
IP_address.txton the SD card and Console commandM552 I0. - Macros > System > Settings > Network > Assign Static IP when DHCP is not allowed.
- FAQ and Troubleshooting for typical faults.
Before you begin - safety and risk
Read the Safety - Before You Begin article to understand the hazards involved in working on the Vision Miner 22IDEX V4 - including electrical, thermal, mechanical, and chemical risks. All procedures in this wiki are provided as recommendations only. By choosing to follow any procedure, you do so at your own risk.
Tools and Materials
- Vision Miner 22IDEX V4
- Ethernet patch cable (Cat5e or better)
- Regular Ethernet: managed or unmanaged switch or router with a free port and DHCP
- Ethernet to PC: PC or Mac with Ethernet or a USB-Ethernet adapter, plus rights to set a static IPv4 address
Choose the link type
| Mode | Cable path | Addressing | Typical use |
|---|---|---|---|
| Regular Ethernet | Printer → switch/router | DHCP from the LAN | Several PCs need the printer; normal building LAN |
| Ethernet to PC | Printer → one PC only (no switch in between) | Printer 192.168.1.50, PC 192.168.1.51, mask 255.255.255.0 | No DHCP, or policy needs an isolated link |
After a successful setup, the printer reuses the same mode after each reboot until you change it in Macros > System > Settings > Network or via the touchscreen prompt.
- Regular Ethernet: go to Regular Ethernet (DHCP).
- Ethernet to PC: go to Ethernet to PC.
Regular Ethernet (DHCP)
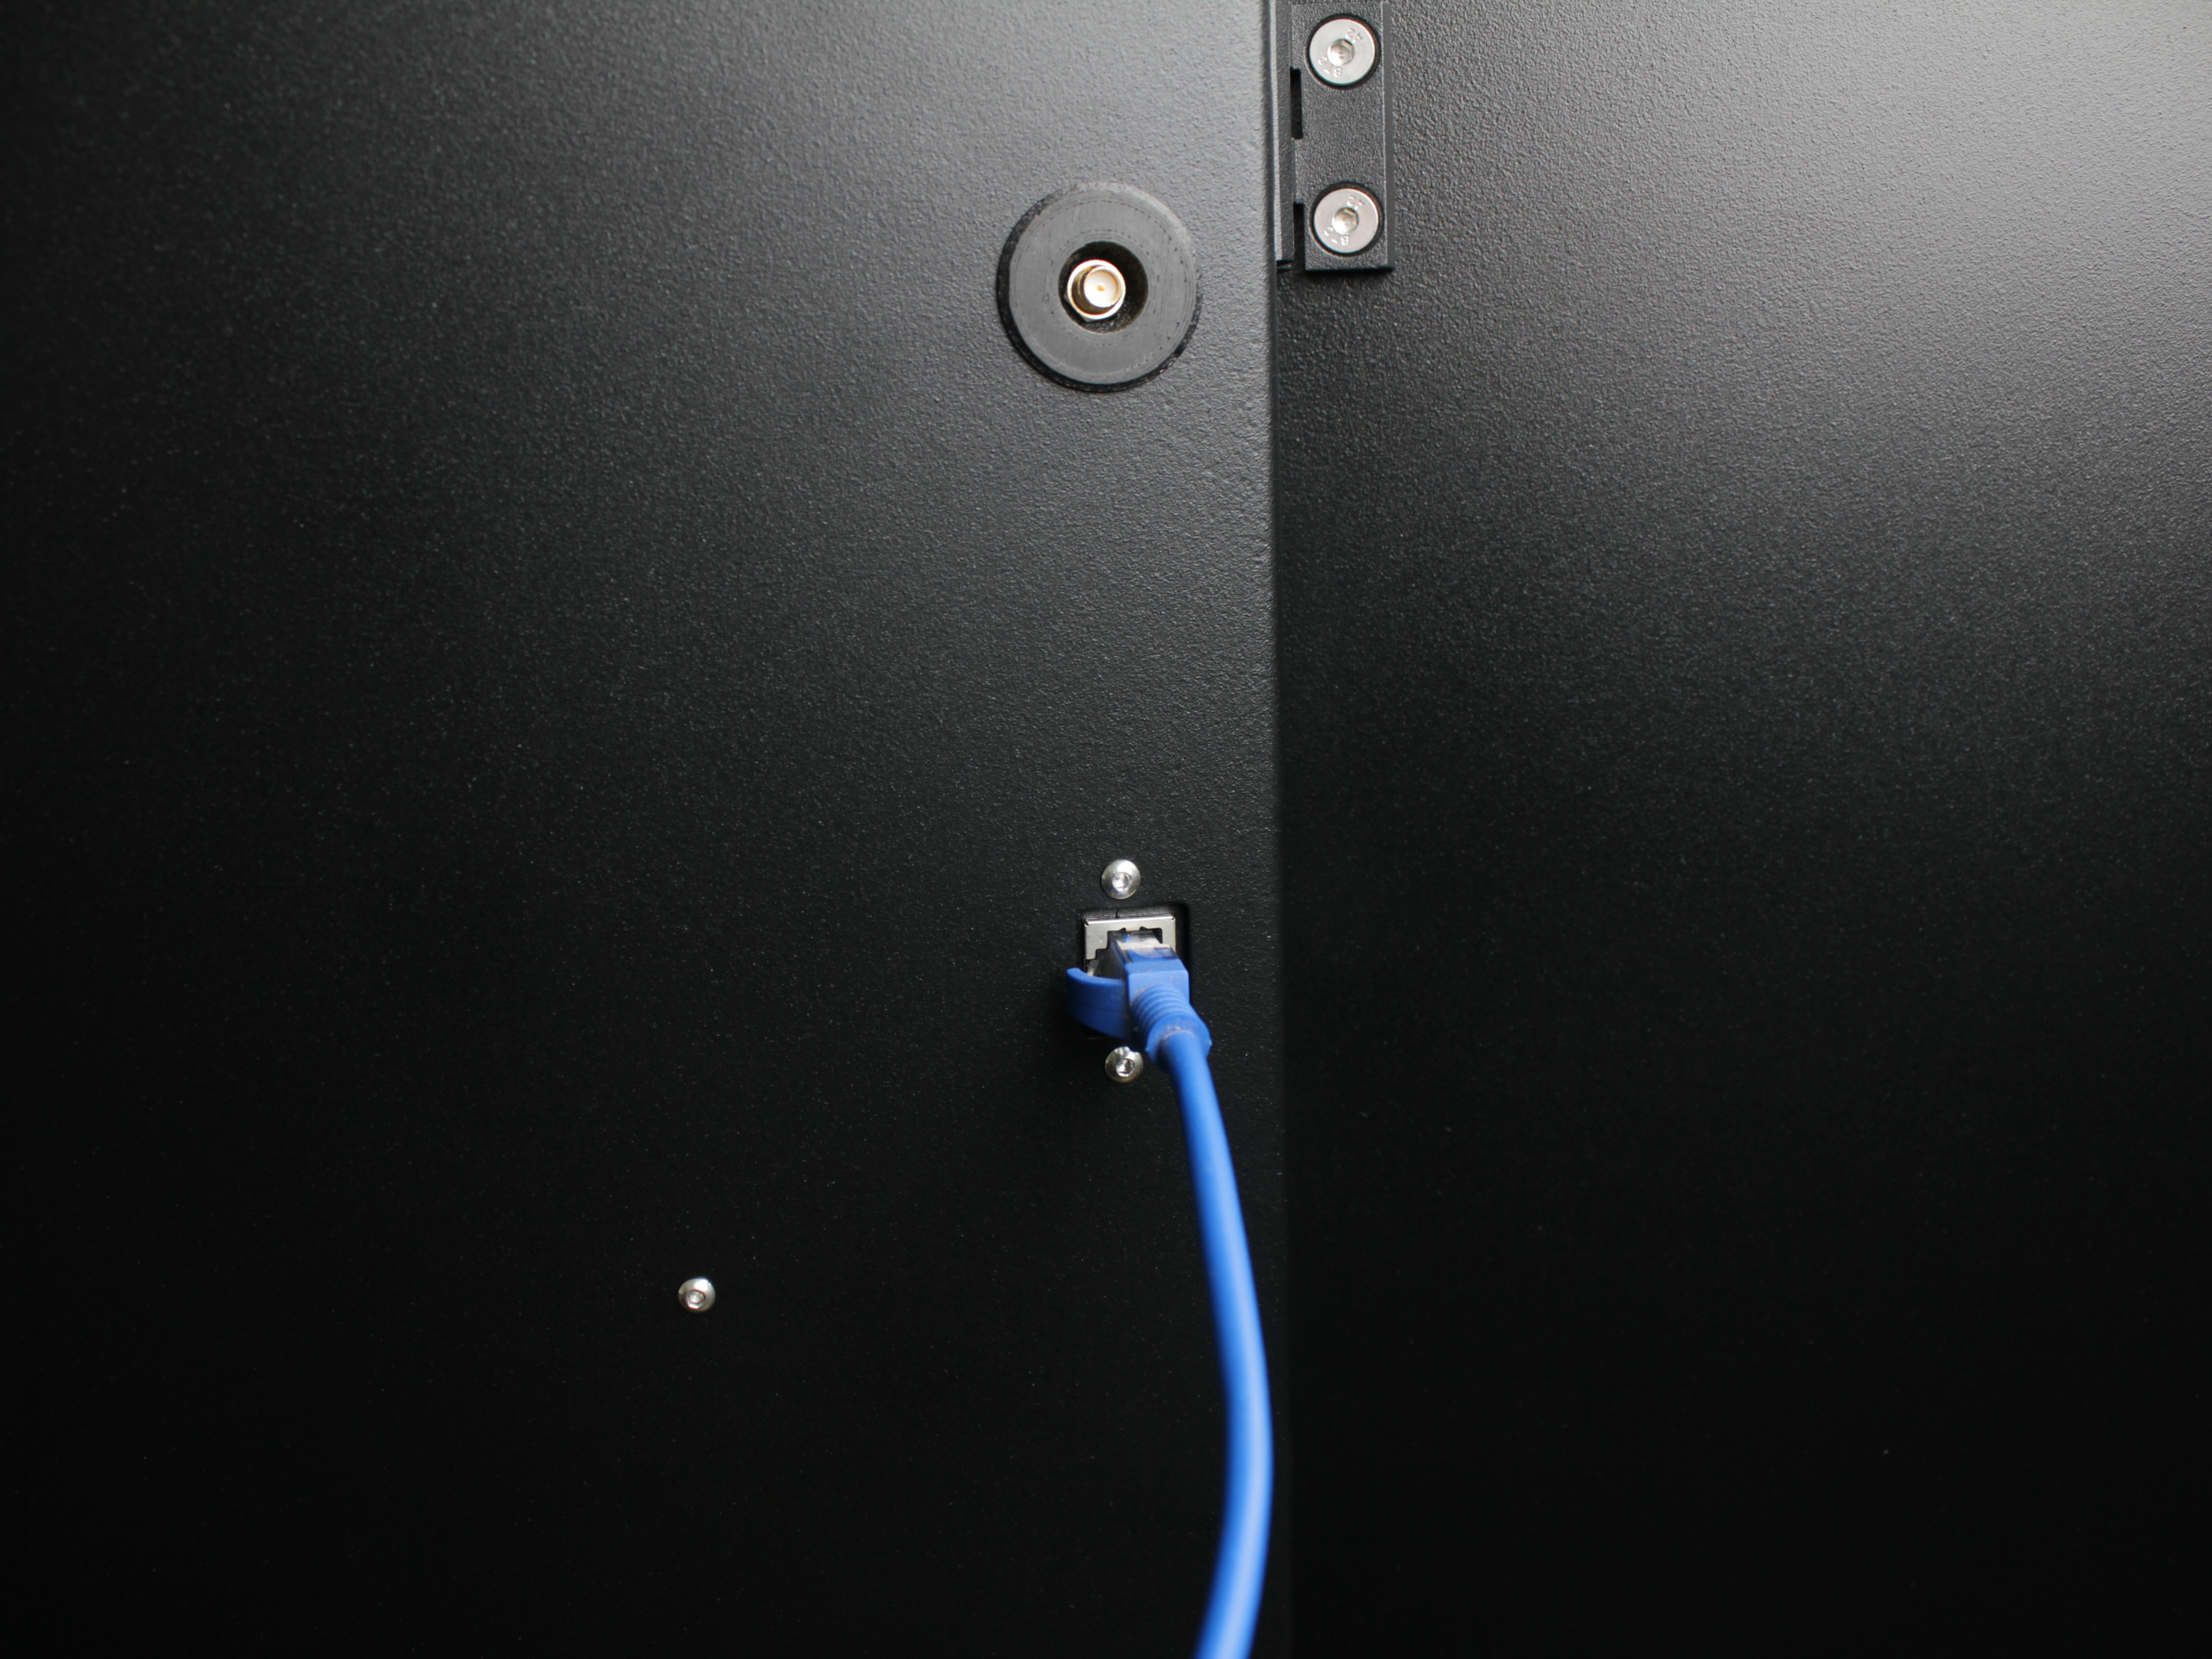
- Power off the printer. Connect Ethernet from the printer jack to a LAN port on the switch or router. Seat the plugs fully.
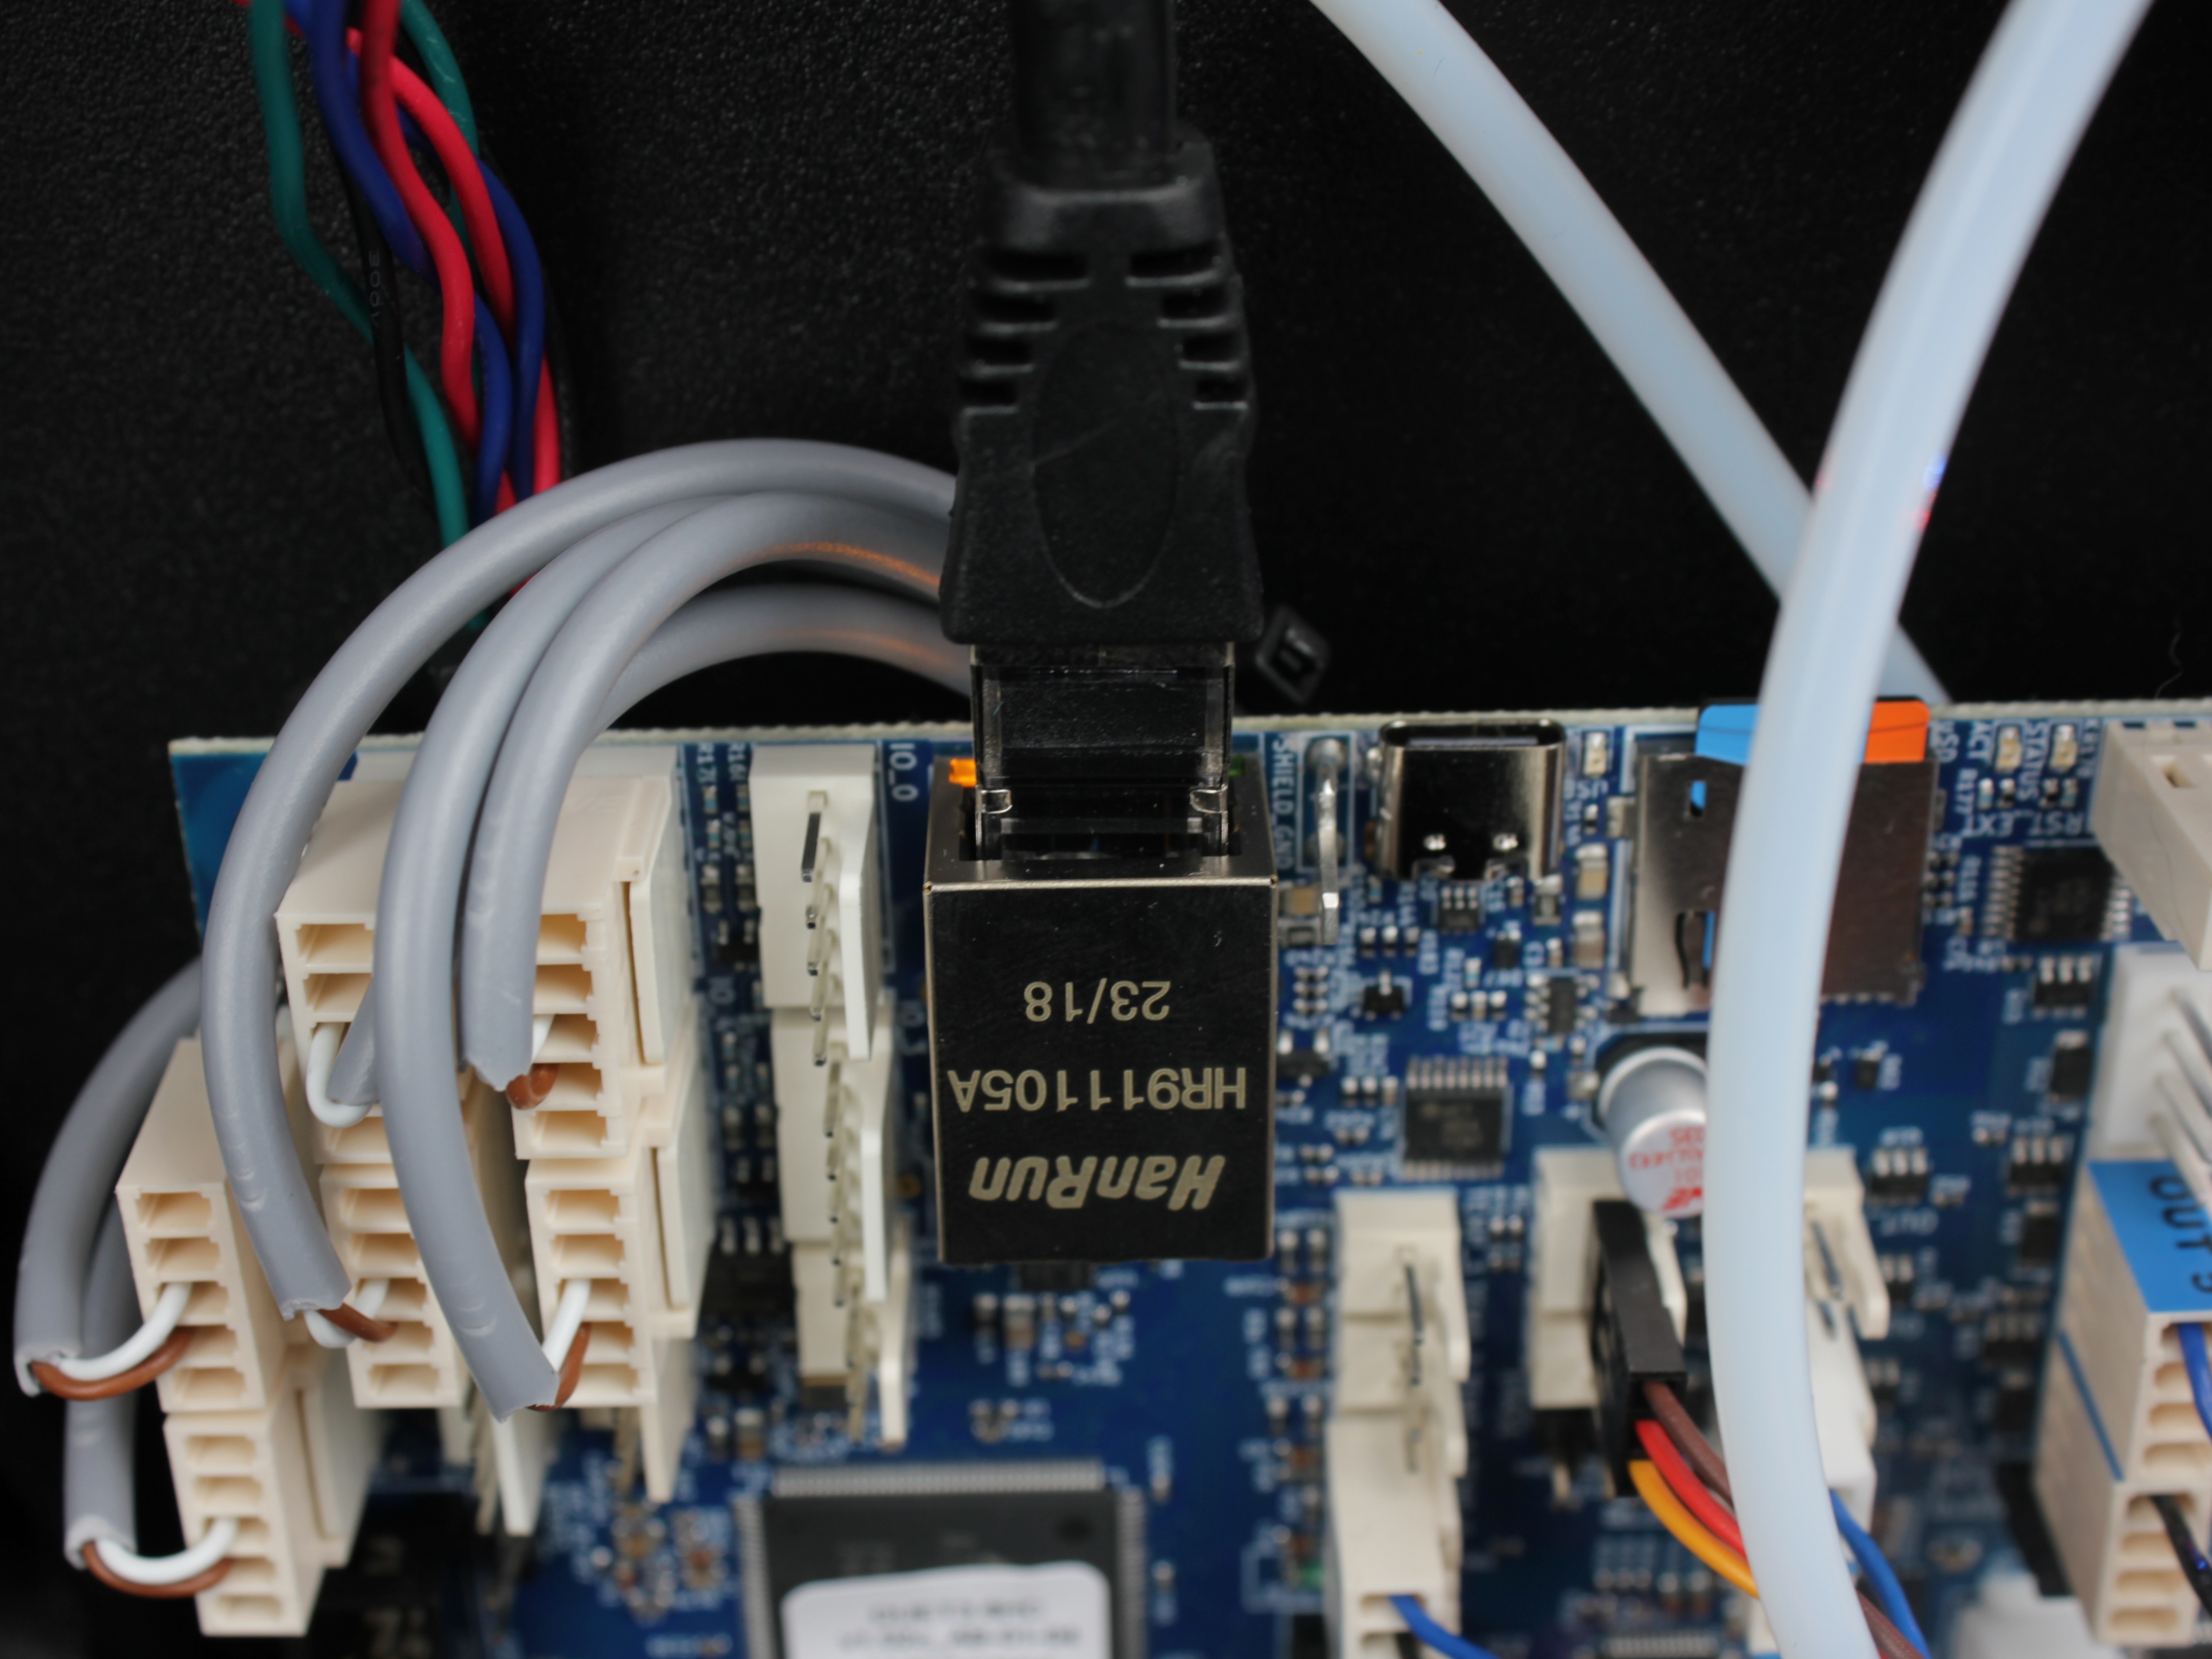
Verify the LEDs are lit on the Ethernet port on the mainboard in the electronics bay.
-
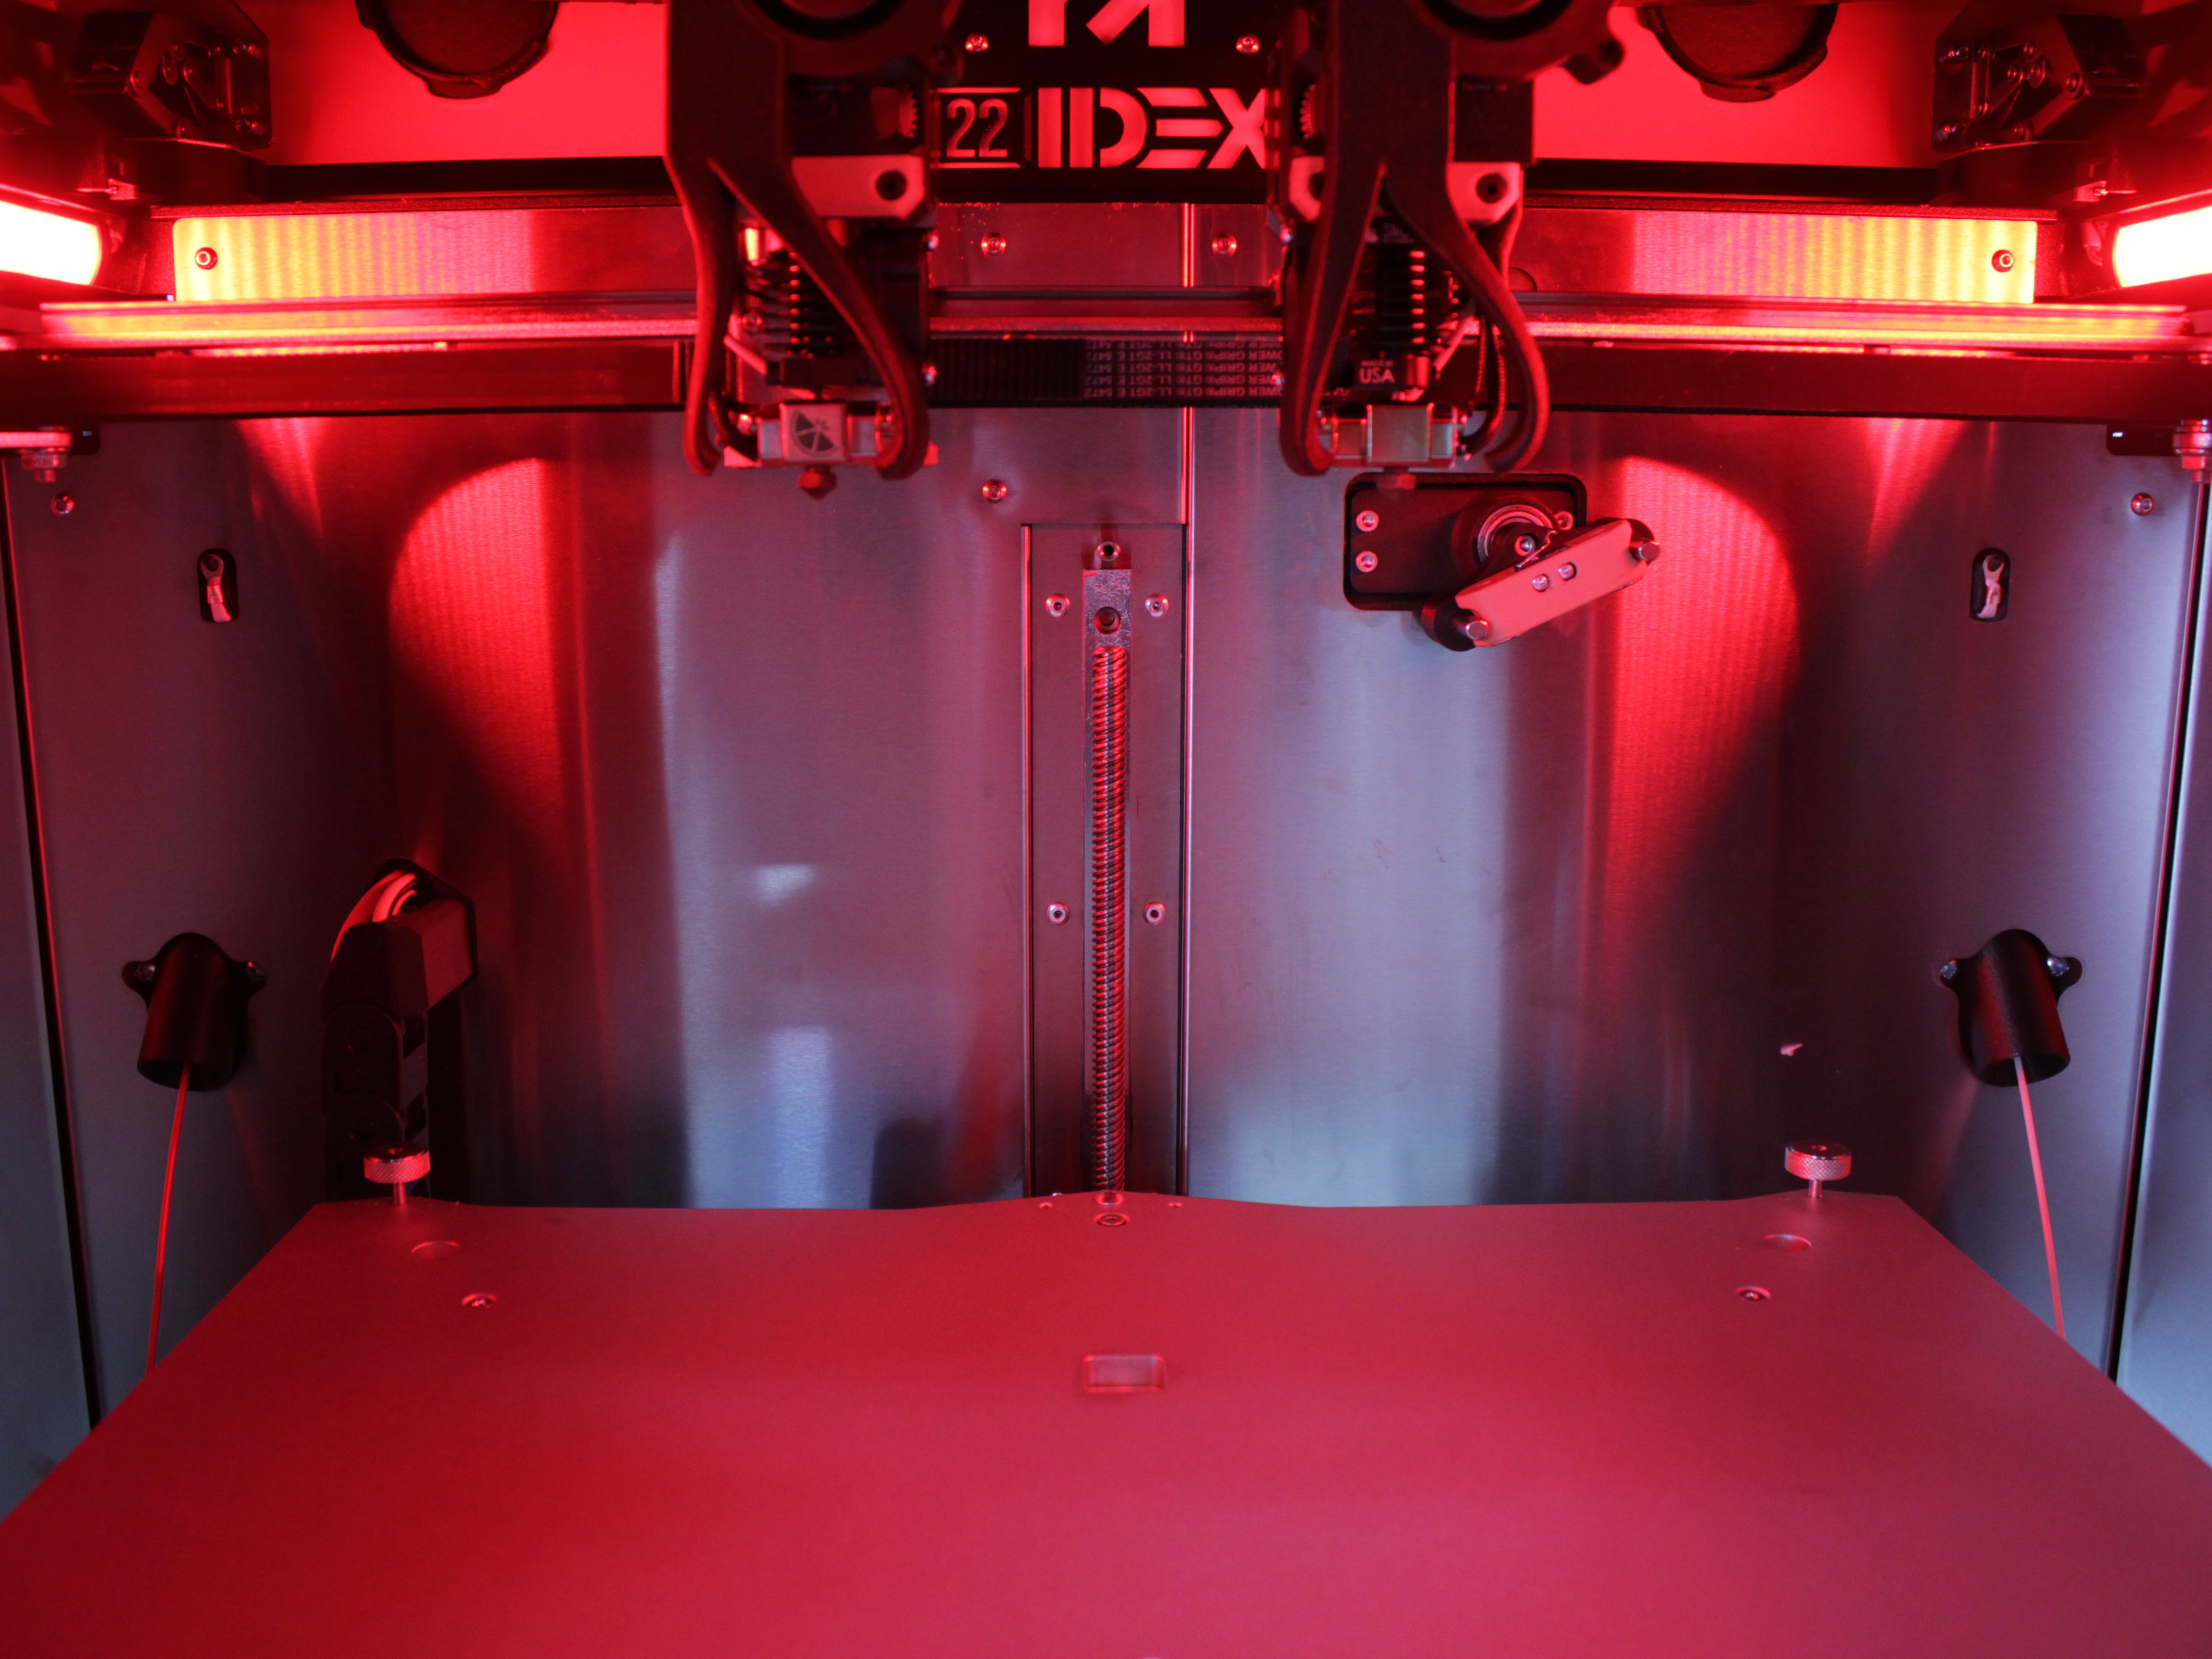
Power on. Watch the chamber LEDs for 60 seconds (longer on slow switches is OK).
- Yellow - DHCP path succeeded; continue.
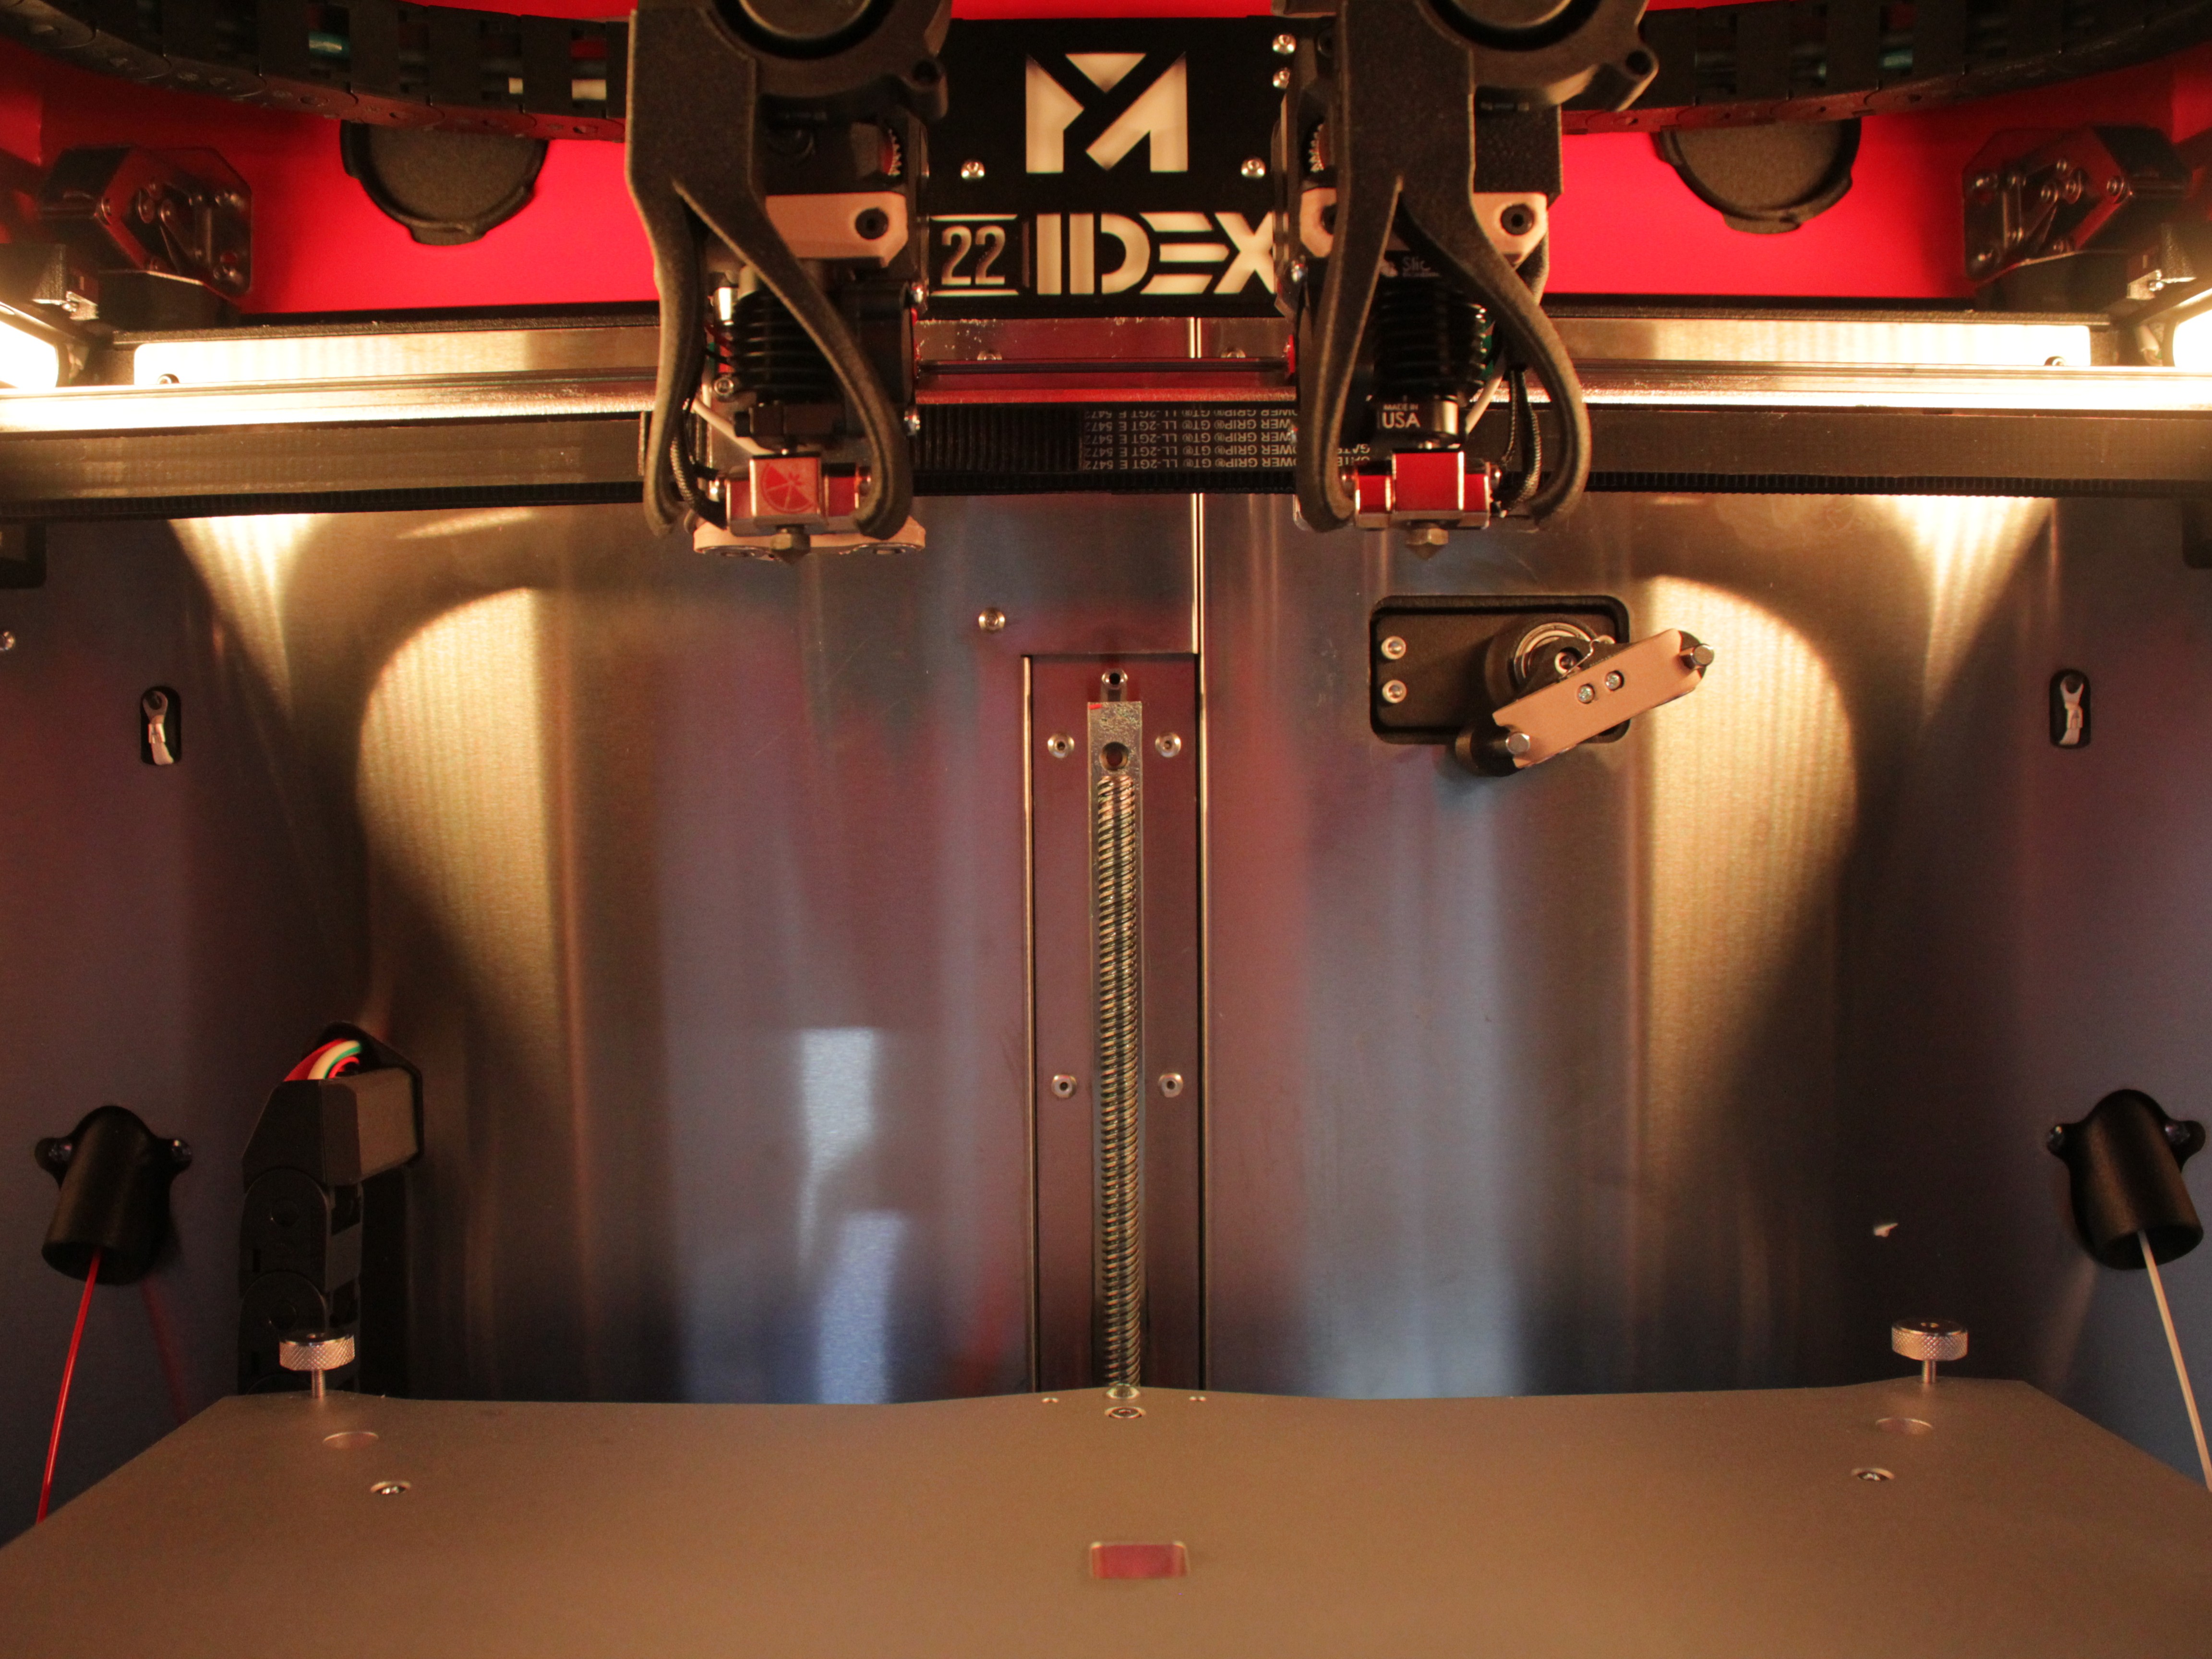
- Red - failed; see Troubleshooting.
First minute on the wire
The board negotiates the link, then requests DHCP. Do not call it failed until the full interval has passed.
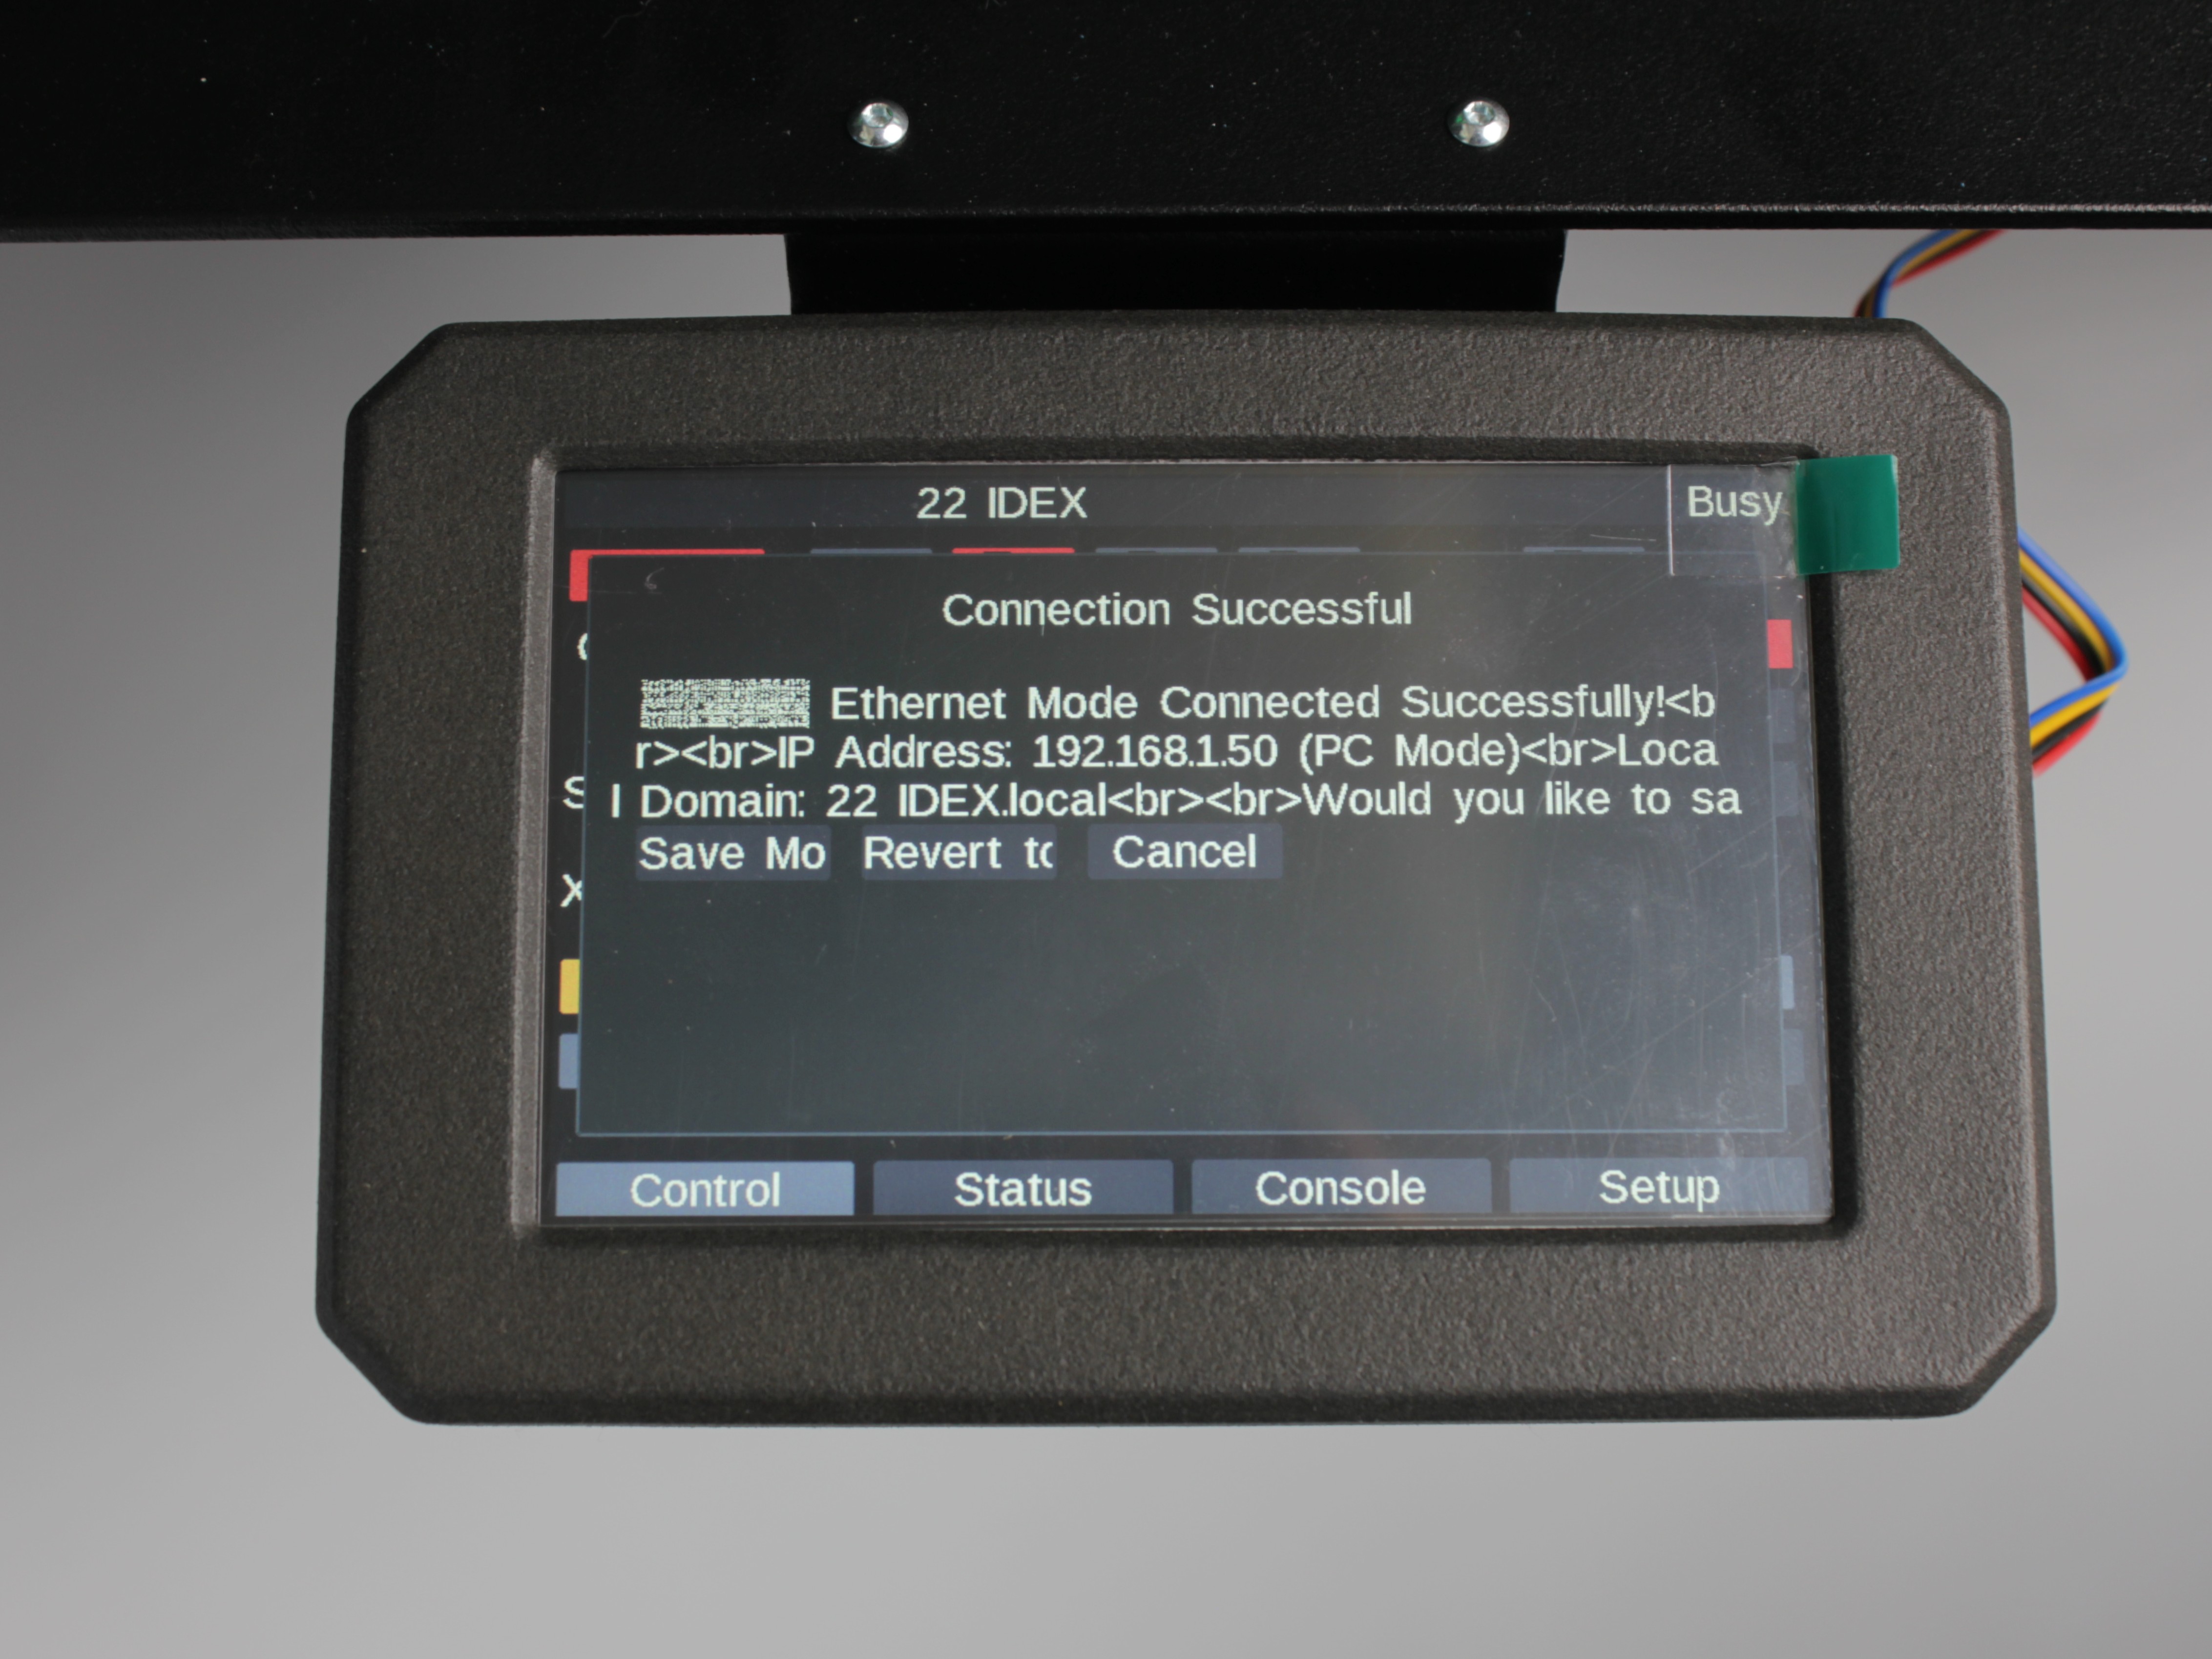
- On yellow, the touchscreen shows Network Connected with an IP and asks whether to remember the mode. Note the IP.
- On a PC on the same subnet, open a browser to the address from the touchscreen (for example
http://192.168.1.50) and confirm the Web Interface loads.
The PC must be on the same subnet as the printer
Being "on the network" is not enough - the computer must be on the same subnet as the printer. Compare the first three octets of both IP addresses: 192.168.1.150 (printer) and 192.168.1.100 (PC) will work; 192.168.1.x and 192.168.0.x will not. A laptop on guest WiFi or in another VLAN is the typical case - it will not reach the printer even though everything is "connected". See Web Interface does not open - wrong subnet.
Hostname vs IP address
http://22idex.local often works where multicast DNS is allowed; on locked-down LANs use the numeric IP.
-
Only after the Web Interface works, tap Save network configuration on the printer.
-
Cold boot test: Power off, power on, and wait 60 seconds. White chamber LEDs mean the saved Regular Ethernet profile is active. Yellow or red means the save did not stick - open the Web Interface, go to
Macros > System > Settings > Network, choose Enable Ethernet Mode, reboot, and recheck.
Ethernet to PC
Use this when you cannot place the printer on a DHCP LAN or you need a dedicated link to one workstation.
Static IPv4 on the PC is mandatory
Set the PC before you rely on the link. Wrong subnet is the usual reason the Web Interface does not open.
Step 1 - Set the PC to 192.168.1.51
Set these IPv4 values on the computer
| Field | Value |
|---|---|
| IP address | 192.168.1.51 |
| Subnet mask | 255.255.255.0 |
| Gateway / router | Leave empty or use 192.168.1.50 (printer default in this mode) |
The printer uses 192.168.1.50 on the cable; the PC must stay on the same 192.168.1.* network.
Same /24 on both ends
The PC must stay on 192.168.1.* with the printer - not 192.168.0.*, 10.*, or another LAN. Only the last octet may differ from 192.168.1.50.
| Step | Action |
|---|---|
| 1 | Open Settings > Network & Internet > Ethernet. |
| 2 | Select your Ethernet adapter. |
| 3 | Next to IP assignment, choose Edit > Manual. |
| 4 | Turn IPv4 on. |
| 5 | IP address: 192.168.1.51 - Subnet mask: 255.255.255.0 - Gateway: leave empty or 192.168.1.50. |
| 6 | Save. |
| Step | Action |
|---|---|
| 1 | Open System Settings > Network. |
| 2 | Select Ethernet > Details. |
| 3 | Open the TCP/IP tab > Configure IPv4: Manually. |
| 4 | IP address: 192.168.1.51 - Subnet mask: 255.255.255.0 - Router: leave empty or 192.168.1.50. |
| 5 | OK, then Apply. |
| Step | Action |
|---|---|
| 1 | Open wired Ethernet connection settings (wording varies by distro). |
| 2 | Set method to Manual (or Static). |
| 3 | Address: 192.168.1.51 - Netmask: 255.255.255.0 - Gateway: empty or 192.168.1.50. |
| 4 | Save and apply the profile. |
No internet on that wired NIC
That adapter is on an isolated /24. Use WiFi or another NIC if you need the internet at the same time.
Step 2 - Cable and power sequence
Power off the printer. Run one cable printer to PC - not through a router.
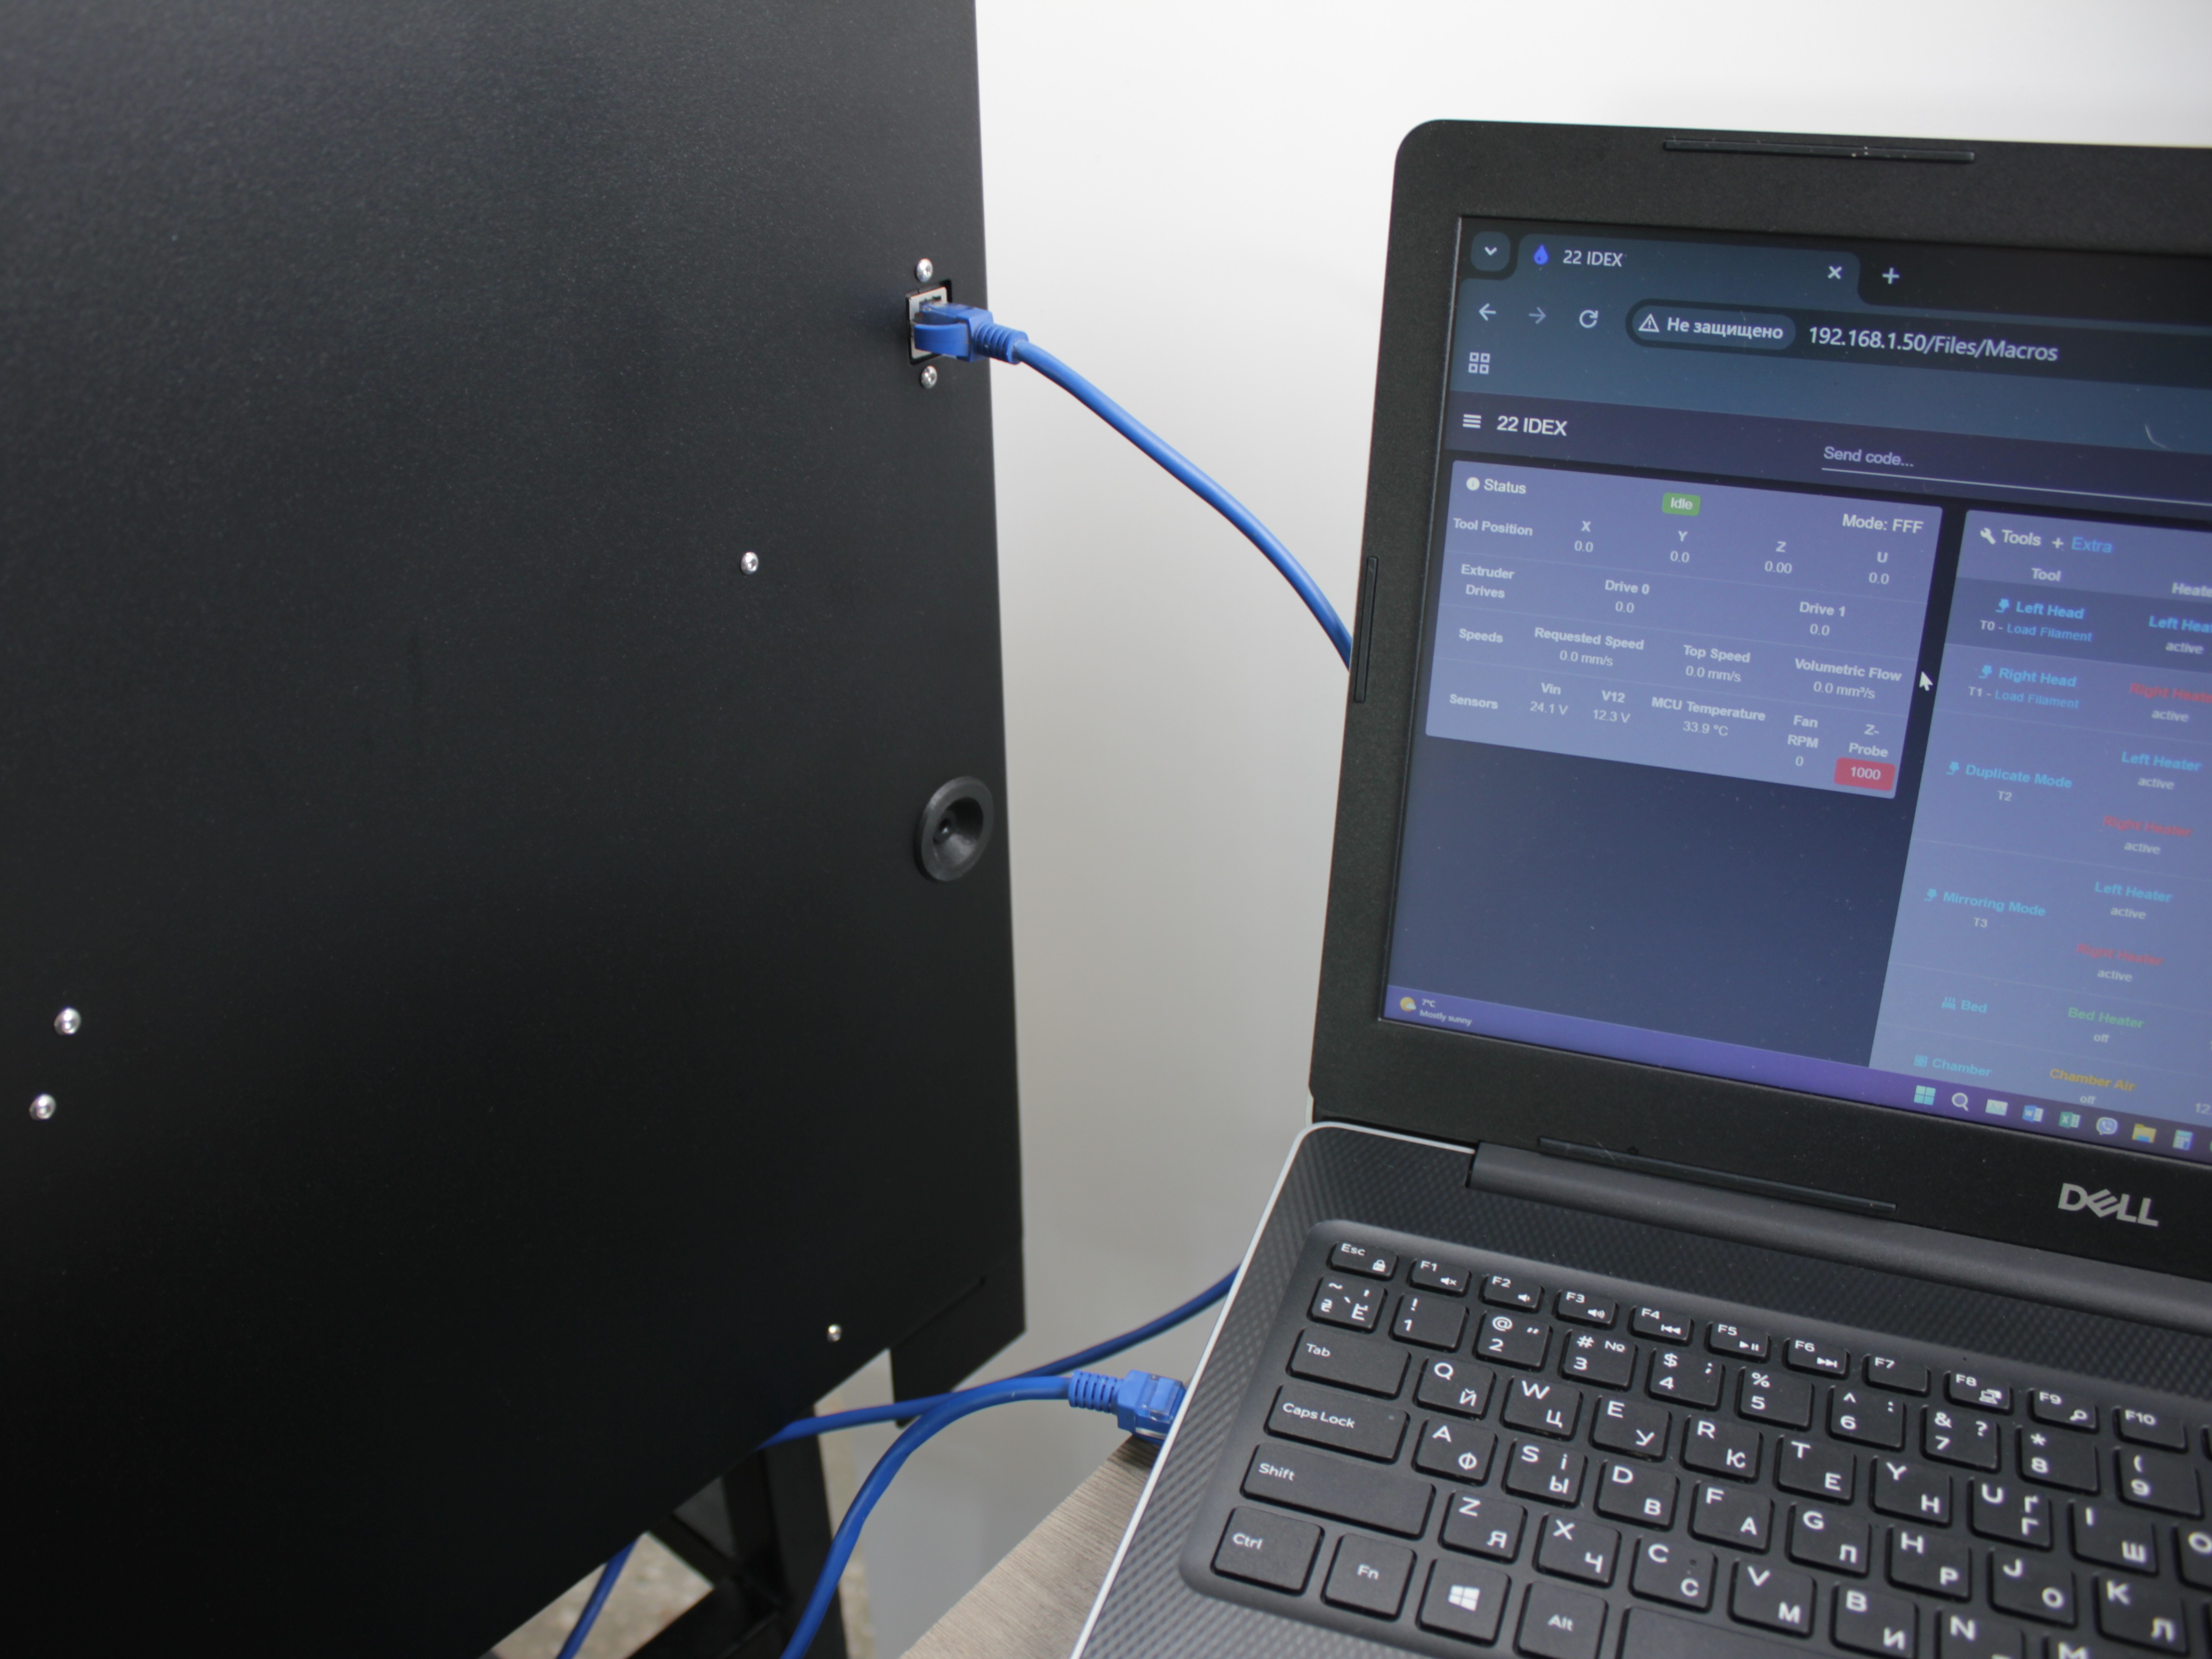
Power on, wait 60 s for detection.
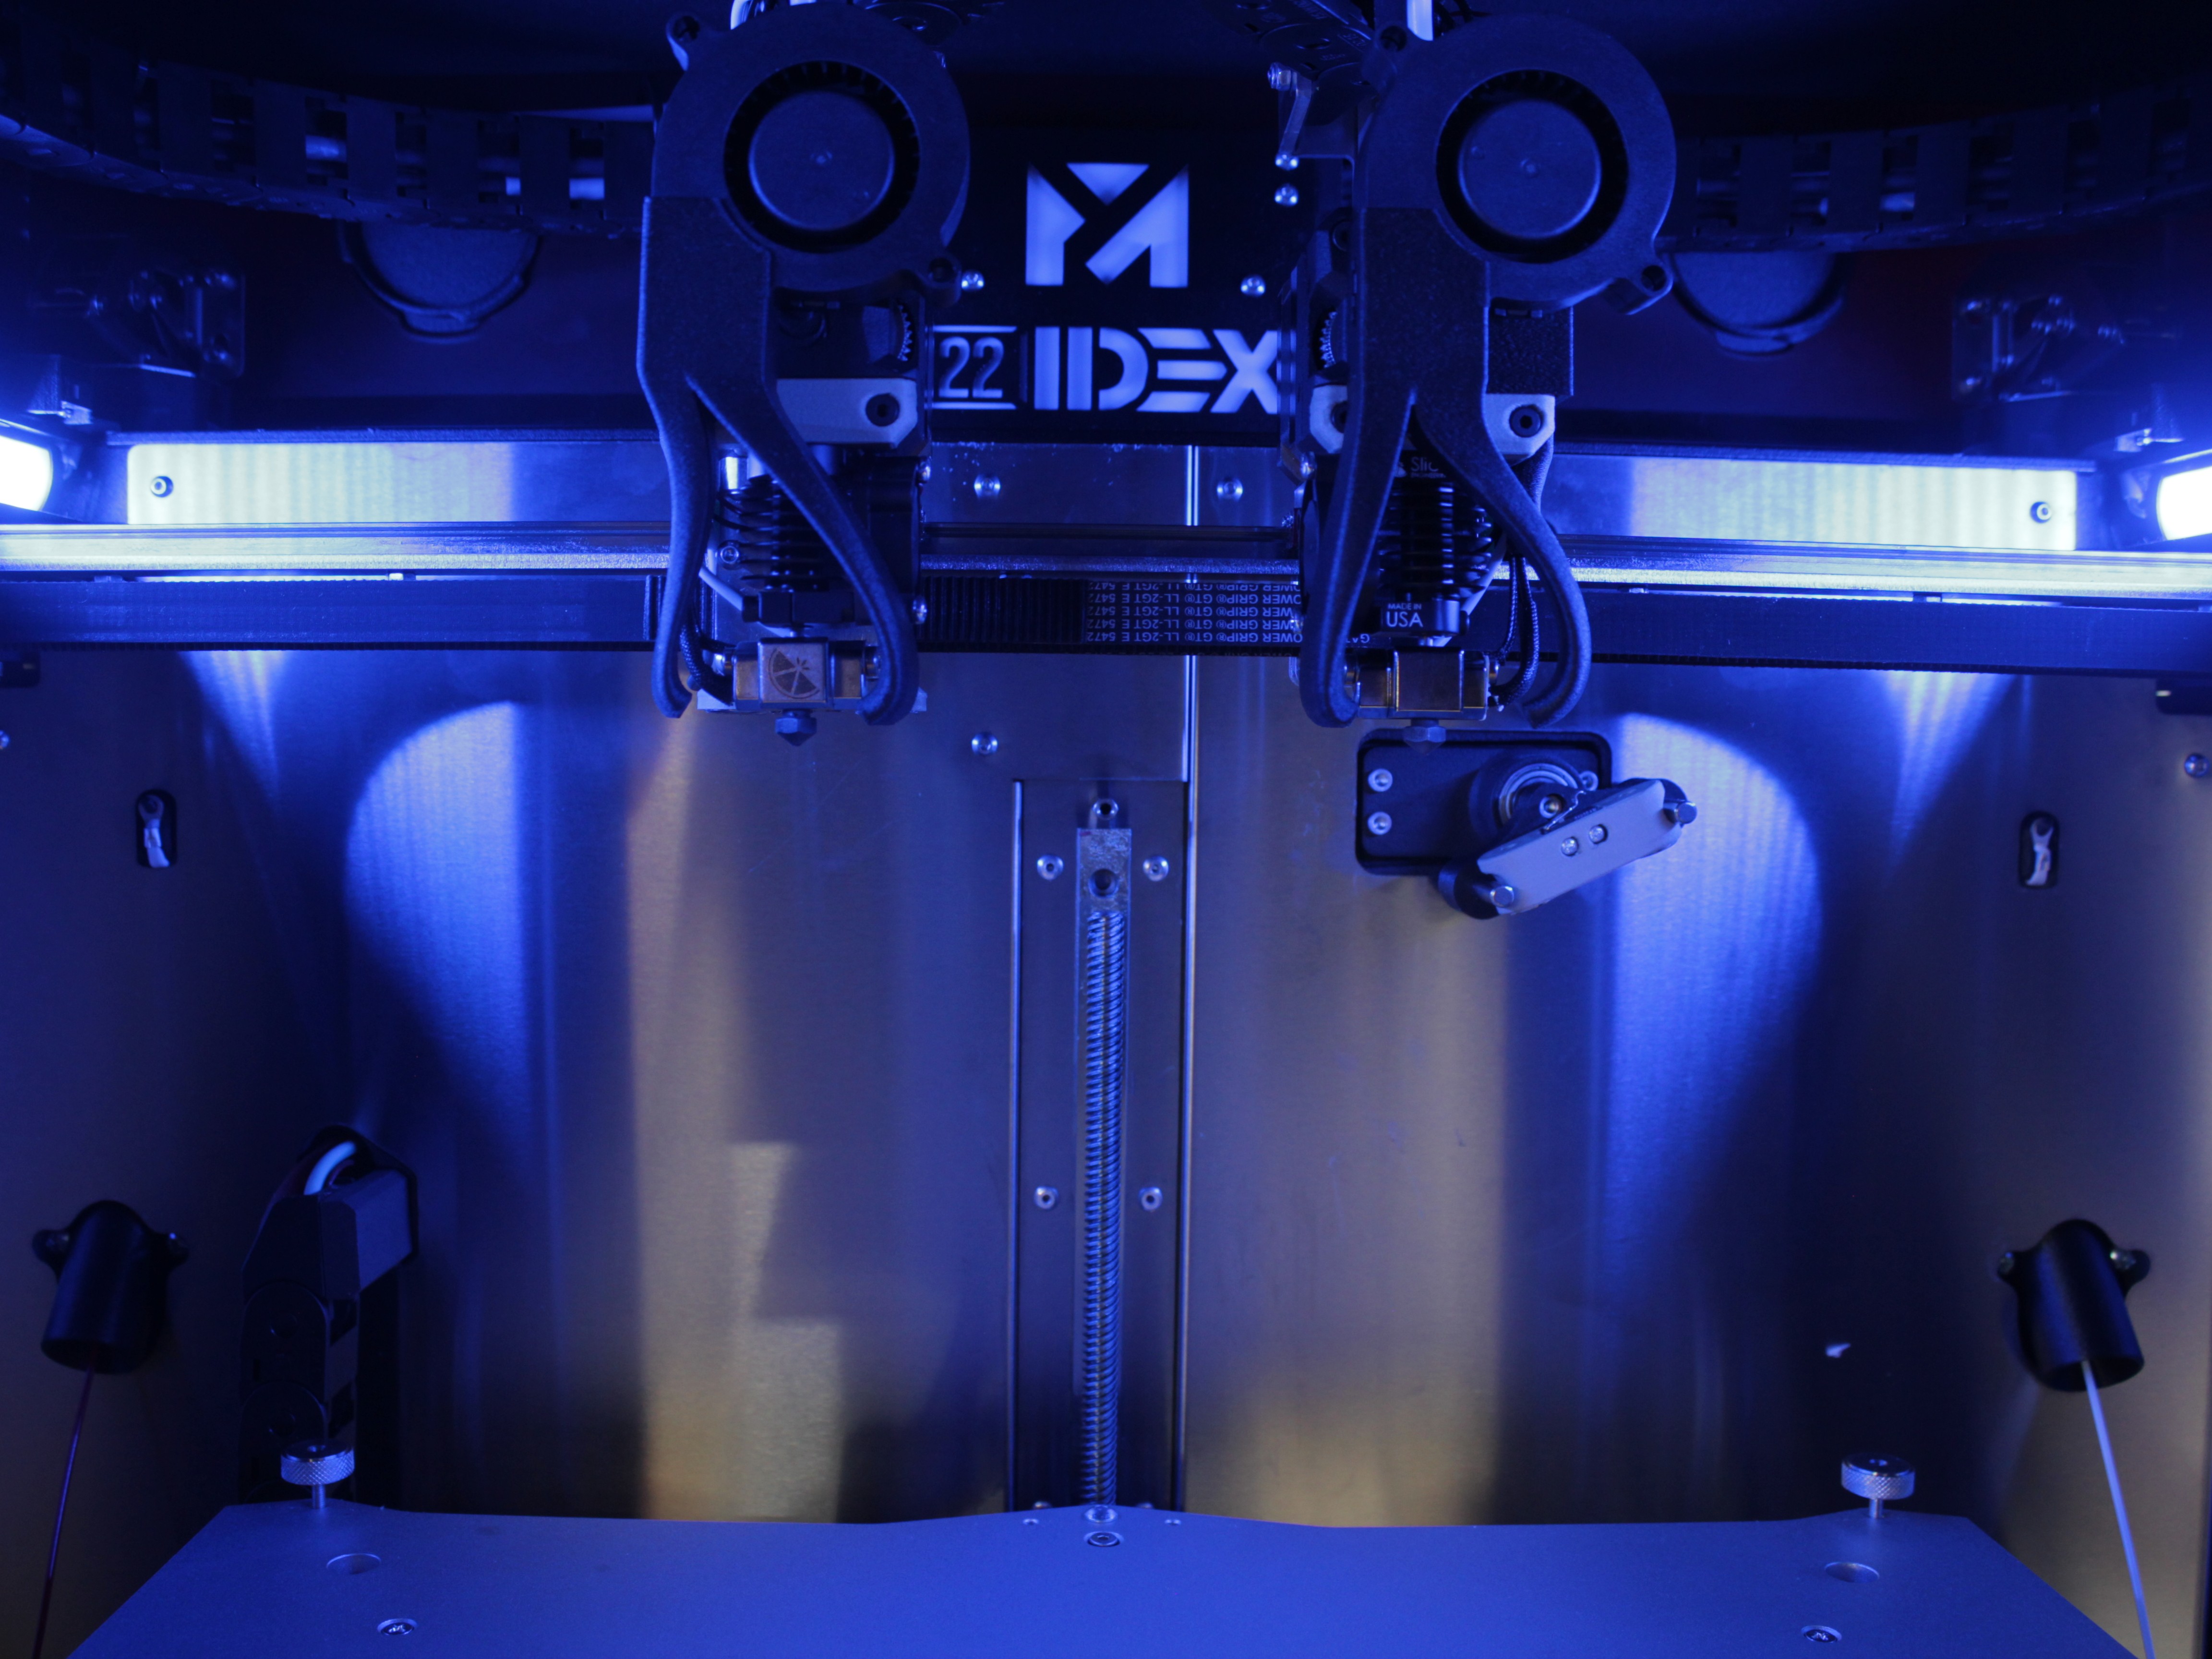
- Blue - Ethernet to PC succeeded.
- Red - failed; see Troubleshooting.
DHCP Attempt First
The firmware first tries DHCP. If no DHCP server is found, it falls back to 192.168.1.50. Wait for the full window.
Step 3 - Web Interface and save
On blue, the touchscreen shows Network Connected for 192.168.1.50. Open http://192.168.1.50 or http://22idex.local on the PC, confirm the Web Interface, then Save network configuration.
Cold boot test: White LEDs after 60 s mean the mode saved. If not, use Macros > System > Settings > Network > Enable Ethernet Mode and choose Ethernet to PC Mode, reboot, recheck.
Connection log and IP discovery
The printer writes 0:/IP_address.txt on the SD card (network mode and IP address). The file is rewritten on every boot - including failed ones, where the mode line reads FAILED or WiFi Access Point (Fallback).
Web Interface - Console: send M552 I0. Response includes the current IPv4 for interface 0.
Without the UI: power off, remove the SD card, read IP_address.txt on a PC.
Machine or network? The IP_address.txt test
When the printer seems connected but the Web Interface will not load, this test tells you definitively whether the problem is on the printer side or on the network side:
- Power off the printer, remove the SD card, and delete
IP_address.txton a PC. - Put the card back, make sure the Ethernet cable is plugged in, power on, and wait about 60 seconds for network detection to finish.
- Power off, remove the card again, and open the newly written
IP_address.txt. Read the Network Mode line - the file is generated even on a failed boot, so its existence alone proves nothing:- Ethernet with an IP address - the printer side is fine. If the Web Interface still does not open at that IP, the blocker is on your side: a firewall, a security policy, or a wrong subnet.
- WiFi Access Point (Fallback) or FAILED - the printer did not get onto the network. Work through Red LEDs after 60 seconds.
Static IP (no DHCP)
When DHCP is blocked but the printer already reaches the LAN once:
- Open the Web Interface.
Macros > System > Settings > Network > Assign Static IP.- Run the macro: detect link type, accept or type an address, test, save.
Persists across reboot
Saved static config survives power cycles; the printer stops depending on DHCP for that profile.
Finding the printer's IP
If you do not know the printer's IP address, get it one of these ways - no existing connection required:
- Touchscreen - the Network Connected screen shows the current IP after boot.
0:/IP_address.txt- power off, remove the SD card, and read this file on a PC (it stores the network mode and IP address).
Once you are already connected to the Web Interface, you can re-check the address by running M552 I0 in the Console:
Network interface 0: IP address 192.168.1.150FAQ
Troubleshooting
Support
If you could not find an answer here, reach out to our support team.