When you receive your machine, it will be in Wi-Fi Access Point Mode by default.
¶ Machines with WiFi Module (Standard Procedure)
- Video Guide: WiFi Setup Guide
¶ Wi-Fi Access Point Mode
¶ 1. Power On the Machine:
- By default machine will start in Access Point Mode.
¶ 2. Connect to the Machine's Wi-Fi:
- Find the Wi-Fi network named
22IDEX - Use the password
1234567890to connect.
¶ 3. Access the Machine's Web Interface:
- Open a browser and type in a search bar
22idex.localor192.168.0.1 - The machine's web interface should appear.
- If you can not connect try restarting machine and connecting again.
22idex.localcan be used only if one machine is connected to network. If you have multiple machines connect via IP address.
¶ 4. Using Access Point Mode:
- You can continue using the machine in access point mode, but it's recommended to connect via Ethernet or to your existing Wi-Fi network.
¶ Connecting via Ethernet
Ethernet Connection is recommended over WiFi.
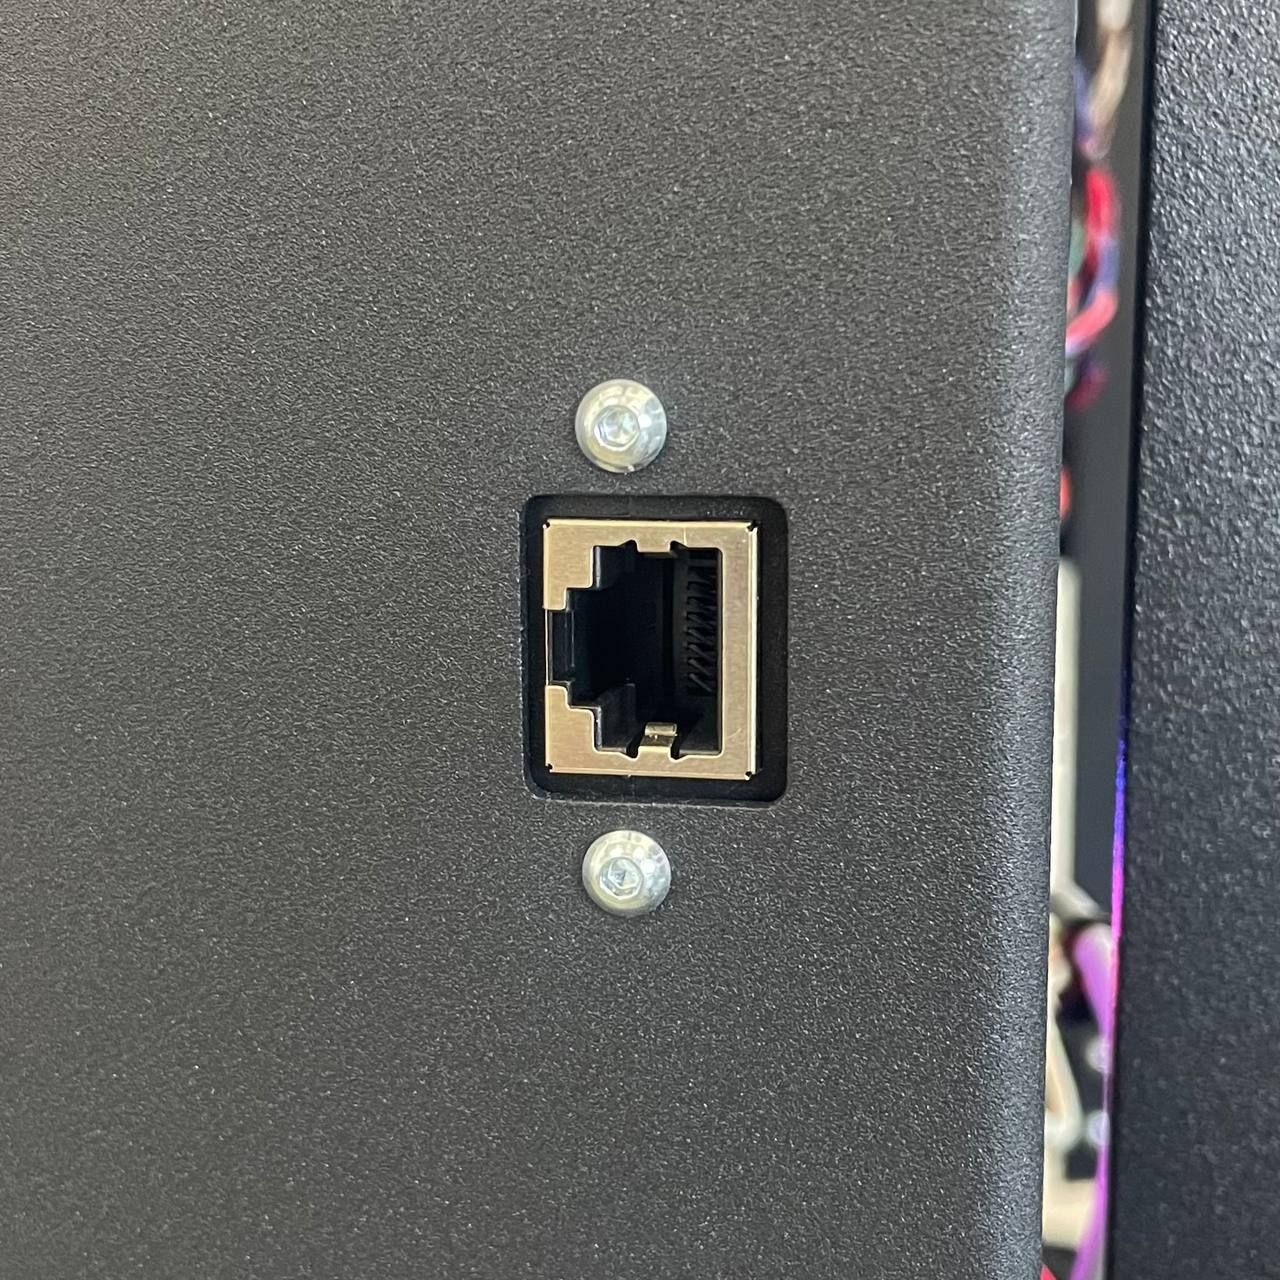
¶ 1. Connect the Ethernet Cable:
- Insert the Ethernet cable into the port on the right side of the printer.
¶ 2. Navigate to the Web Interface:
- Go to the dashboard and locate the macros in the bottom right corner.
- Go to
Macros > System > Settings > Networkand selectEnable Ethernet Mode.
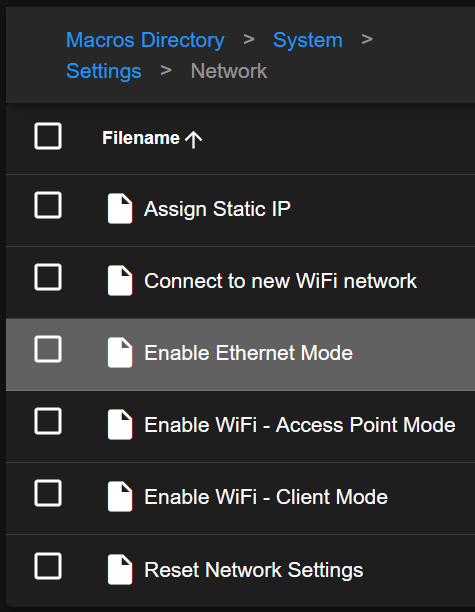
¶ 3. Follow User Prompts:
- You will be asked to test the connection or switch to Ethernet mode.
Recommended select Test the connection to automatically prompt the IP address and verify the network connection.
¶ 4. Connection Status:
- The chamber LEDs will indicate the status:
- Green LEDs: Connection successful.
- Red LEDs: Connection failed.
¶ 5. Reconnect to 22IDEX Wi-Fi Network:
- Reconnect to
22IDEXWi-Fi Network and use22idex.localor192.168.0.1in your browser to reconnect. - If the connection is successful, you will be prompted with the IP address.
- If it failed, repeat the procedure or contact support.
¶ 6. Reconnect in Client Mode:
- Click
OKto Switch into Ethernet Mode. - Use IP provided in a previous step or
22idex.localin browser to reconnect.
Your machine is now configured to connect with Ethernet and will remember this setting until changed by the user.
¶ Connecting to Wi-Fi Network in Client Mode
¶ 1. Make sure machine is running with the last firmware available:
- Follow Firmware Update Guide.
¶ 2. Navigate to the Web Interface:
- Go to the
Dashboardand locate theMacrosin the bottom right corner. - Go to
System > Settings > Networkand selectConnect to New WiFi Network.
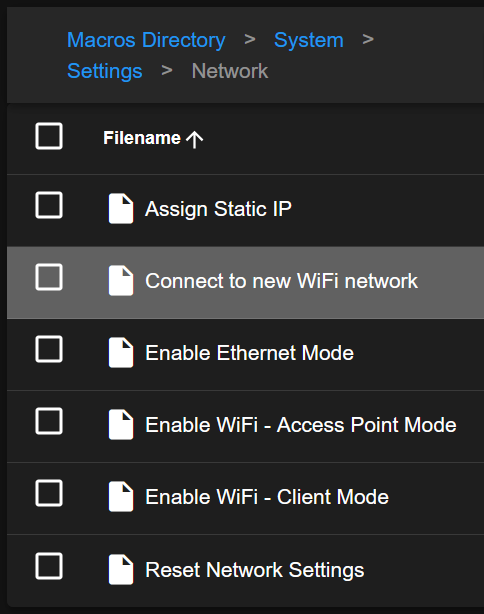
¶ 3. Follow User Prompts:
- Connect only to 2.4 GHz networks.
- Enter the network name and password.
¶ 4. Test the Connection:
- Machine will test the connection.
- The chamber LEDs will indicate the status:
- Green LEDs: Connection successful.
- Red LEDs: Connection failed.
¶ 5. Reconnect to 22IDEX Wi-Fi Network:
- Reconnect to
22IDEXWi-Fi Network and use22idex.localor192.168.0.1in your browser to reconnect. - If the connection is successful, you will be prompted with the IP address.
- If it failed, repeat the procedure or contact support.
¶ 6. Reconnect in Client Mode:
- Click
OKto Switch WiFI into Client Mode. - Use IP provided in a previous step or
22idex.localin browser to reconnect.
Your machine is now set up and will remember this setting until changed by the user.
¶ Restricted Setup: Military or No Wi-Fi Environment
- Video Guide: Ethernet Setup Guide
For facilities where Wi-Fi is not allowed, follow these steps to set up the machine using only Ethernet.
¶ Remove Wi-Fi Module
¶ 1. Power Off the Machine:
- Remove the power cord to ensure the machine is off.
¶ 2. Access the Wi-Fi Module:
- Open the left-hand side door at the rear of the machine.
- Locate and remove the Wi-Fi module to disable Wi-Fi functionality. (Note: The module might already be removed if requested during your order process.)
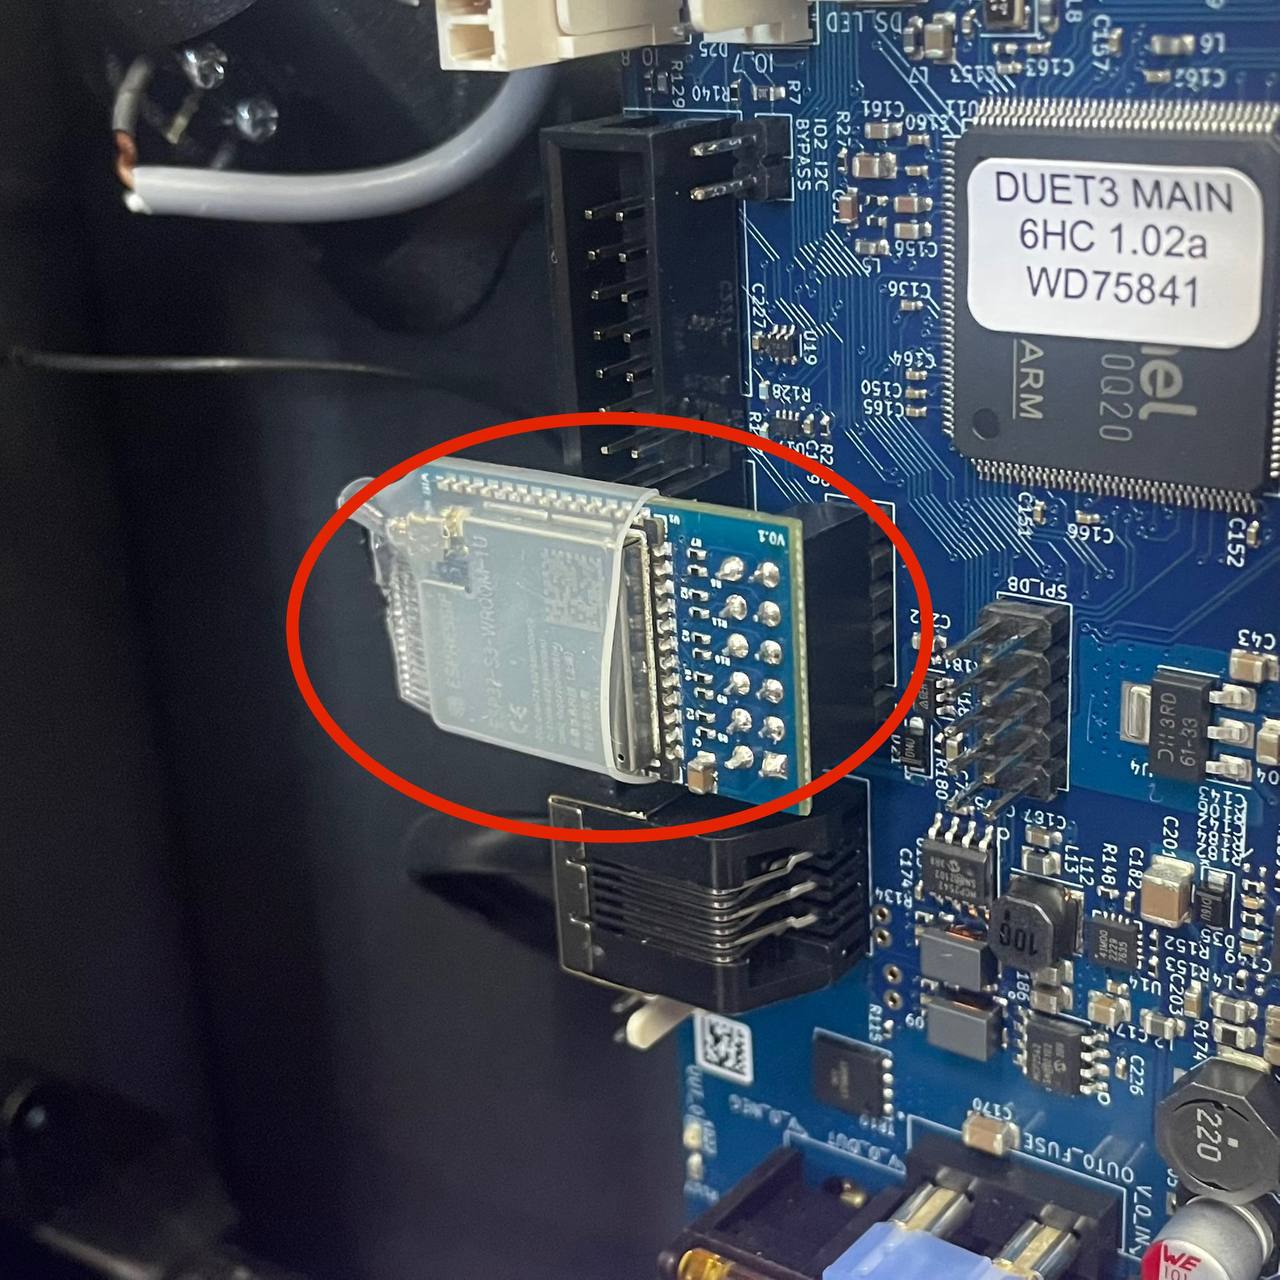
¶ 3. Connect the Ethernet Cable:
- Connect the Ethernet cable to the main board.
¶ Power On the Machine
- Close all doors.
- Reconnect the power cord and power on the machine.
- After 30-60 seconds you will see:
- Yellow Lights: Indicate successful connection to Ethernet.
- Red Lights: Indicate a connection problem (check the cable or contact support).
¶ Connection to the Machine
¶ 1. Connect via Machine's Name:
- Open a browser and type in a search bar
22idex.local
¶ 2. Via System Administration:
- Ask your system administration team for the IP address assigned to your machine.
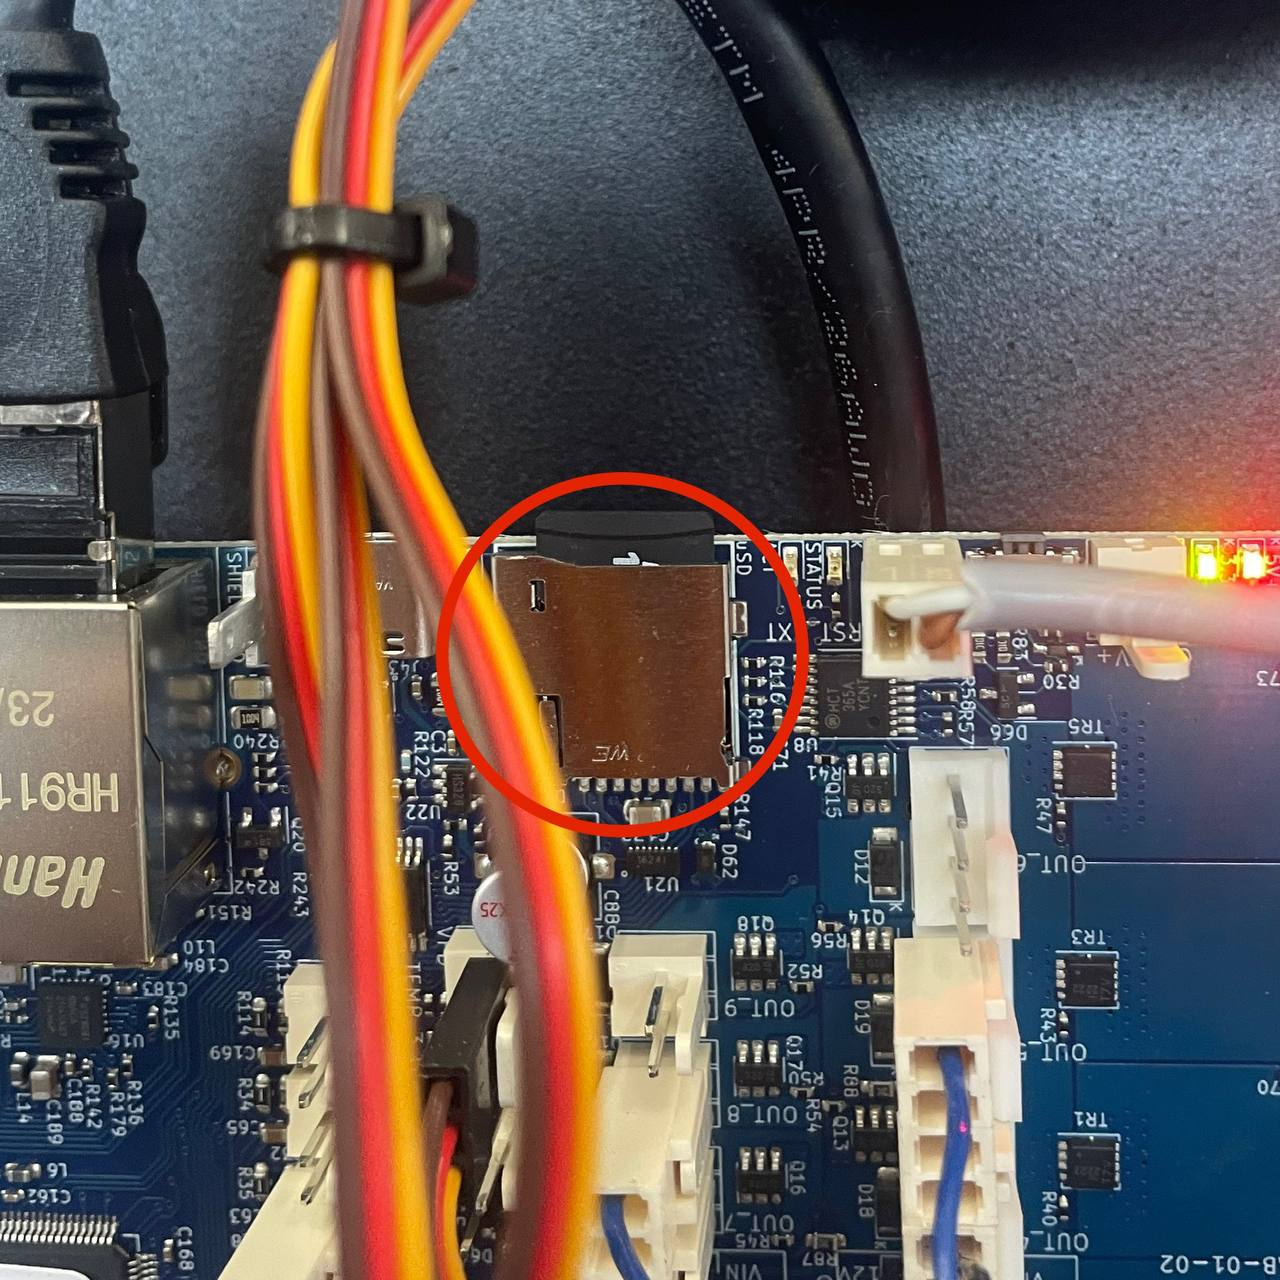
¶ 3. Via SD Card:
Power Off the Machine:
- Remove the power cord to ensure the machine is off.
Eject the SD Card:
- Go to the back of the machine where the main board is located.
- Press on the SD card to eject it.
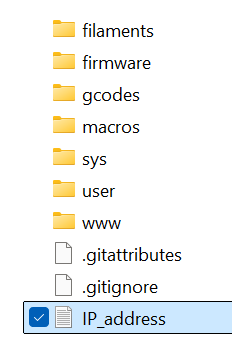
Check the IP Address:
-
Insert the SD card into your computer.
-
Locate the
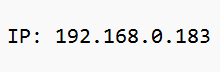
IP_address.txtfile to find the last IP address used by the machine.
-
Example of IP:
-
Insert the SD card back into the machine.
-
Close all doors and power the machine back on.
¶ Save Settings
¶ Set Ethernet Connection as a Default
-
Go to Dashboard and find Macros
-
Go to
Macros > System > Settings > Networkand selectEnable Ethernet Mode.
-
Select
Skip Test and Change Mode
The machine is now connected via Ethernet and ready to be used.