Danger: Do not attempt this check immediately after printing. Hot printer parts can cause injuries. Ensure the printer is sufficiently cooled down.
¶ Bearings Checking

¶ Understanding Your Printer’s Motion System
Your machine consists of four axis:
• X-Axis: Moves left and right (perpendicular to the machine) for the left head Tool 0. It’s driven by a belt and has its own motor on the back left side of the machine.
• U-Axis: Another carriage, moves left and right (perpendicular to the machine) for the right head Tool 1. It operates independently with its own belt and motor on the back right side of the machine.
• Y-Axis: Moves forward and backward. It uses two belts and two motors located on opposite back corners.
• Z-Axis: Moves vertically, driven by three lead screws with motors under the printer floor.
¶ Preparations
¶ Power Off the Machine
- Cool down printer to the room tempreture.
- Turn off the printer and disconnect the power cord from the socket.
- Open the printer lid.
¶ Check Belts First
Before proceeding with further operations, isolate potential issues by excluding belt problems:
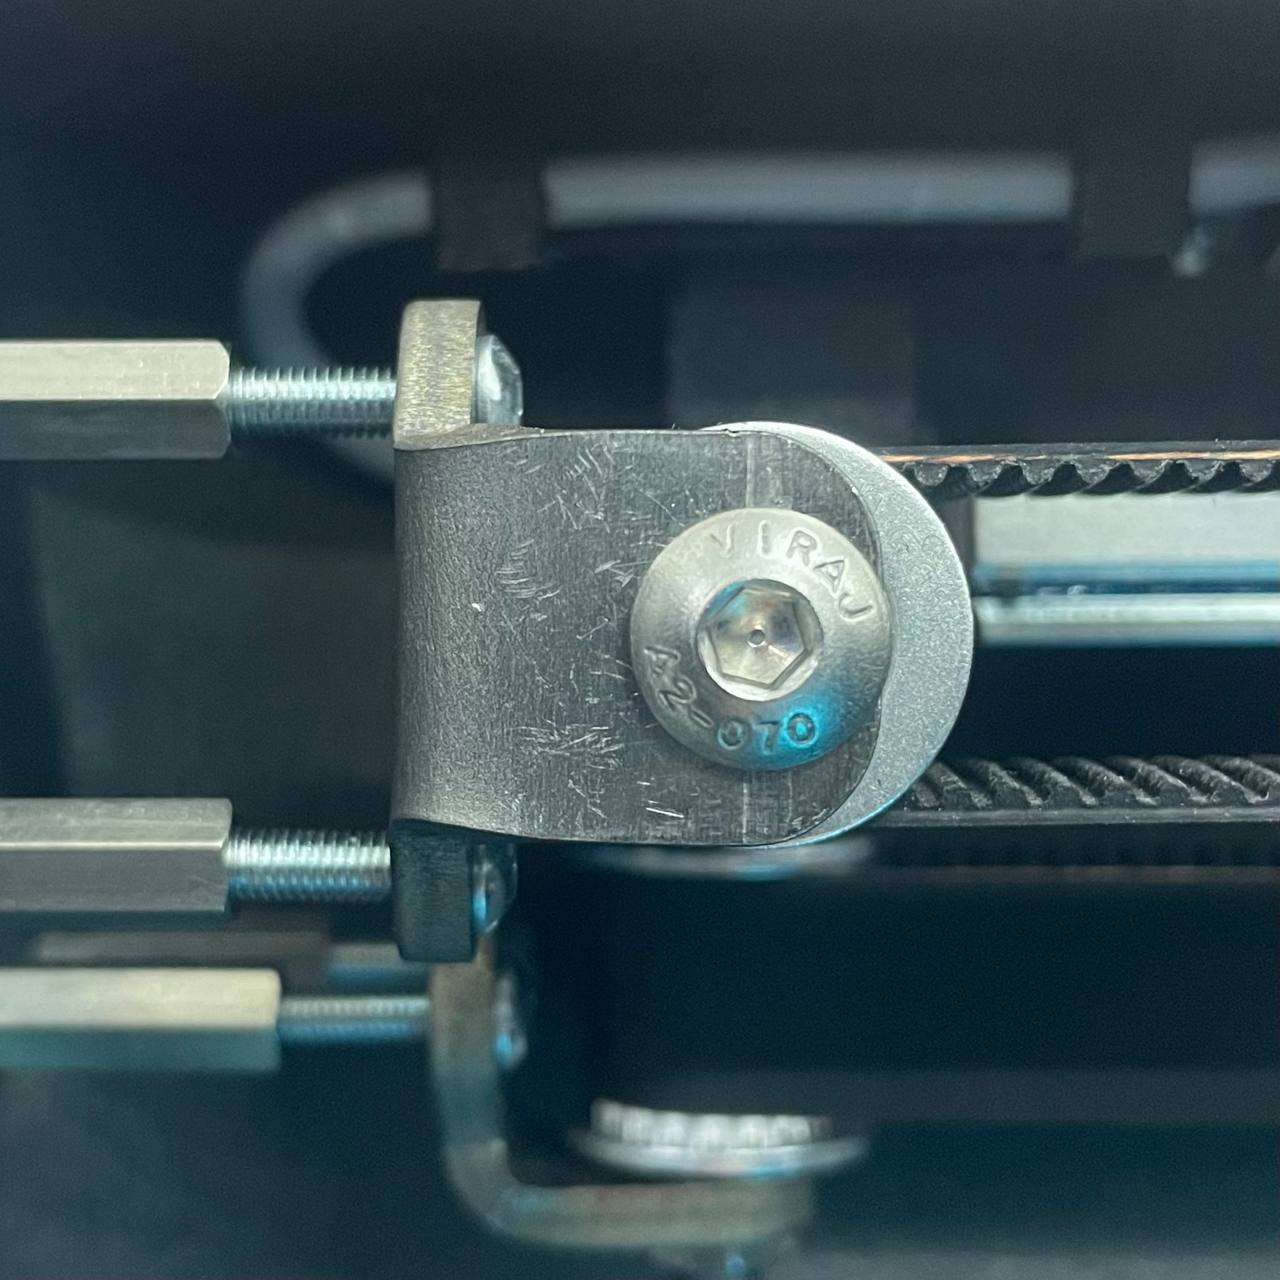
- First of all make sure to tighten and tension the belt correctly according to the Belt Tensioning Manual. Lack of tension can cause layer shifting. Overtensionang can lead to fast bearing wear.
- Move the heads together to the far side of the printer and inspect all belts. They should be clean on both sides and free from wear, especially on the toothed side.
- Move the printer heads to the front side and repeat the inspection to check new sections of the belts after movement.
¶ Fast Y Axis Bearings Test
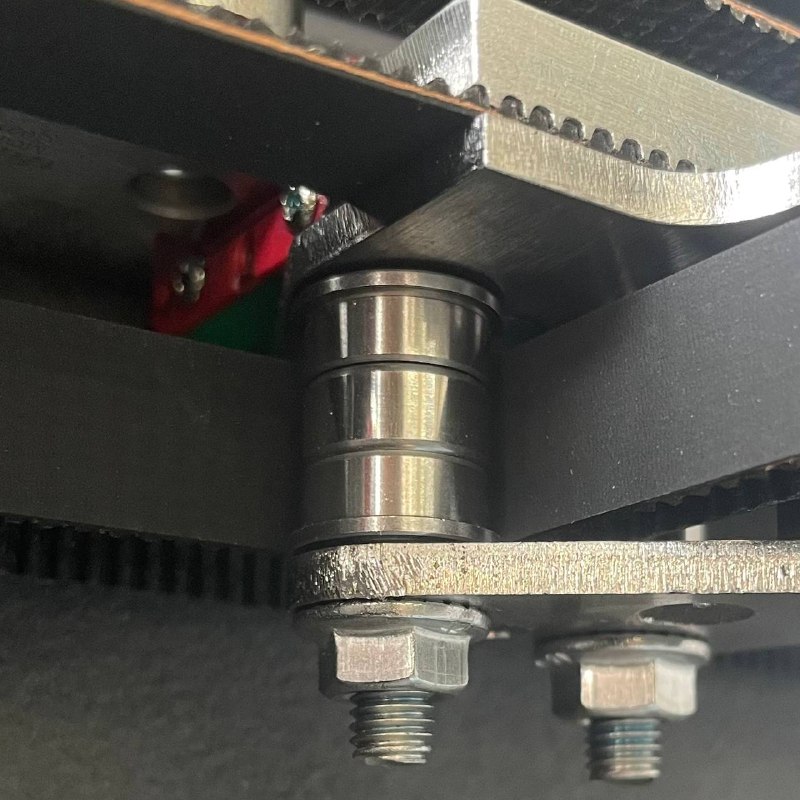
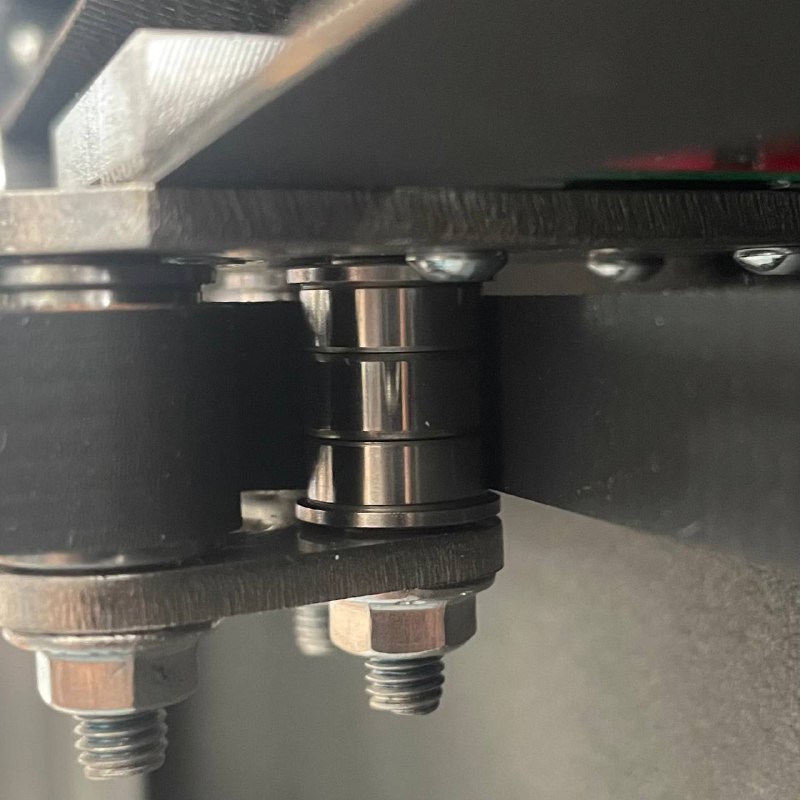
There are three pairs of bearings involved in Y-axis movements, six in total:
- Two on the motor (horizontal ones on the back side of the printer on both sides)
- Two working as idlers in the tension roller (one in each front corner)
- Two flat ones on both sides of the crossbar just behind place where the belt
¶ Move Heads to Position
Make sure to place X and U, the left-hand side and right-hand side tools, also known as Tool 0 and Tool 1, close to each other near the center of the build plate, near the center of the machine.
¶ Movement Test
Start moving the Y-axis back and forth with a speed in the range of two inches per second to ten inches per second.
- You can hold the X and U-axis belts with your fingers to prevent them from moving, and then move the Y-axis back and forth. Note that in this case, the X (U) axis bearings will also be involved except for the flat one under the heads.
- If you don't hold the X (U) belts while moving the crossbar, the heads will also move diagonally from the back left to the front right corner. In this case, only the Y axis and X (U) axis under-head flat bearings are involved.
To avoid static friction influence, the movement speed should be more than two inches per second but not more than ten inches per second to avoid circuit overloading.
¶ Fast X (U) Axis Bearings Test
There are six bearings involved in X (U) axis movements for each head:
- One on the motor (vertical one on the back side of printer from the head side)
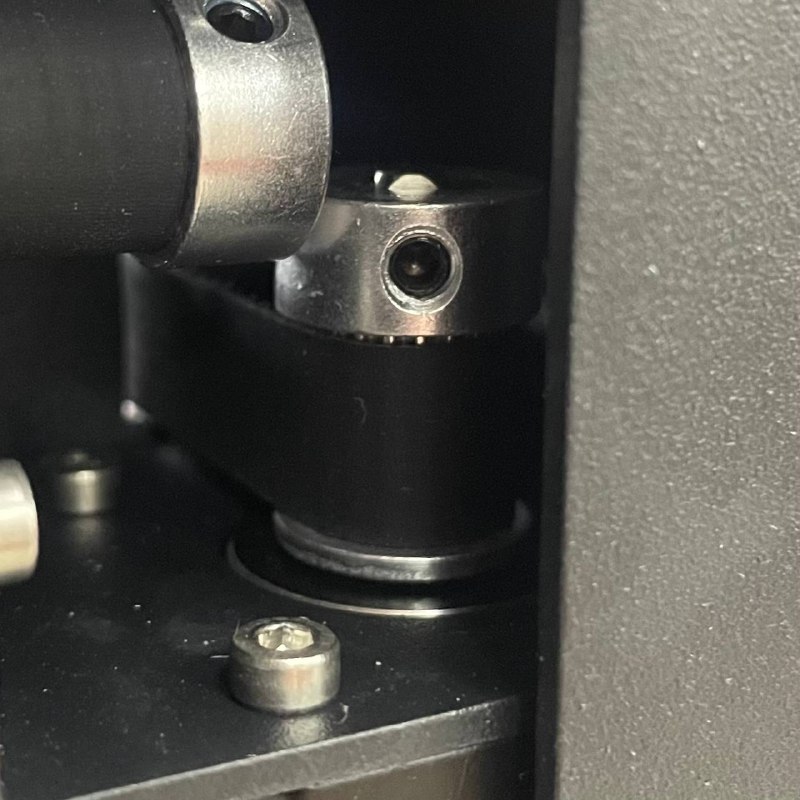
- One in the tension roller (front motor side corner)
- One at the printing head (flat one on the crossbar)
- Two idlers under crossbar from the head side
- One idler ower crossbar on the opposite to head side
¶ Move Heads to Position
- Move the crossbar to the center.
- Move the heads to the opposite side (e.g., left head to the right side and vice versa).
¶ Movement Test
- Take the necessary head from the back side of the crossbar.
- Start moving it along the crossbar with speed in range from two inches per second to ten inches per second.
¶ Signals Indicating Bearing Issues:
Listen for sounds produced by belts, tensioners idles and motors. Look at motor and tensioners while moving. Pay atention to:
- Grinding sounds - bearing probably damaged.
- Squeaks sounds - bearing damaged and/or belt missalignment.
- Clicking sounds - bearing damaged and/or belt missalignment.
- Sticking points - bearing damaged, dust on the reils, lack of lubrication, crossbar and rails missaligment.
- Variable sound frequency with a constant moving speed - motor bearing probably damaged.
- Visual roller oscillation - bearing damaged.
- Black dust accumulated on the build plate or on the belt tensioners - belt is grinding against the belt tensioner, and the belt is not aligned correctly. Potentionaly tensioner or motor bearing is demaged.
If you find any of this signals it can be a reason to proceed to the direct beraing inspection.
¶ Direct Bearing Inspection
- Remove belts: Follow the Belt Removal Instruction.
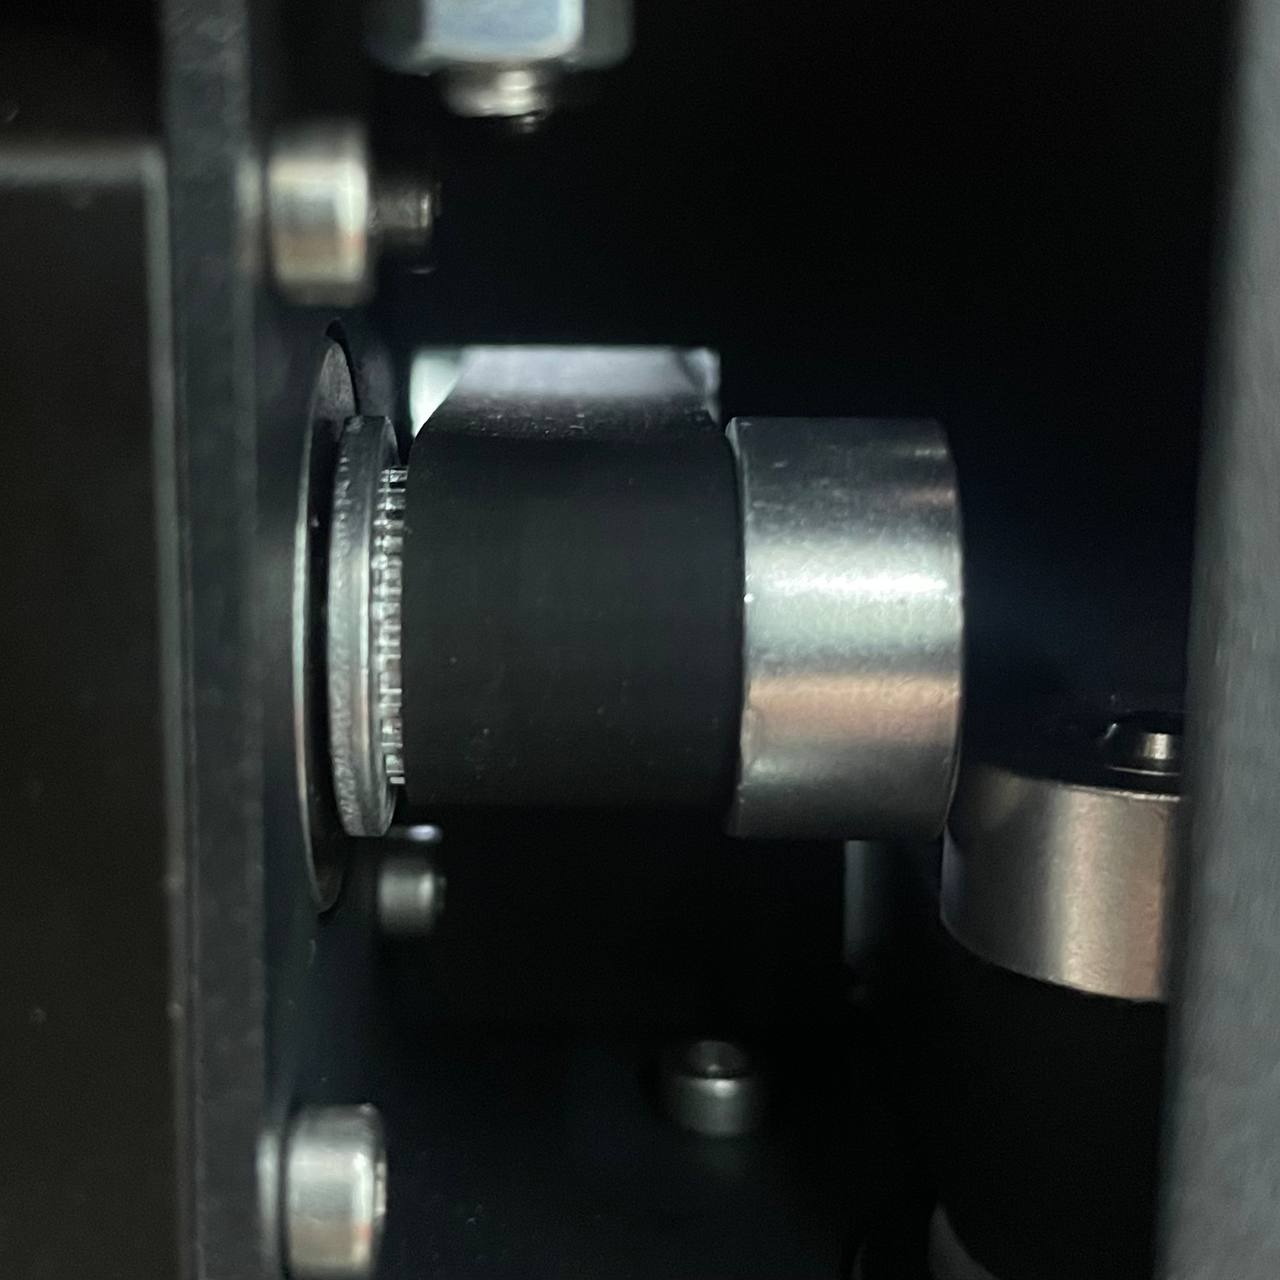
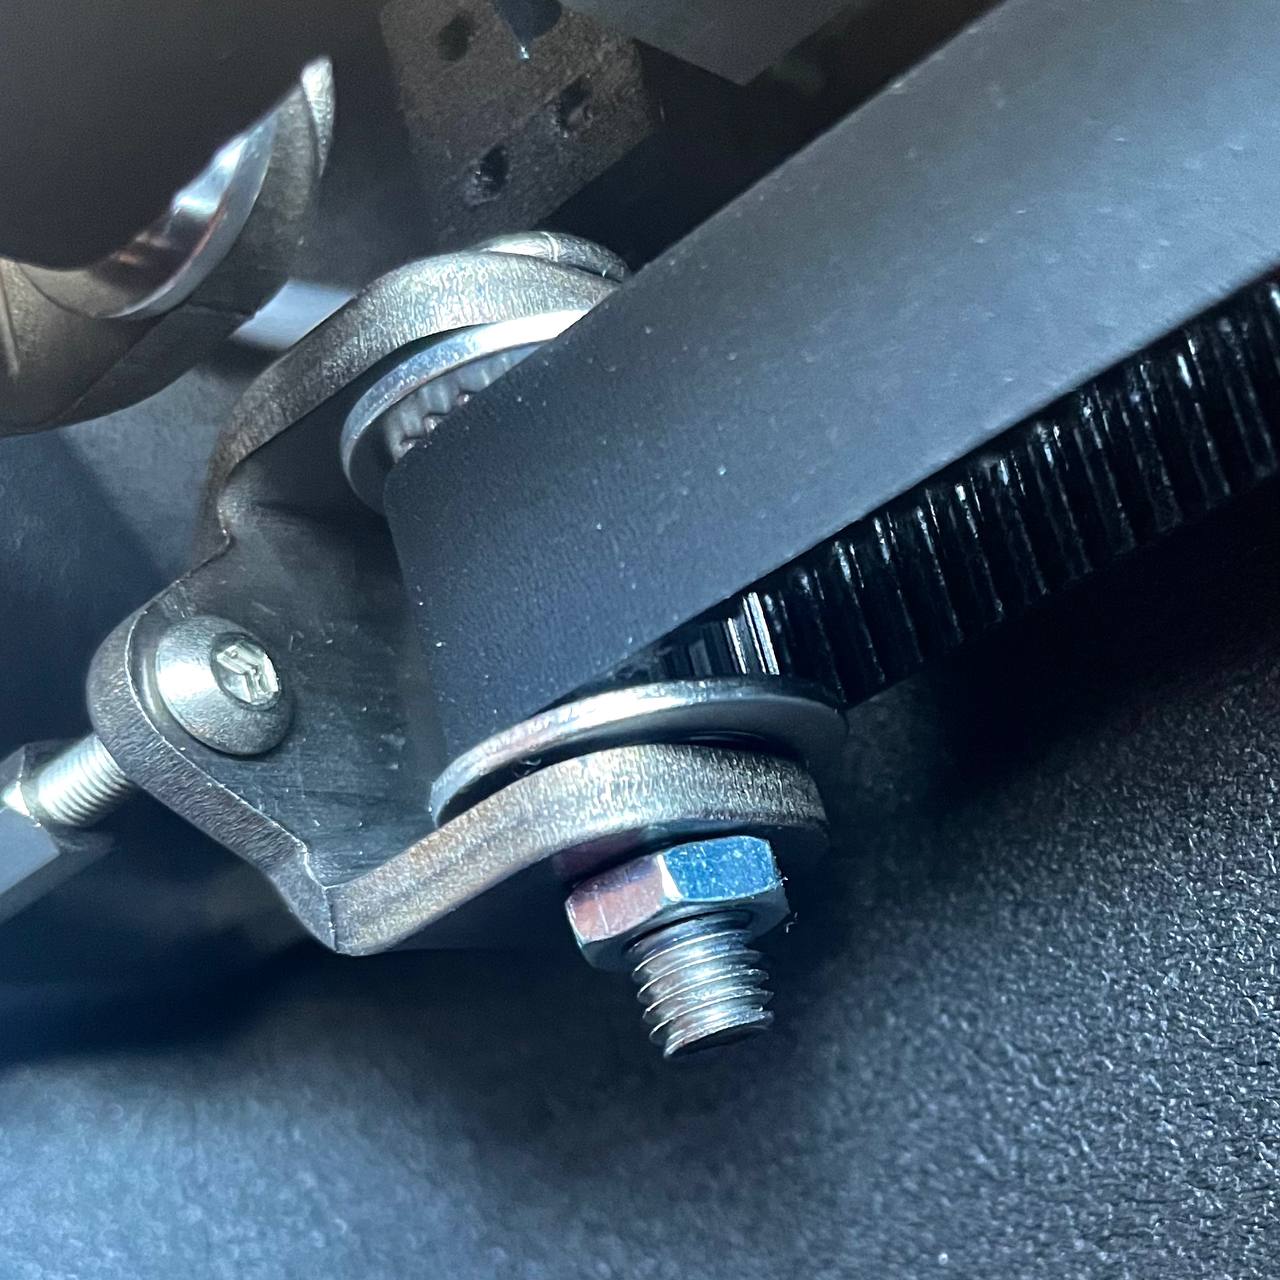
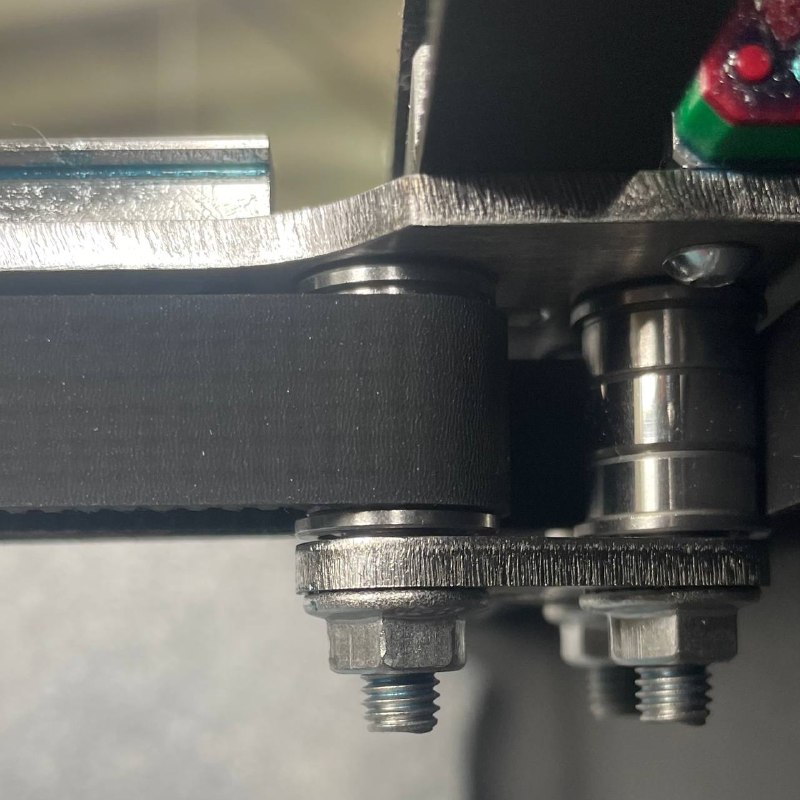
- Inspect the Belt Tensioner:
• Remove it from its holder.
• Check Rotation: Roll it with your finger to ensure it rotates smoothly without resistance. - Inspect the Motor:
• Access the motor from the back of the machine.
• Check Rotation: Rotate the motor pulley with your finger or use a belt to turn it.
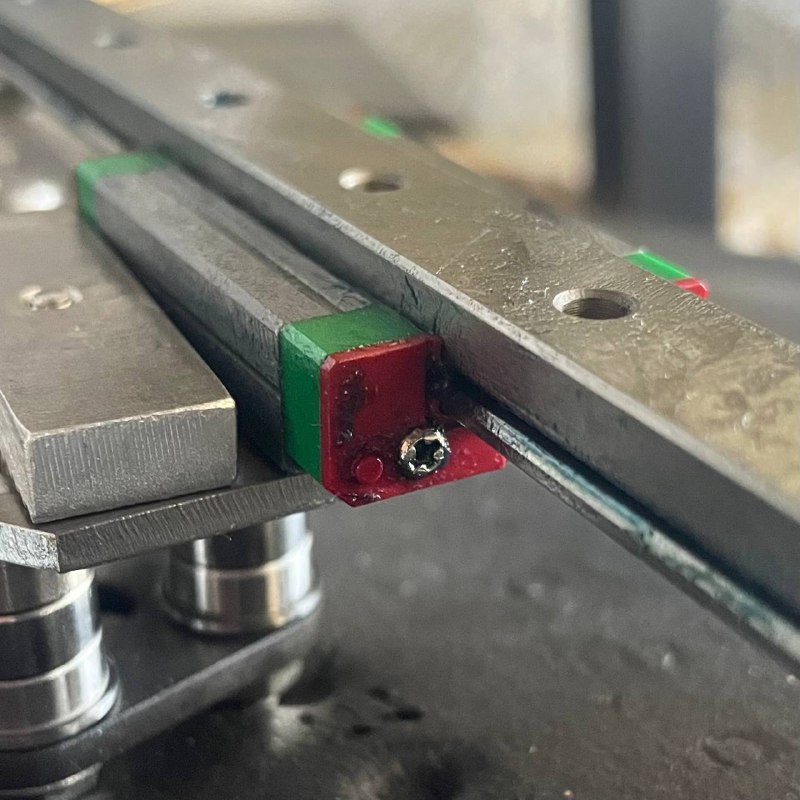
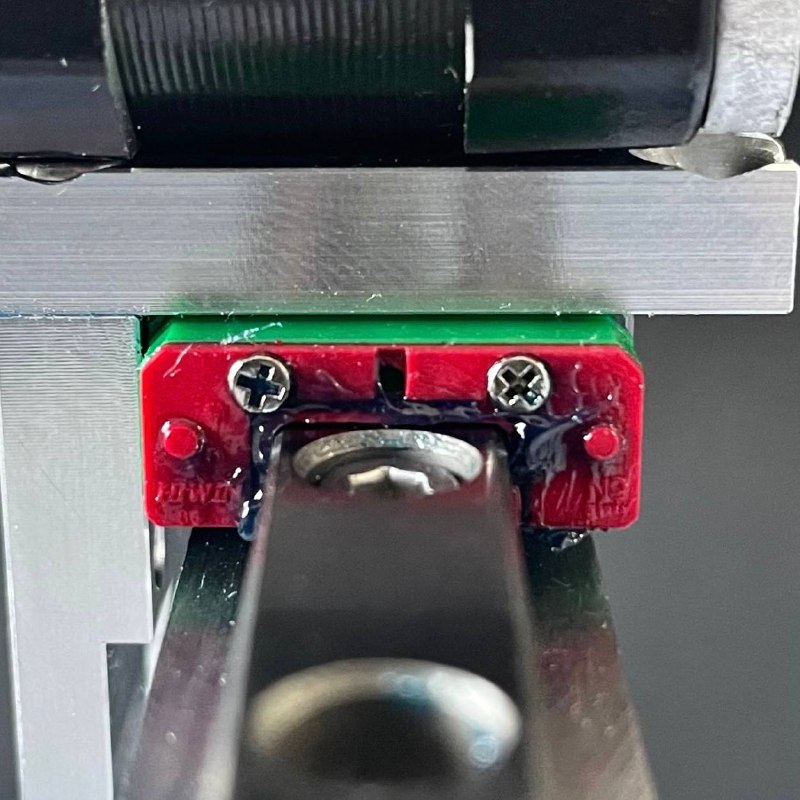
• Smooth Operation: It should rotate smoothly without any grinding noises. - Inspect Flat Bearing:
• Move the head along the crossbar or the crossbar along the rails for the entire operational distance.
• Check Movement: It should slide smoothly without any grinding noises.
• Check for Stuck Points: Sometimes it can stick a bit and continue moving without much power, but it should not stick at the same point several times in a row or require too much power to move.
If any component was found damaged or working improperly, please feel free to reach out to support to require instructions or those components to be replaced.