¶ Horizontal Movement (X/Y/U-Axes) Motor Remove / Install procedures
To operate with x-axis, y-axis, or u-axis motors you must remove the x-axis and y-axis motors or u-axis and y-axis motors in pairs as a frame connects them for higher stability.
To get access to the horizontal movement motor mount screws you must remove the lid first. Step-by-step instructions are here.
Also, you need to remove the belts connected to the corresponding motors.
Important: Power Off the machine before this manipulations and unplug the cord from the mains.
Tools: Hex 2.5 mm driver, wrench 7 mm (m4).
¶ Remove Procedure
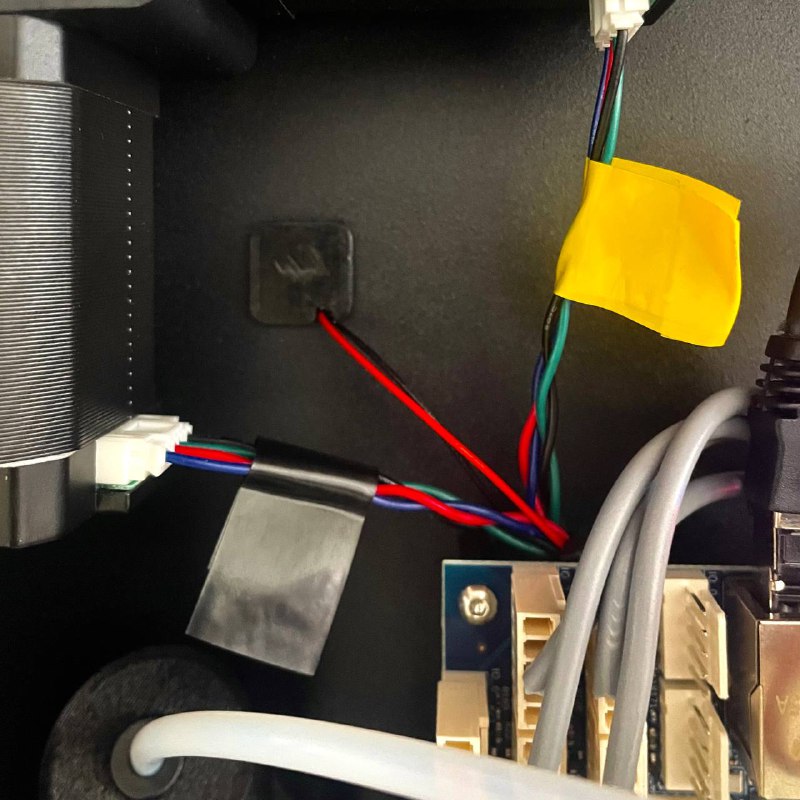
- Label the motor cables and take a photo so they don’t get mixed up.
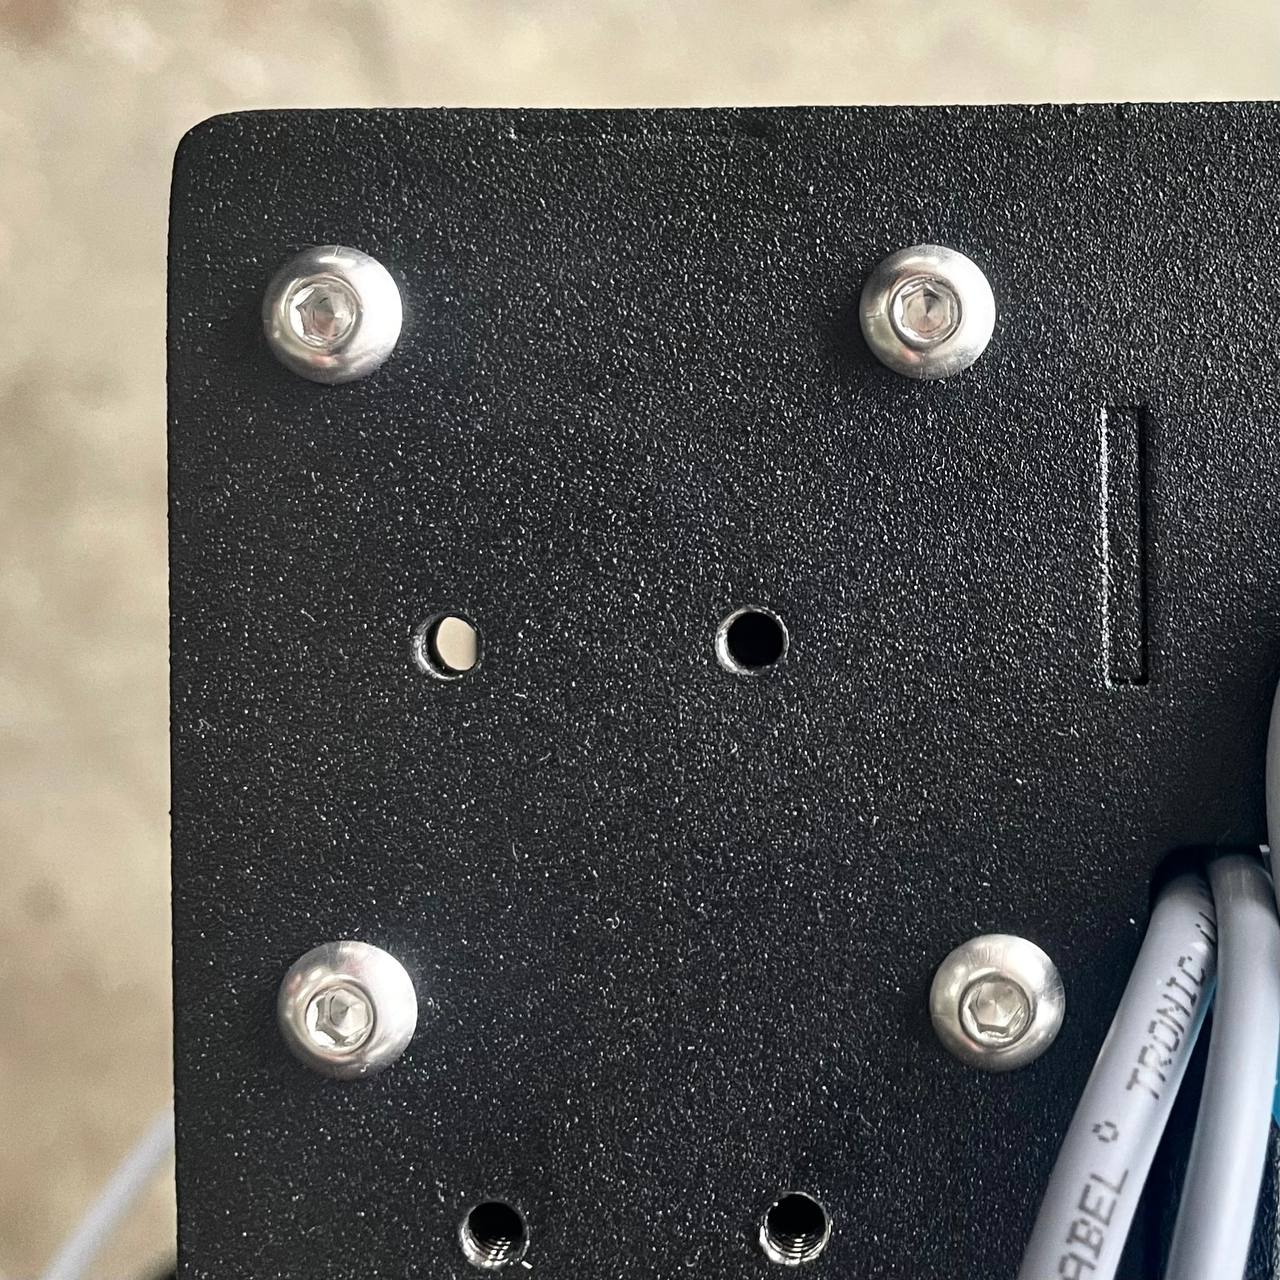
- Unscrew four bolts on the top of the printer body.
Be careful with the last bolt - do not let motors fall after bolt removal - it can damage equipment.
- Carefully pull the motors down and to the side opposite from the edge.
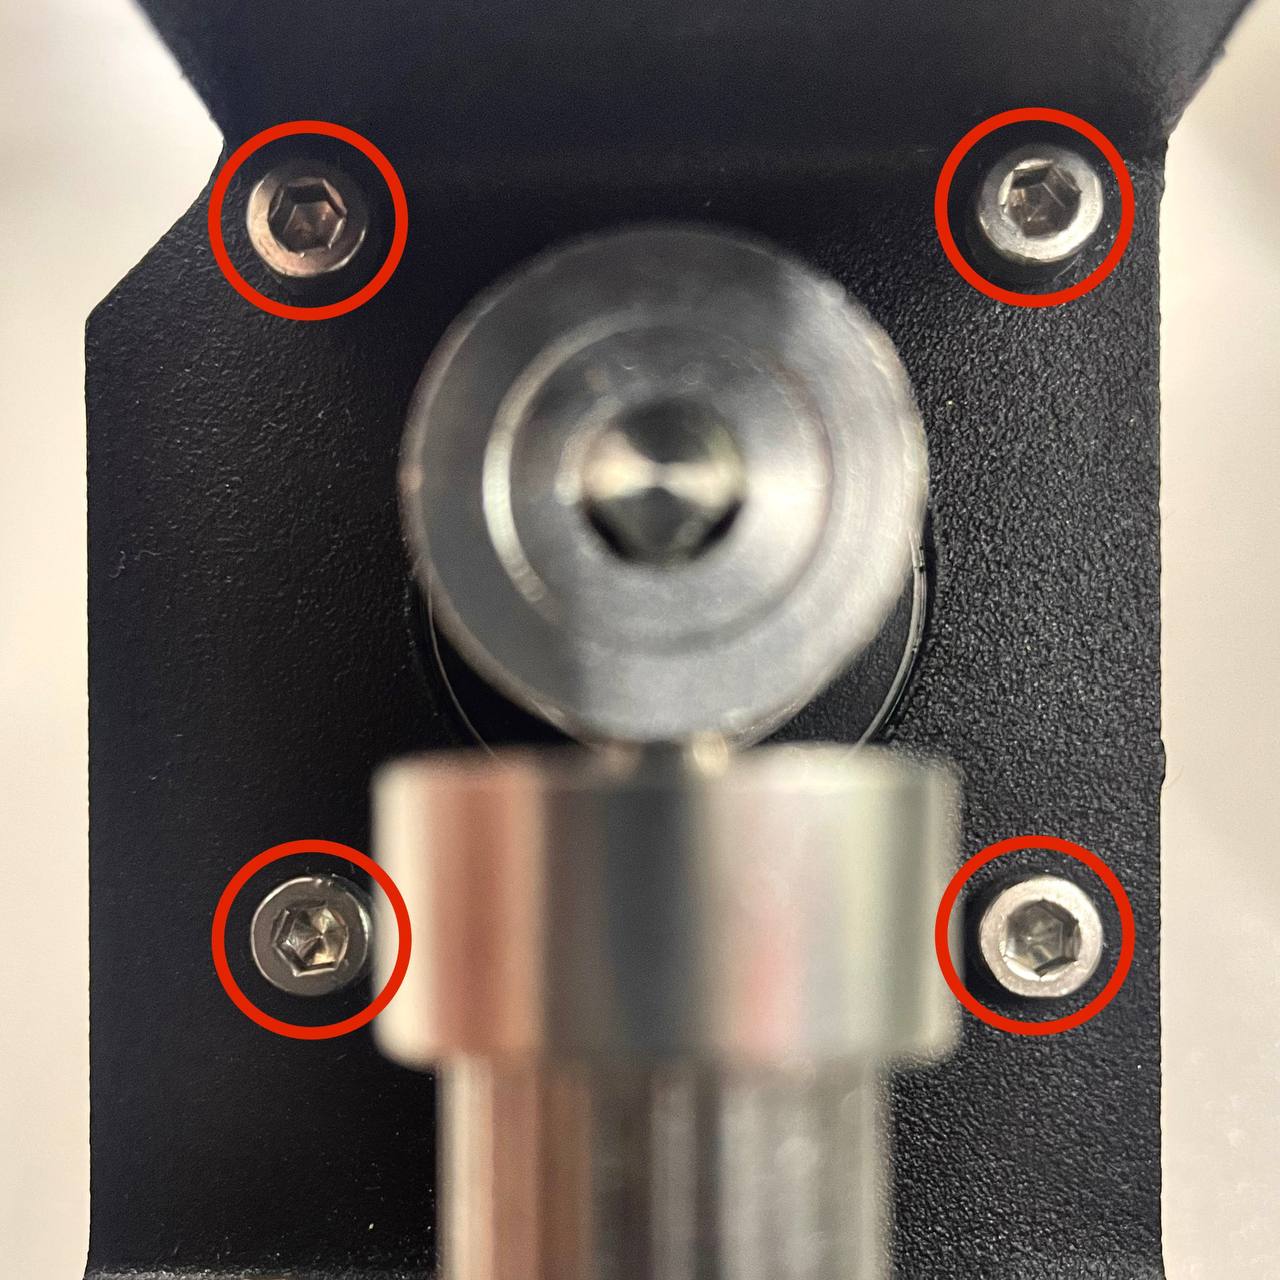
- Unscrew four bolts of the target motor on the inner side of the frame to disconnect it from the frame.
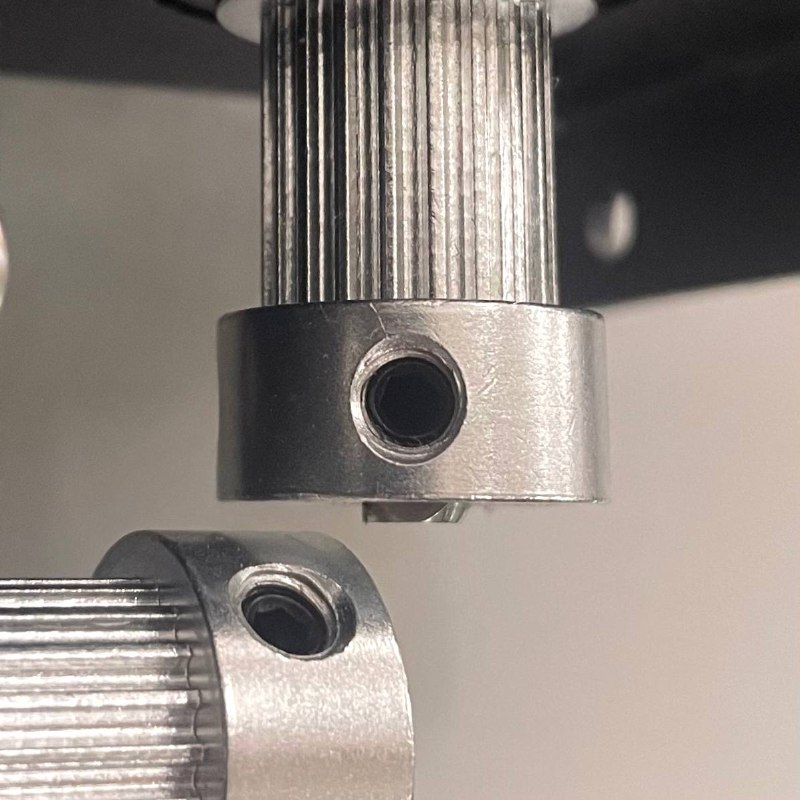
- Untighten the side screw on the target motor belt roller and remove it.
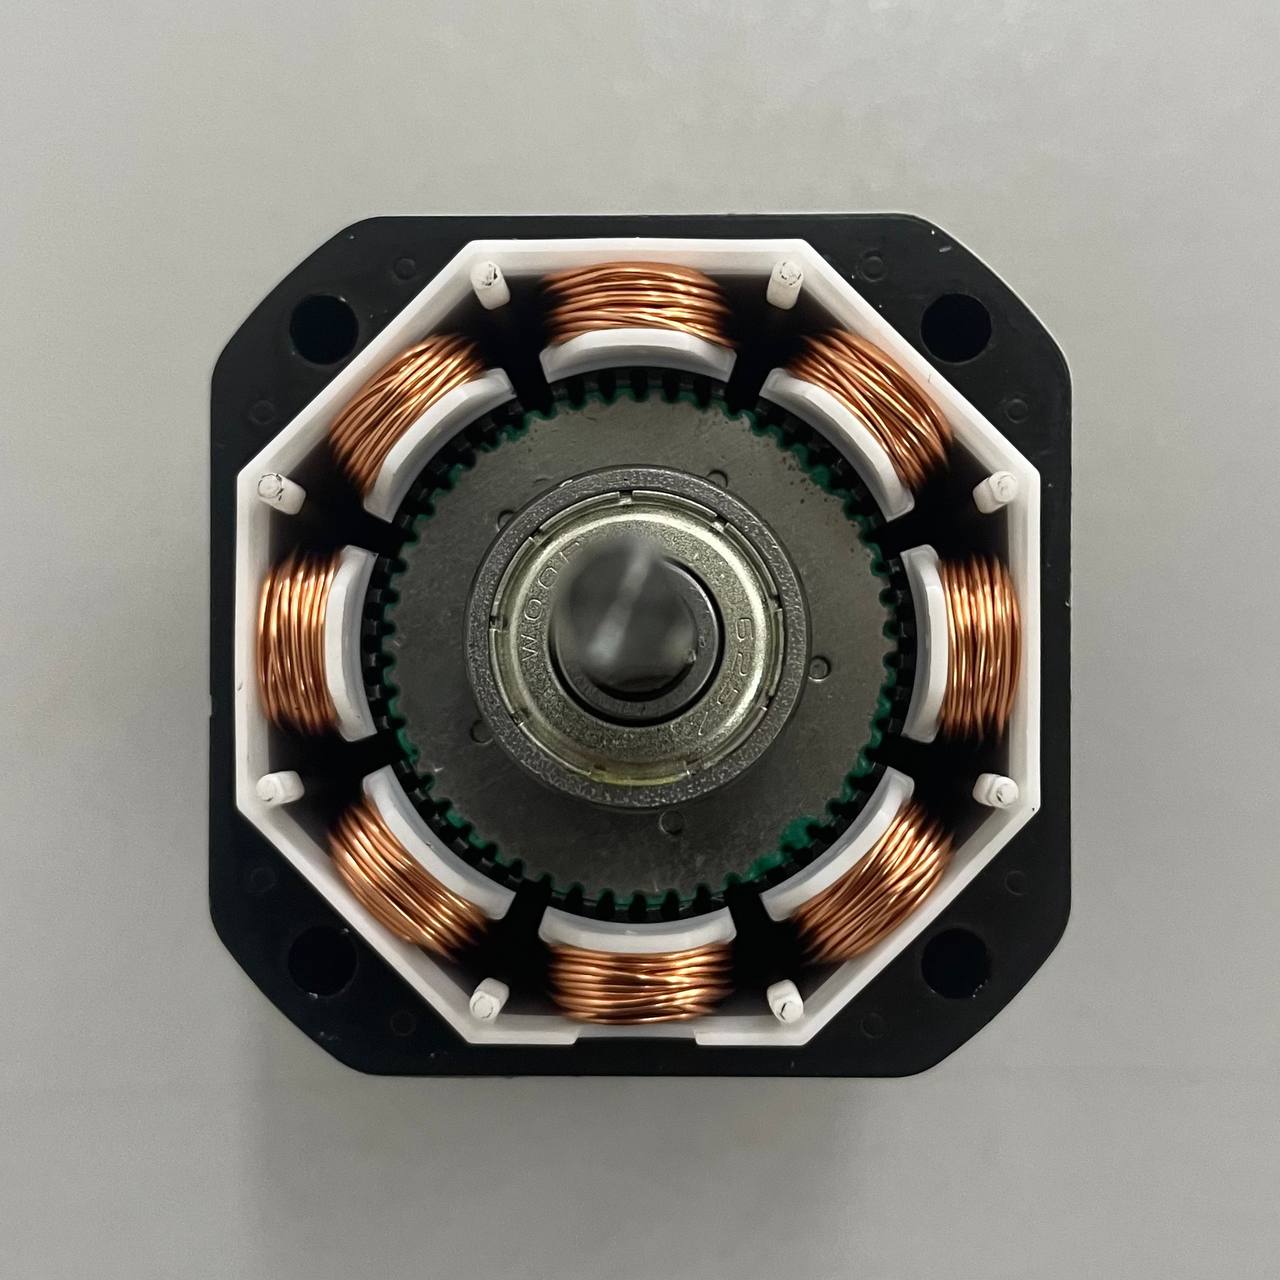
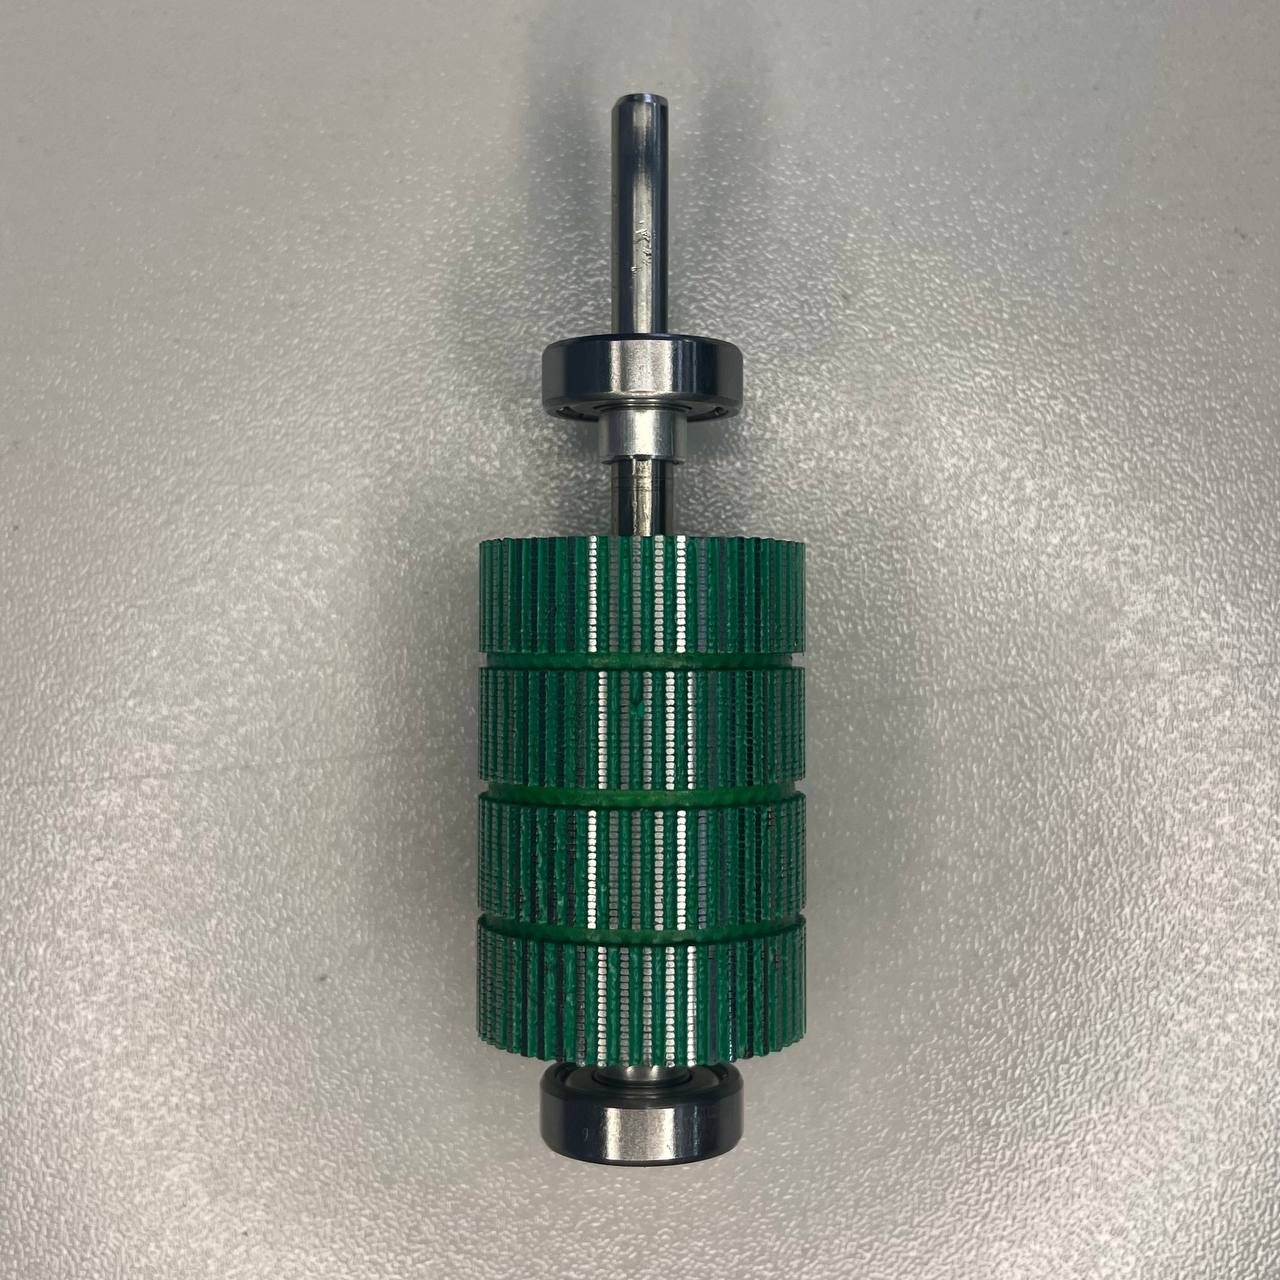
- To operate with bearings, if it is needed, you'll need to unscrew four screws on the opposite to the frame motor side, remove the cover and pull the shaft with magnets outside.
¶ Install Procedure
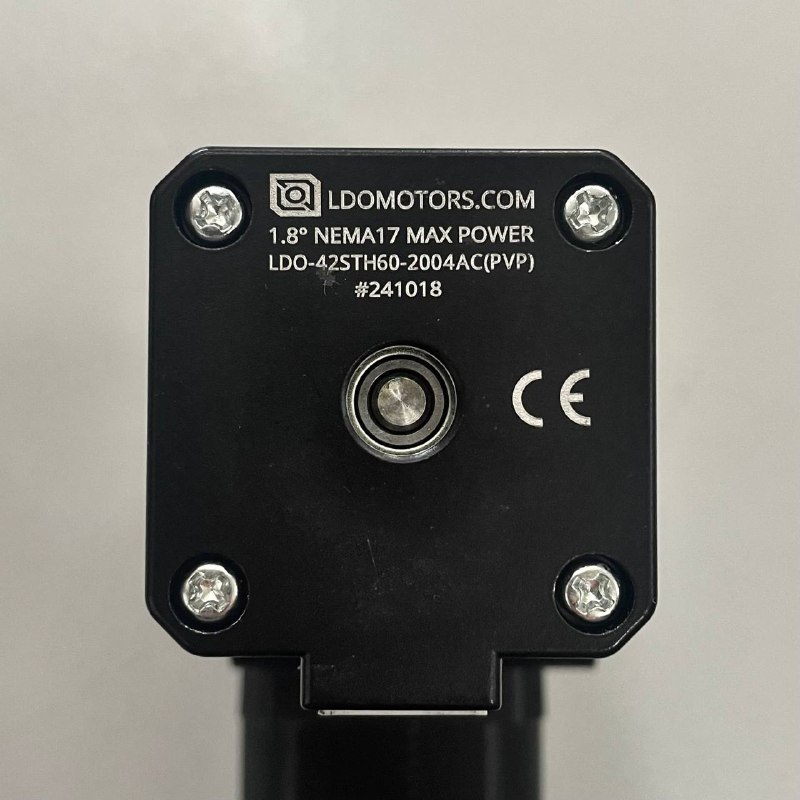
- Unpack the motor and check it for any damage or malfunctioning.
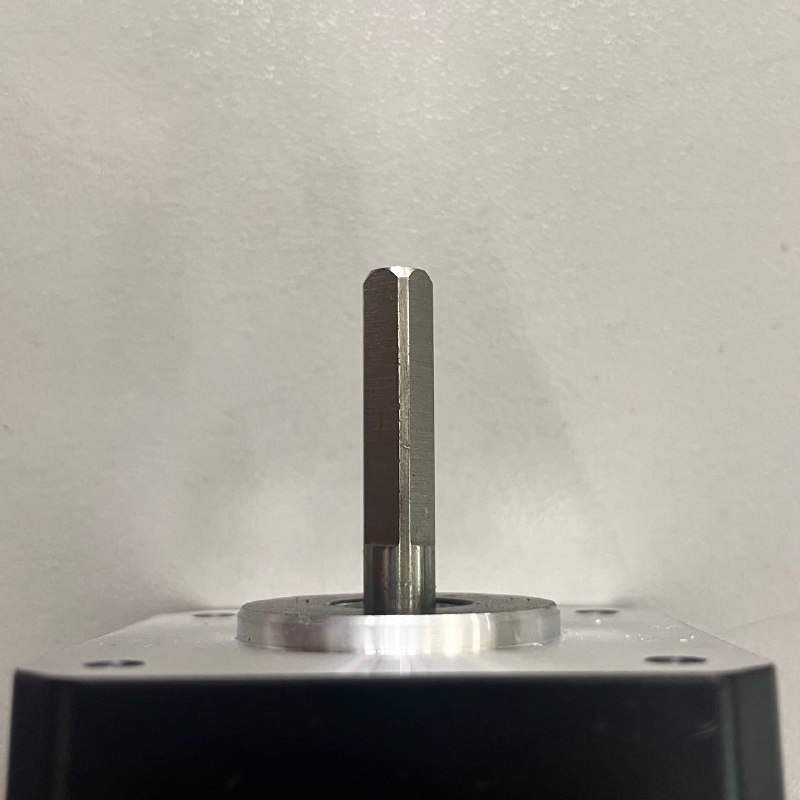
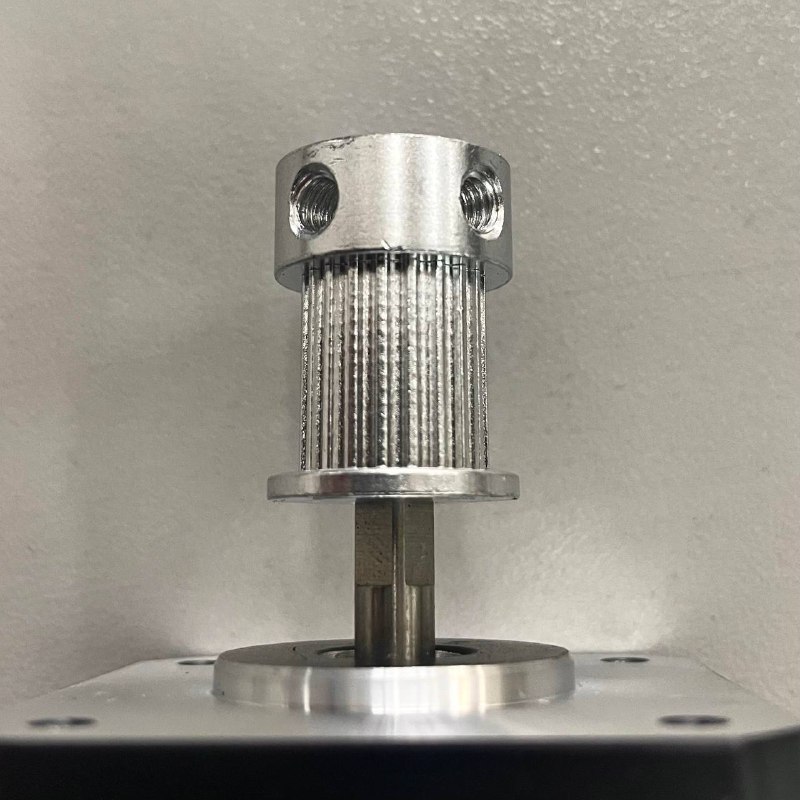
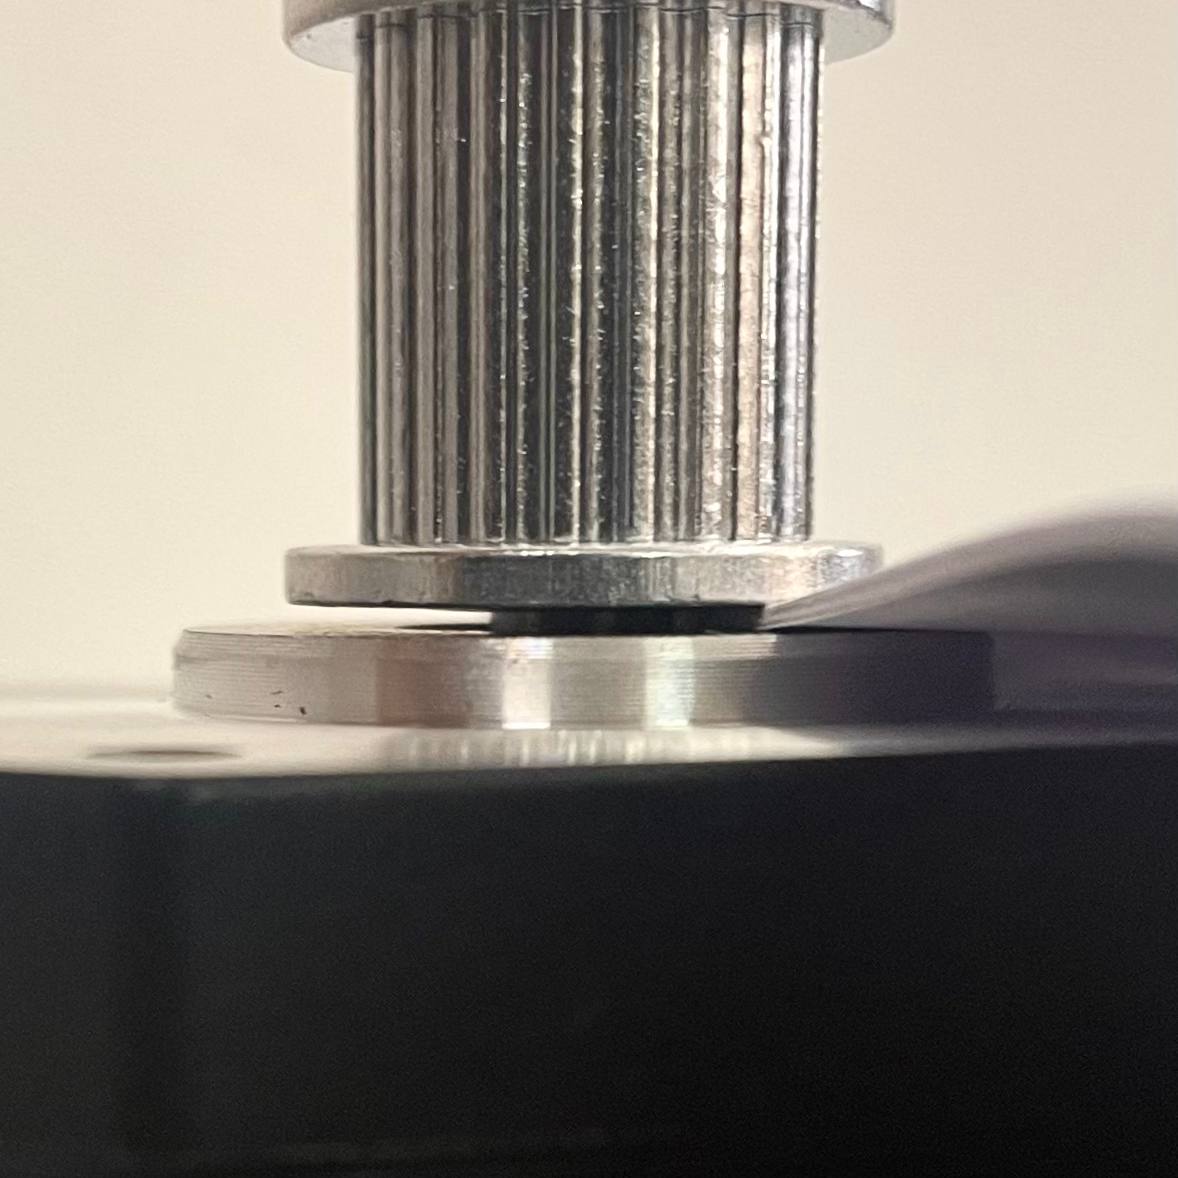
- Attach the roller to the shaft so that the screw holes align with the flat surfaces on the shaft.The distance between the roller and the motor should be approximately 0.5 mm. You can measure this distance by either printing a special spacer or placing 6 standard A4 sheets between the roller and the motor.
- Secure the motor to the frame using 4 screws.
- Install the entire assembly onto the printer by fastening it with 4 screws.
- Follow instructions for Belt and Lid installation.