¶ Z-Axis Motor Replacement Procedure
Vision Miner 22 EDEX 3D printer has three Z-axis motors which are privide bed movement up and down. They are placed just under Z-axis screws two in the front machine corners and one at the midle ot the back side. They are permanently connected to screw and tere is no way to disasembe them without damage. To reinstal follow instructions below.
Tools: Hex 2 mm driver, wrench 7 mm (m4).
-
Power Off Machine
- Ensure the machine is powered off before beginning any maintenance and unplug the cord from the mains.
-
Place Machine
- Identify the motor(s) that need to be replaced and provide best access to it(them)
Ensure the machine is placed securely with enough space (at least 60 cm) underneath the motor. Do not rotate the machine on its side.
-
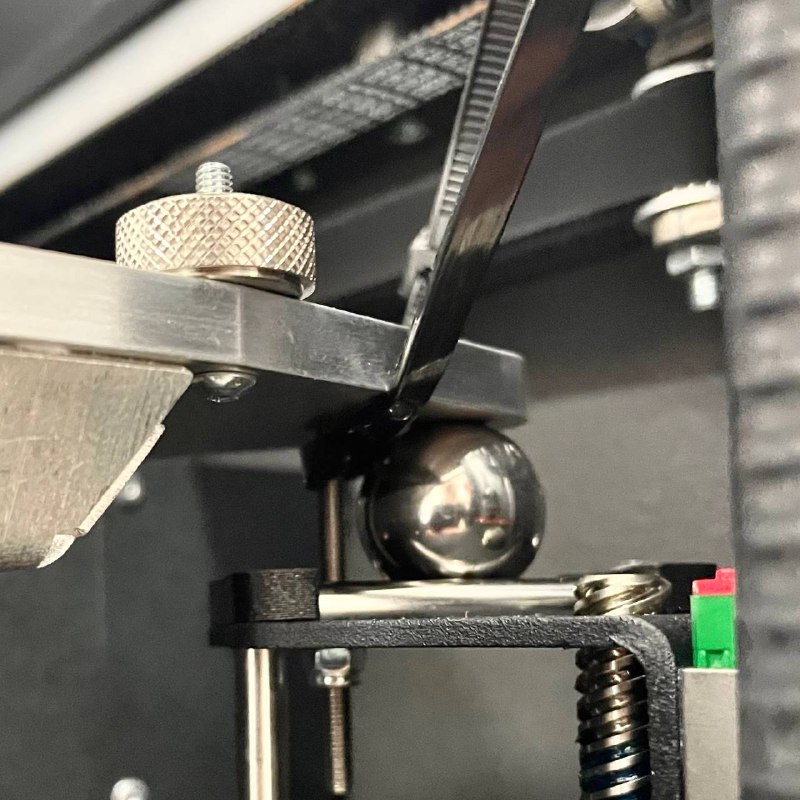
Prepare the Build Plate
- Option 1: Move up and fix the build plate. For example, with Zip Ties.
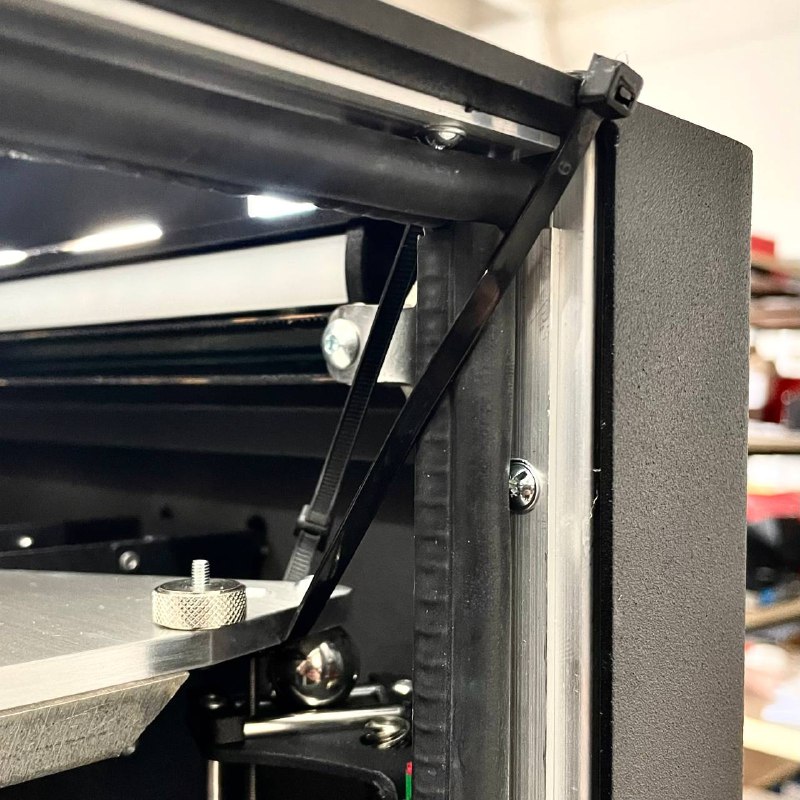
- Option 2: Remove the build plate entirely. Detailed instructon for this procedure is Here
- Option 1: Move up and fix the build plate. For example, with Zip Ties.
-
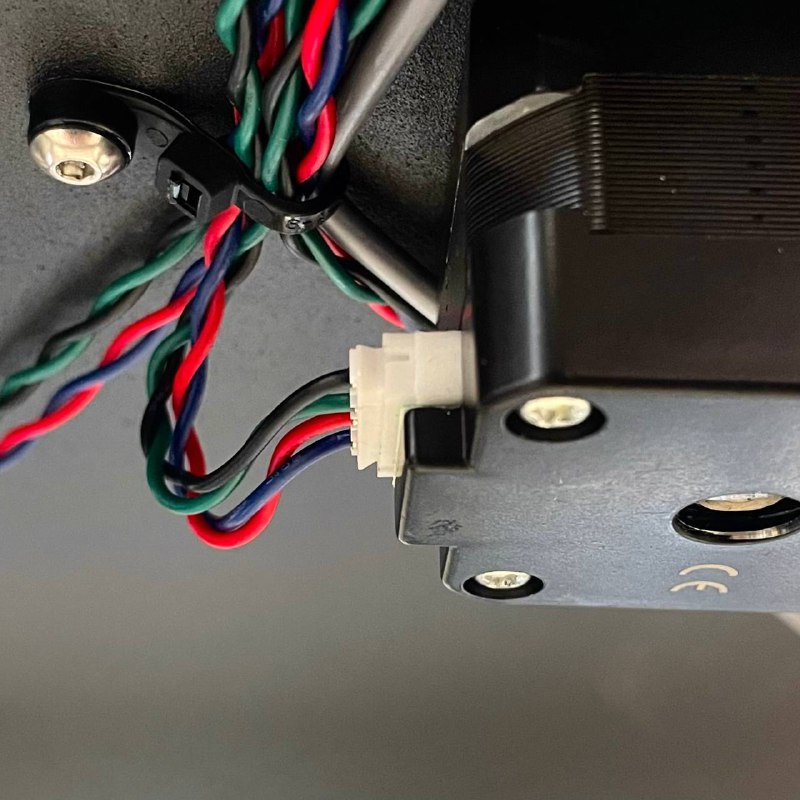
Disconnect the target motor from the wires.
-
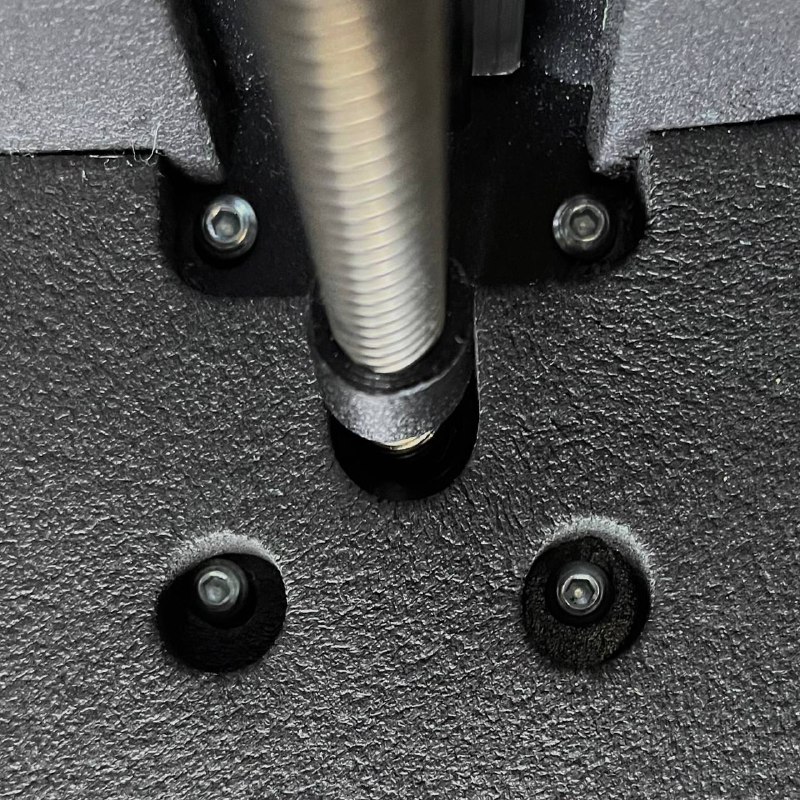
Unscrew Motor Bolts
- Unscrew three of the bolts.
- Unscrew the last bolt carefully. Be prepared for the motor to move down.
-
Remove Motor from its position.
- Carefully move motor strait down.
- For the front motors, you can move the printer to the edge of the table so that it rests on three legs.
- For the rear motor, you’ll need to place something under the printer—like wooden blocks—and move it to the edge of the table so you can access the motor while the printer rests on two legs and the support.
- Let it rotate if it is needed.
- Carefully move motor strait down.
-
Prepare new motor.
- Remove package and chech if it has any damage.
-
Install New Motor(s)
- Push the motor screw into the bottom hole and screw it into the bronze nut.
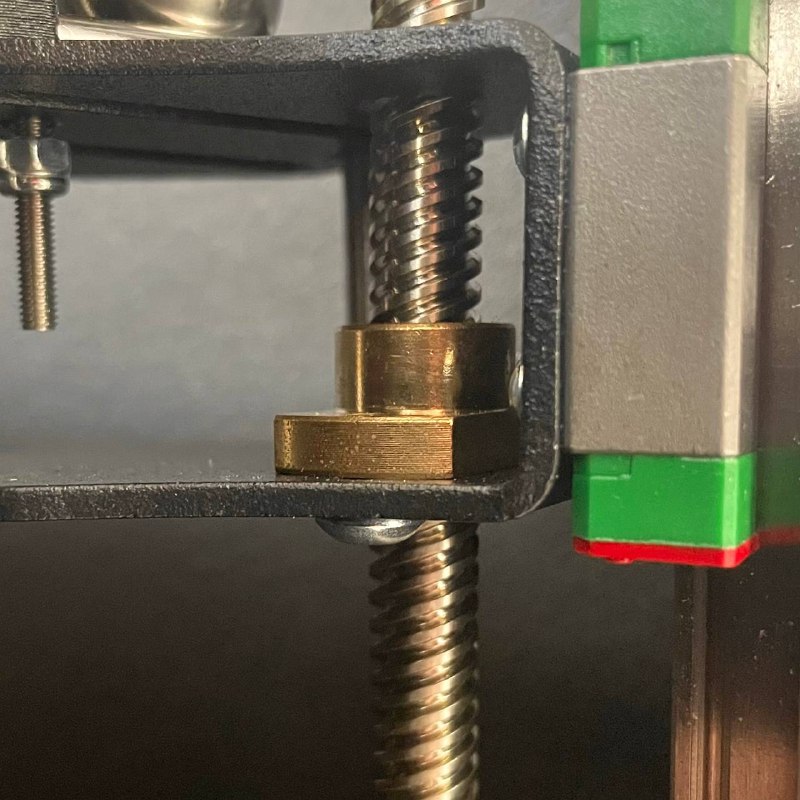
- Orient Motor Connectors. For front motors, orient the connectors towards the back. For back motor, orient the connector towards the left back printer door where the mainboard is located.
- Screw in four bolts but leave them loose.
- Push the motor screw into the bottom hole and screw it into the bronze nut.
-
Set the Build Plate
- If you removed the bed, reinstall it or remove any supports.
- Lower the bed to the very bottom.
- Tighten all accessible motor bolts.
- Move the bed up enough to operate with the remaining bolts and tighten them.
- The adjustment procedure for Z-Motors is described separately Here
-
Connect motor wires.
- Plug the motor wire socket into the motor connector.
- Plug the motor wire socket into the motor connector.
-
Final Steps
- Move the printer to its permanent location.
- Power on the printer.
- Run the Bed Leveling procedure.