WiFi Setup
WiFi setup for the 22 IDEX V4: Access Point mode by default, switching to 2.4 GHz Client mode, verifying the IP before saving, and subnet fixes.
Vision Miner 22IDEX V4 printers with a WiFi module ship in Access Point (AP) mode: the machine broadcasts SSID 22 IDEX so you can open the Web Interface without an existing LAN. To print from PCs already on your home or office WiFi, switch to Client mode so the printer joins that 2.4 GHz network (the module does not use 5 GHz).
Before you begin - safety and risk
Read the Safety - Before You Begin article to understand the hazards involved in working on the Vision Miner 22IDEX V4 - including electrical, thermal, mechanical, and chemical risks. All procedures in this wiki are provided as recommendations only. By choosing to follow any procedure, you do so at your own risk.
2.4 GHz only
The WiFi module only associates with 2.4 GHz networks. Split SSIDs on the router if your 5 GHz and 2.4 GHz share one name and the printer never connects.
Everything must be on the same network
For the printer to be reachable, the printer, your computer, and your router must all be on the same network. If the printer joins one WiFi network and your computer is on another, the Web Interface will not load. Confirm all three share one 2.4 GHz network before you begin.
We recommend Ethernet when possible
If you can run a cable, we recommend connecting the printer over Ethernet instead of WiFi - it is more stable and simpler to set up. See Ethernet Connection. Use WiFi only when Ethernet is not an option.
Tools and Materials
- Vision Miner 22IDEX V4 with WiFi antenna fitted (if your revision ships one).
- A 2.4 GHz WiFi network from your router.
- A computer or phone on that same network, with a web browser.
Access Point mode (default)
After power-on, the printer offers:
| Field | Value |
|---|---|
| SSID | 22 IDEX |
| Password | 1234567890 |
| Web Interface URL | http://192.168.0.1 or http://22idex.local |
- Power on and wait about 30 s for the radio to come up.
- On your PC or phone, join WiFi
22 IDEXwith password1234567890. - Open a browser to
http://192.168.0.1(orhttp://22idex.local). - Confirm the Web Interface loads.
AP mode lets you reach the printer directly, without an existing network. While in AP mode, only devices joined to 22 IDEX can reach the printer - switch to Client mode to use the printer on your normal network.
Client mode
You must already reach the Web Interface (usually via AP). Switching to Client mode drops the current session until you join your normal WiFi and browse to the new IP.
- Stay on
22 IDEX(or any path that still shows the UI). OpenMacros > System > Settings > Network. - Click Connect to new WiFi network.
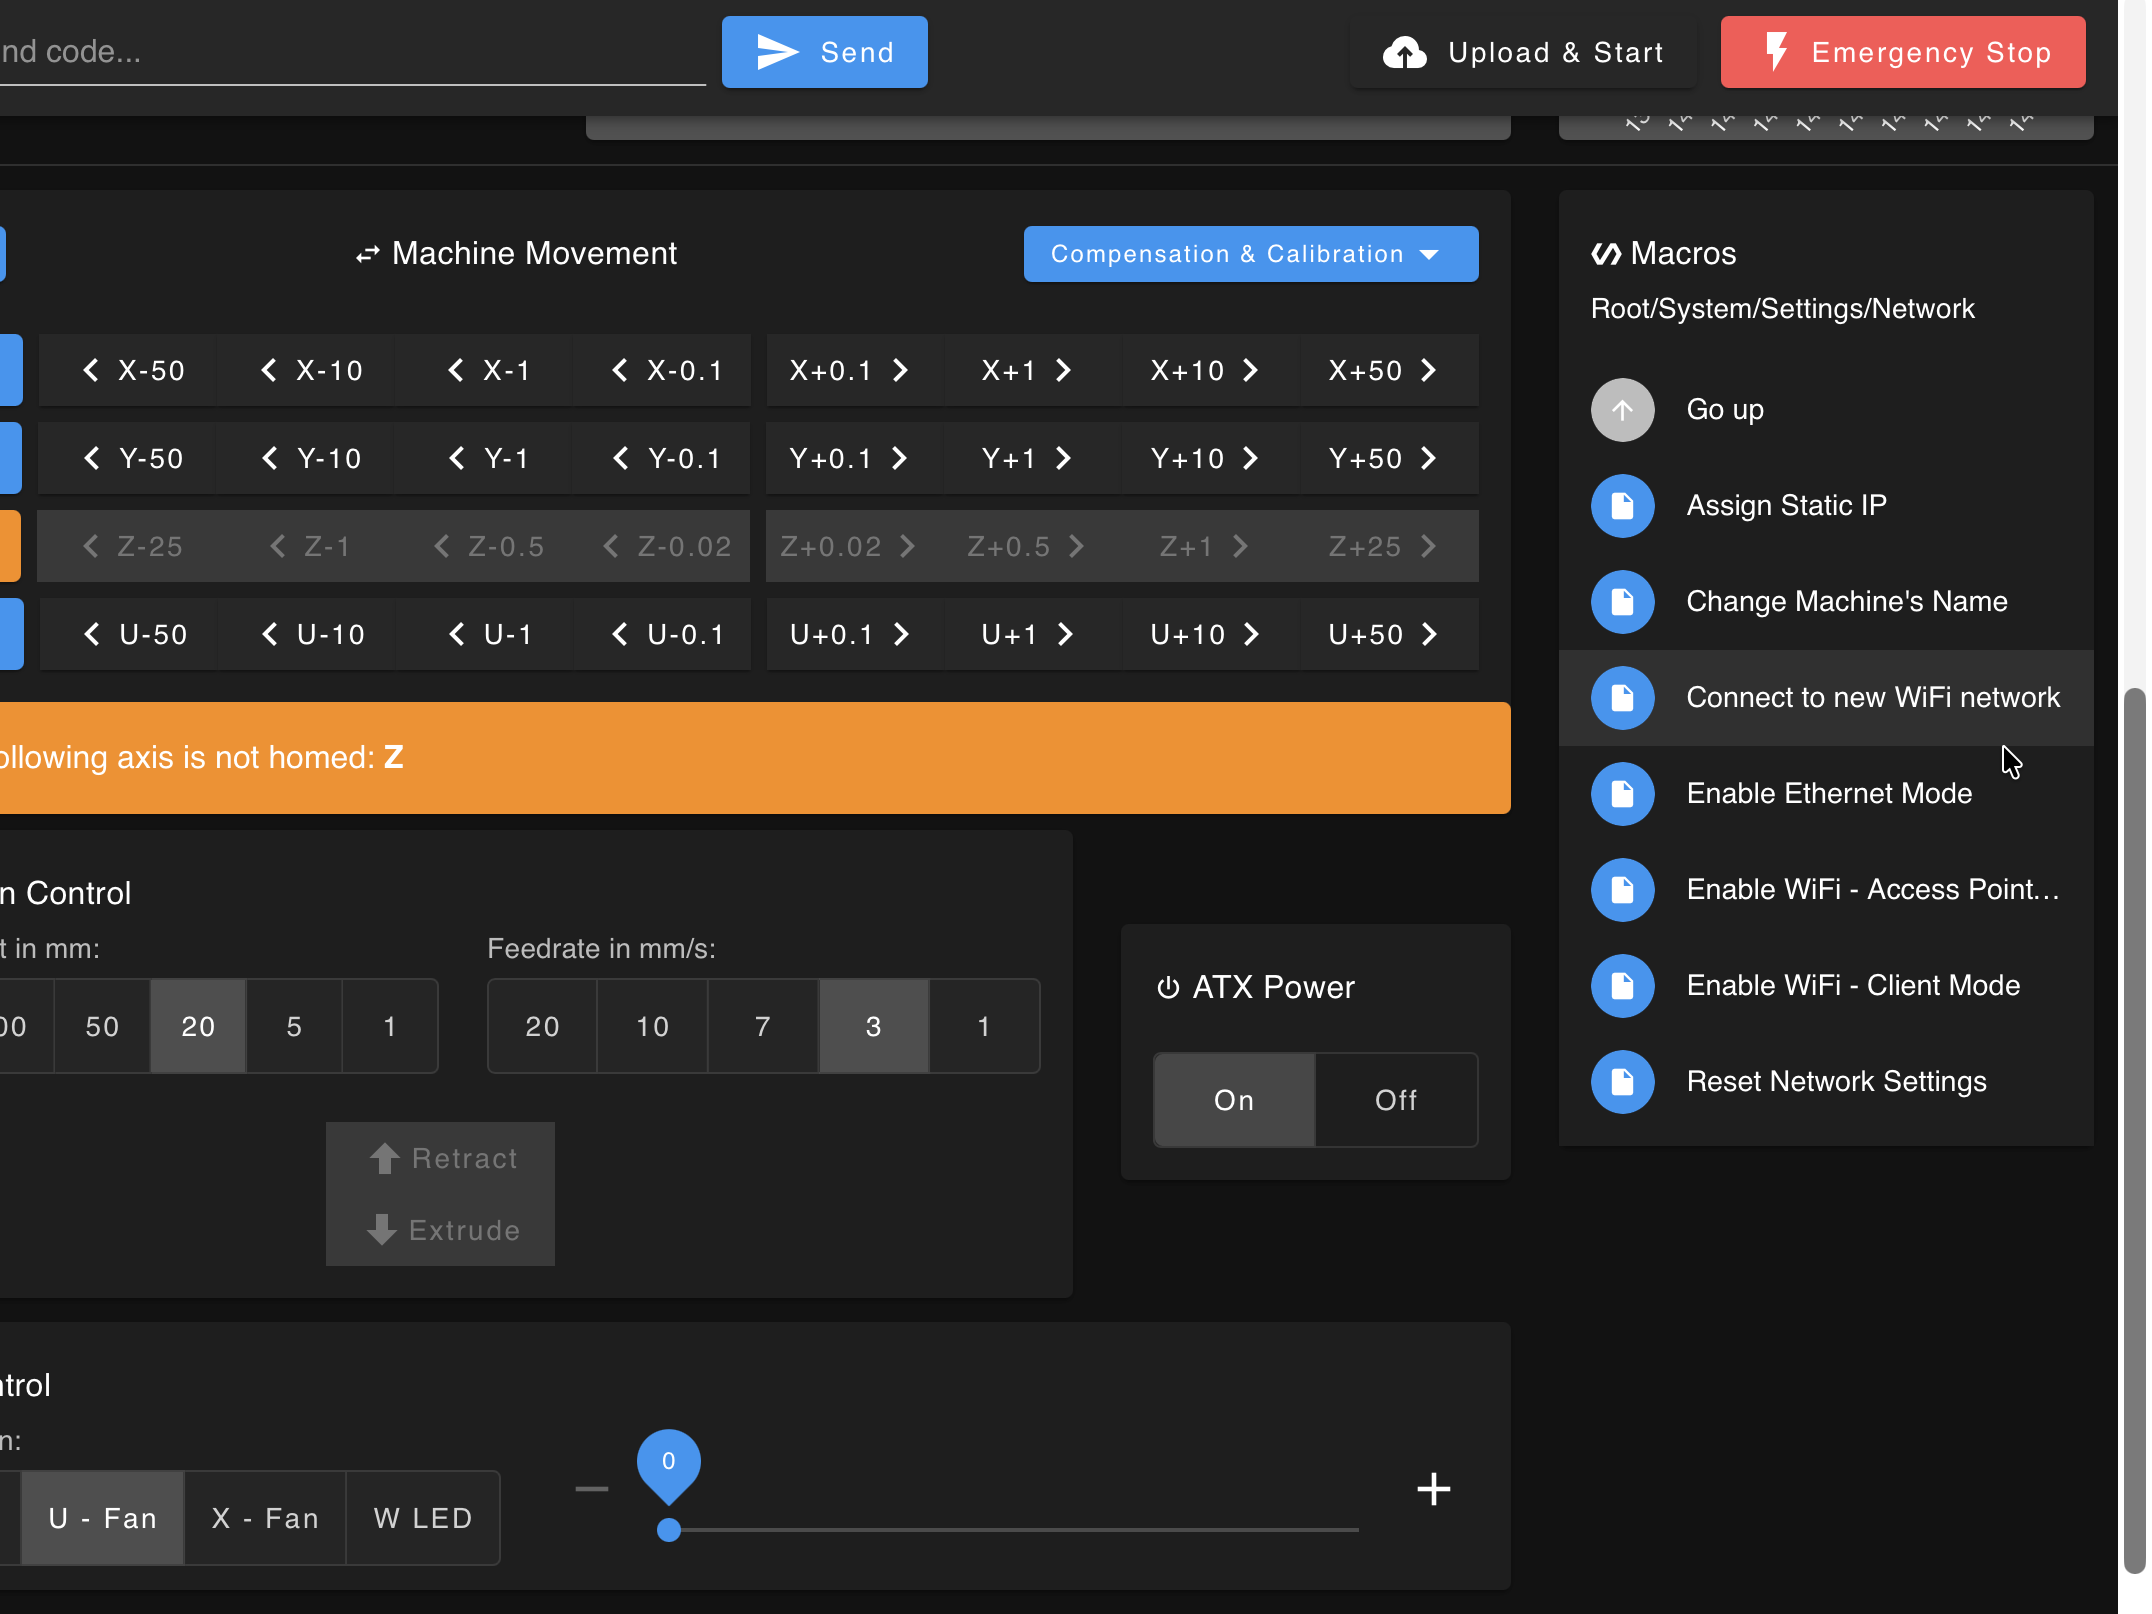
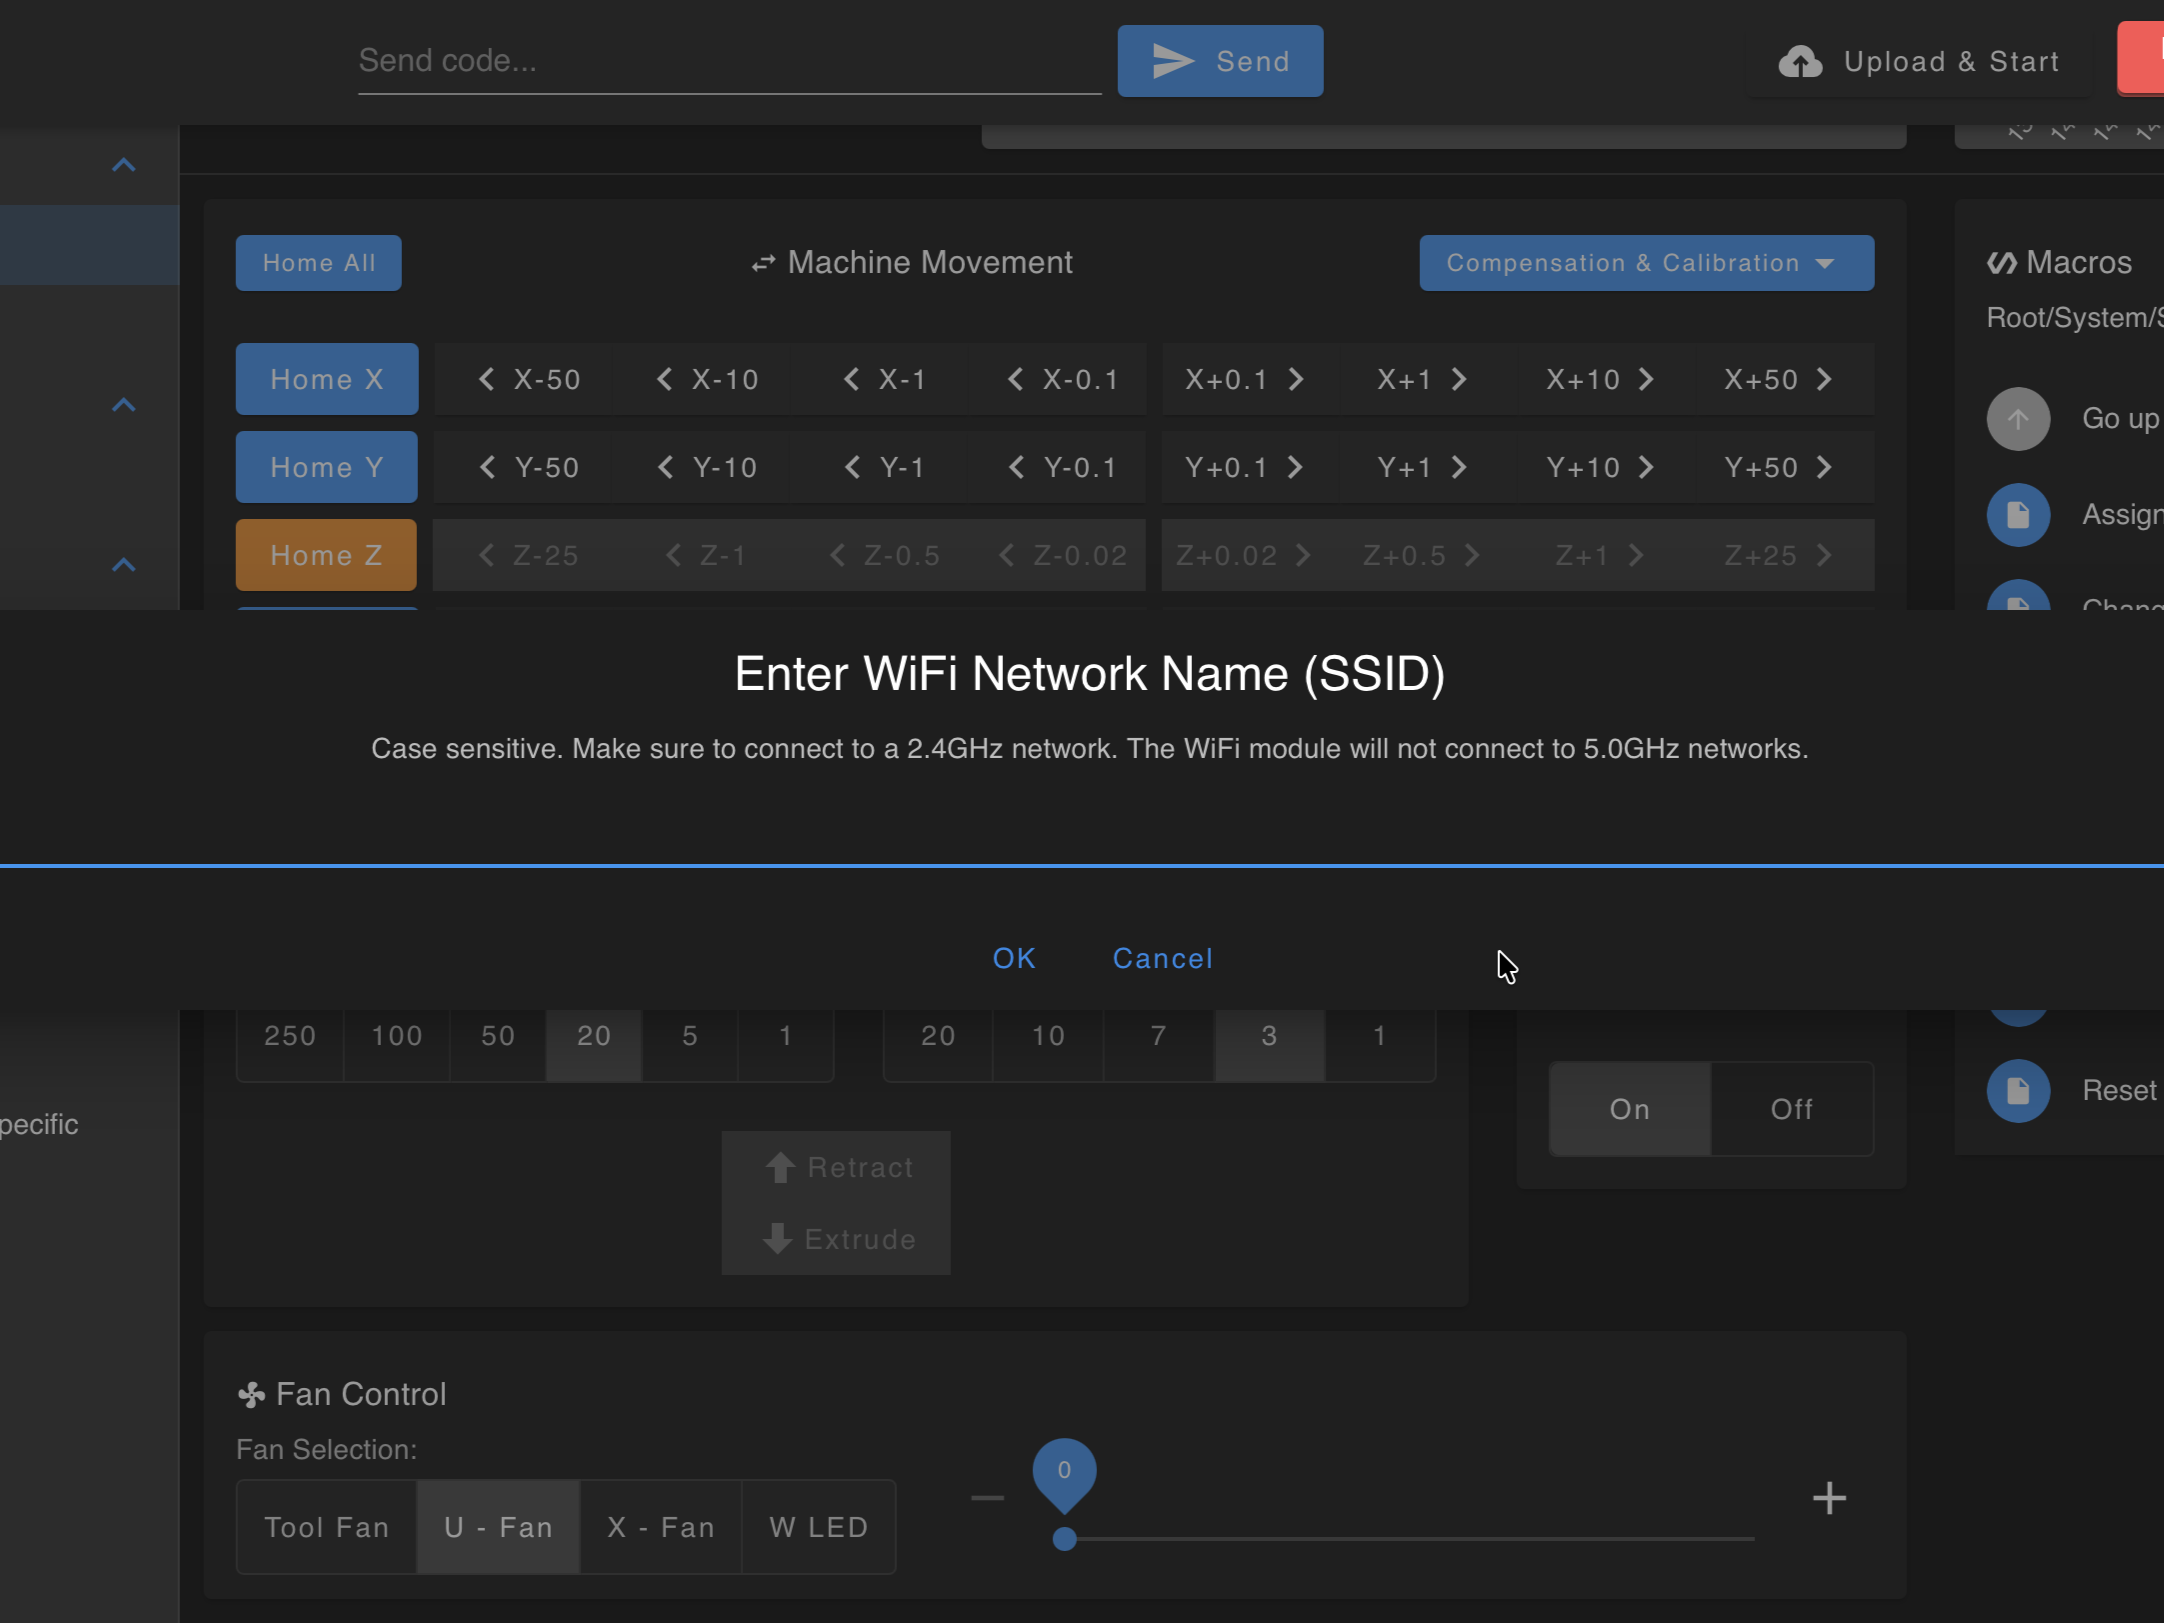
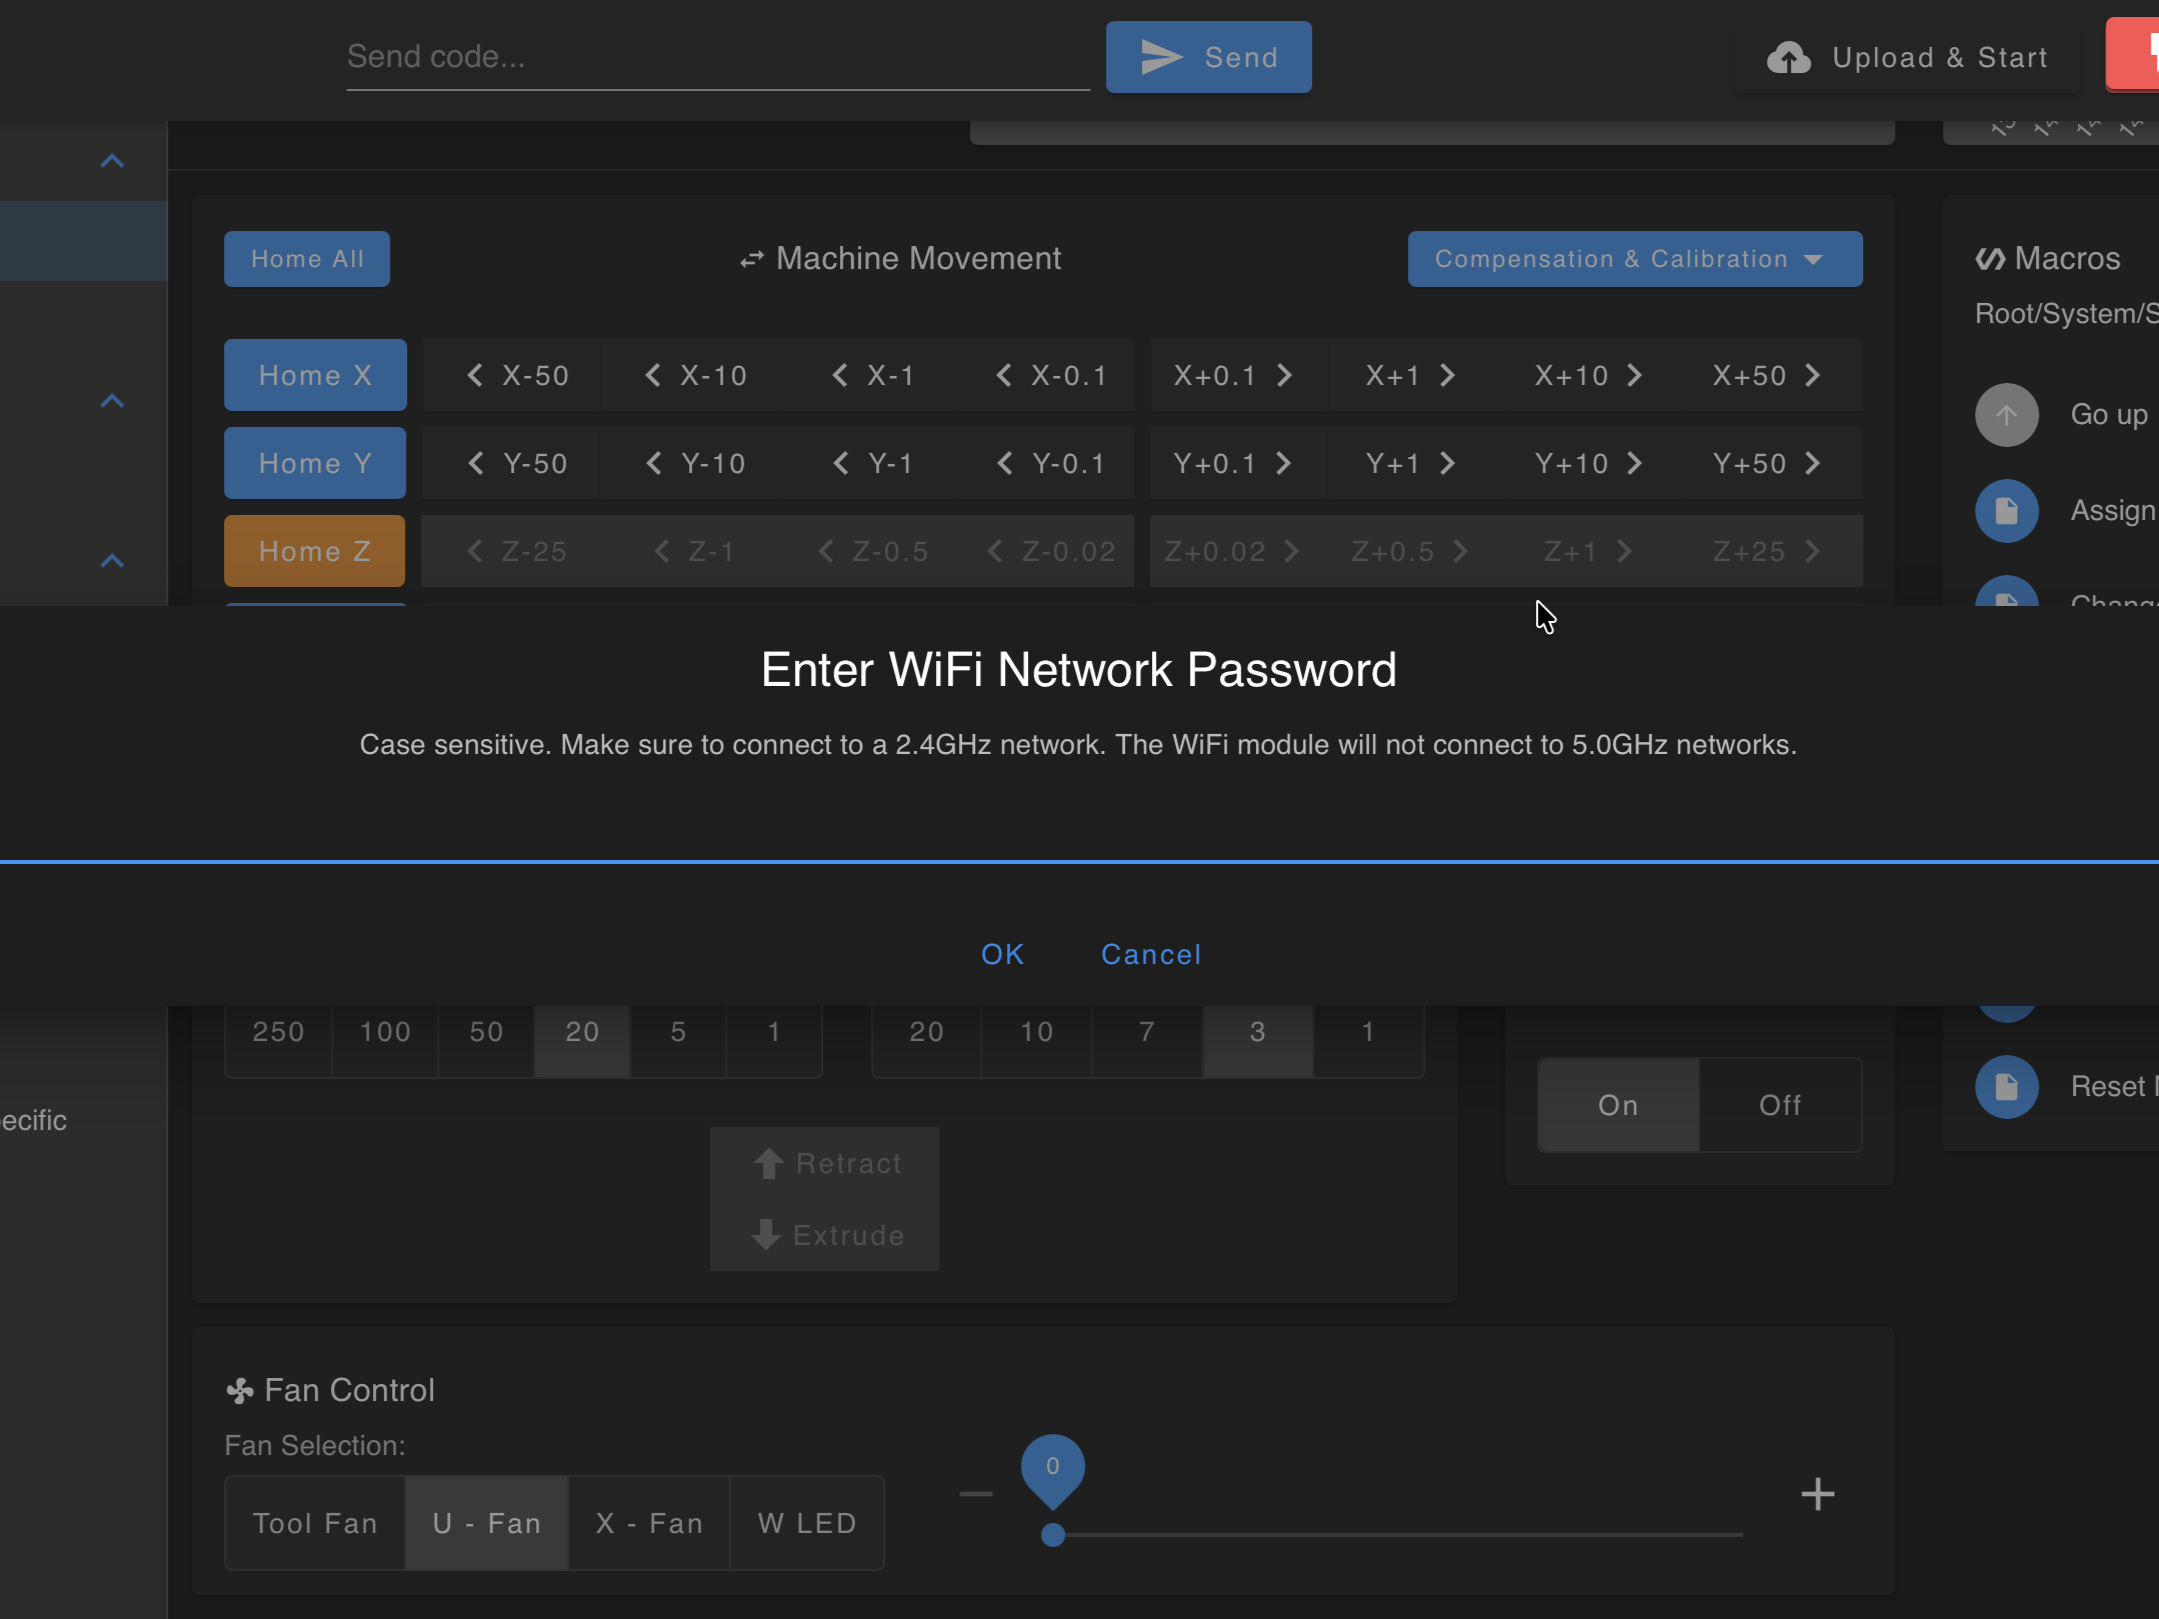
- Enter SSID and password exactly (case-sensitive). Confirm the network is 2.4 GHz.
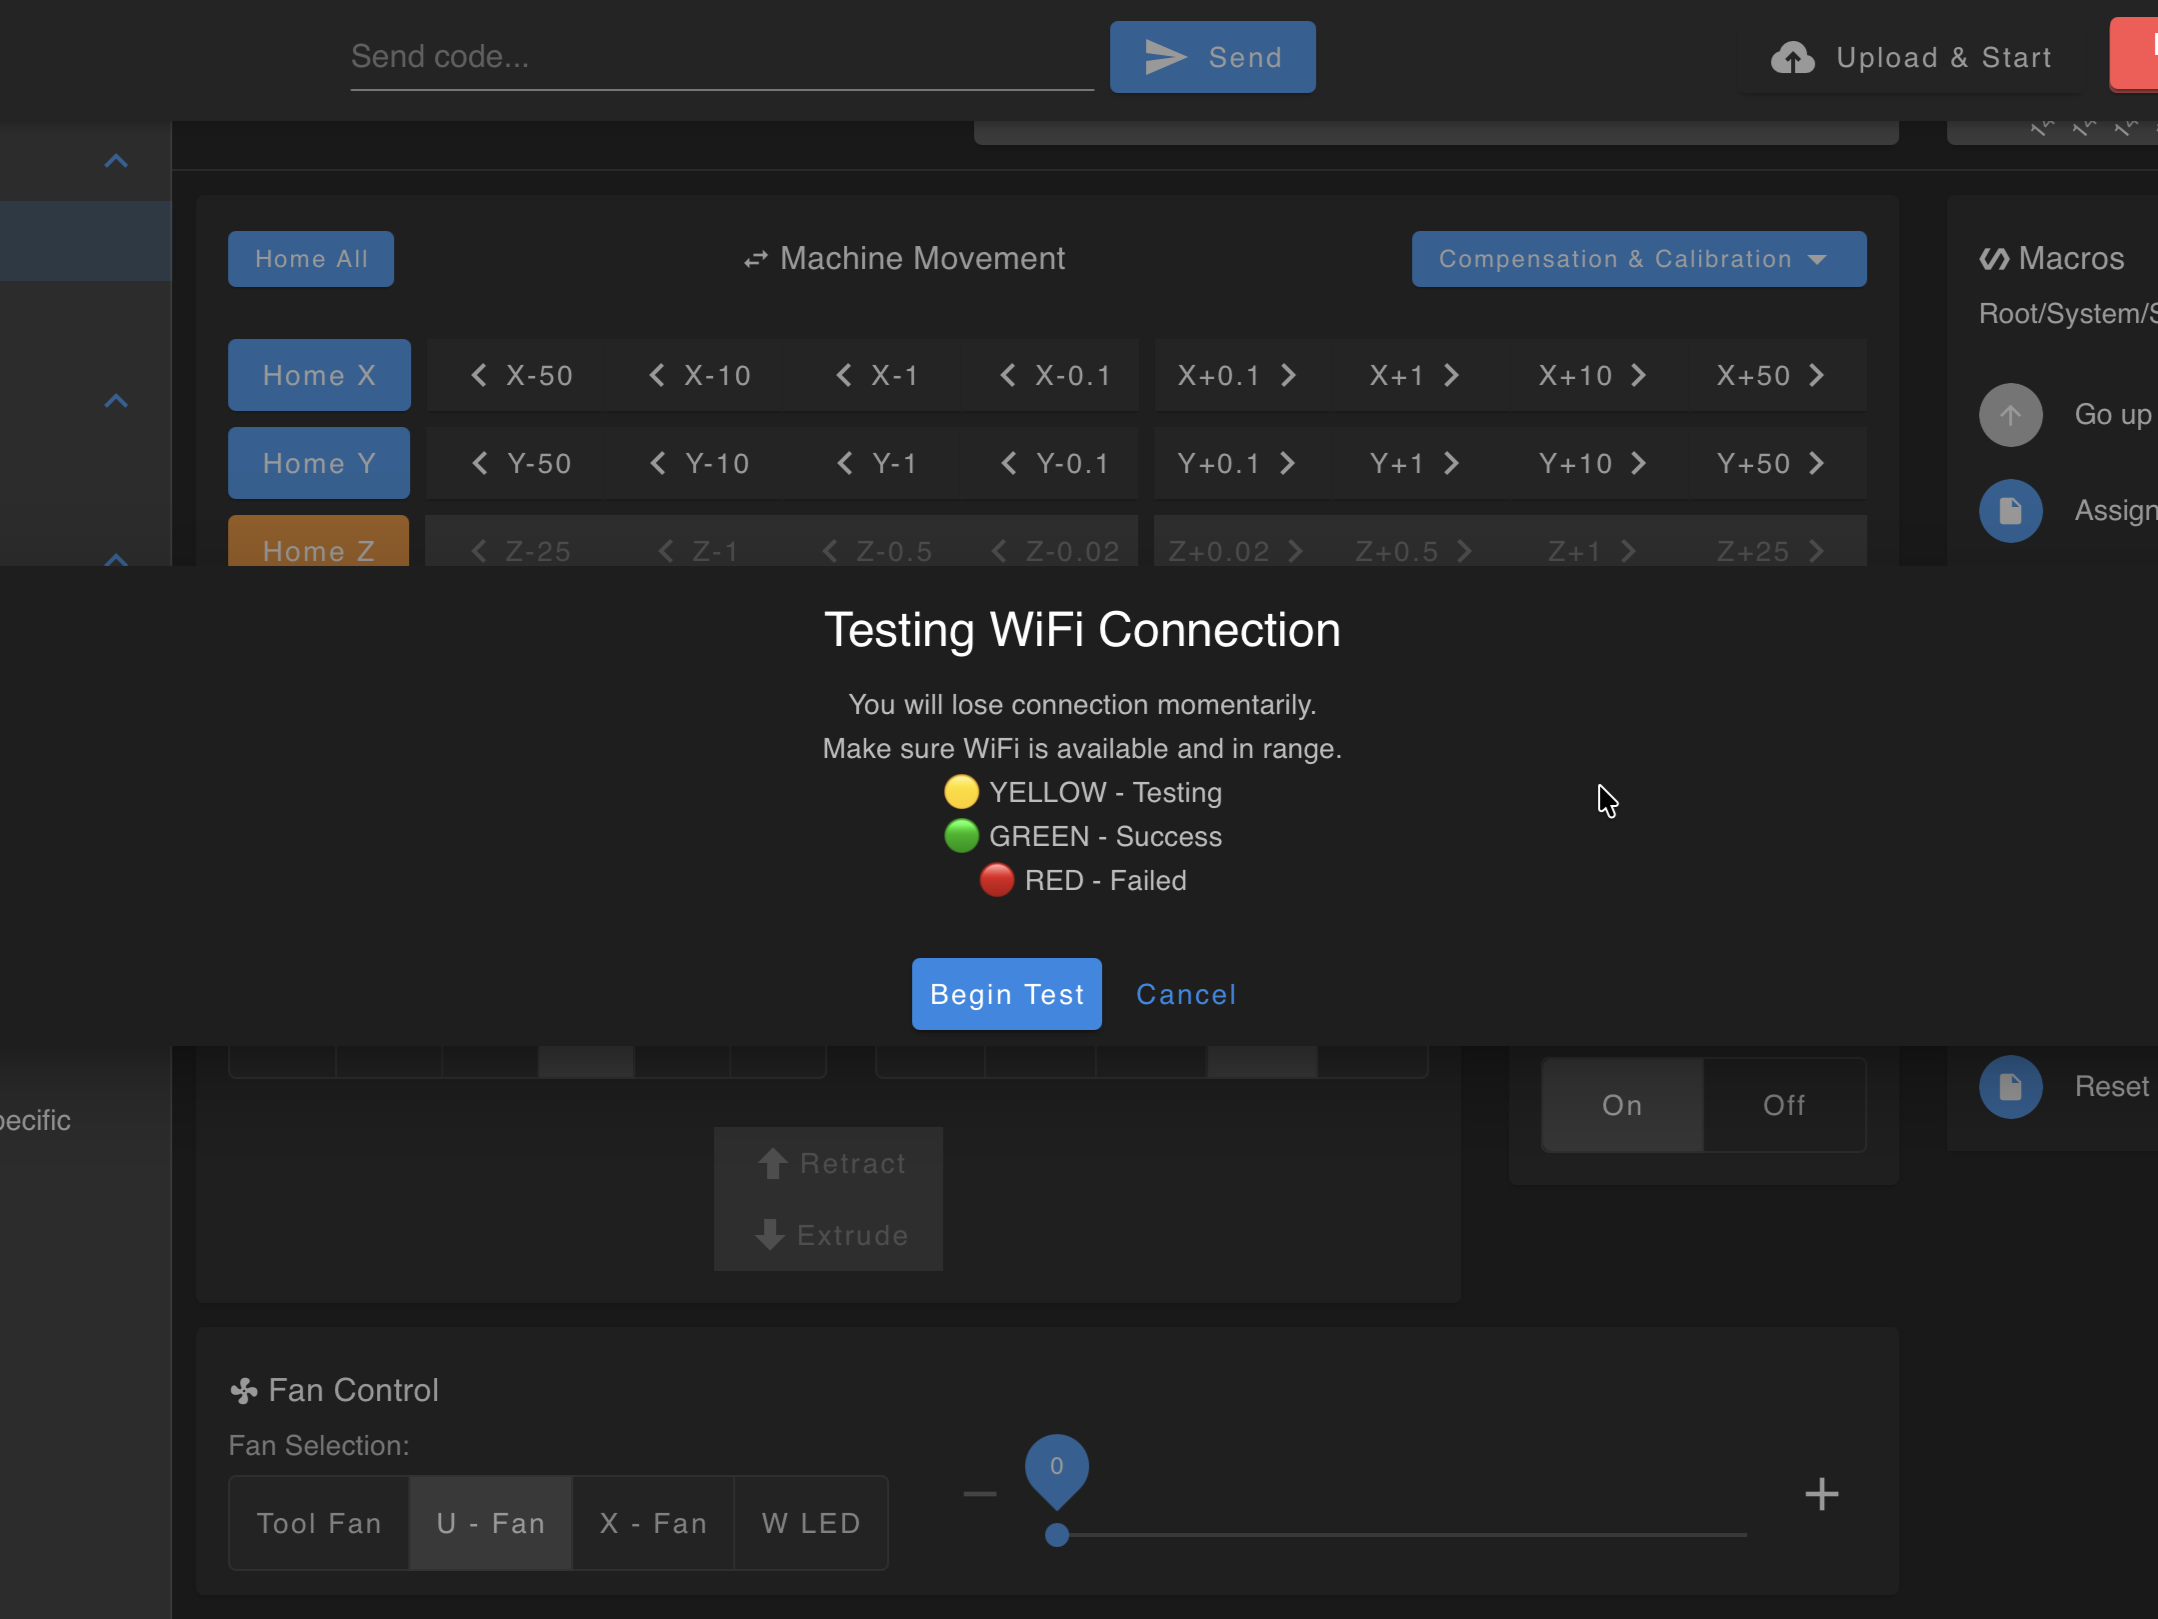
- Click Begin Test to start the test. Watch chamber LEDs:
| LED colour | Meaning |
|---|---|
| 🟡 Yellow | Test running |
| 🟢 Green | Association succeeded - the Connection Successful dialog appears on the printer screen |
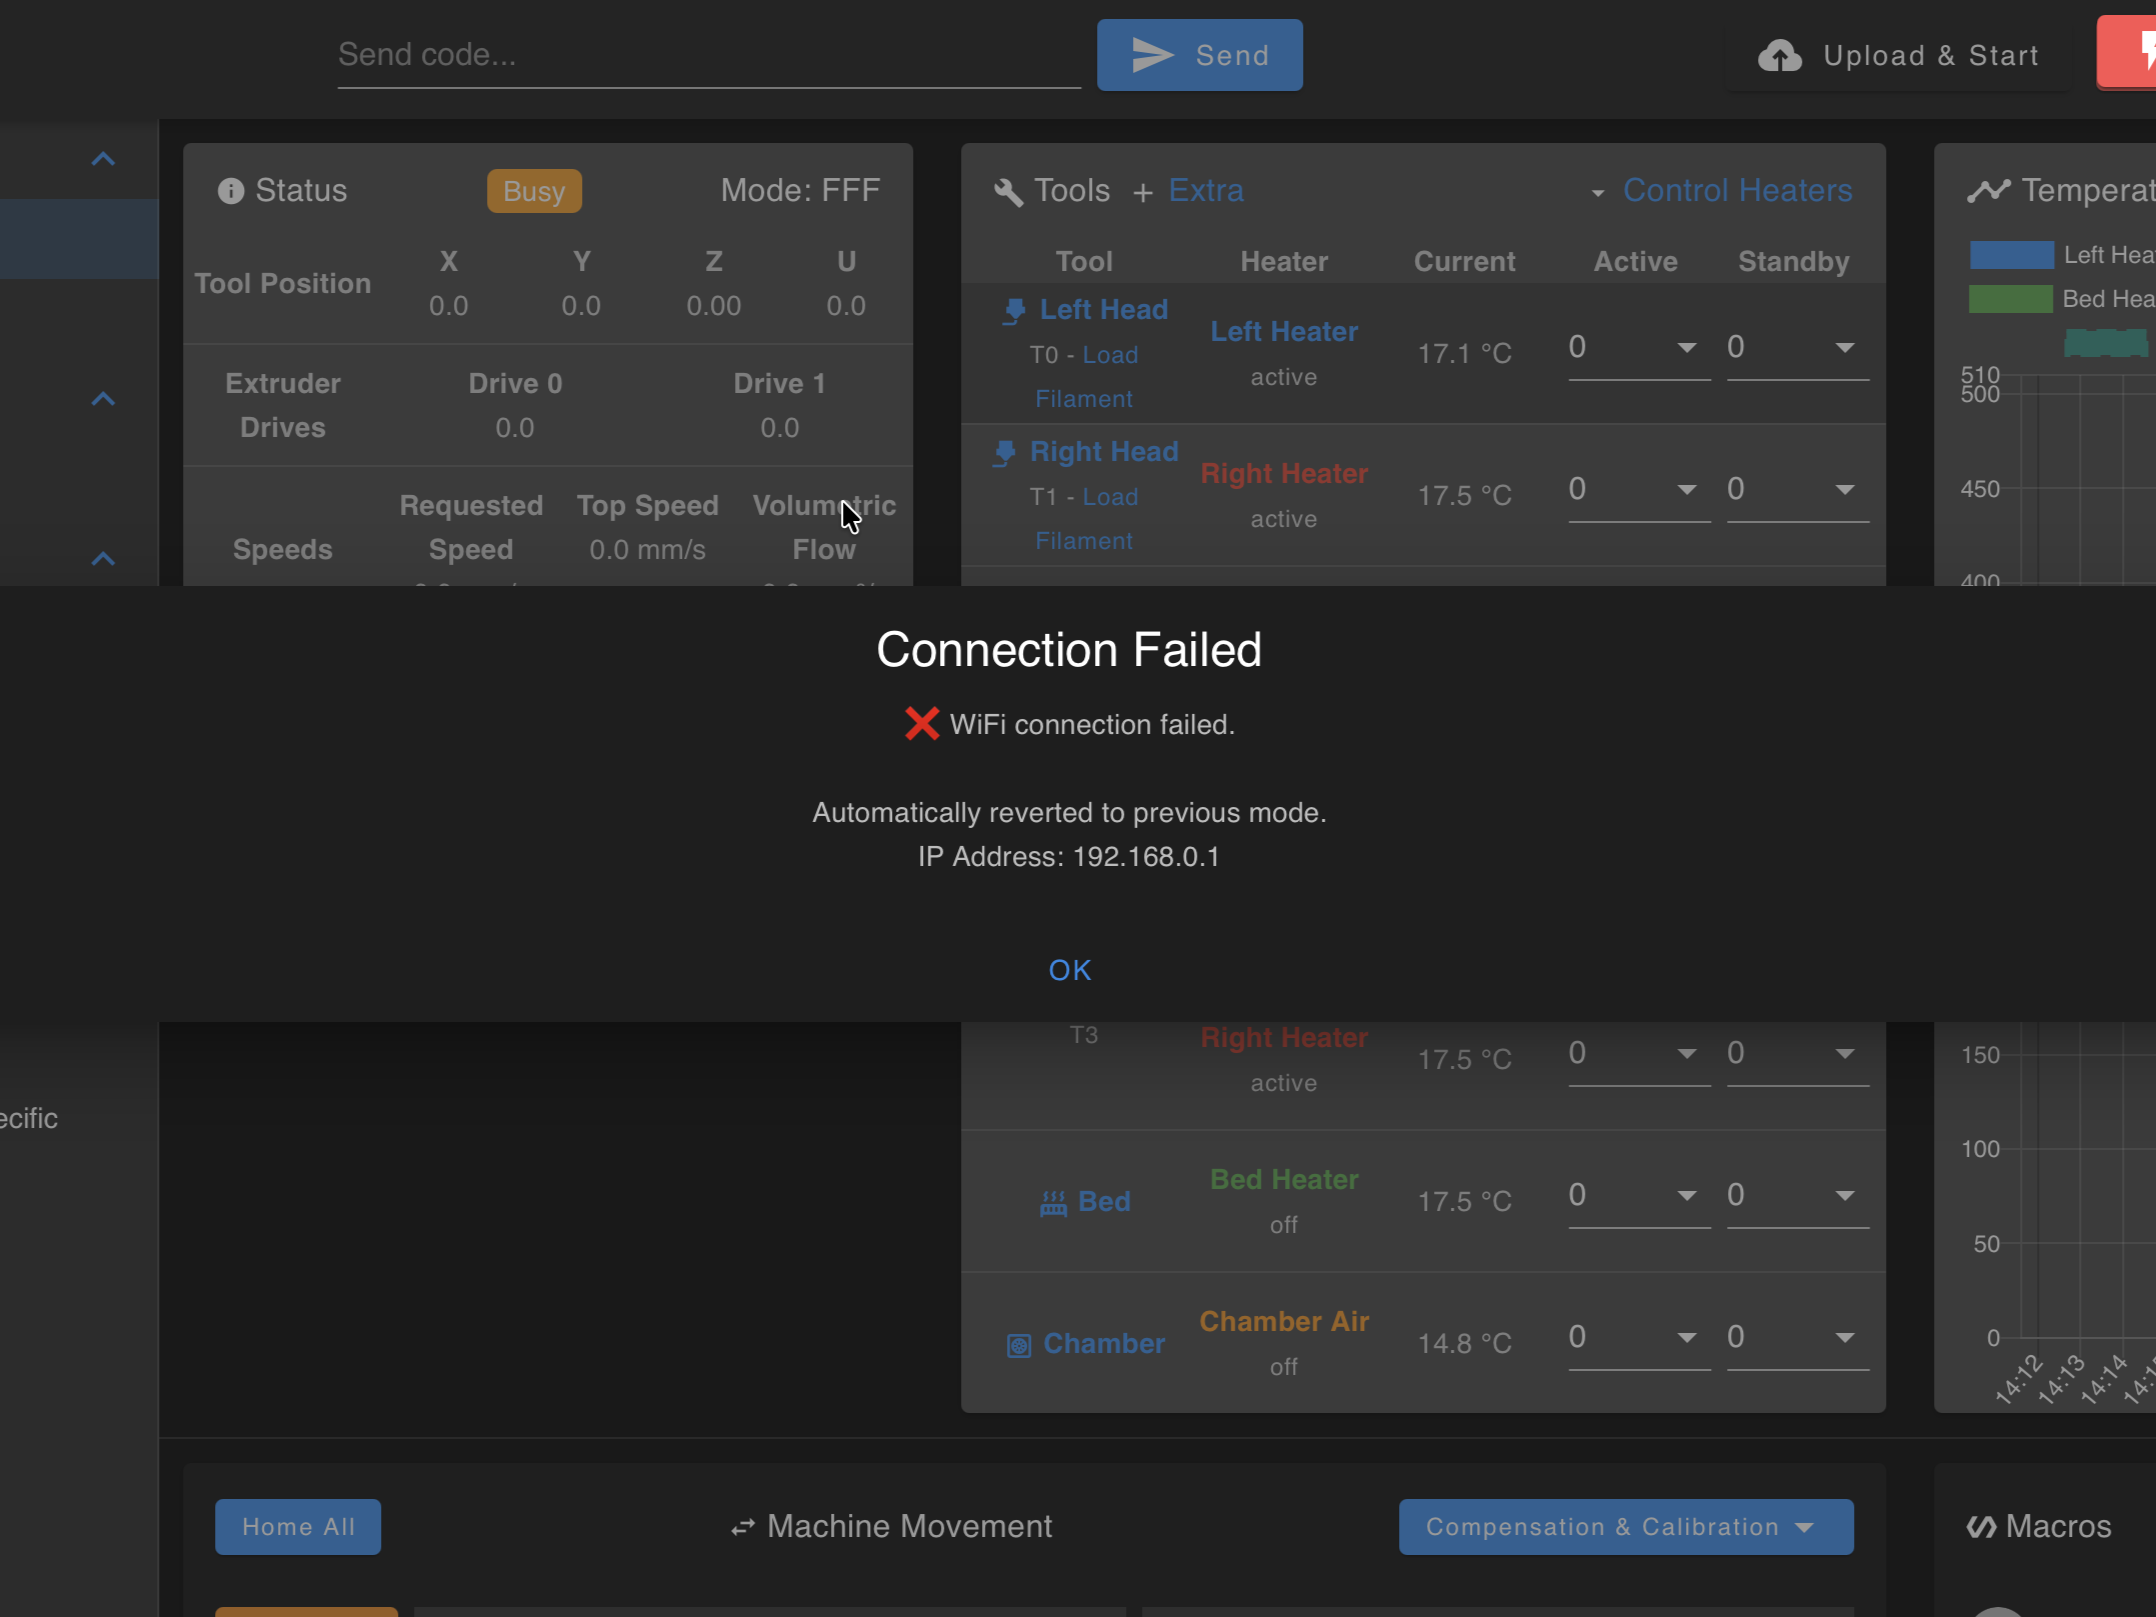
| 🔴 Red | Test failed - the printer automatically returns to the network mode you were on before. Reconnect to that mode, check the SSID/password and that the network is 2.4 GHz, then run Connect to new WiFi network again. |
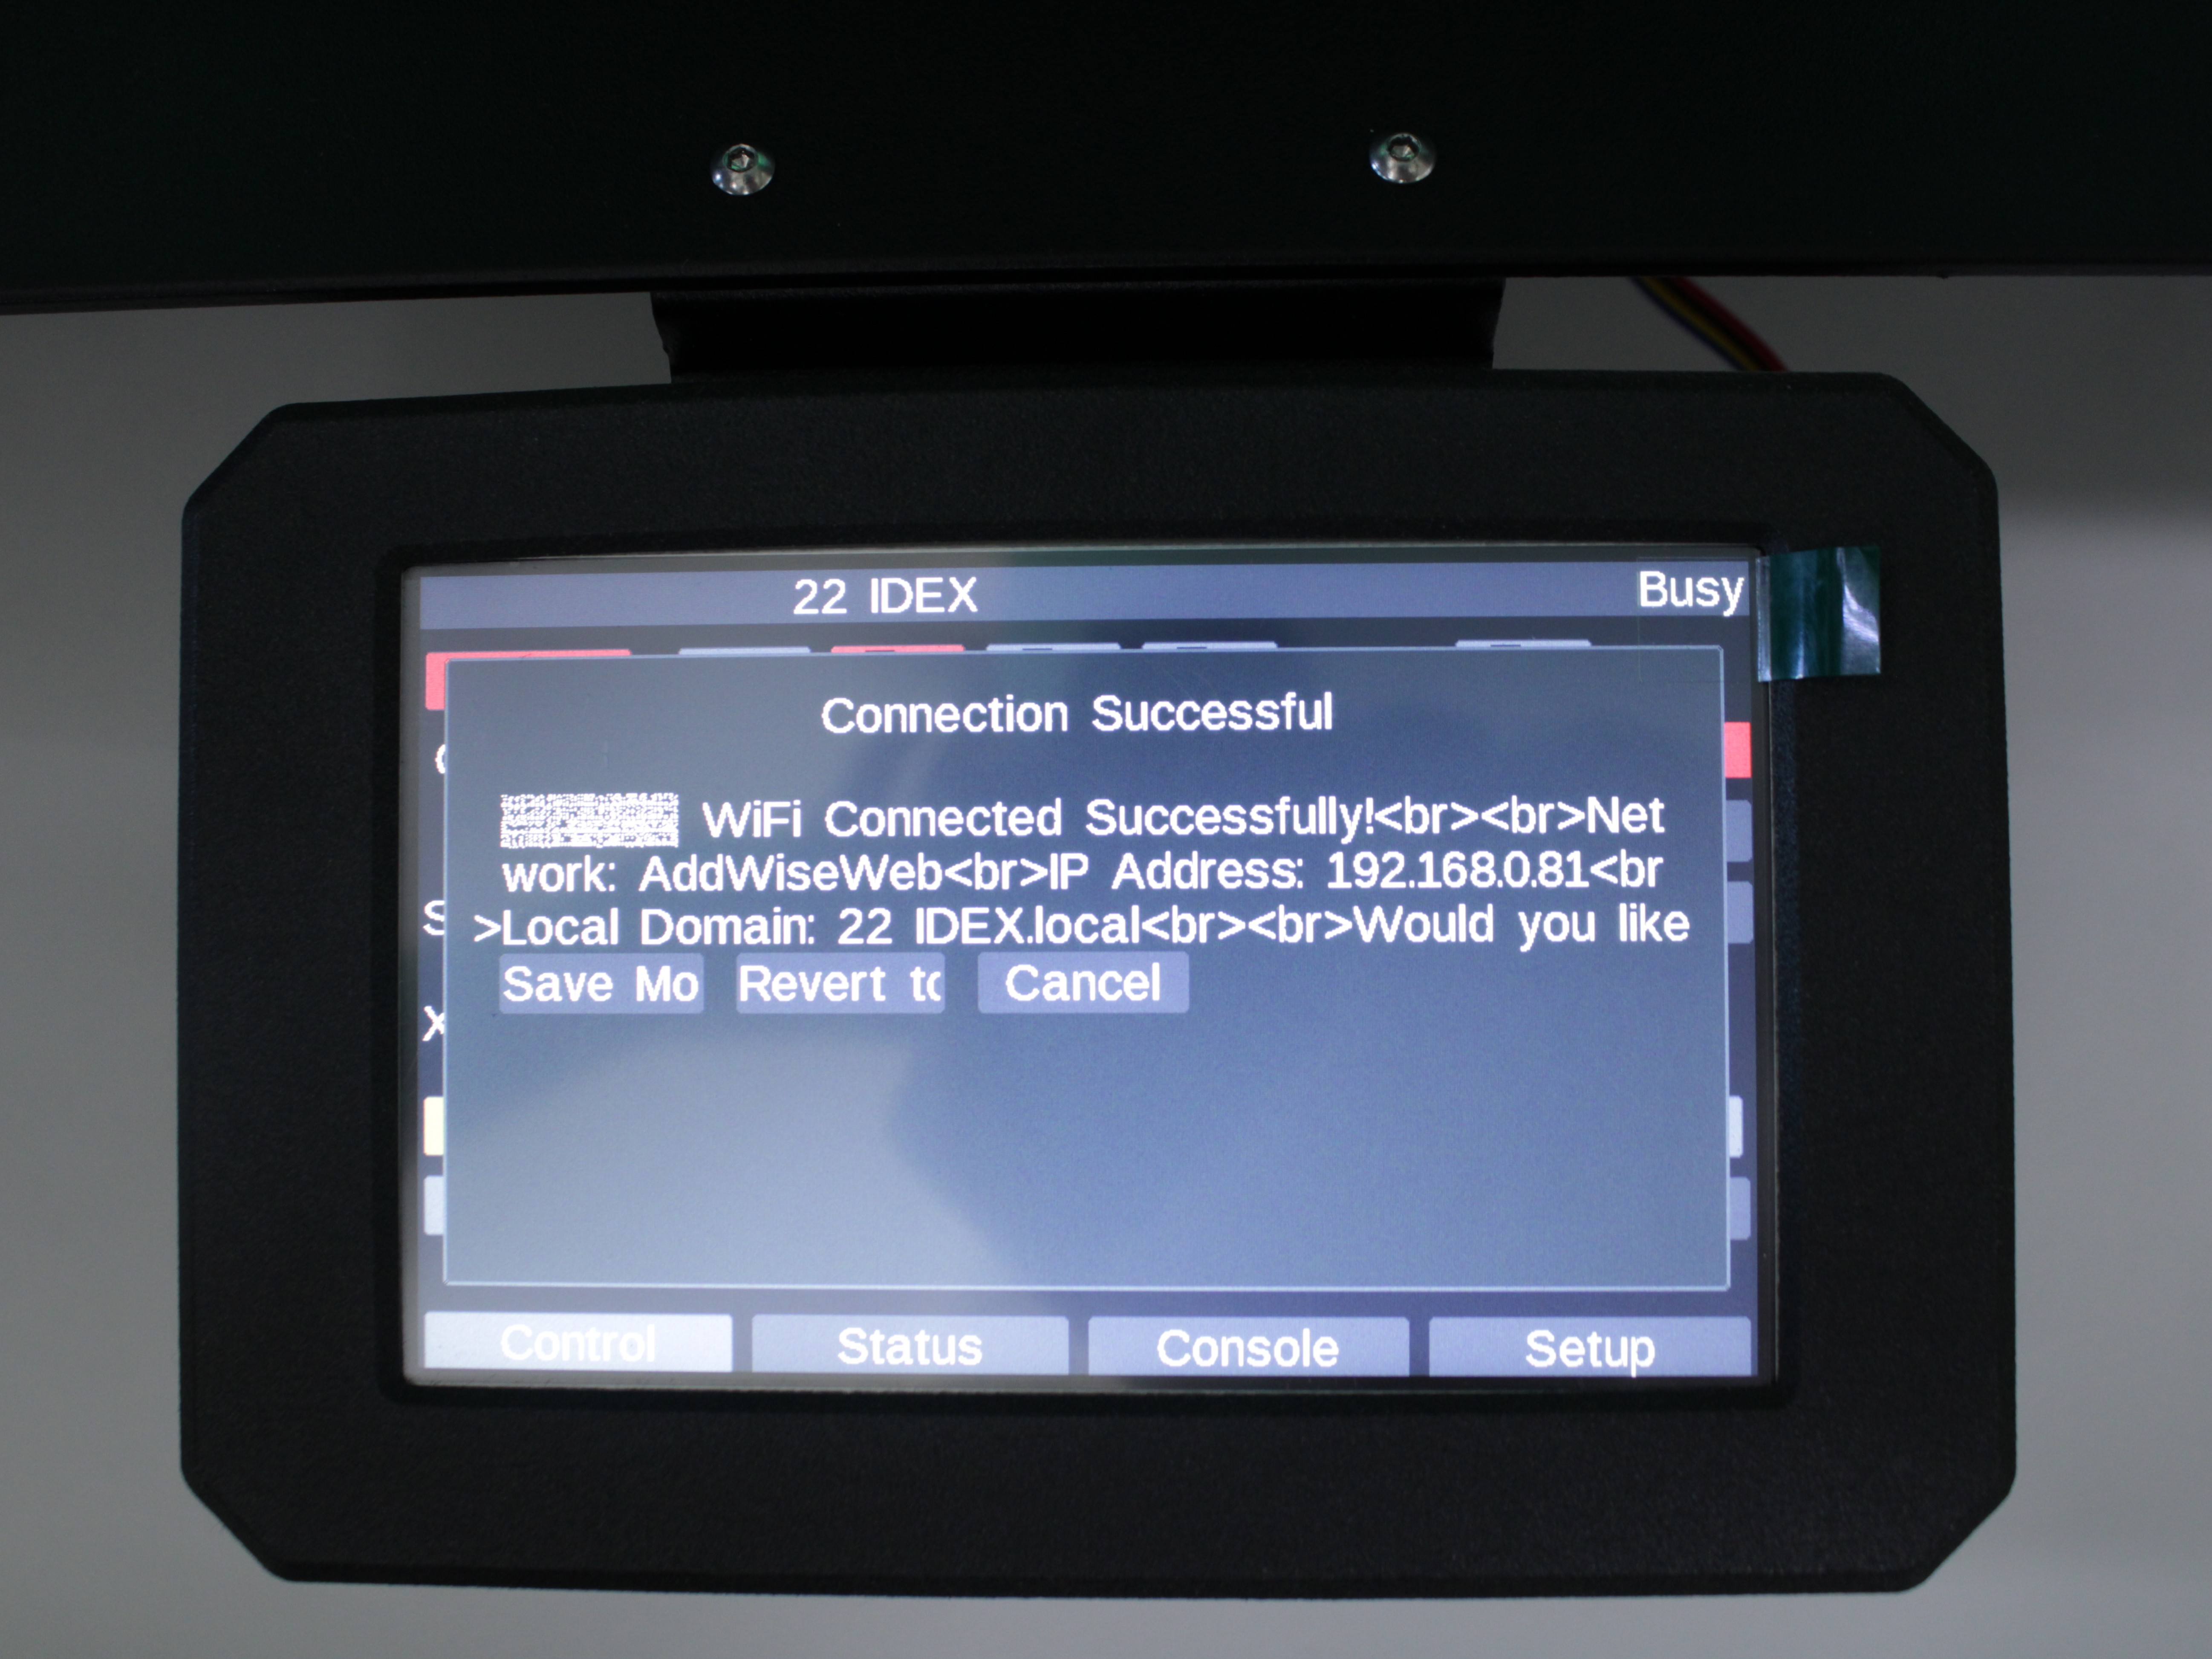
The printer tests the connection and shows a Connection Successful dialog on the printer screen (PanelDue) with the connection details - network name, IP address, and local domain - plus the Save Mode, Revert to Previous, and Cancel buttons. Note the IP address shown here.
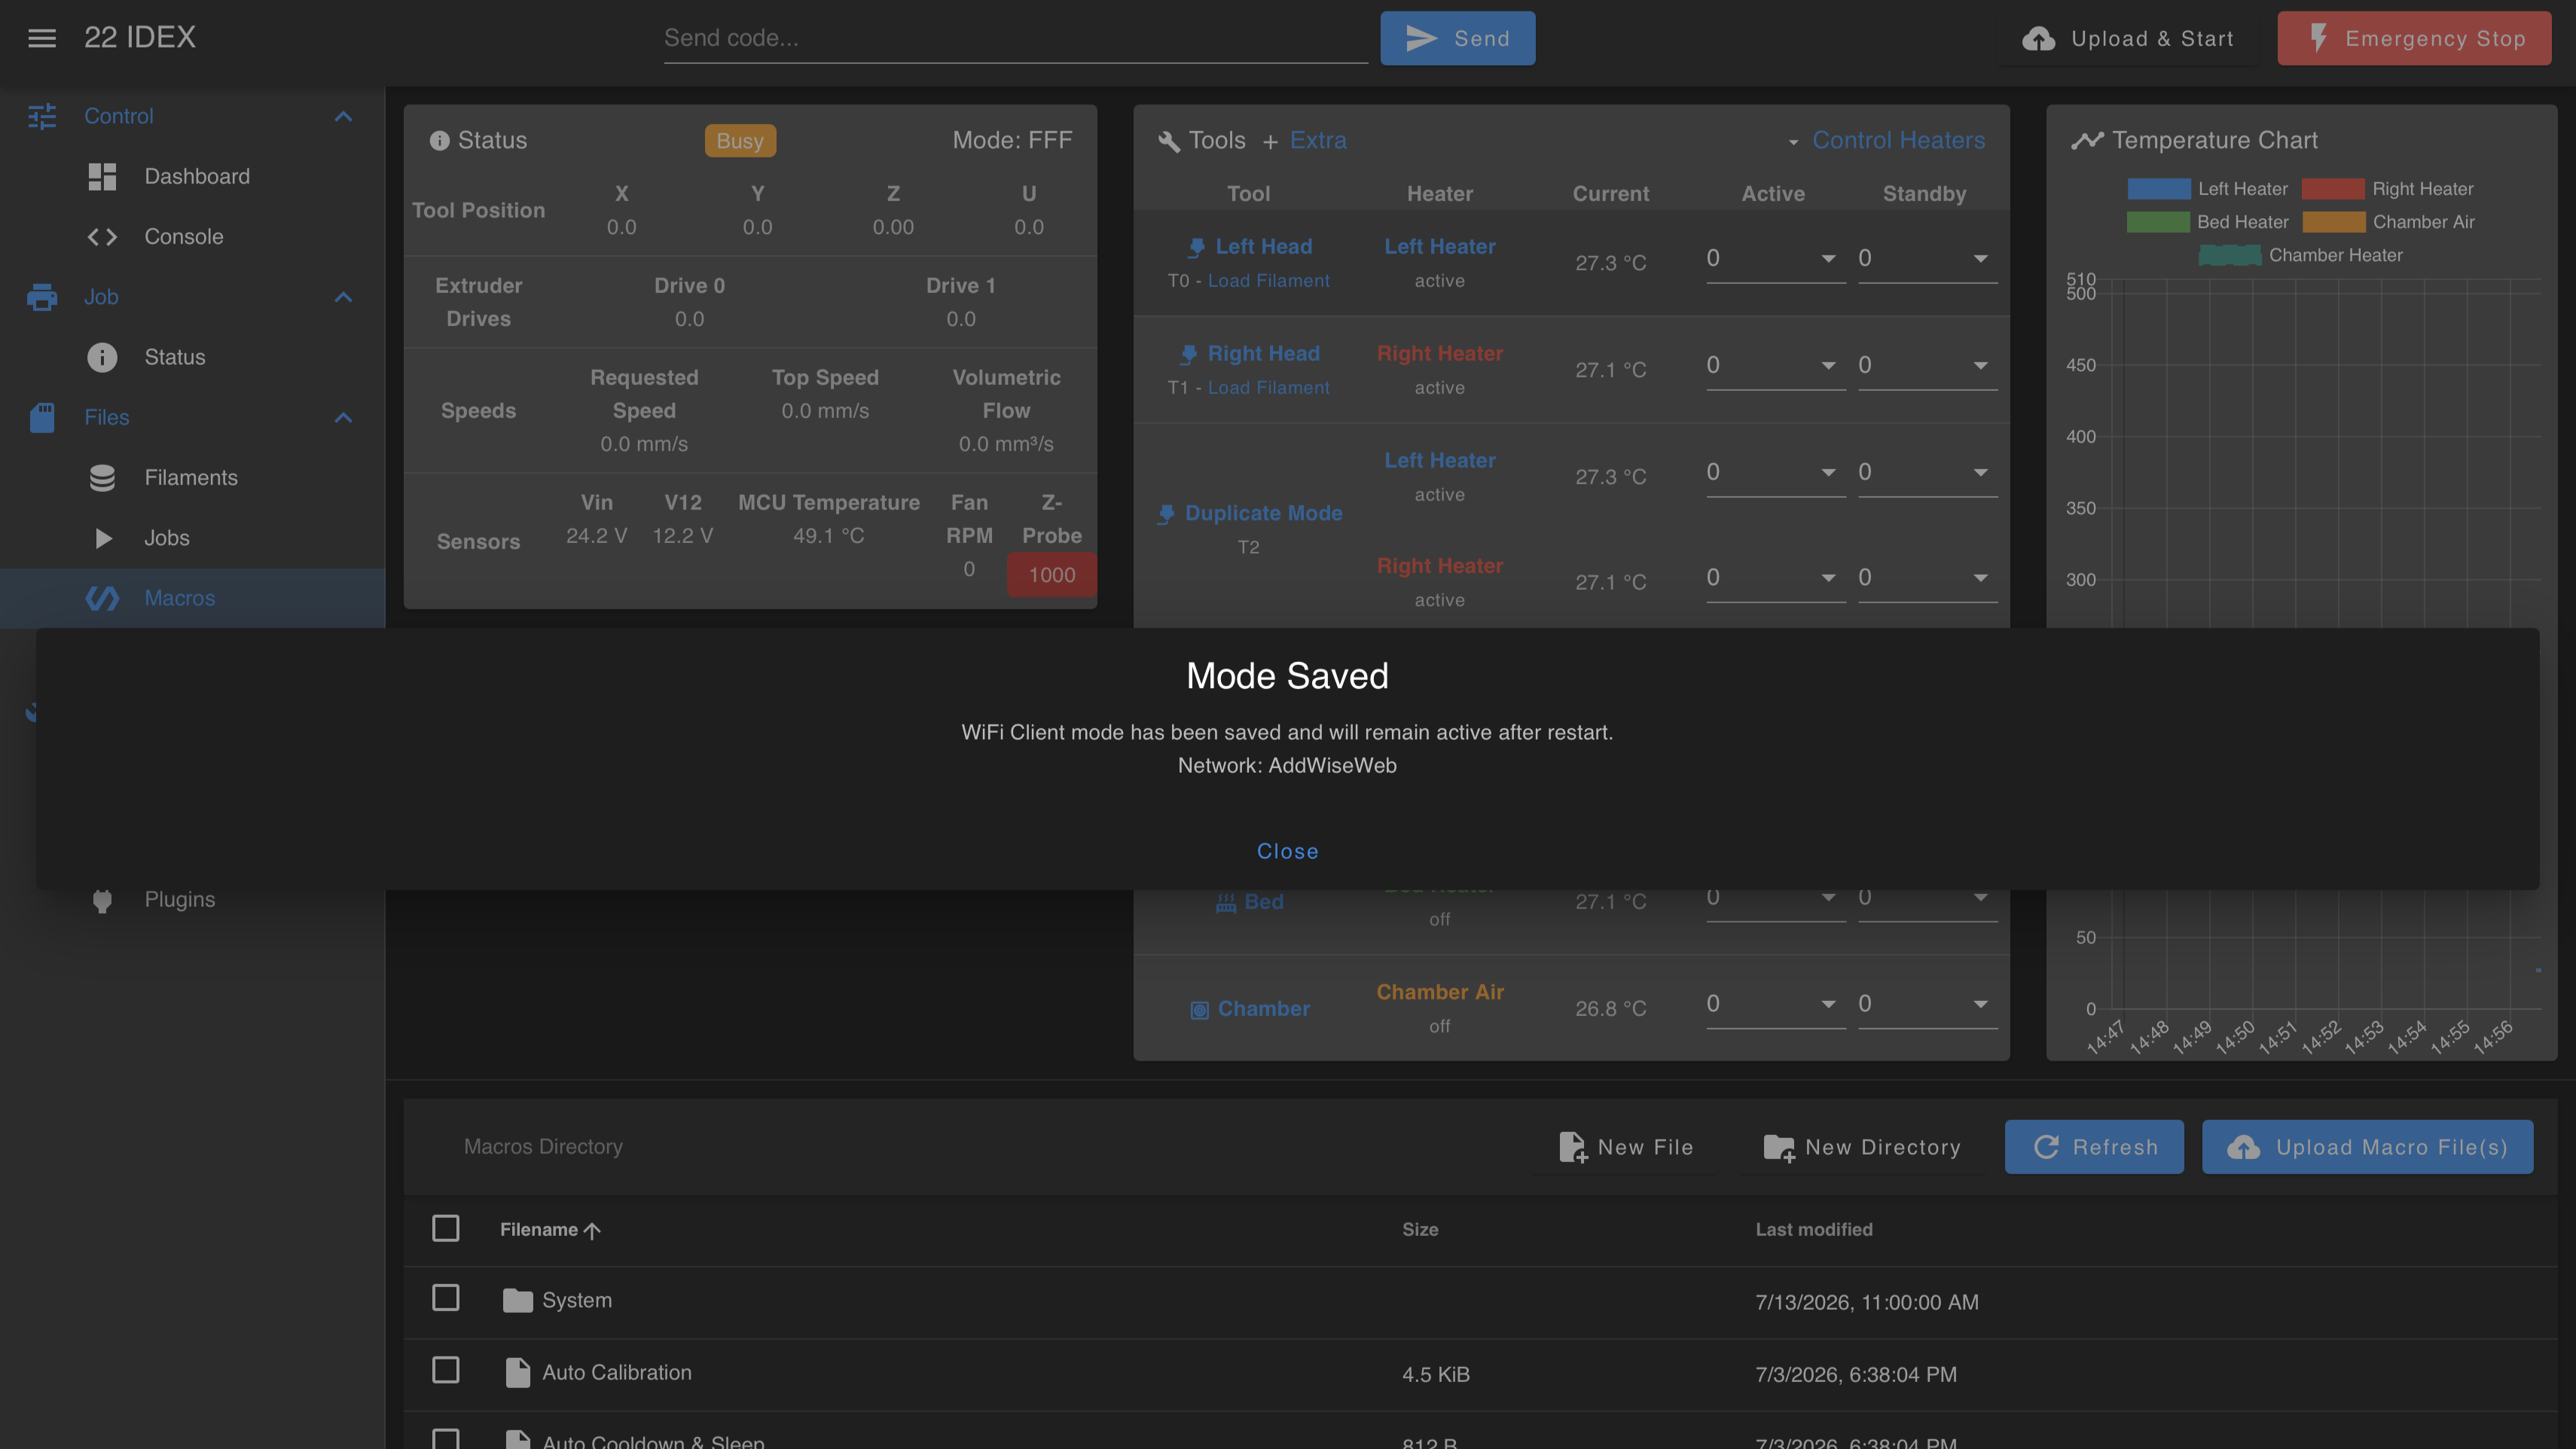
After you save the mode, the Web Interface shows a Mode Saved pop-up confirming that WiFi Client mode has been saved and will stay active after restart.
Verify before save
Do not save until the page loads
If you press Save Mode before your computer can open the Web Interface on the new IP, you can lock yourself out. Note the IP from the printer screen and test it in the browser before you save.
The Connection Successful dialog stays open on the printer screen (PanelDue). Do not press Save Mode yet - verify the network first:
- Leave the dialog open on the printer screen.
- On your computer, disconnect from
22 IDEXand join the same WiFi you entered into the printer. - Open a new browser tab:
http://<IP-from-screen>(examplehttp://192.168.0.81) orhttp://22idex.local. - If the Web Interface loads - go back to the printer screen and press Save Mode. The Web Interface then shows the Mode Saved pop-up (shown above).
- If it does not load - press Revert to Previous on the printer screen to return to the mode you were on before, then try again. See Wrong subnet in Troubleshooting.
Success dialog options
| Button | Effect |
|---|---|
| Save Mode | Client mode is written to NetworkMode.g. Survives reboot (recommended after verifying). |
| Revert to Previous | Keeps old mode - use if verification failed. |
| Cancel | Stays on WiFi for now but does not commit NetworkMode.g. The next cold boot may return to the old mode unless you save later. |
Client mode (saved credentials)
If credentials are already stored (for example after a successful test you only hit Cancel):
- Reach the Web Interface (AP or Ethernet, whichever works).
- Go to
Macros > System > Settings > Network. - Click Enable WiFi - Client Mode.
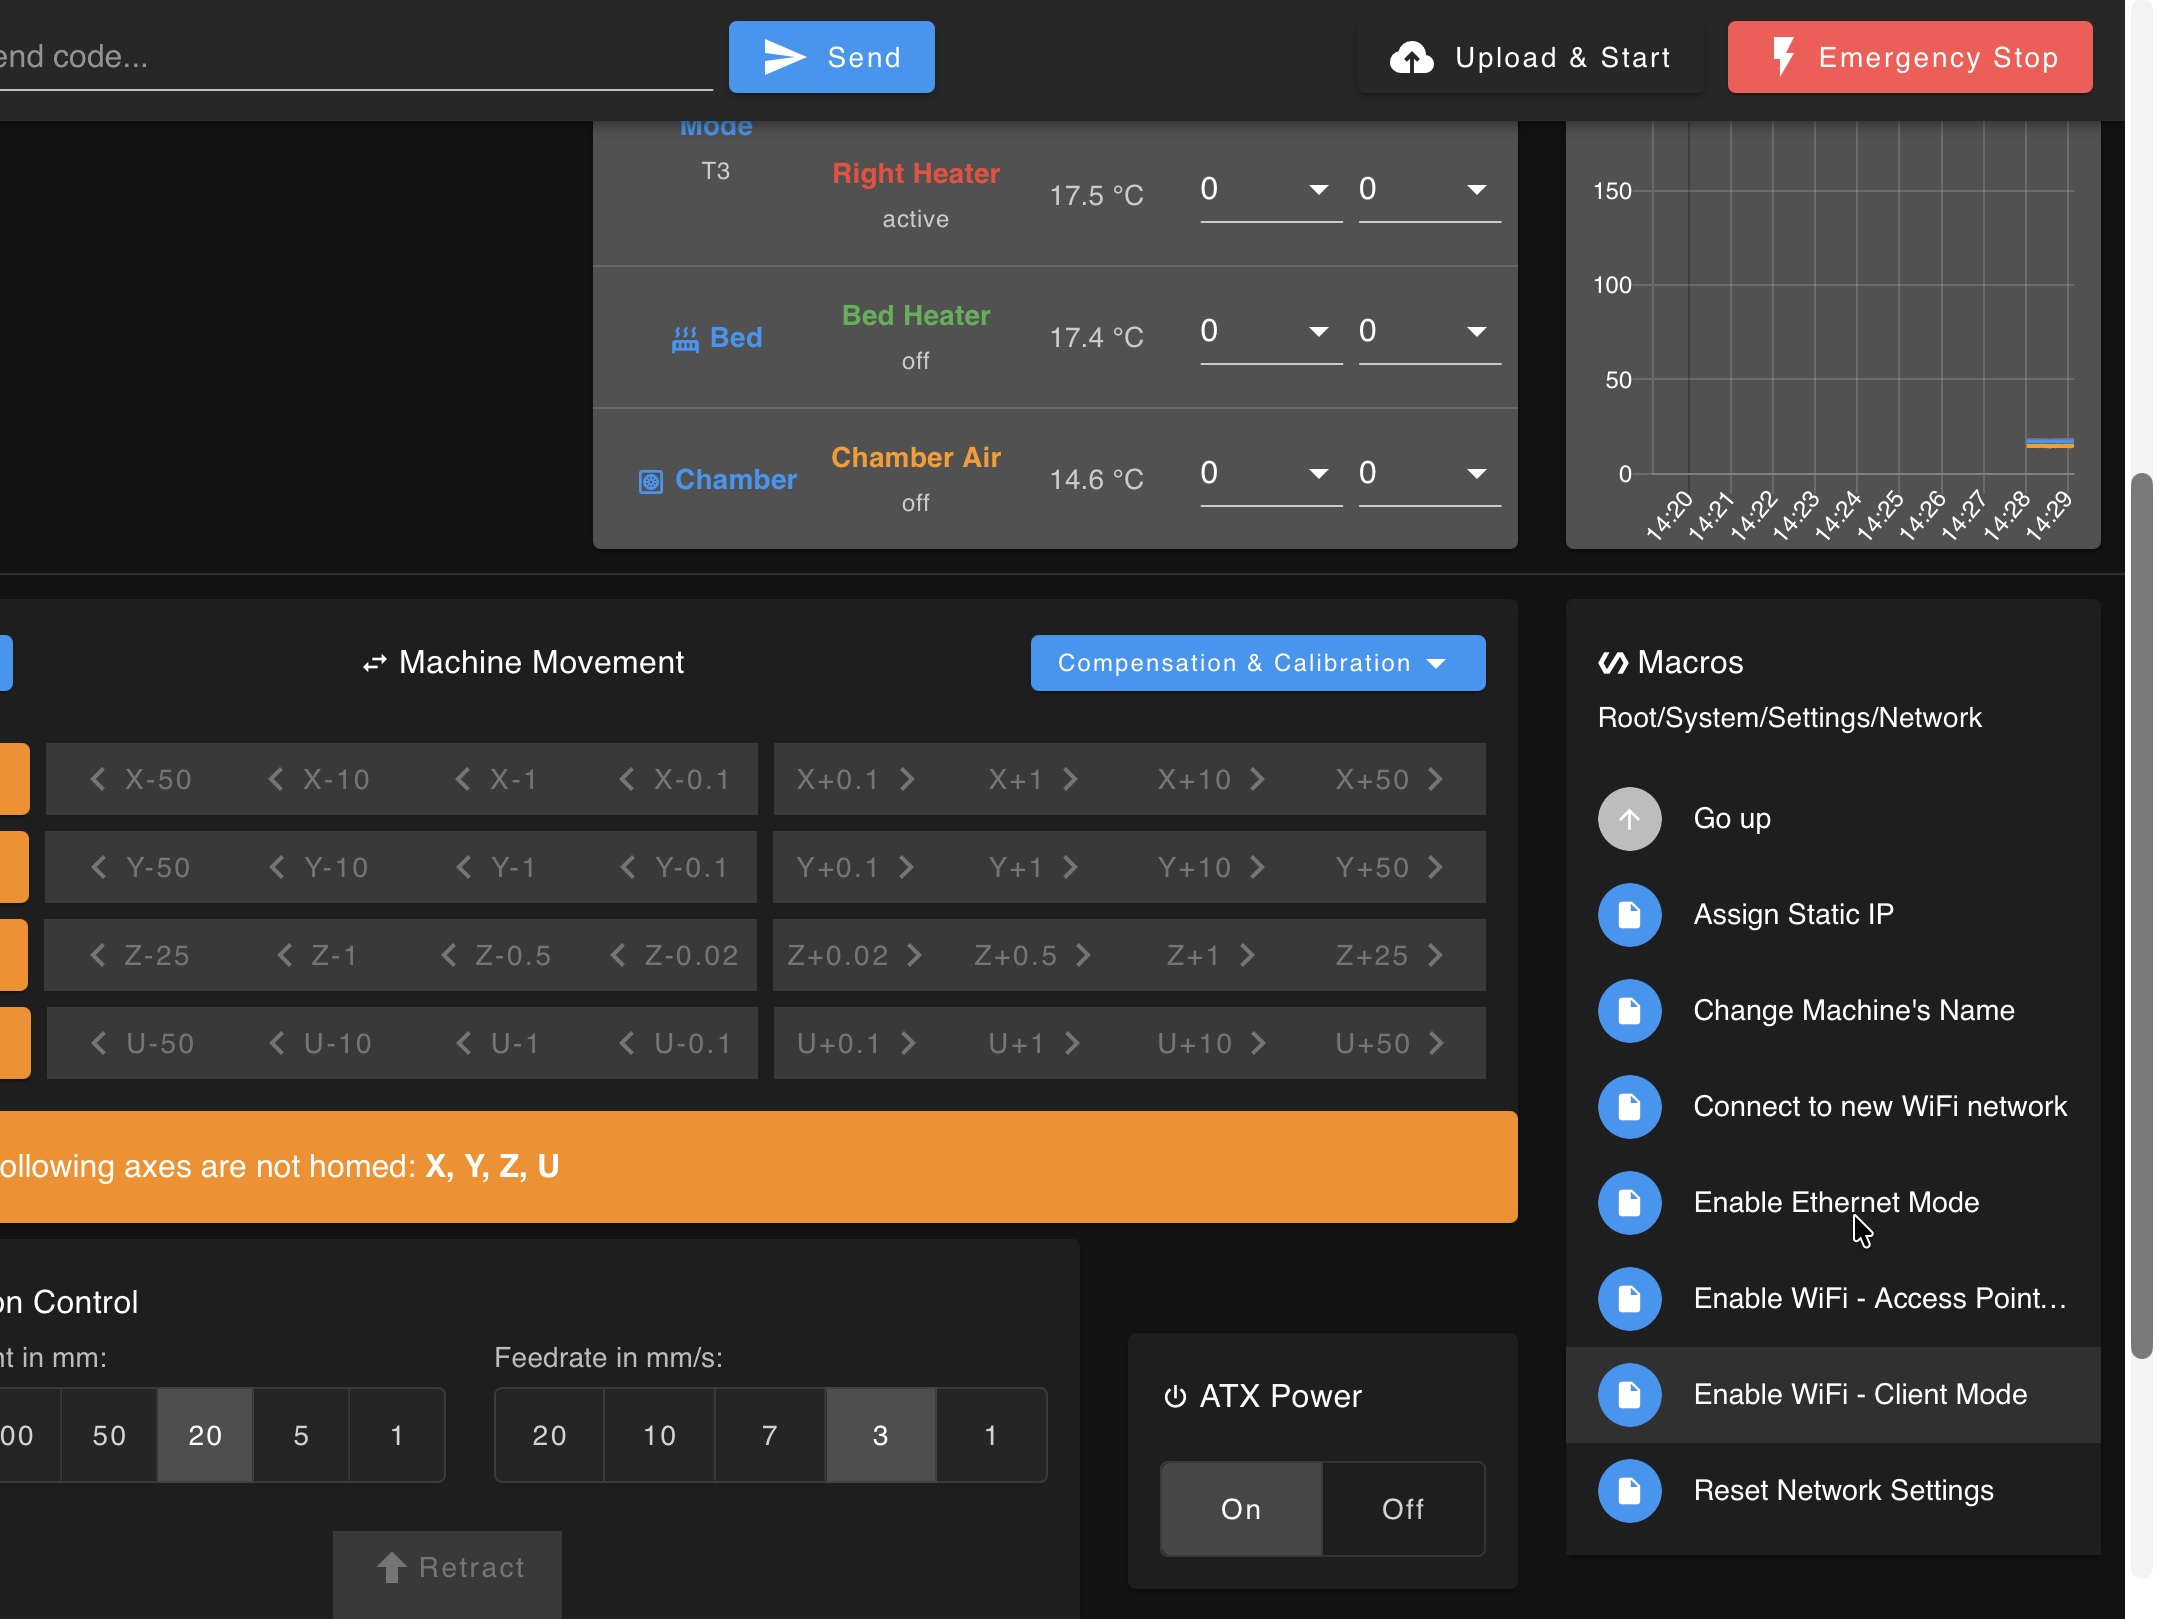
- Choose Change & Reconnect Now or Change after restart.
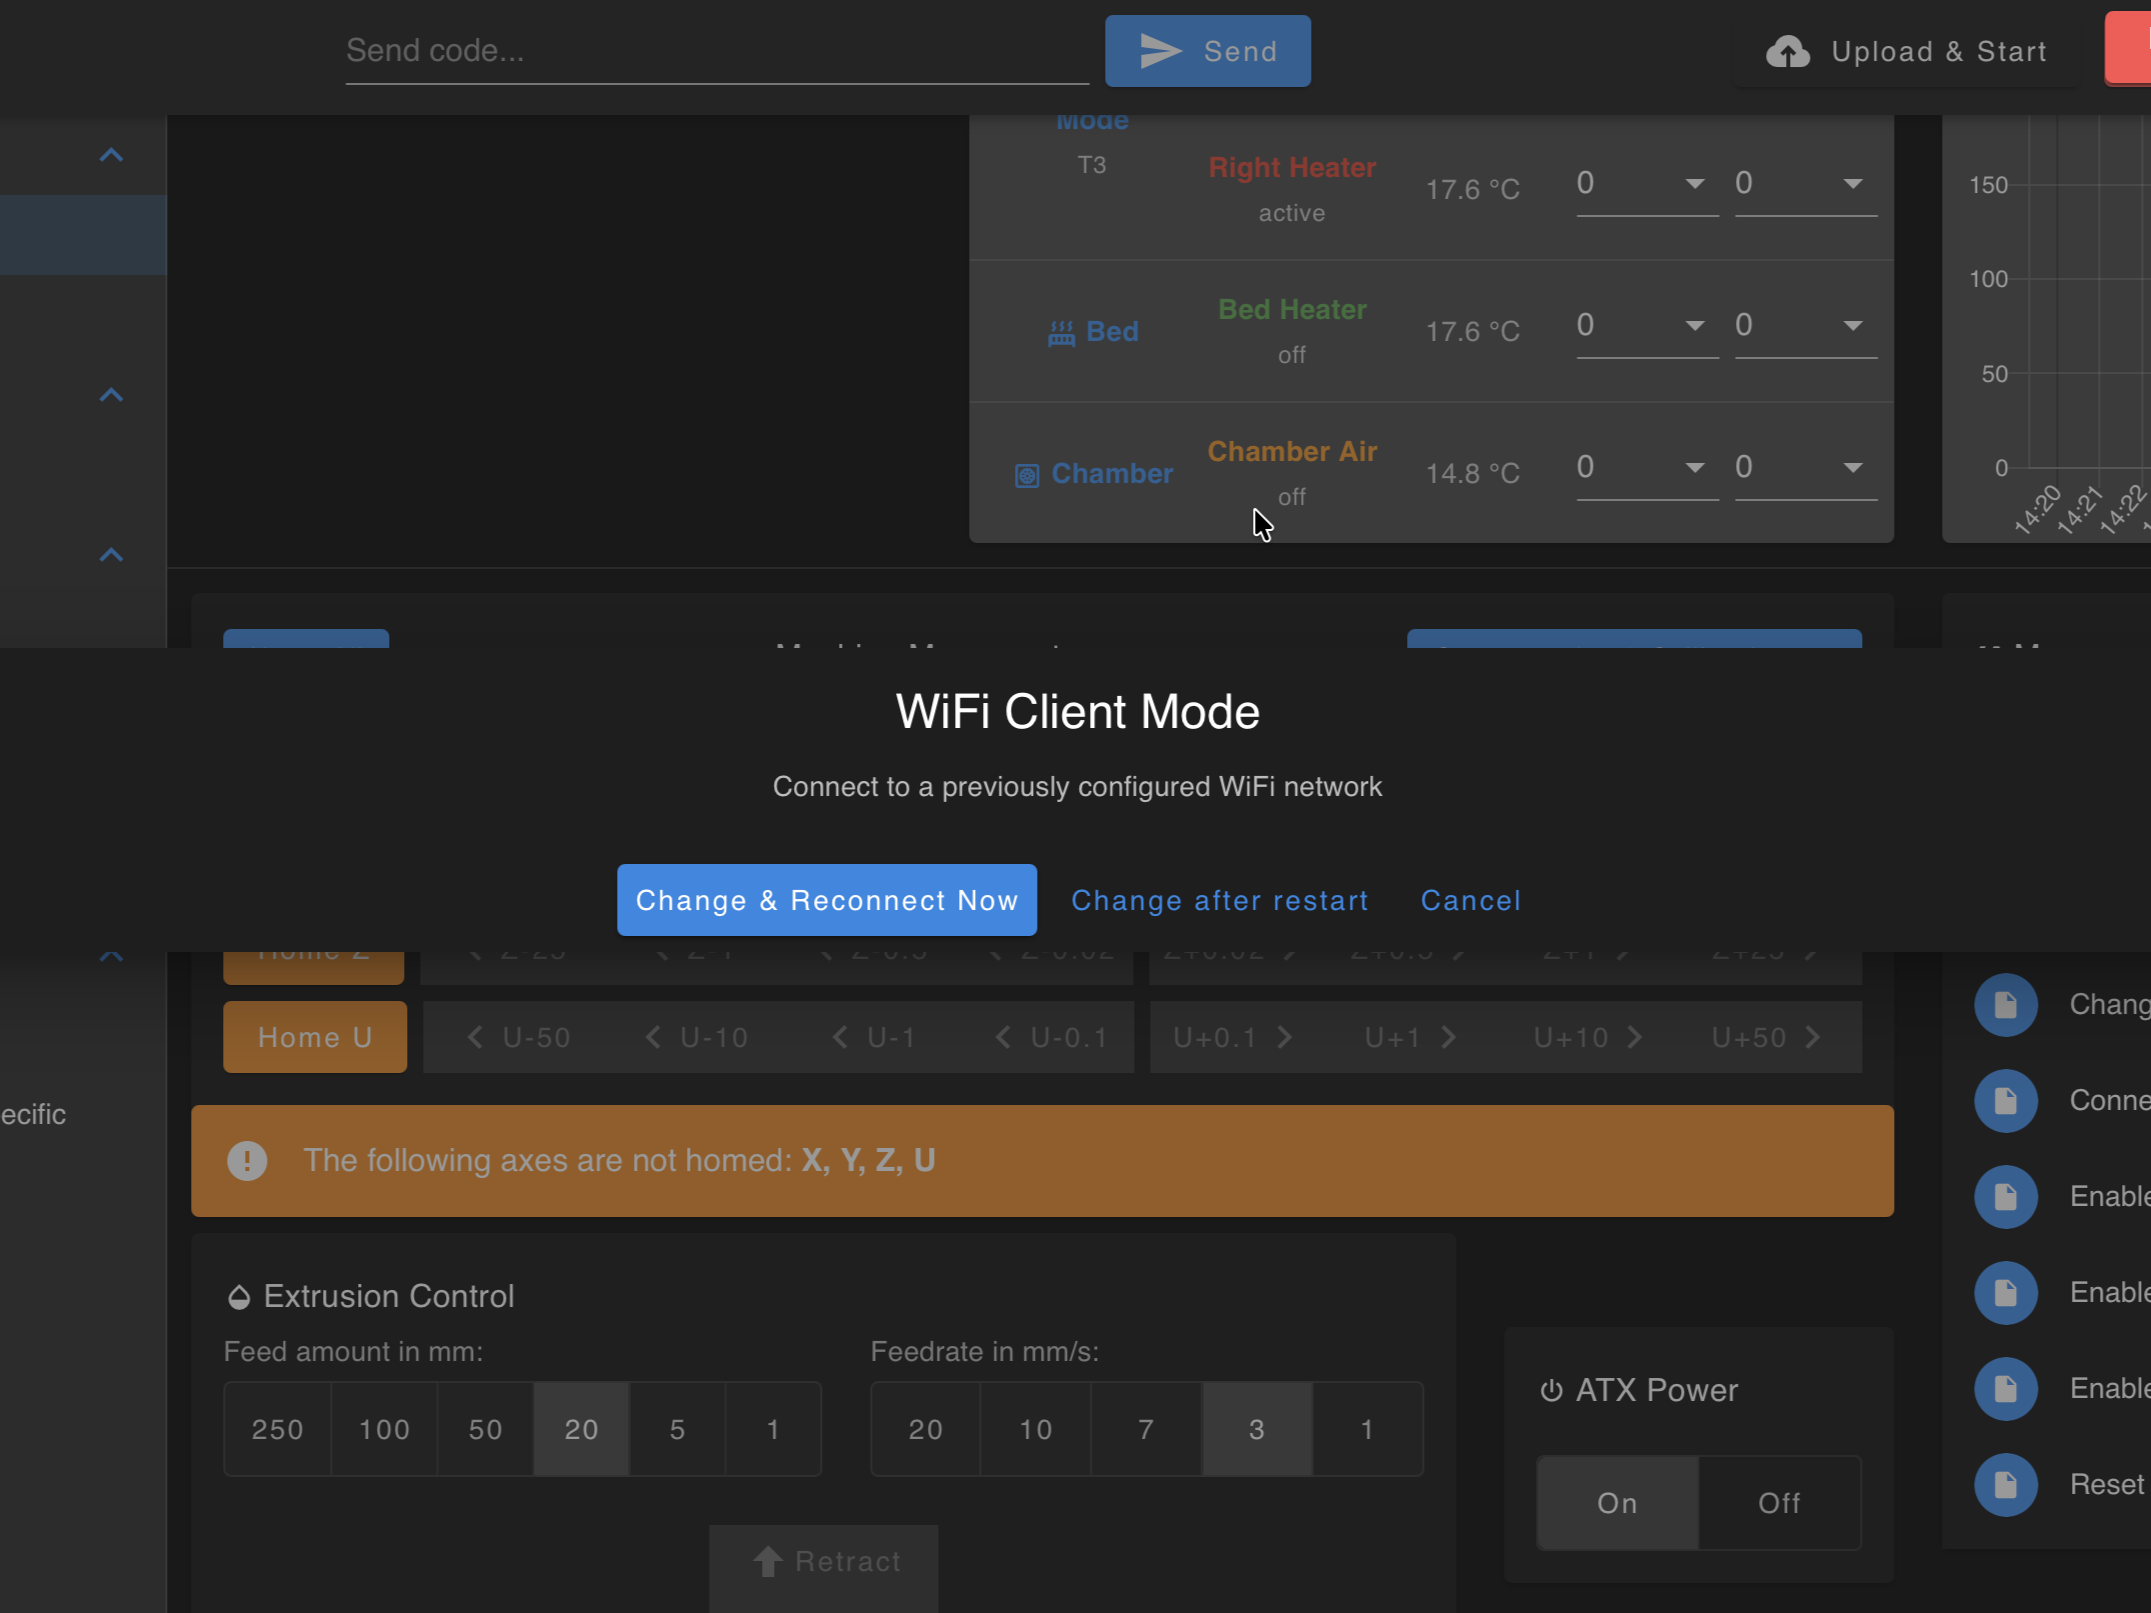
- On Reconnect Now, repeat 🟡 Yellow → 🟢 Green observation, verify IP in browser, then Save Mode when prompted.
Access Point mode (restore)
- Open the Web Interface via current IP or
22idex.local. Macros > System > Settings > Network→ Enable WiFi - Access Point Mode.
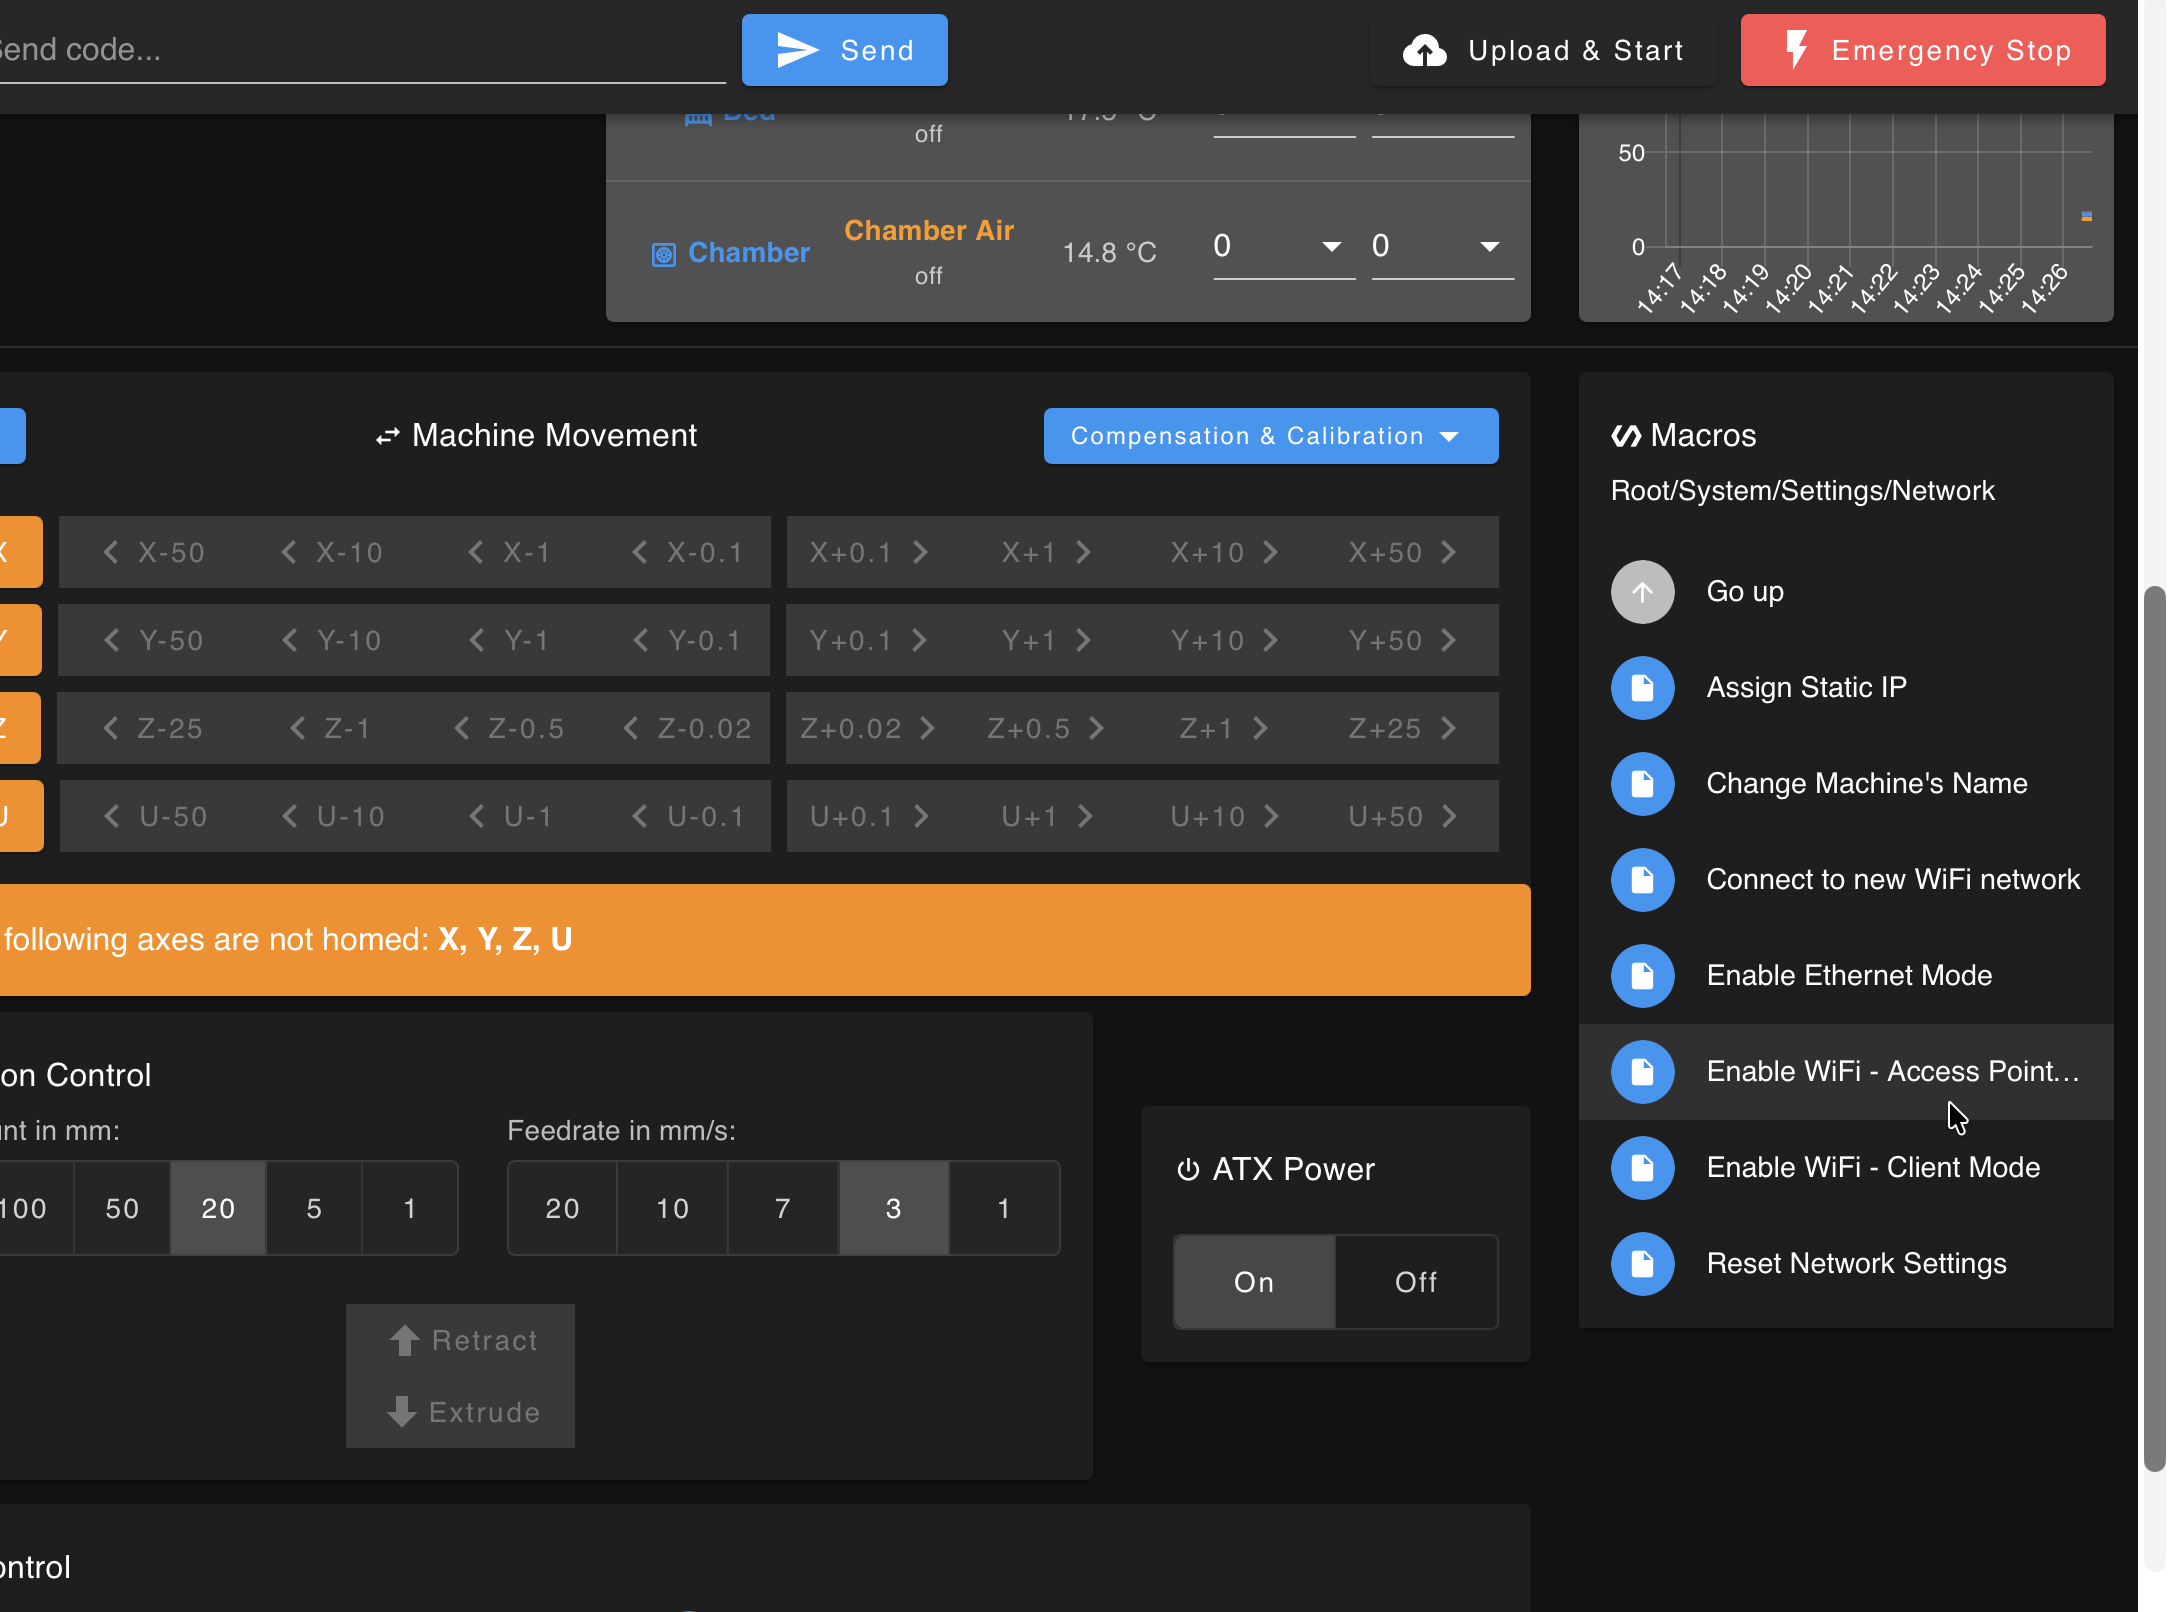
- In the WiFi Access Point Mode dialog, choose Change & Test Now (or Change after restart to apply it on the next boot).
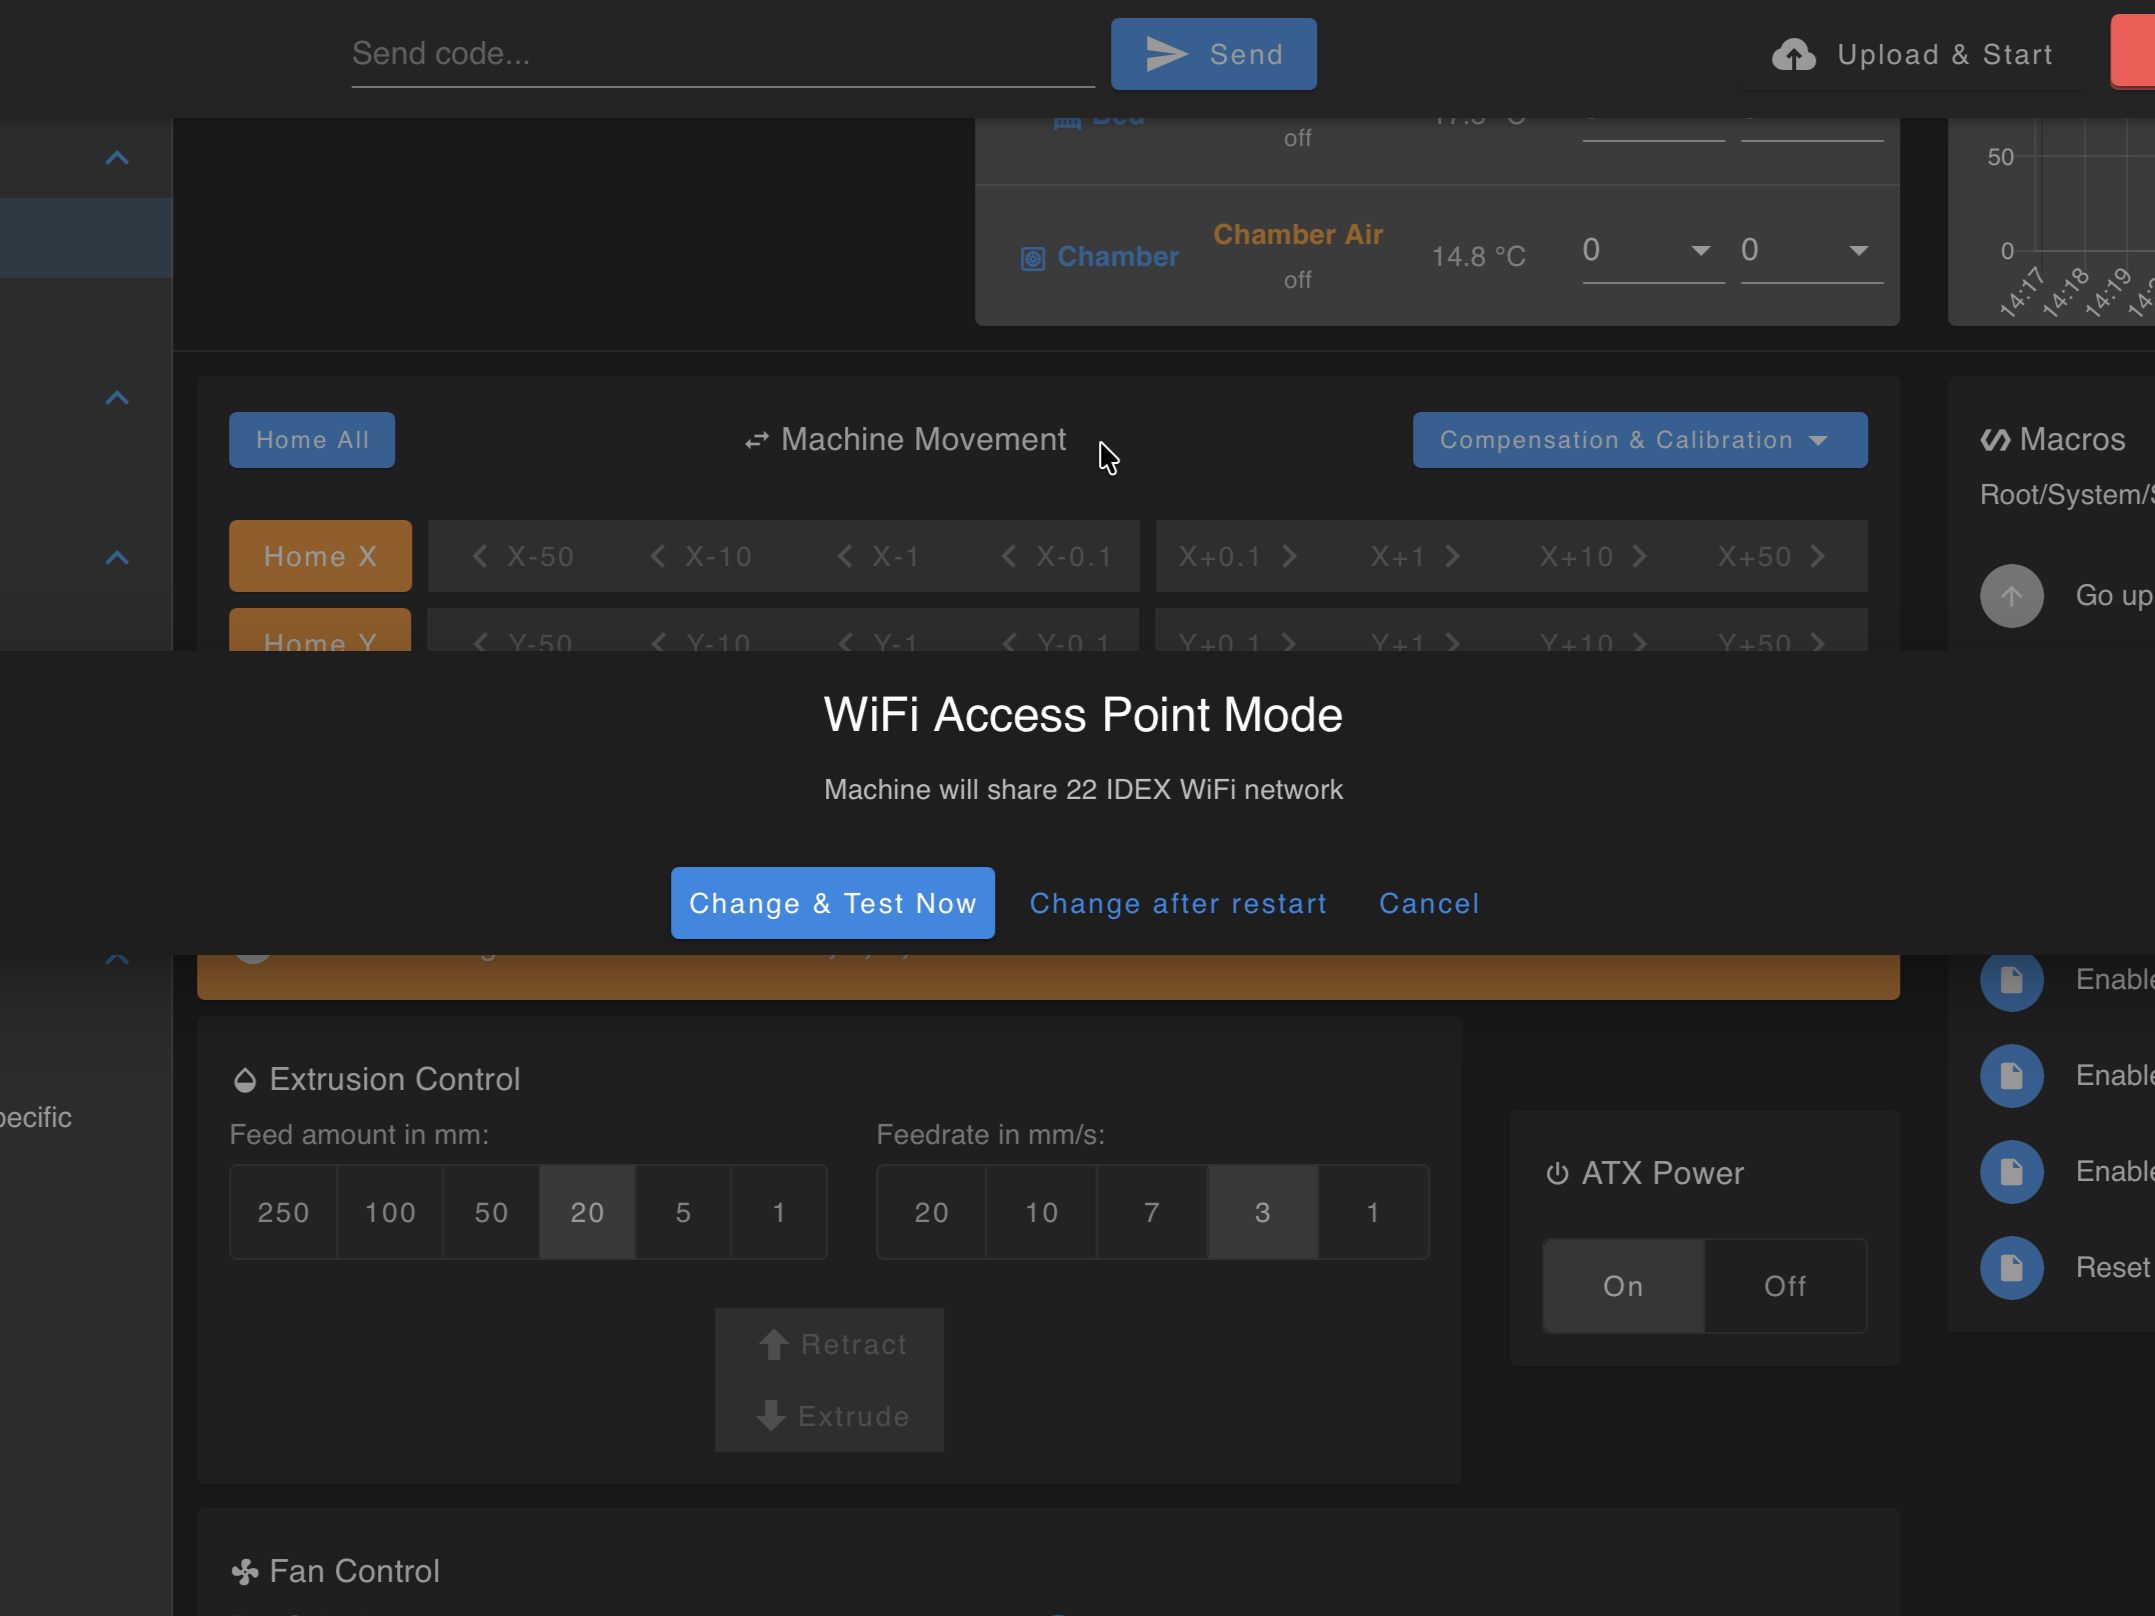
- On Change & Test Now, the printer switches to AP and runs the LED test (🟡 → 🟢 → 🔴). On success, the Connection Successful dialog shows
22 IDEX/1234567890/http://192.168.0.1; tap Save Mode to keep it.
Startup self-test
On every boot the firmware runs a short network self-test (networktest.g):
- It waits up to ~15 s for a saved connection to come up.
- If nothing is connected yet, it tests the interfaces and applies the saved mode from
NetworkMode.g. - If everything fails, it falls back to AP (
22 IDEX) so you can recover.
The chamber LEDs show which mode came up:
| Chamber LED | Meaning |
|---|---|
| ⚪ White | Connected from the saved profile. Normal operation (find the IP from the router or IP_address.txt on the card). |
| 🟢 Green | Connected over WiFi Client. |
| 🔵 Blue | Connected over Ethernet to PC (192.168.1.50). |
| 🟡 Yellow | Connected over Ethernet (a cable is plugged in). |
| 🔴 Red | Fell back to WiFi Access Point. Join 22 IDEX and open 192.168.0.1. |
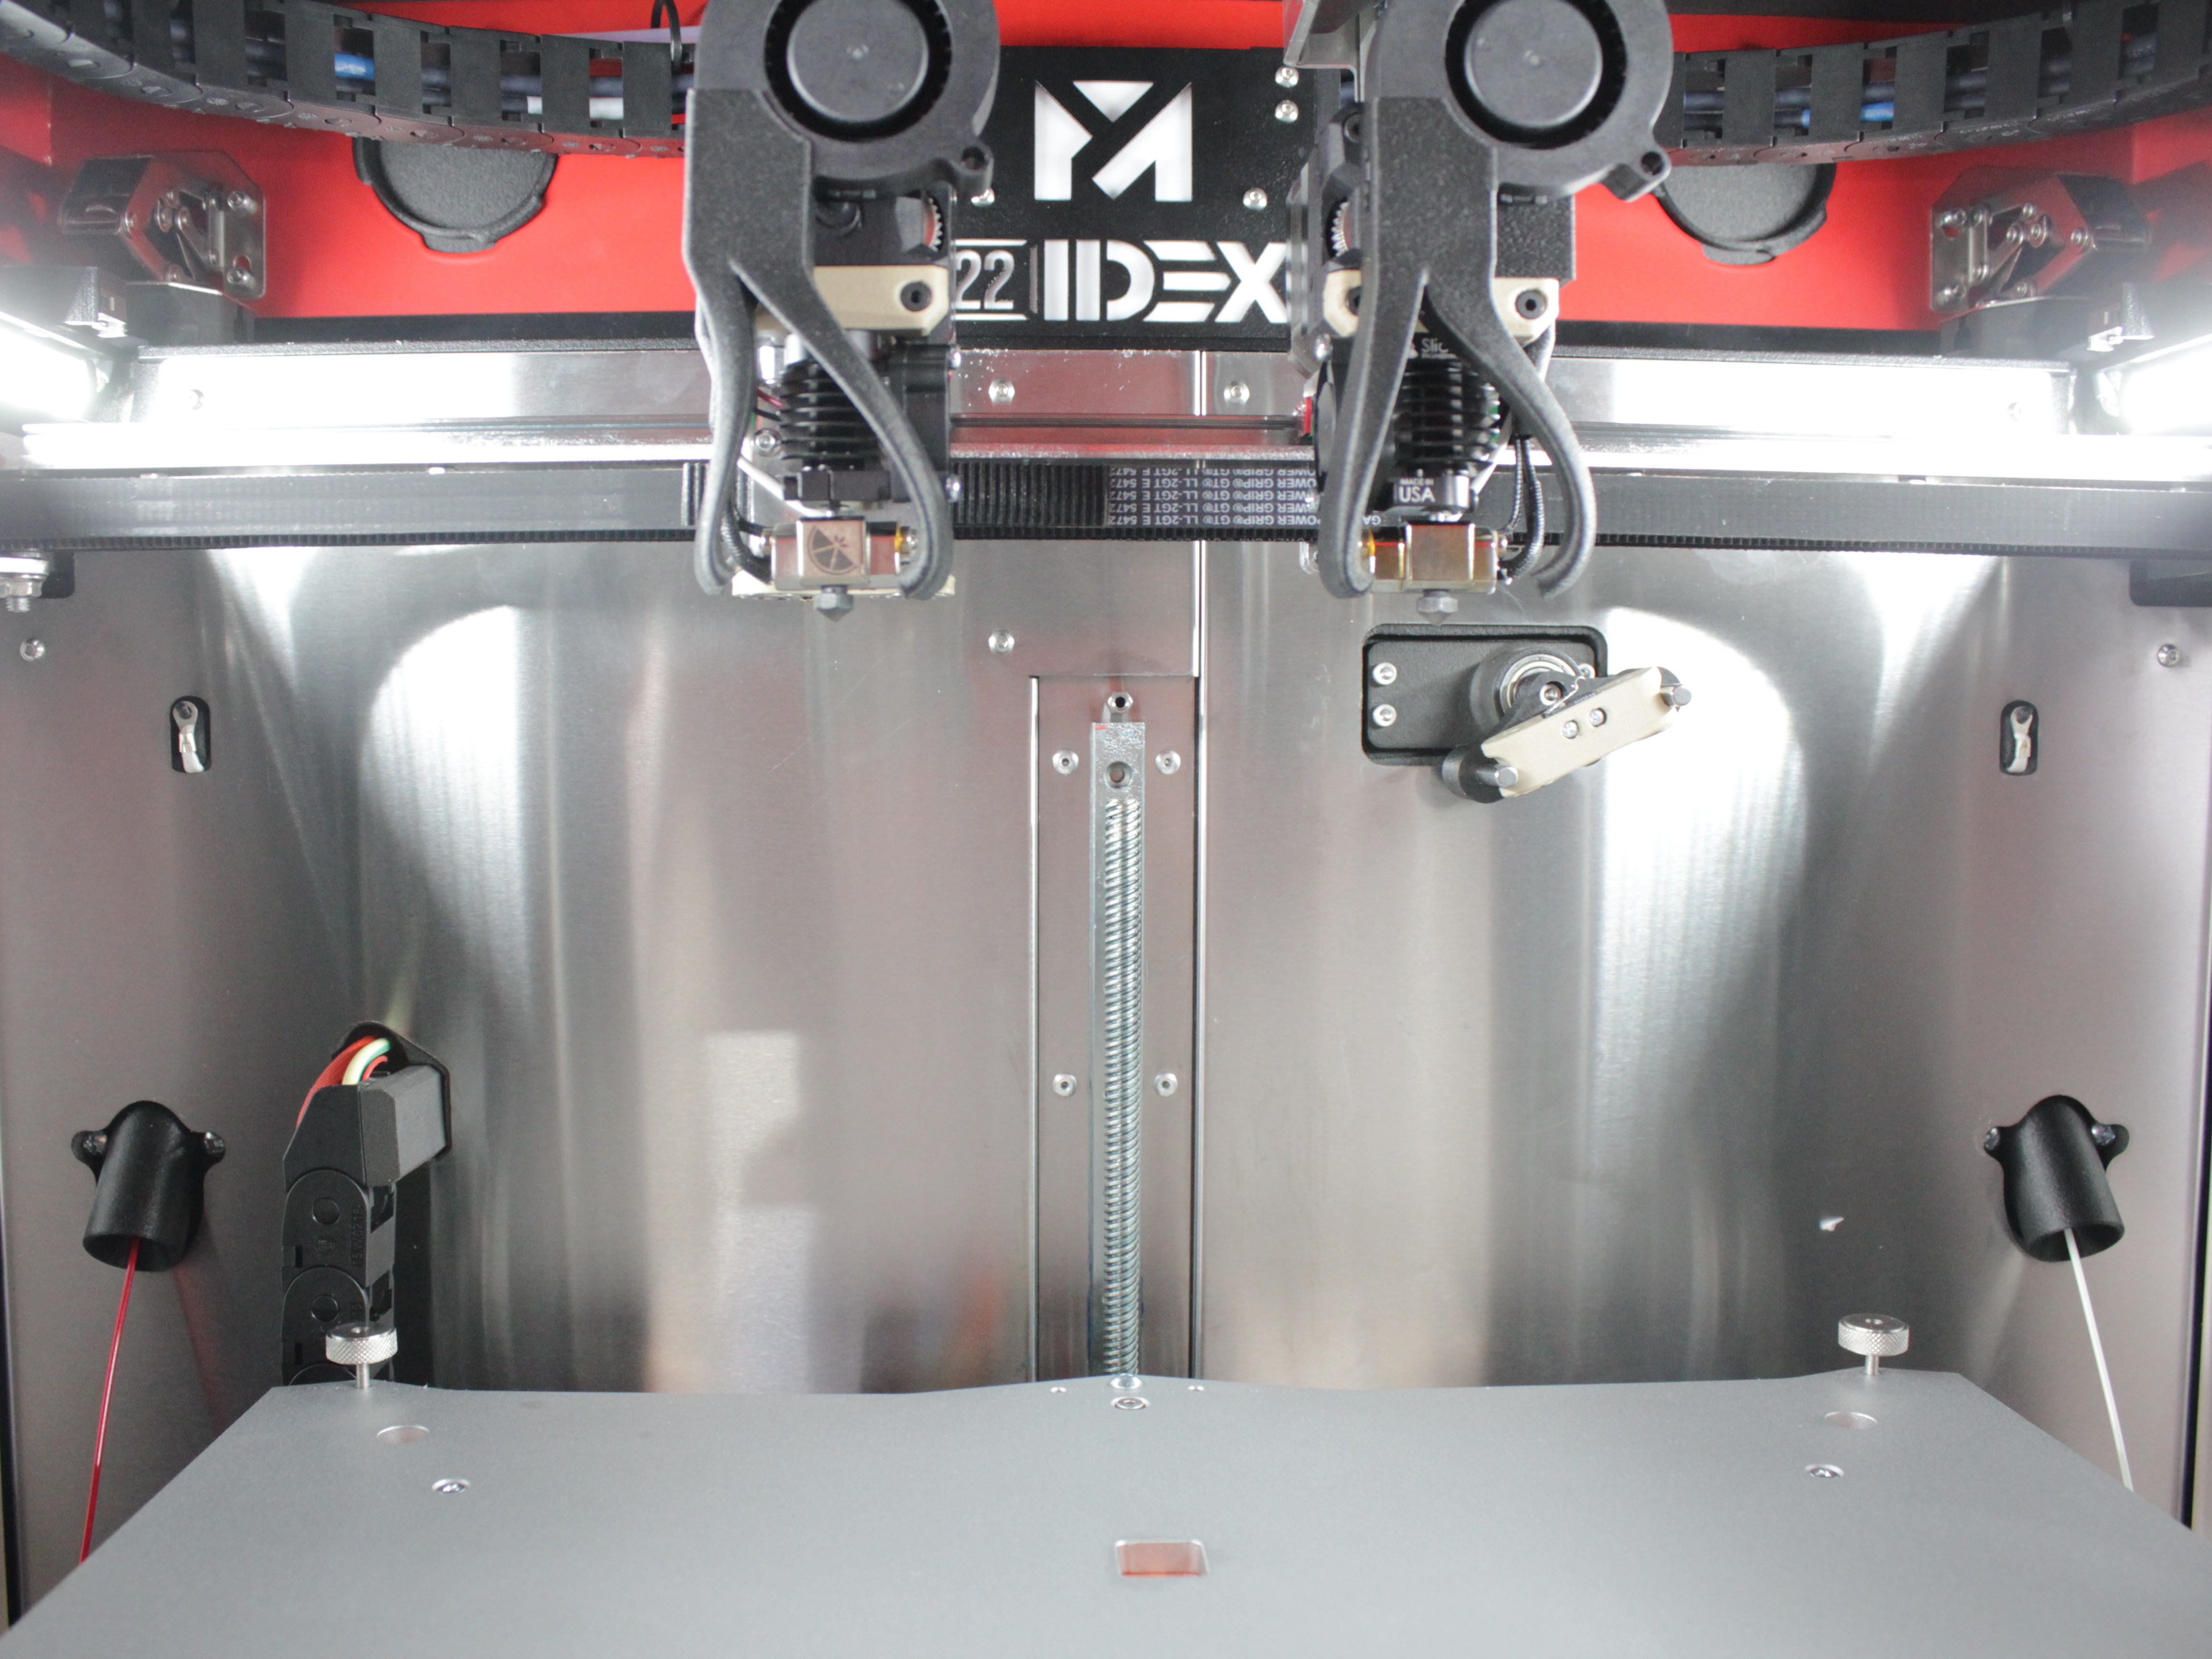
The image above shows an example of a successful connection to a saved network. The white LED confirms the printer has connected automatically using stored credentials.
Reset network settings
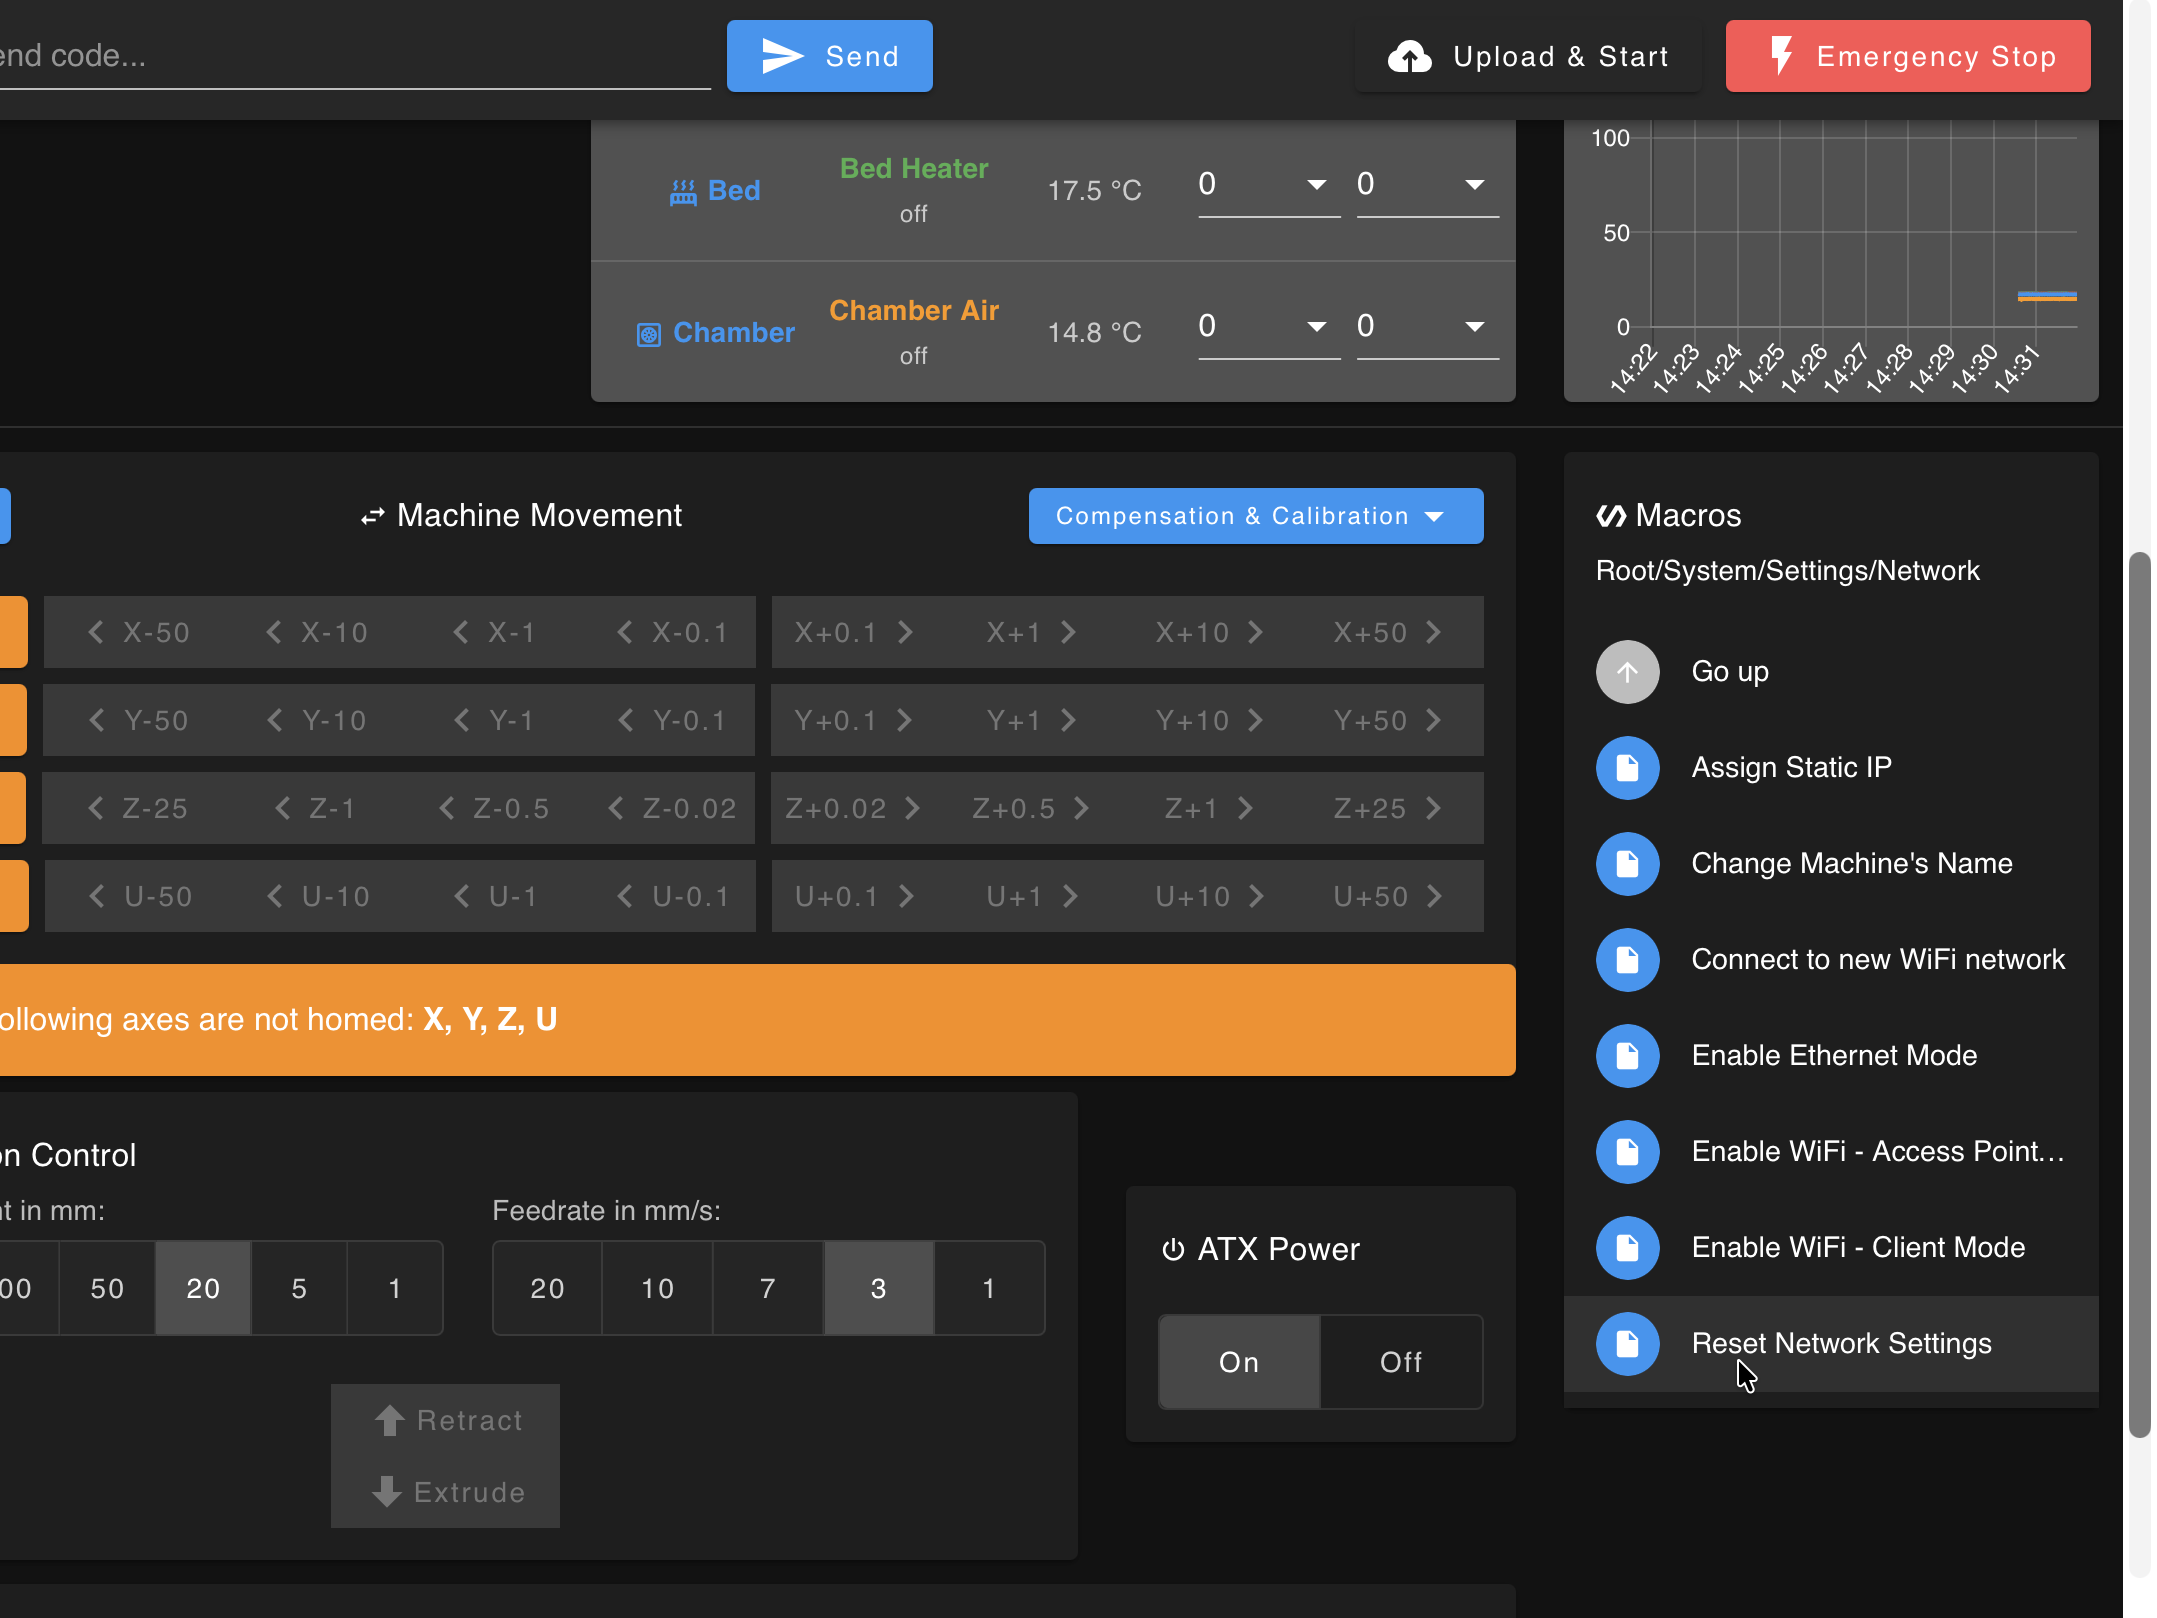
Macros > System > Settings > Network→ Reset Network Settings.- In the ⚠️ Network Factory Reset dialog, confirm Yes, Erase Everything. Stored WiFi profiles and mode selection clear, and the printer returns to default AP mode.
You will re-enter WiFi from scratch
A reset erases every saved WiFi network. To use Client mode again, run Connect to new WiFi network and re-enter your SSID and password.
Troubleshooting
Support
If you could not find an answer here, reach out to our support team.