Failing Motor Diagnostics
Spot a worn motor on the 22 IDEX V4 without disassembly — listen for grinding, compare heat and vibration against its twin, and rule out worn idler rollers.
A motor does not always fail outright – it usually wears out and starts to fail first. You can spot a dying motor without taking anything apart: listen for new noise, feel whether its housing runs hotter than its twin, and check for rough or vibrating movement. This guide covers those mechanical checks, plus how to rule out idler-roller noise that can mimic a failing motor.
For a motor that gives no movement, sound, or holding torque at all, use Motor Diagnostics (electrical checks) instead.
Before you begin - safety and risk
Read the Safety - Before You Begin article to understand the hazards involved in working on the Vision Miner 22IDEX V4 - including electrical, thermal, mechanical, and chemical risks. All procedures in this wiki are provided as recommendations only. By choosing to follow any procedure, you do so at your own risk.
1. Mechanical Diagnostics
The photo below shows the motors at the rear of the machine – the two Y-axis motors and the two tool motors (X/U). When you hear an unusual noise during operation, the goal is to work out which motor it comes from so you can address it.
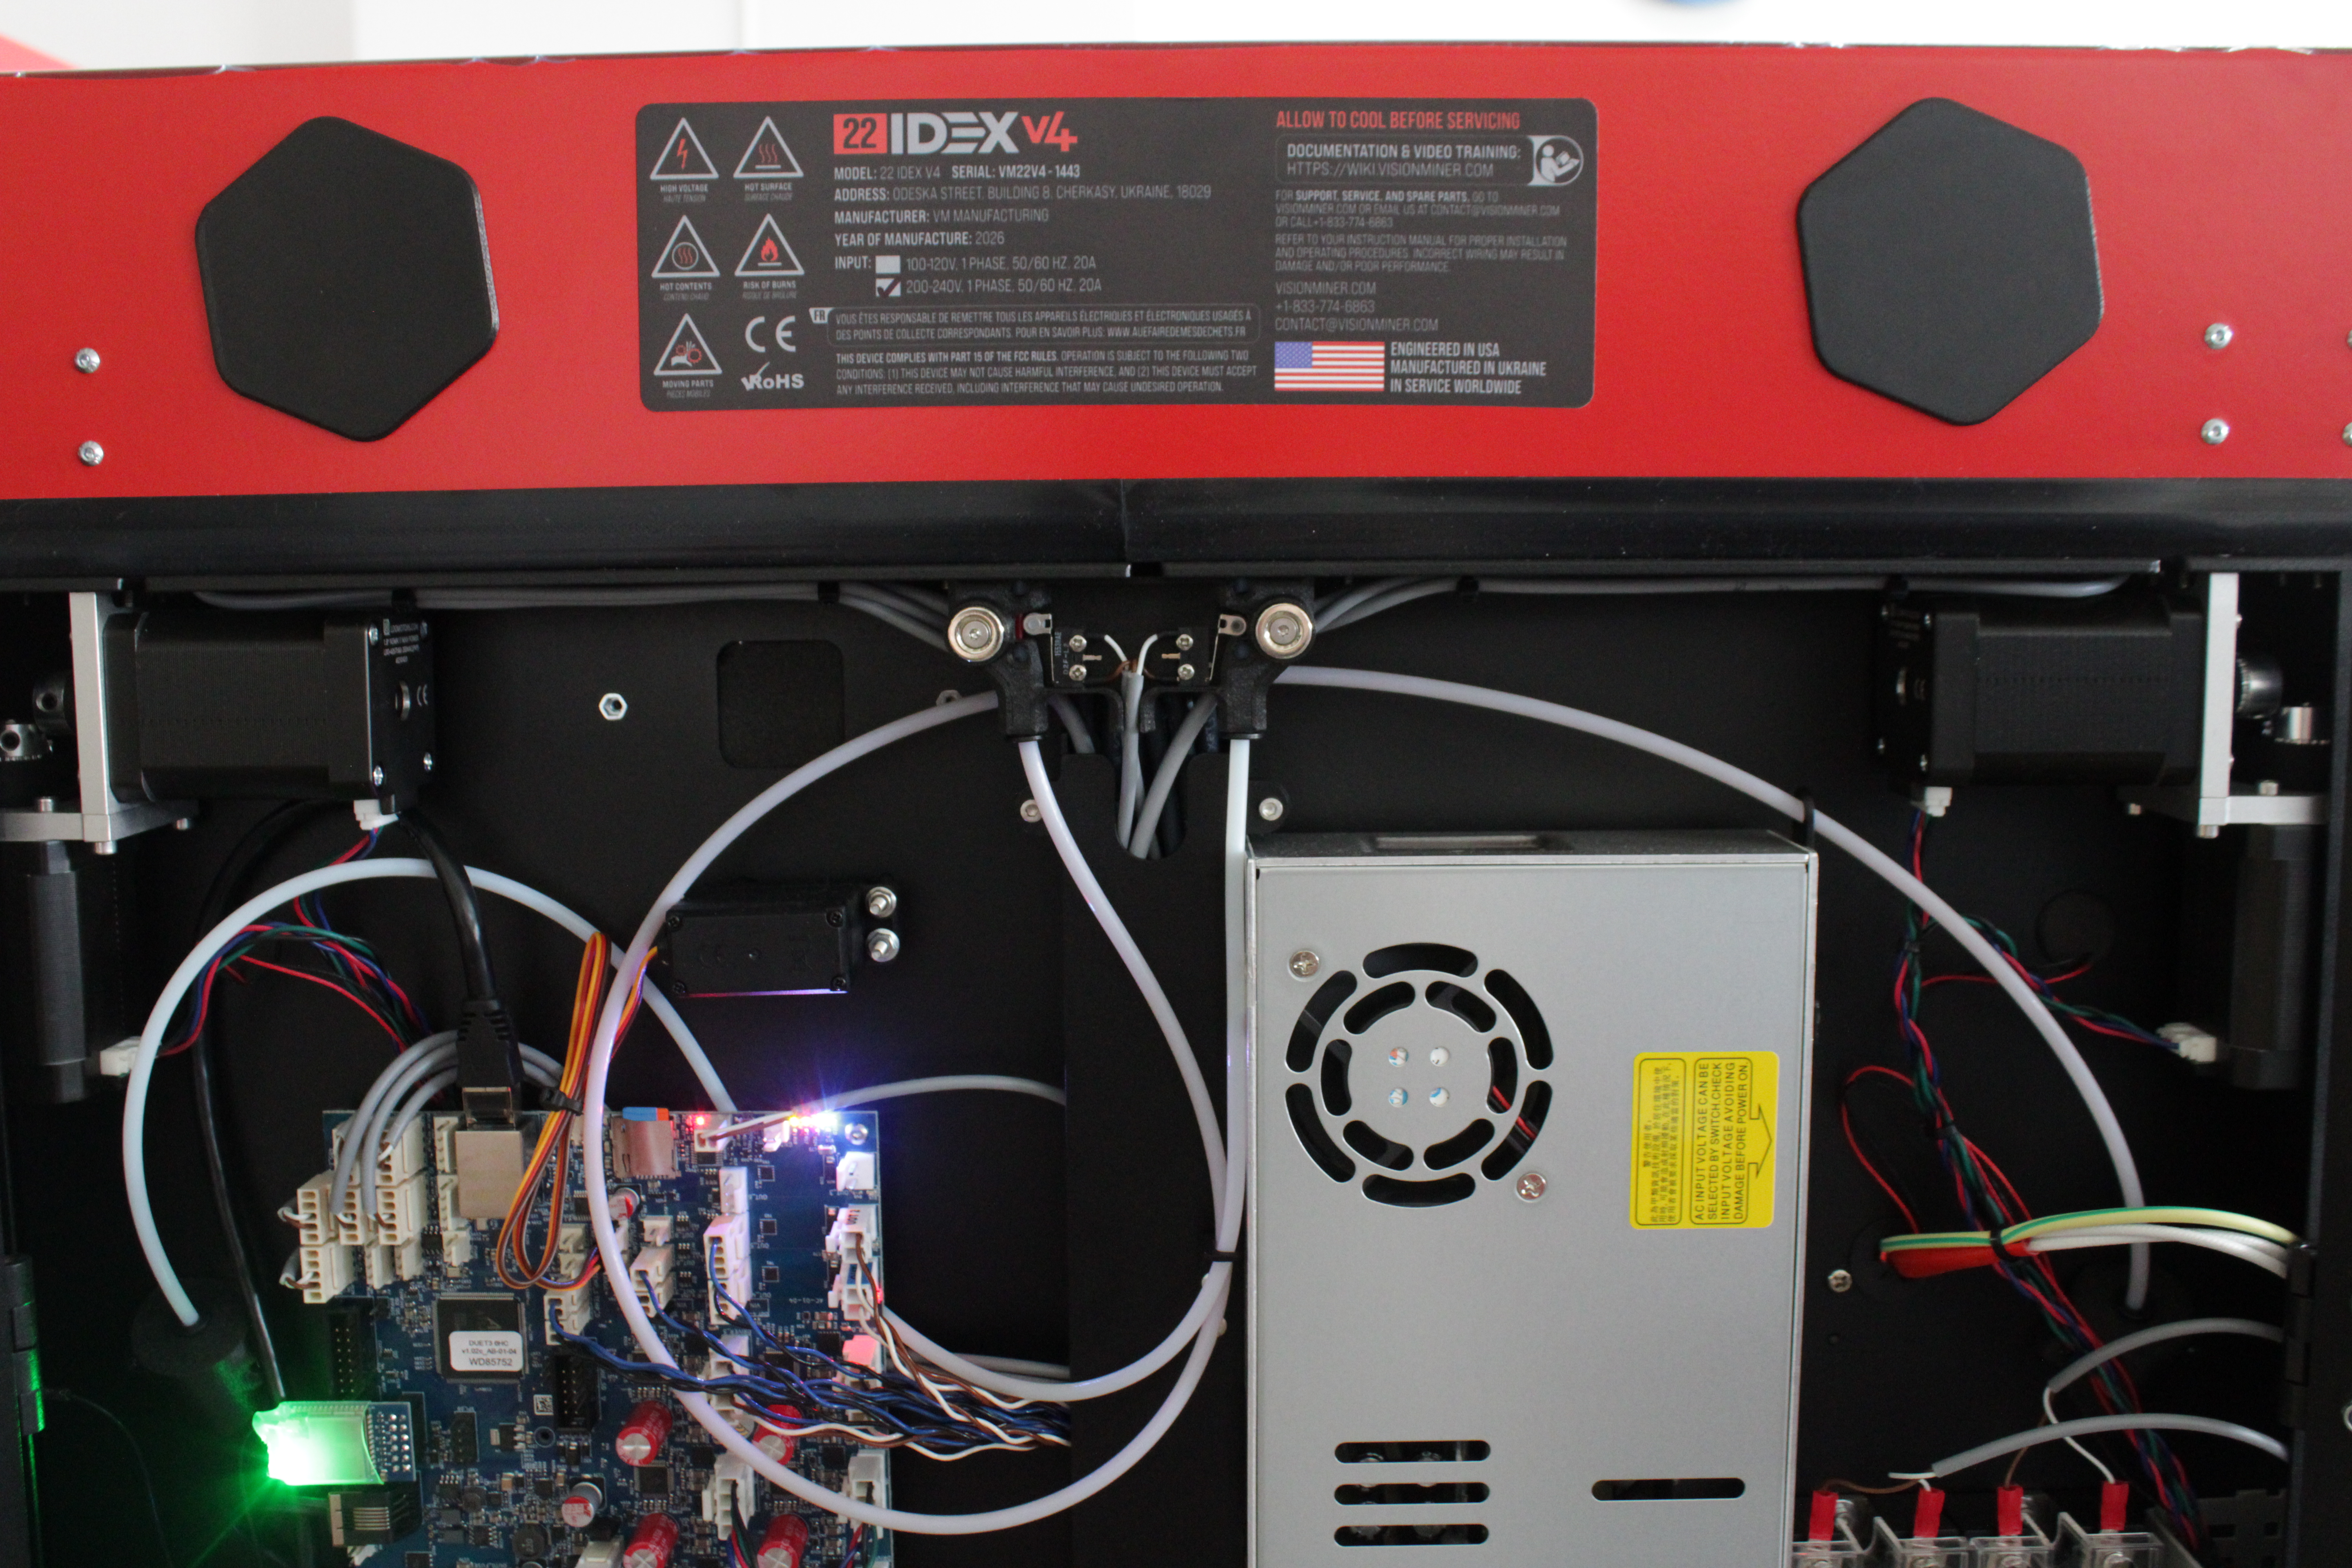
Bearings wear from axial and radial load. By the time you hear grinding, the motor is usually near end of life.
Symptoms
- Grinding or scraping during moves
- Metal-on-metal noise
- Strong vibration through the frame
- Layer shifts or skipped steps
- Motor shell hotter than its twin
Listening Pass
- Home the printer.
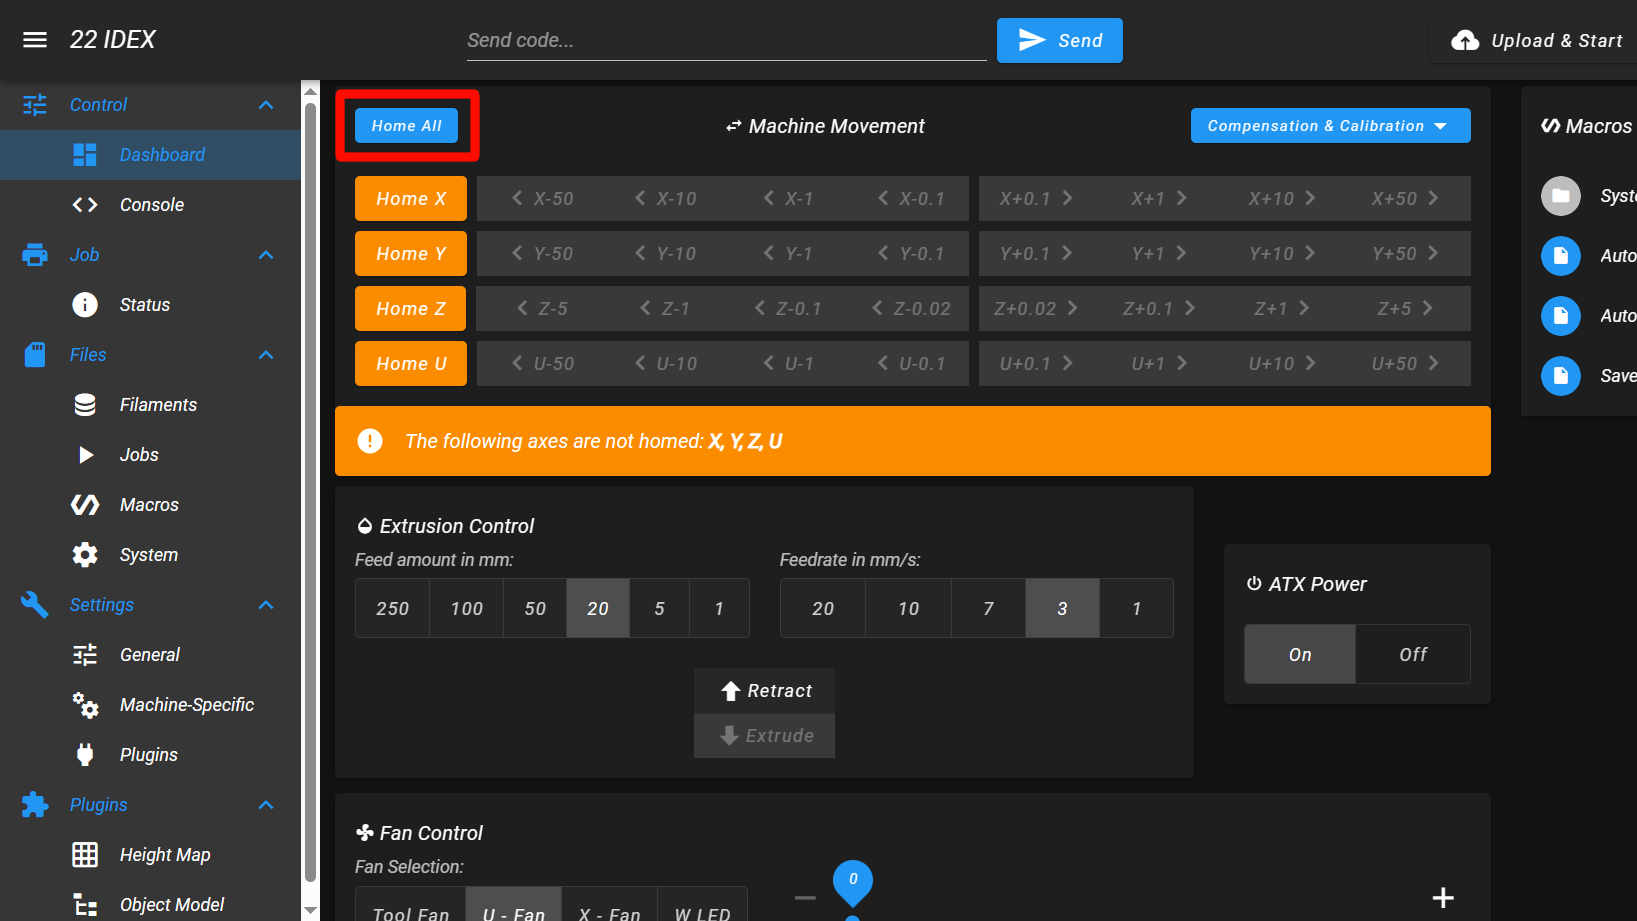
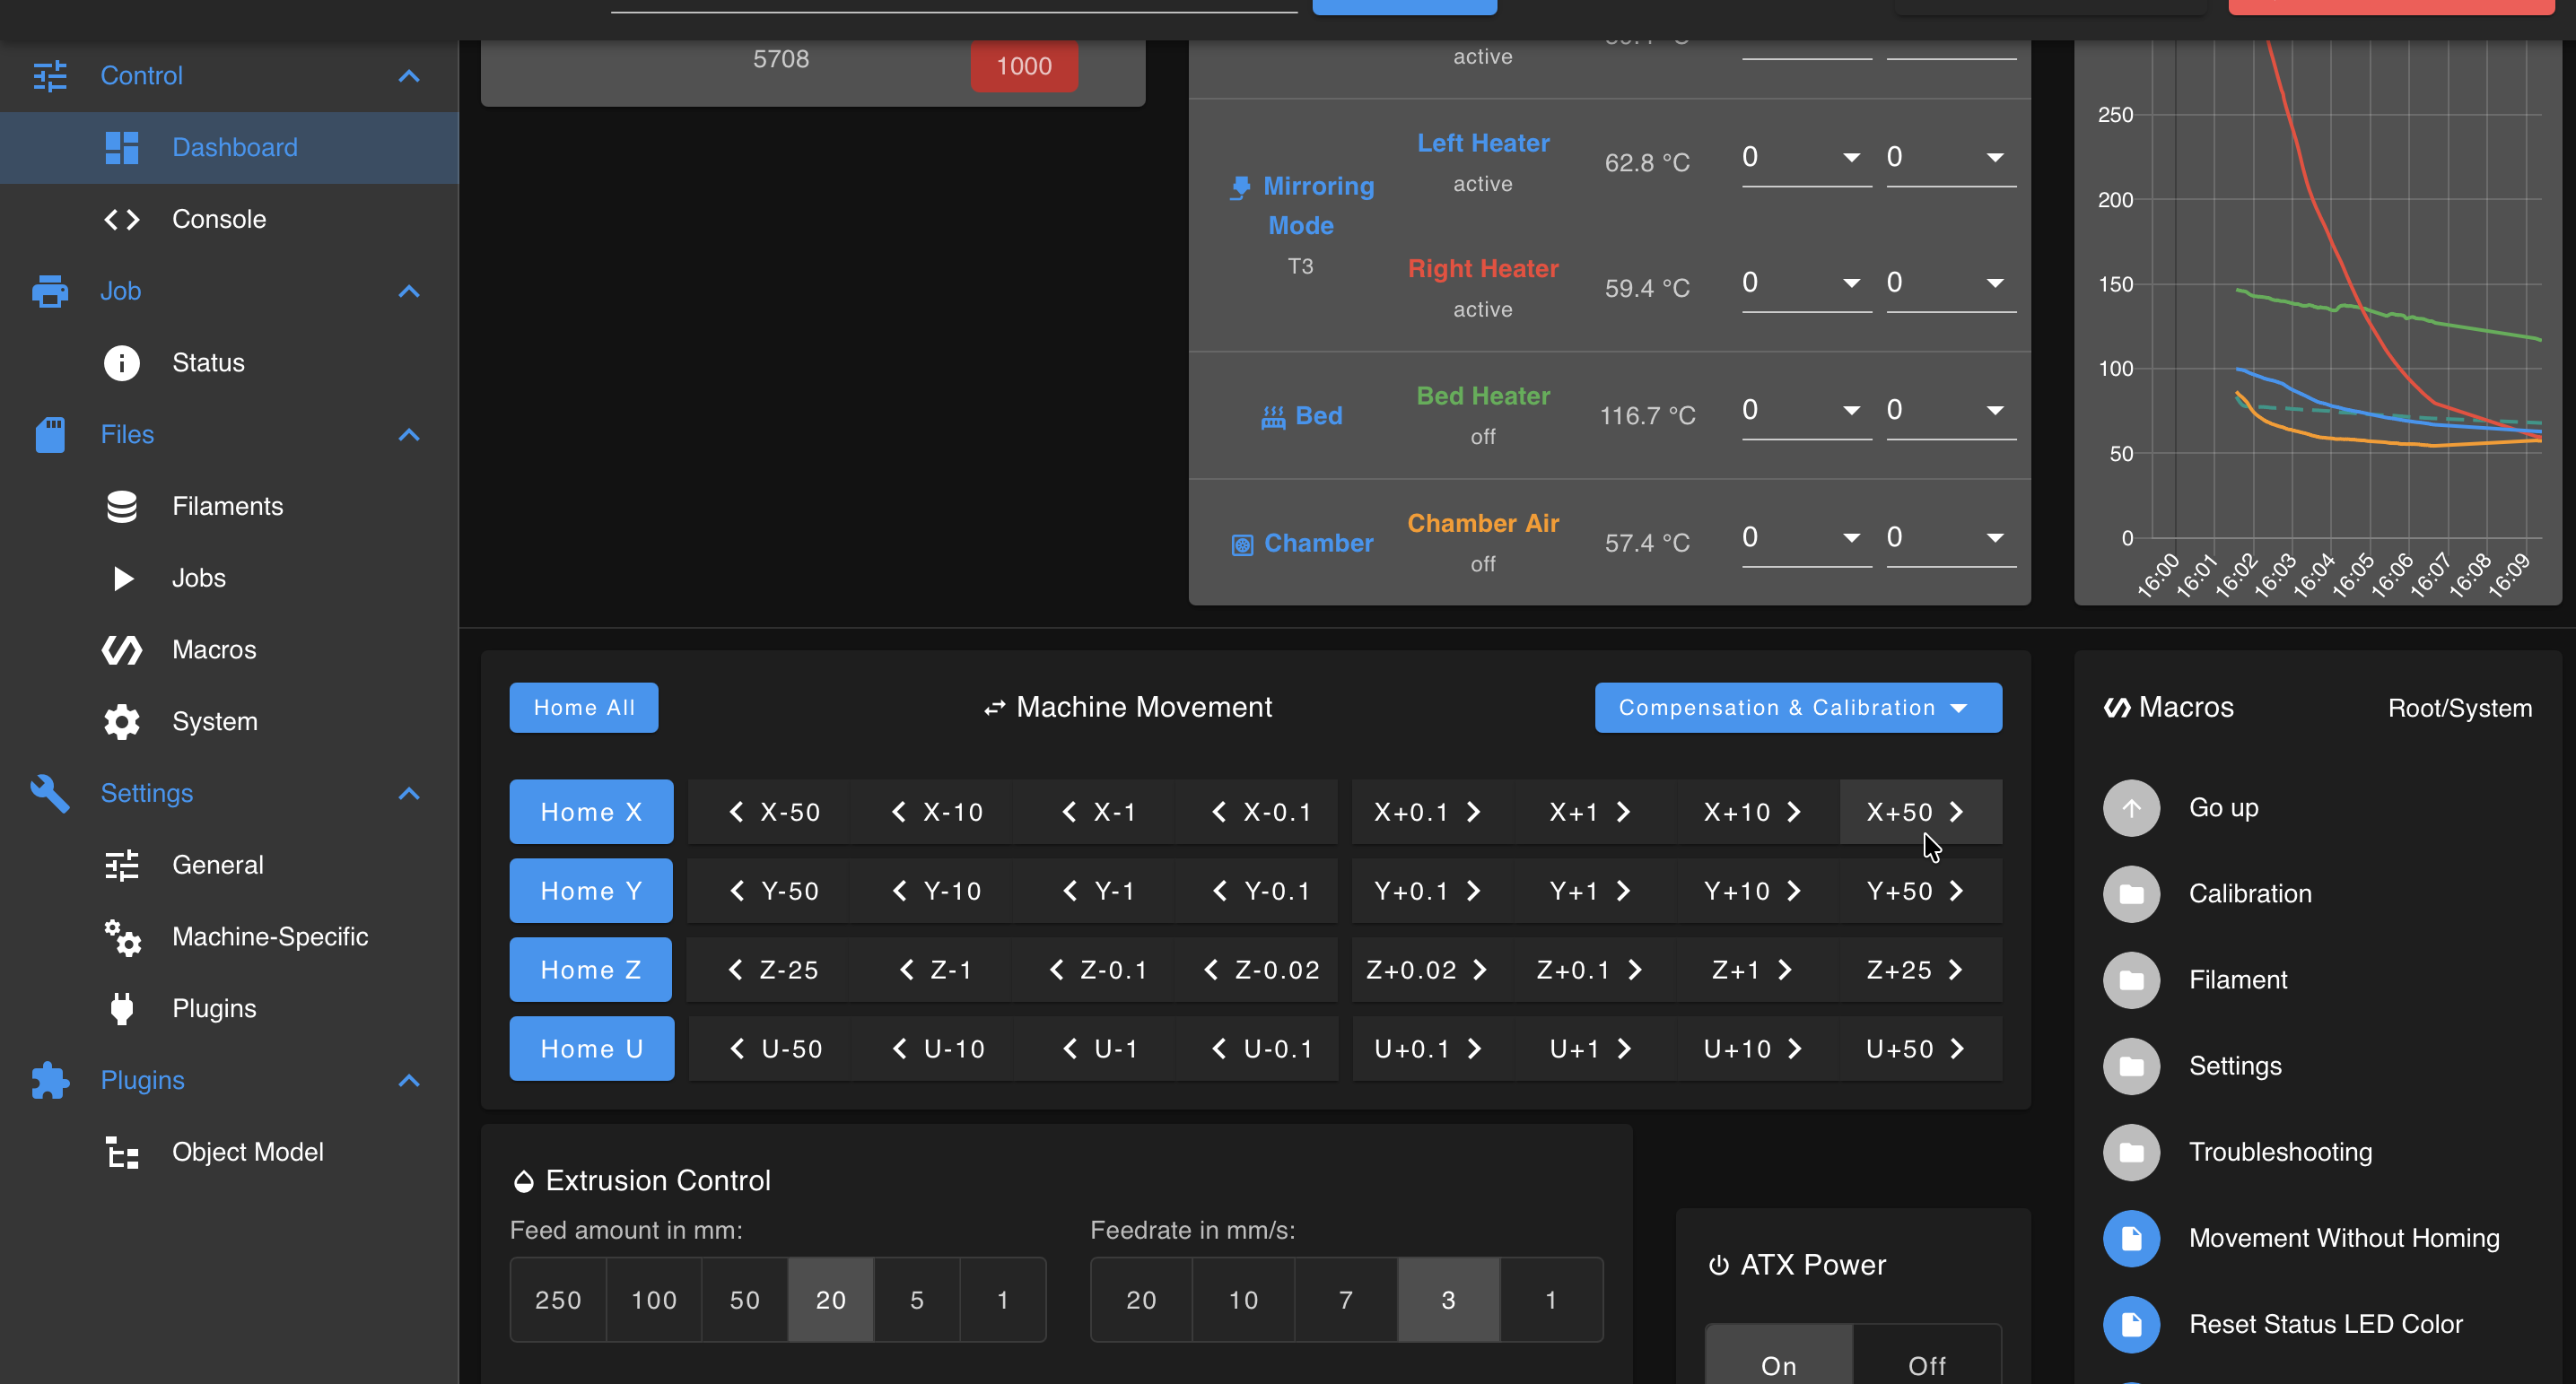
- Move one axis at a time slowly in the Web Interface.
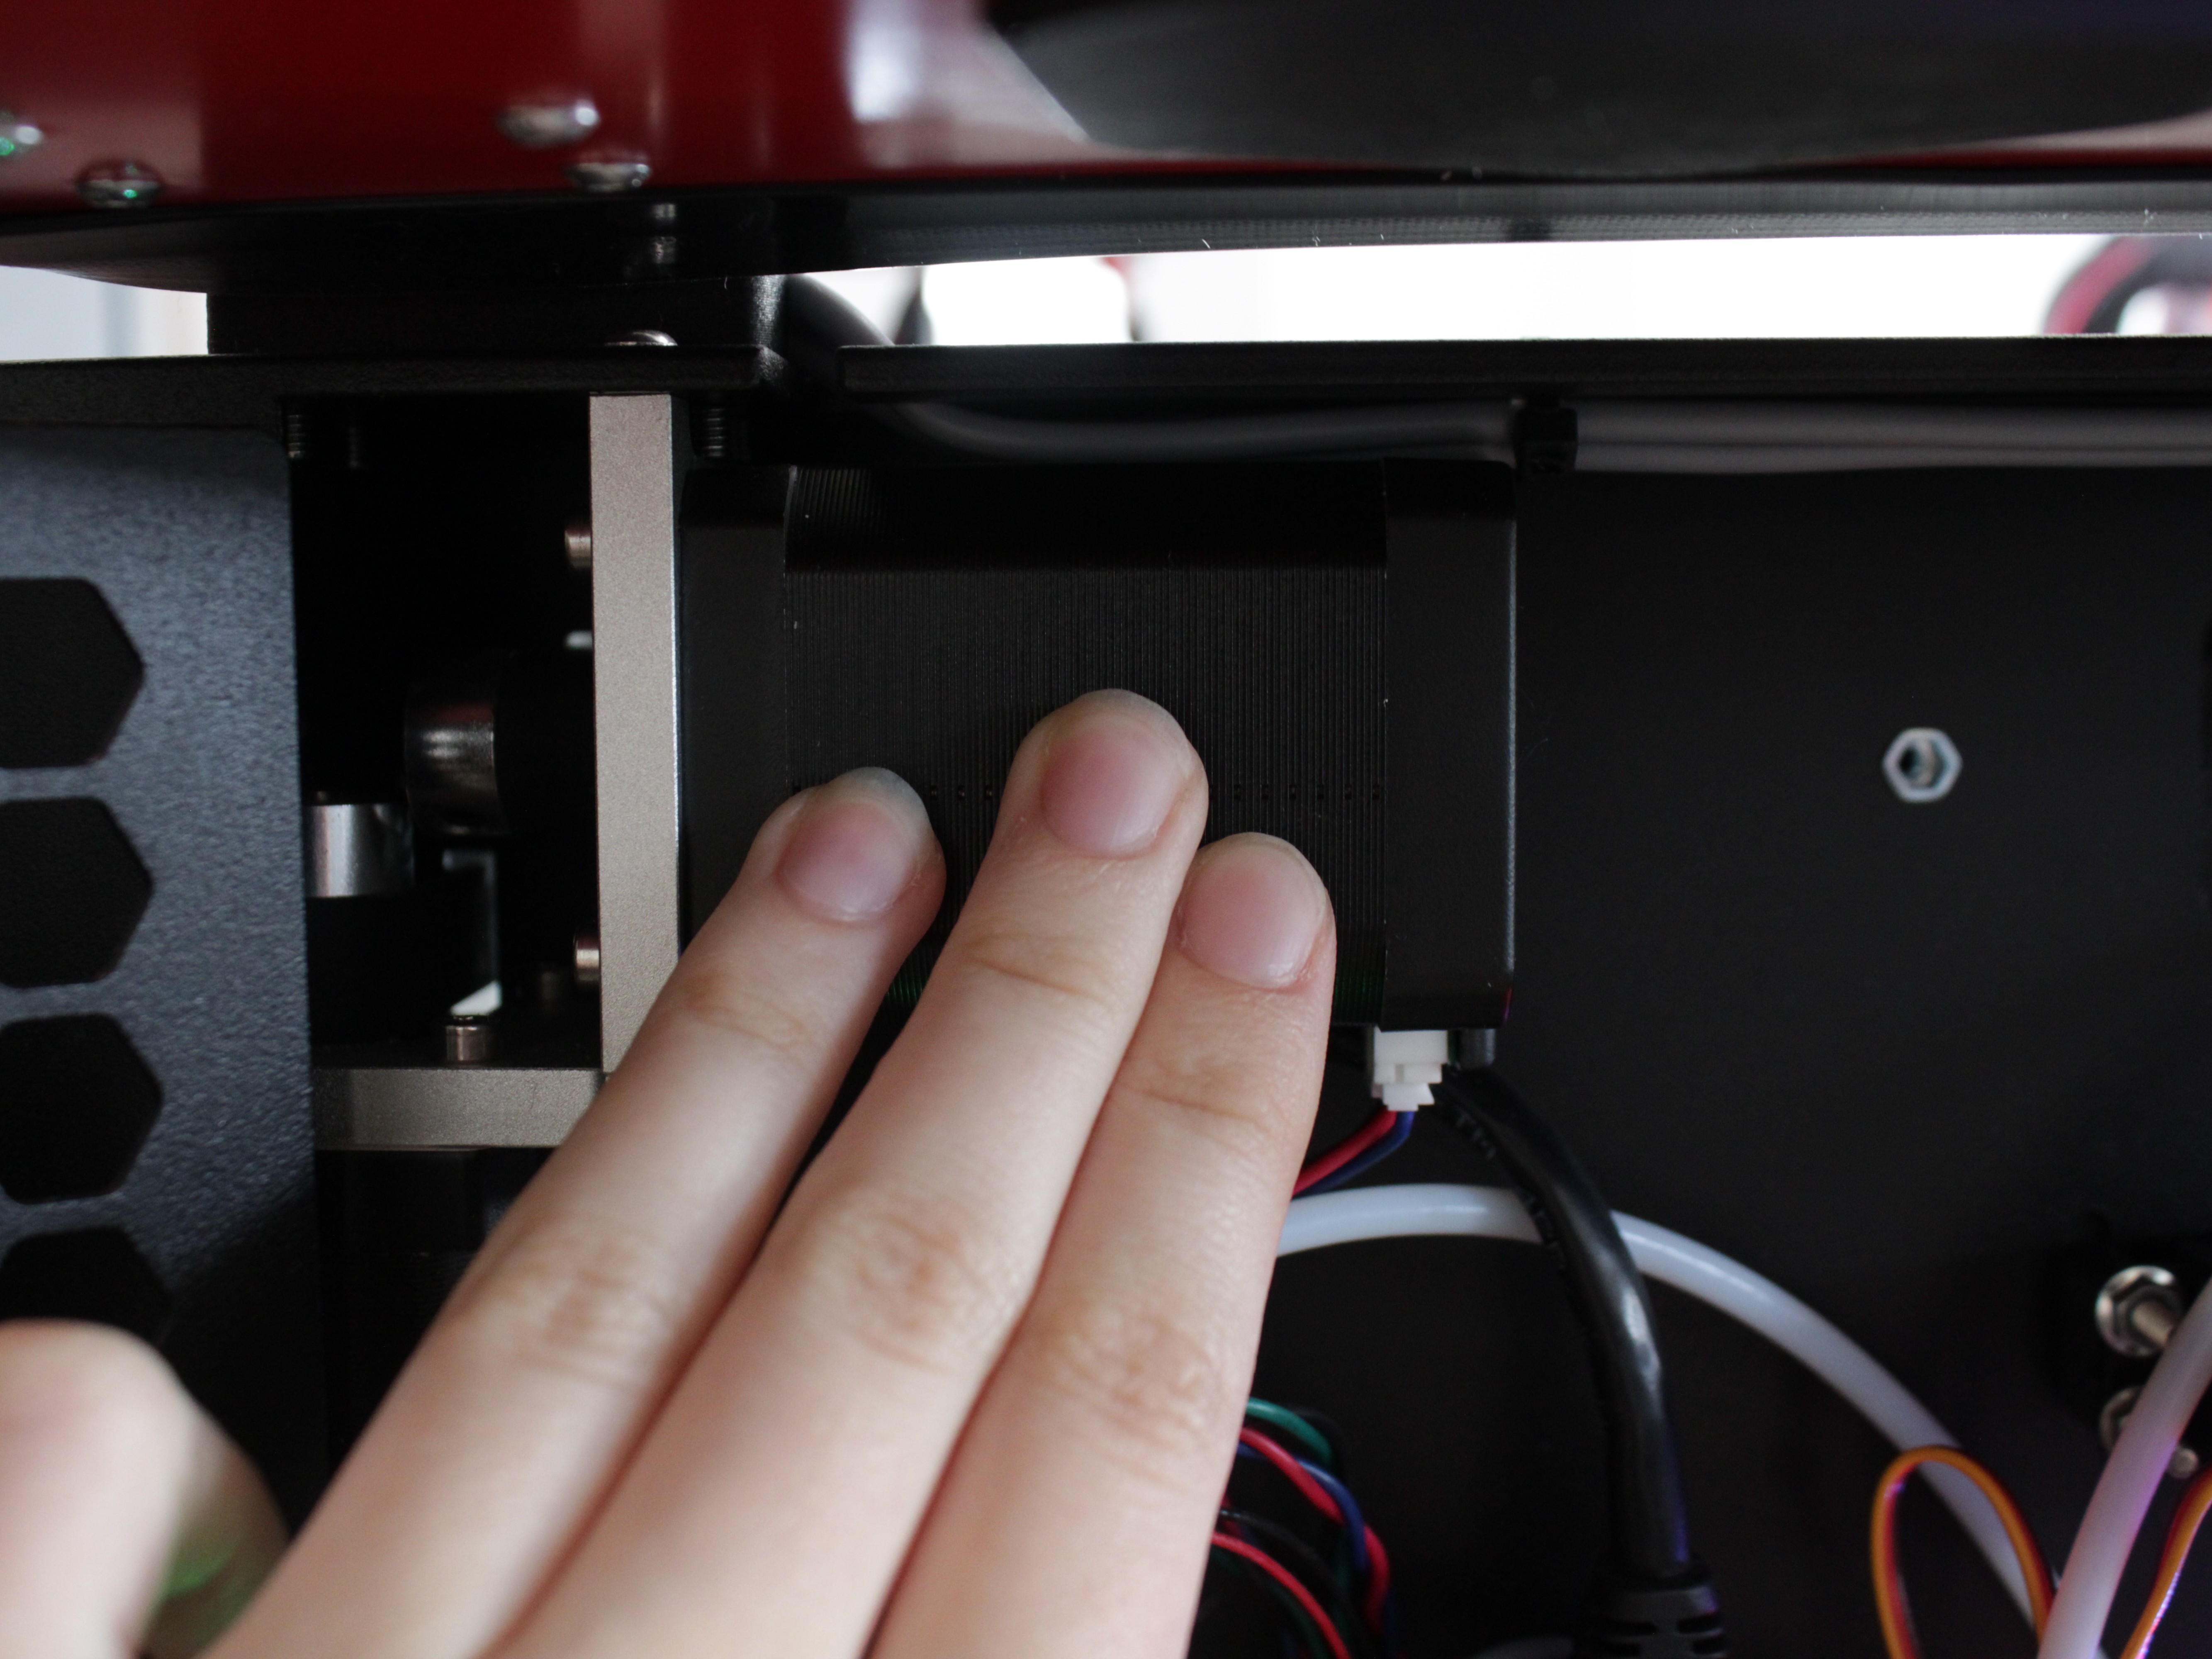
- Listen and feel each motor housing. Rest your hand on each motor as it moves to feel for rough vibration or excess heat.
-
Compare pairs (both Y motors, both tool motors). If you are unsure whether a motor vibrates or runs too hot, compare it with its twin – each pair is identical, so a worn motor feels noticeably rougher or hotter than the good one.
-
For Z, move the bed slowly up and down; grinding from any of the three motors is a bad sign.
-
Replace the motor if wear is evident. It will not improve. Motors are sealed – replace the assembly; do not try to swap internal bearings. For a worn Y-axis or tool (X/U) motor, follow XY motor replacement.
2. Noise from Idler Rollers
If you cannot pin a noise to a specific motor but still hear a grinding or rumbling sound, the front idlers are the likely source. They ride on bearings and, when those bearings wear, they rumble exactly like a failing motor – so it is easy to mistake one for the other. Check them before blaming a motor.
-
Power off.
-
Push the toolhead slowly along the X rail and listen at the idlers.
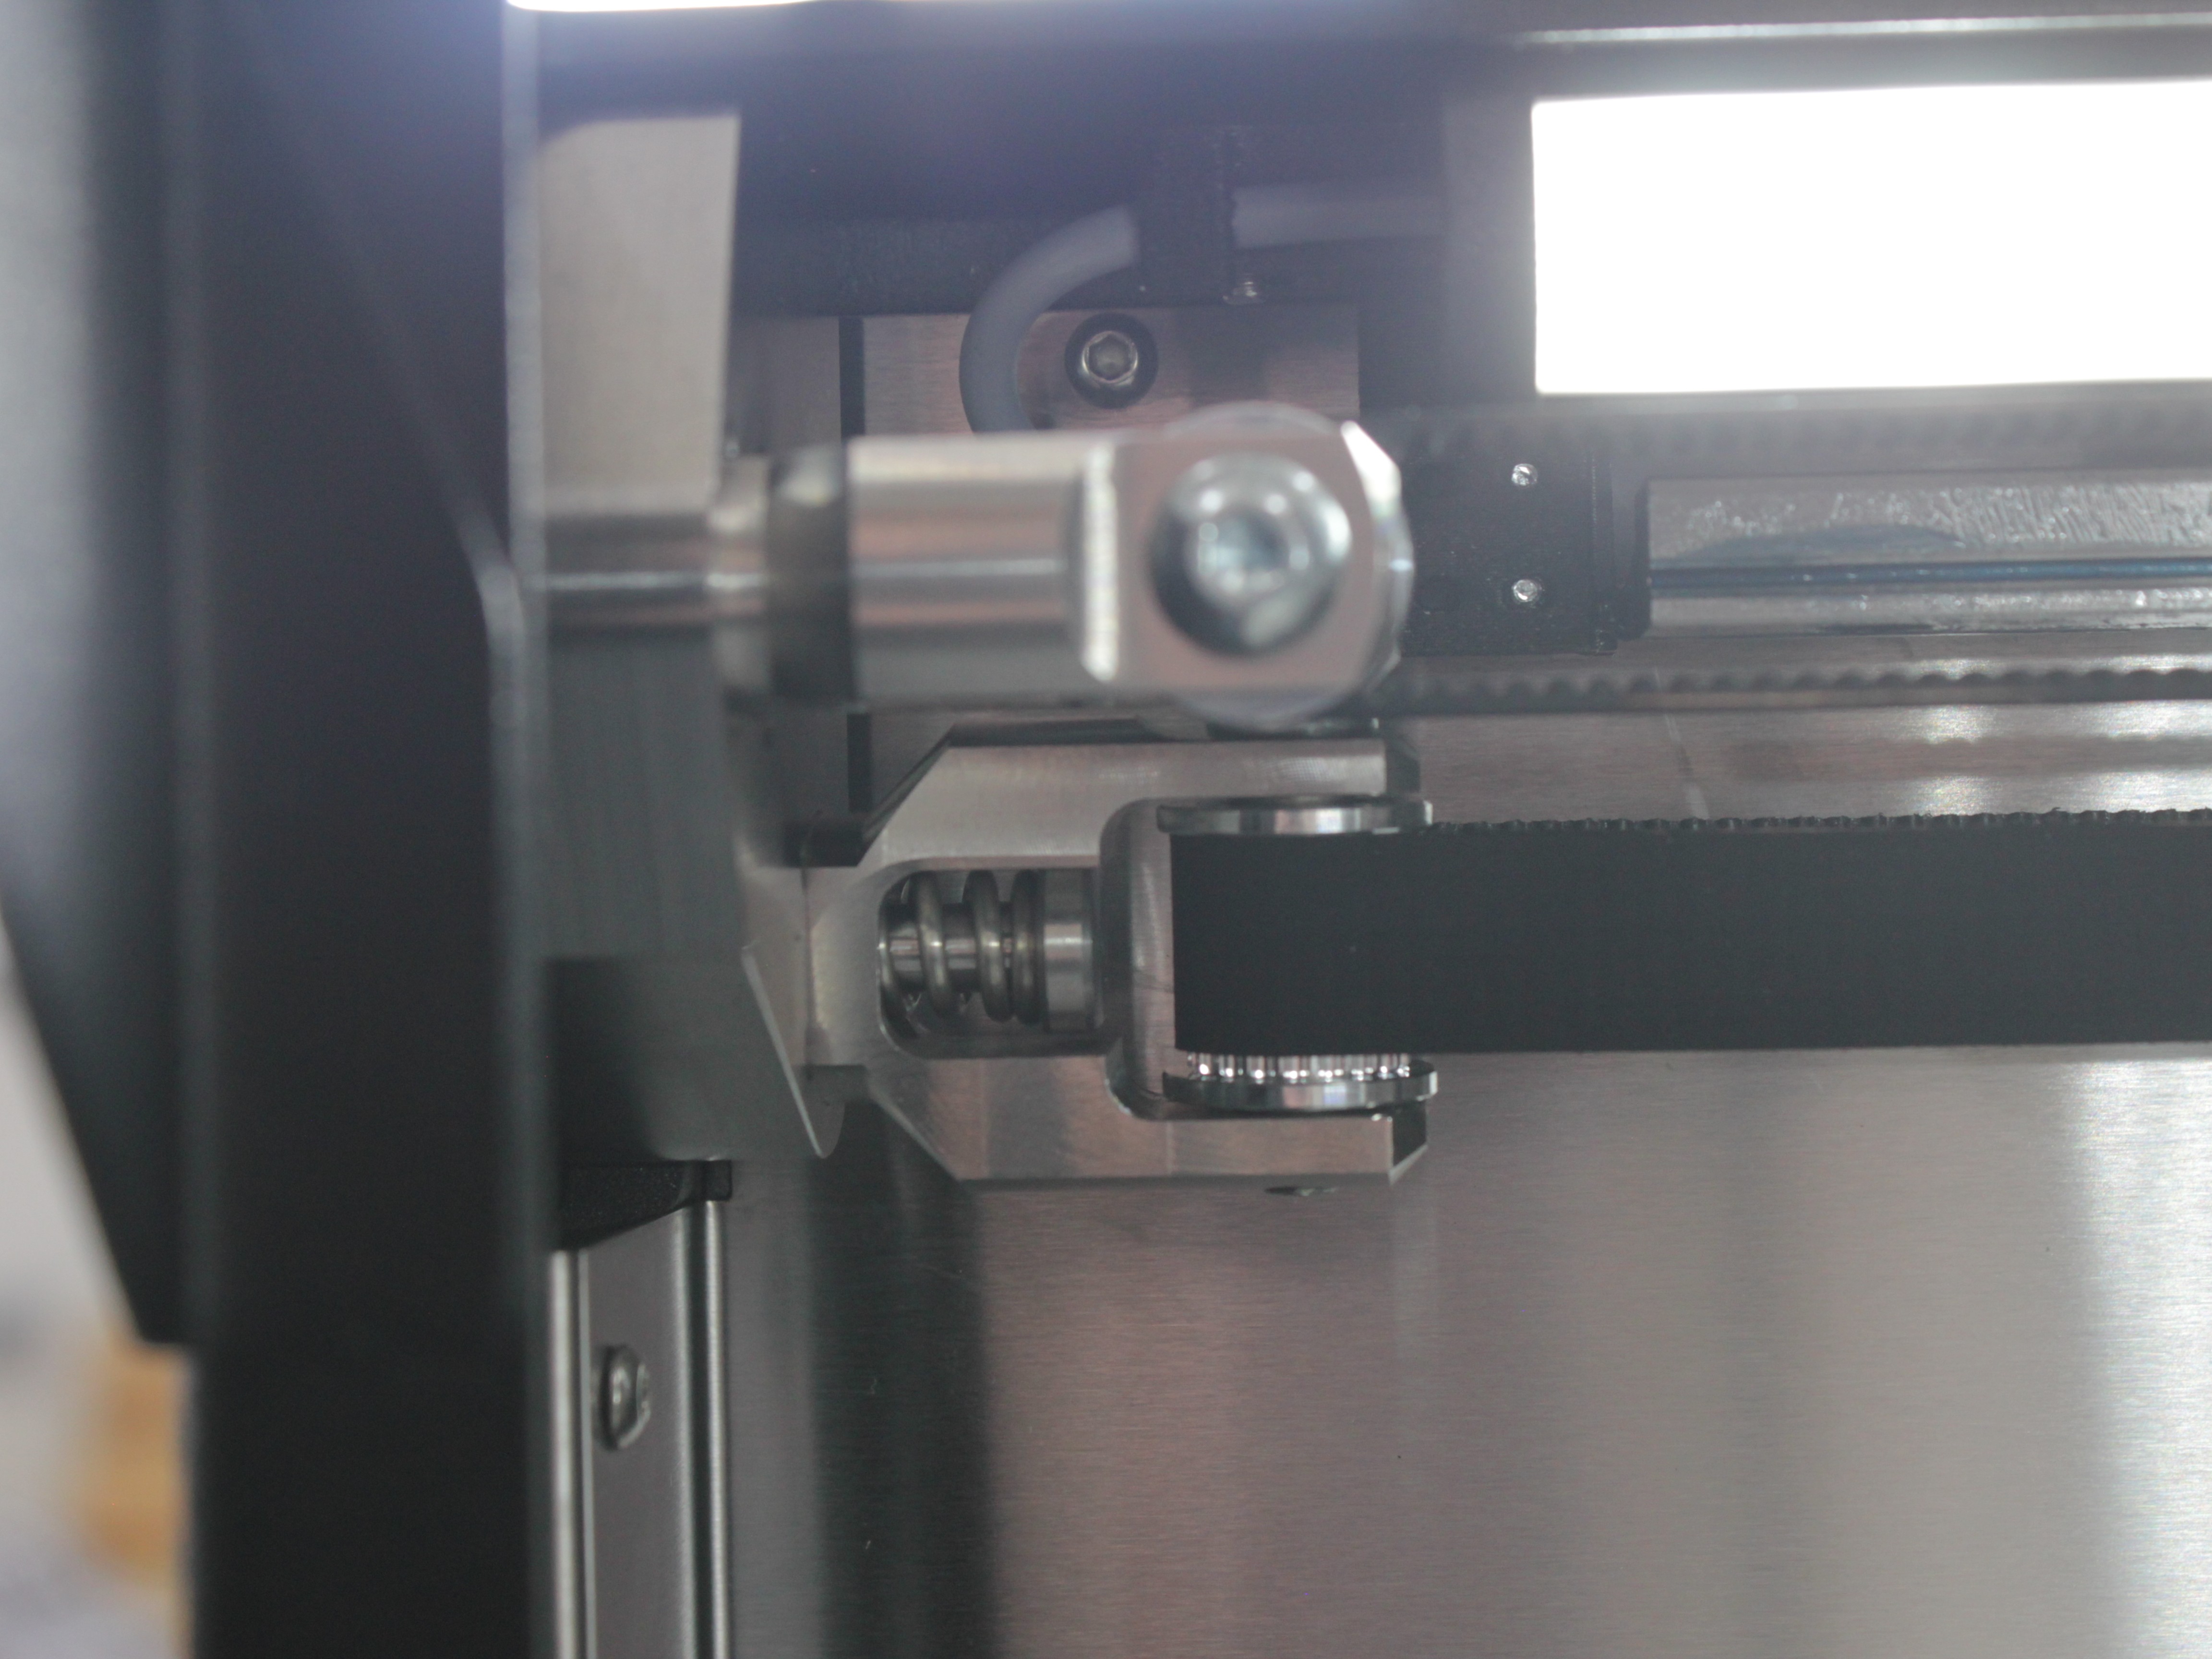
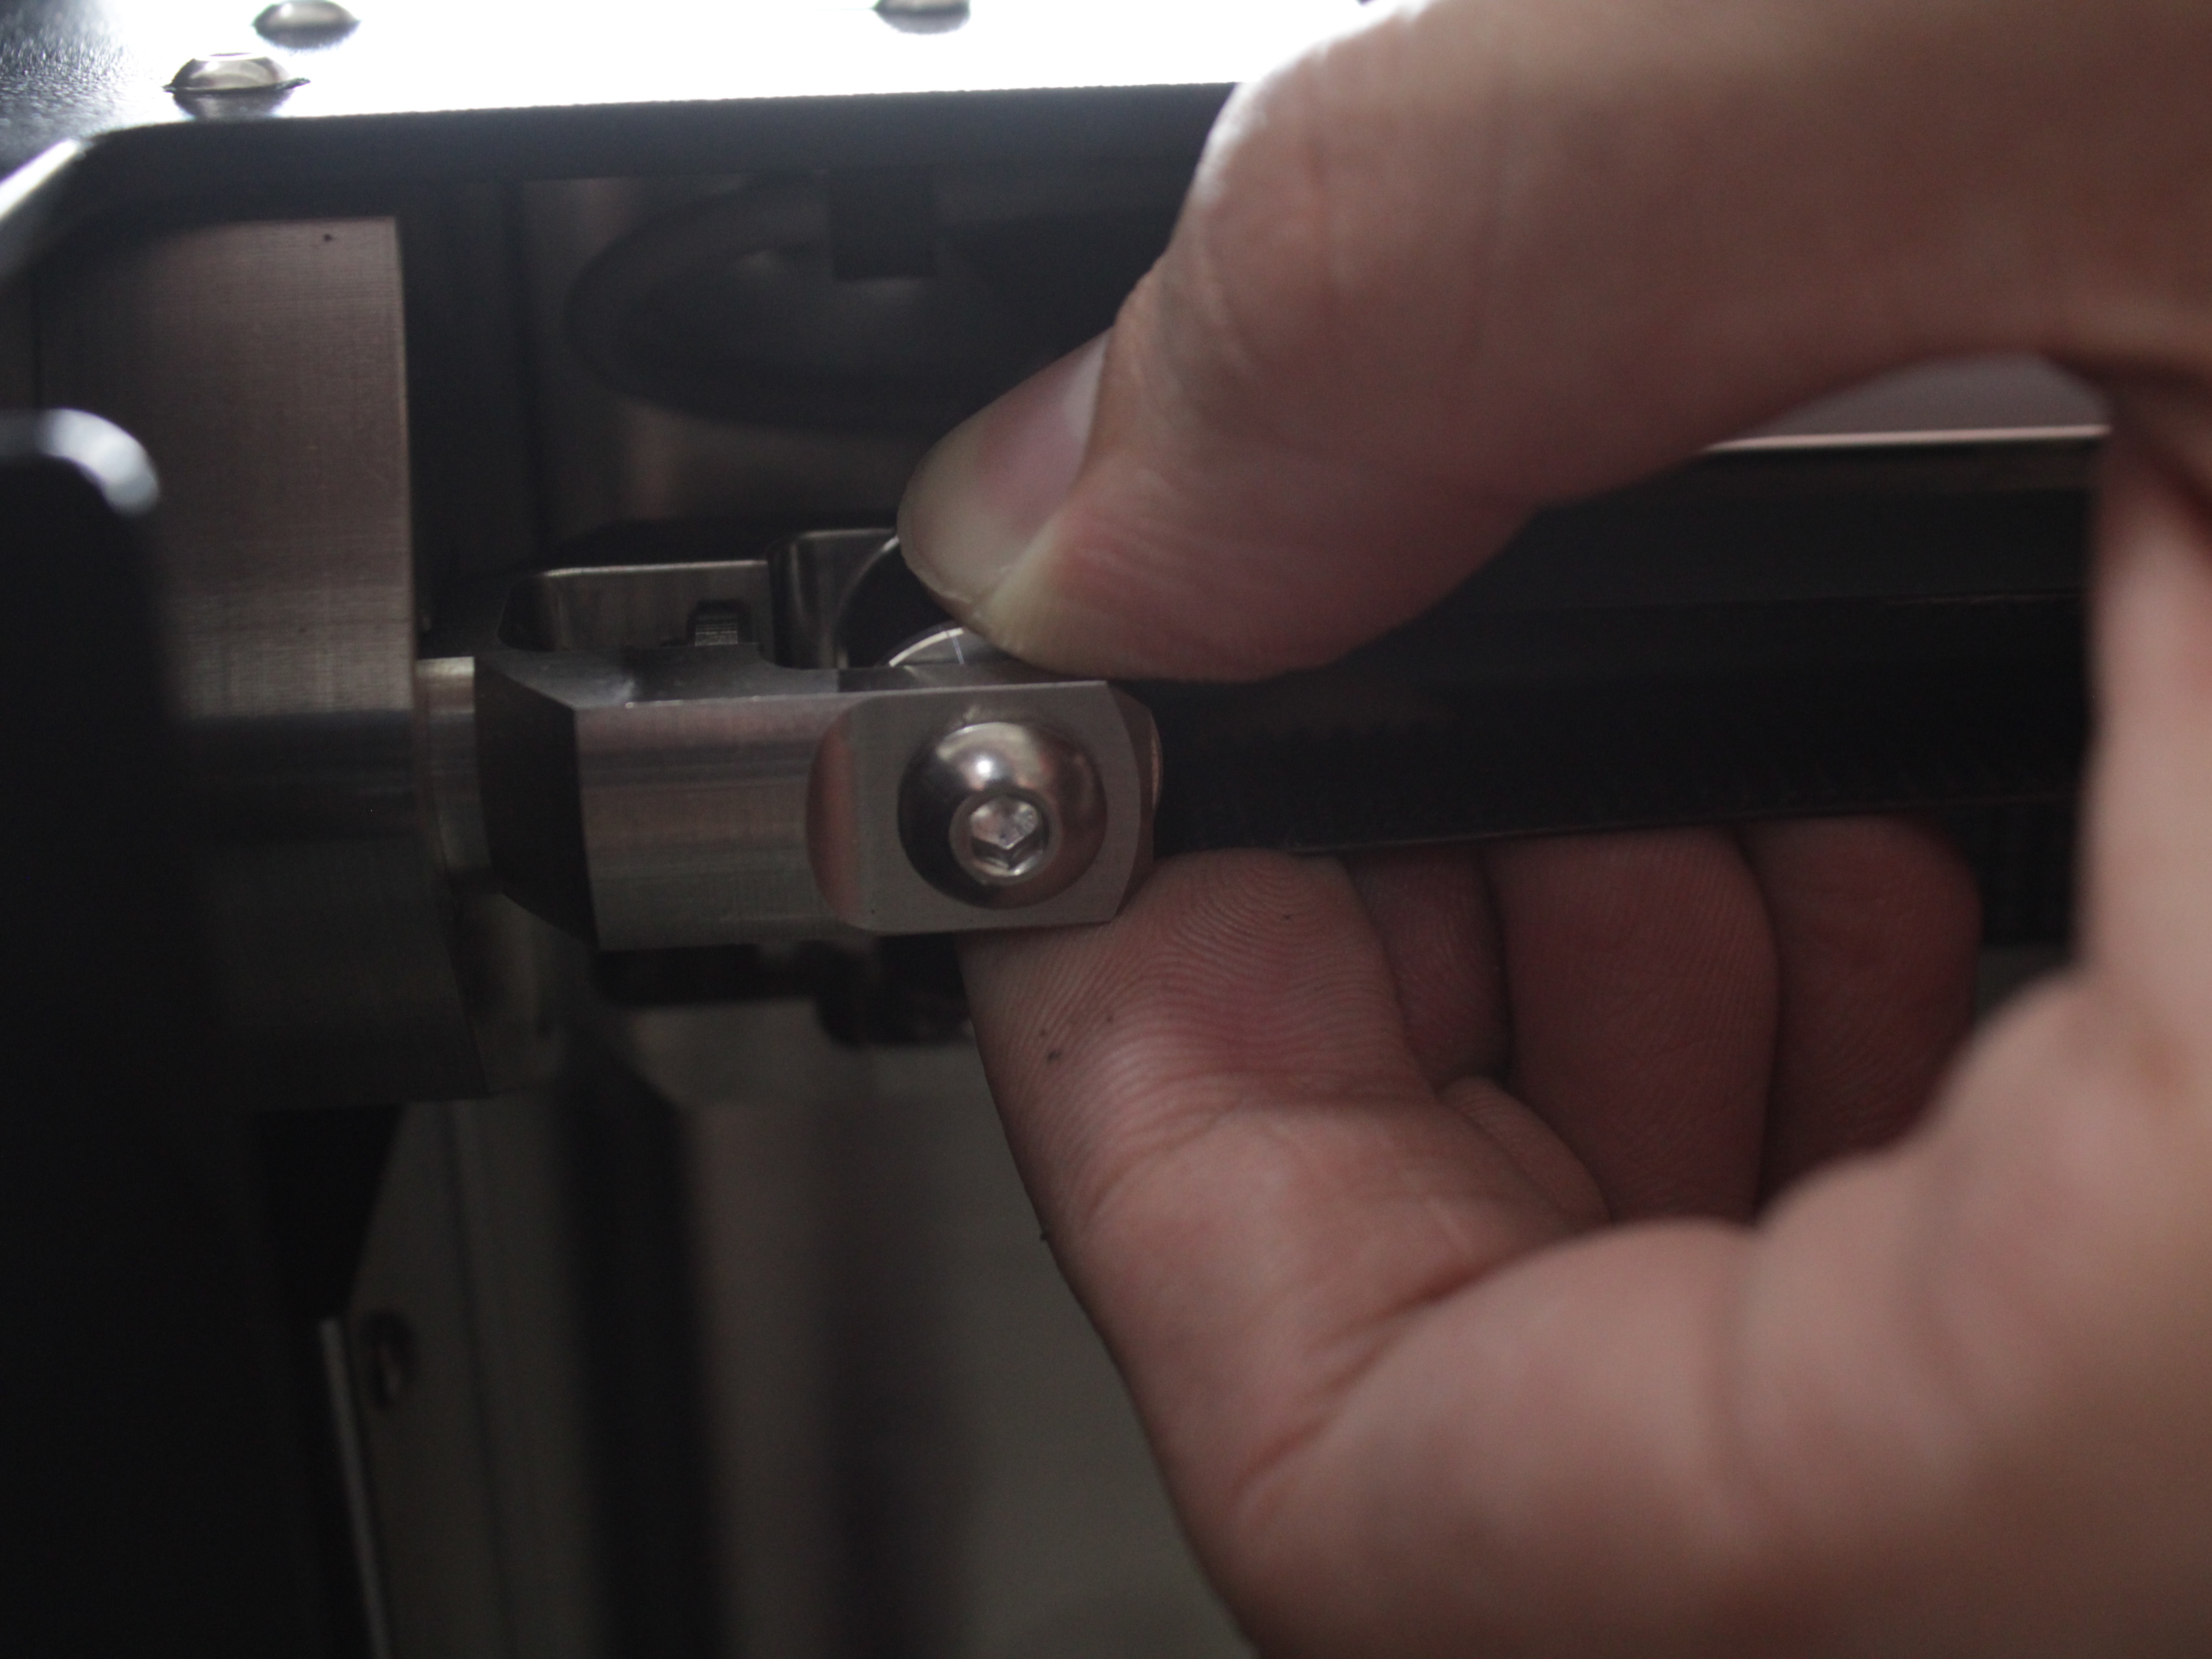
- Spin each idler by hand and check it for play. Smooth and quiet is good; gritty or notchy is bad. Also try to wiggle the idler against the aluminum belt-tensioner bracket it mounts to – any play relative to that bracket points to a worn bearing.
-
If an idler is rough – GT2 Idler Pulley Set and Front idler replacement.
-
If idlers are smooth – return to Section 1 for the motor.
Check rear Y idlers too
Y-axis noise can come from rear idlers. Rule those out before blaming Y motors.
FAQ
Troubleshooting
Support
If you could not find an answer here, reach out to our support team.