Heat Break Replacement
Replace the heat break on the 22 IDEX V4 to cure recurring clogs, heat creep and under-extrusion — hot nozzle removal, finger-tight fitting, recalibration.
This guide covers replacing the heat break on the Vision Miner 22IDEX V4. The heat break is the thin threaded tube between the radiator and the heat block. It creates the sharp temperature transition the hotend needs: below it the filament stays solid, inside the heat block it melts. A worn, clogged, or damaged heat break causes recurring clogs, heat creep, and under-extrusion that cleaning does not fix.
This procedure replaces only the heat break, and the whole job is done with the hotend mounted in the extruder. If you want to swap the complete hotend assembly instead, see Print Core Replacement. For full component-by-component service, see Hotend Disassembly.
Before you begin - safety and risk
Read the Safety - Before You Begin article to understand the hazards involved in working on the Vision Miner 22IDEX V4 - including electrical, thermal, mechanical, and chemical risks. All procedures in this wiki are provided as recommendations only. By choosing to follow any procedure, you do so at your own risk.
Tools and Materials
- New Hotend Heat Break
- 2 mm hex key (fan shroud screws)
- Nozzle Torque Wrench 7mm
- Pliers or adjustable wrench (to hold the heat block)
- Heat-resistant gloves
- Safety glasses
Removing the Filament and Nozzle
The nozzle comes out first, while everything is still assembled and hot. Removing it hot prevents hardened filament from binding the threads, and it has to be re-tightened hot at the end anyway.
- Unload the filament while hot. Preheat the hotend to the filament's printing temperature and unload the filament through the Web Interface or manually. See Loading and Unloading Filament if unsure.
Hot metal parts
The nozzle, heat block, and surrounding metal are at printing temperature. Wear heat-resistant gloves and keep your hands off any heated surfaces.
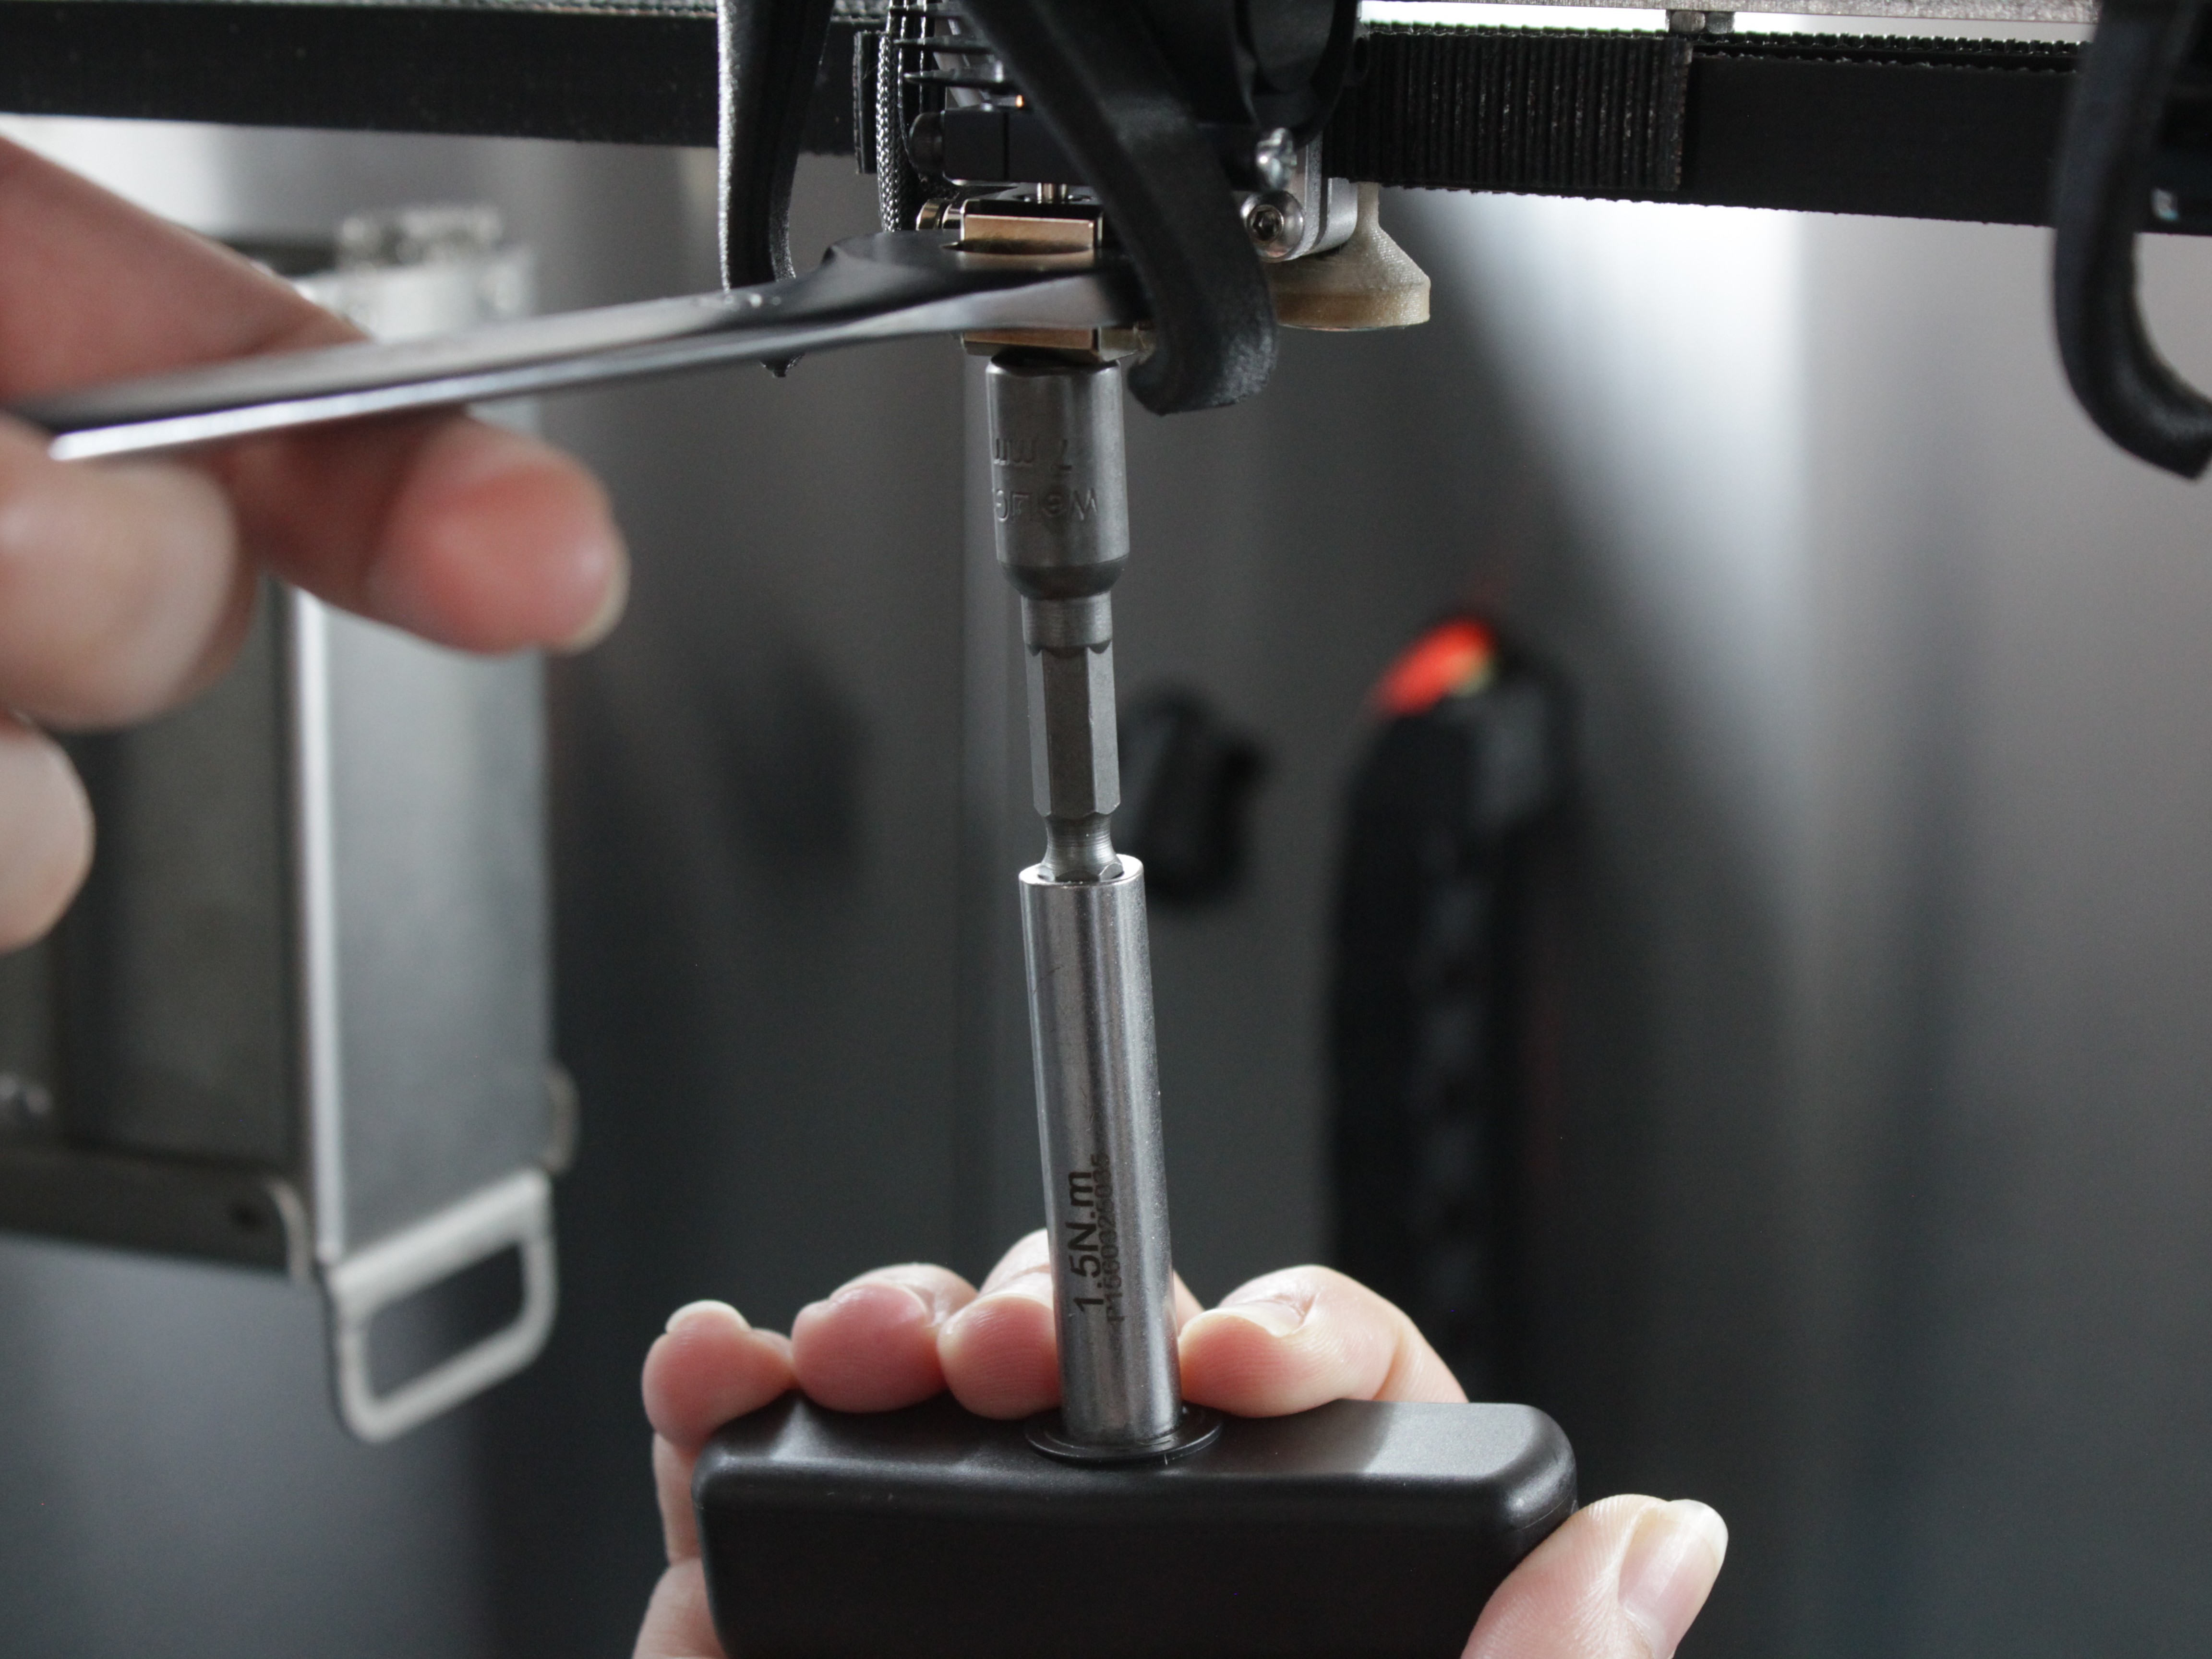
- Remove the nozzle while hot. Hold the heat block with pliers or an adjustable wrench and unscrew the nozzle clockwise (looking up from the nozzle tip) with the 7 mm torque wrench.
- Power off. Let the hotend cool to a safe temperature, then turn the printer off and unplug the power cord.
Replacing the Heat Break
The hotend stays mounted in the extruder, and the radiator, the printed interface plate, and the PTFE tube all stay in place. Once the radiator set screw is loosened, the heat block together with the heat break slides out of the radiator downward as one piece, and the heat break is swapped in hand.
- Move the fan shroud aside. Using the 2 mm hex key, remove the two screws holding the fan shroud and carefully move it aside together with the fan. The wire guard stays in place.
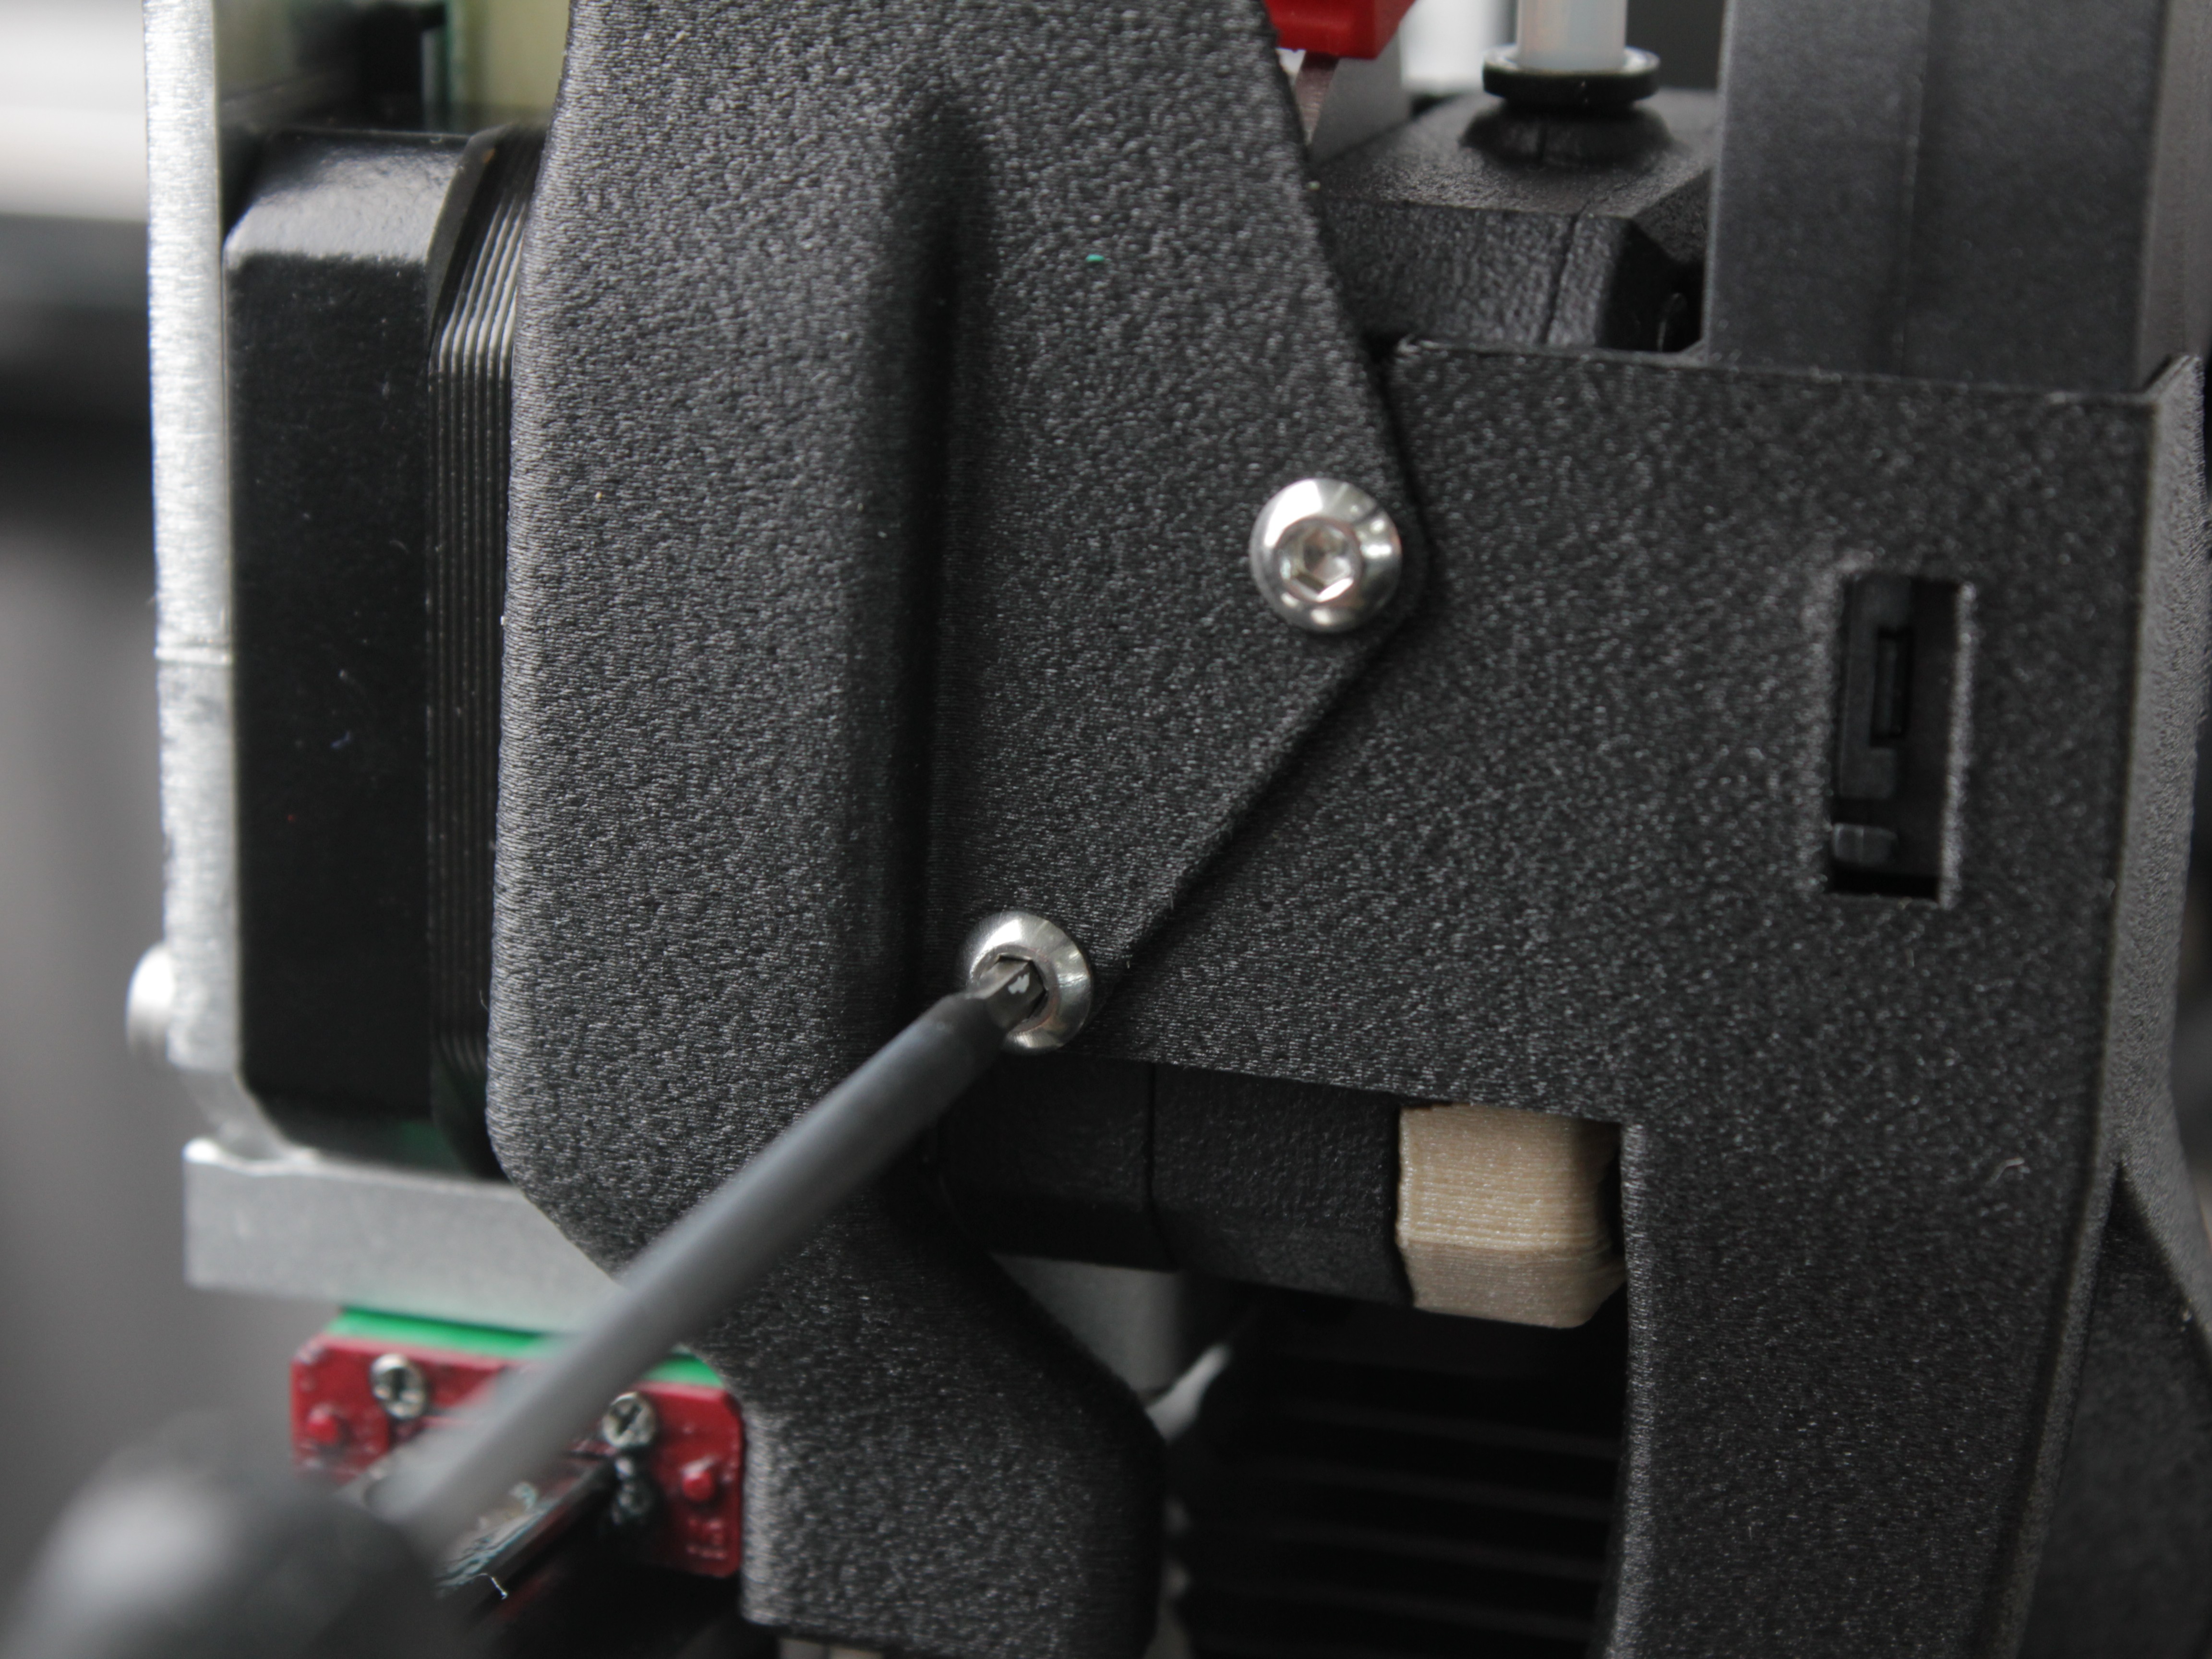
- Loosen the radiator set screw. Unscrew the black set screw on the radiator with the 2 mm hex key until the heat break can slide freely.
- Slide the heat block with the heat break out of the radiator. Pull the assembly downward out of the radiator as one piece. The heater and temperature sensor wires stay connected - support the block and let it rest gently without straining the wires.
If the heat break will not come loose
Filament residue in the threads can make the parts stick. Do not force them. Plug the printer back in, heat the tool to about 150-200°C to soften the residue, and work the part free wearing heat-resistant gloves. Let everything cool and power off before continuing.
- Unscrew the old heat break from the heat block. Hold the heat block with pliers or an adjustable wrench and unscrew the heat break by hand.
- Thread the new heat break into the heat block finger-tight. Do not use tools - the thin heat break walls are easy to twist and damage. Screw it in until the edge of the heat break's threaded boss sits flush with the edge of the heat block - the threads allow it to go deeper, but a deeper heat break makes the assembly incorrect.
- Slide the assembly back into the radiator. Insert the new heat break up into the radiator all the way, so its top sits flush against the PTFE tube - a gap causes clogs.
- Tighten the radiator set screw. Carefully snug the set screw to secure the heat break in the radiator.
Reassembly and Nozzle Installation
-
Reinstall the fan shroud. Fasten the fan shroud back with its two screws, making sure all wires, including the grounding wire, are tucked properly under the wire guard without sharp bends.
-
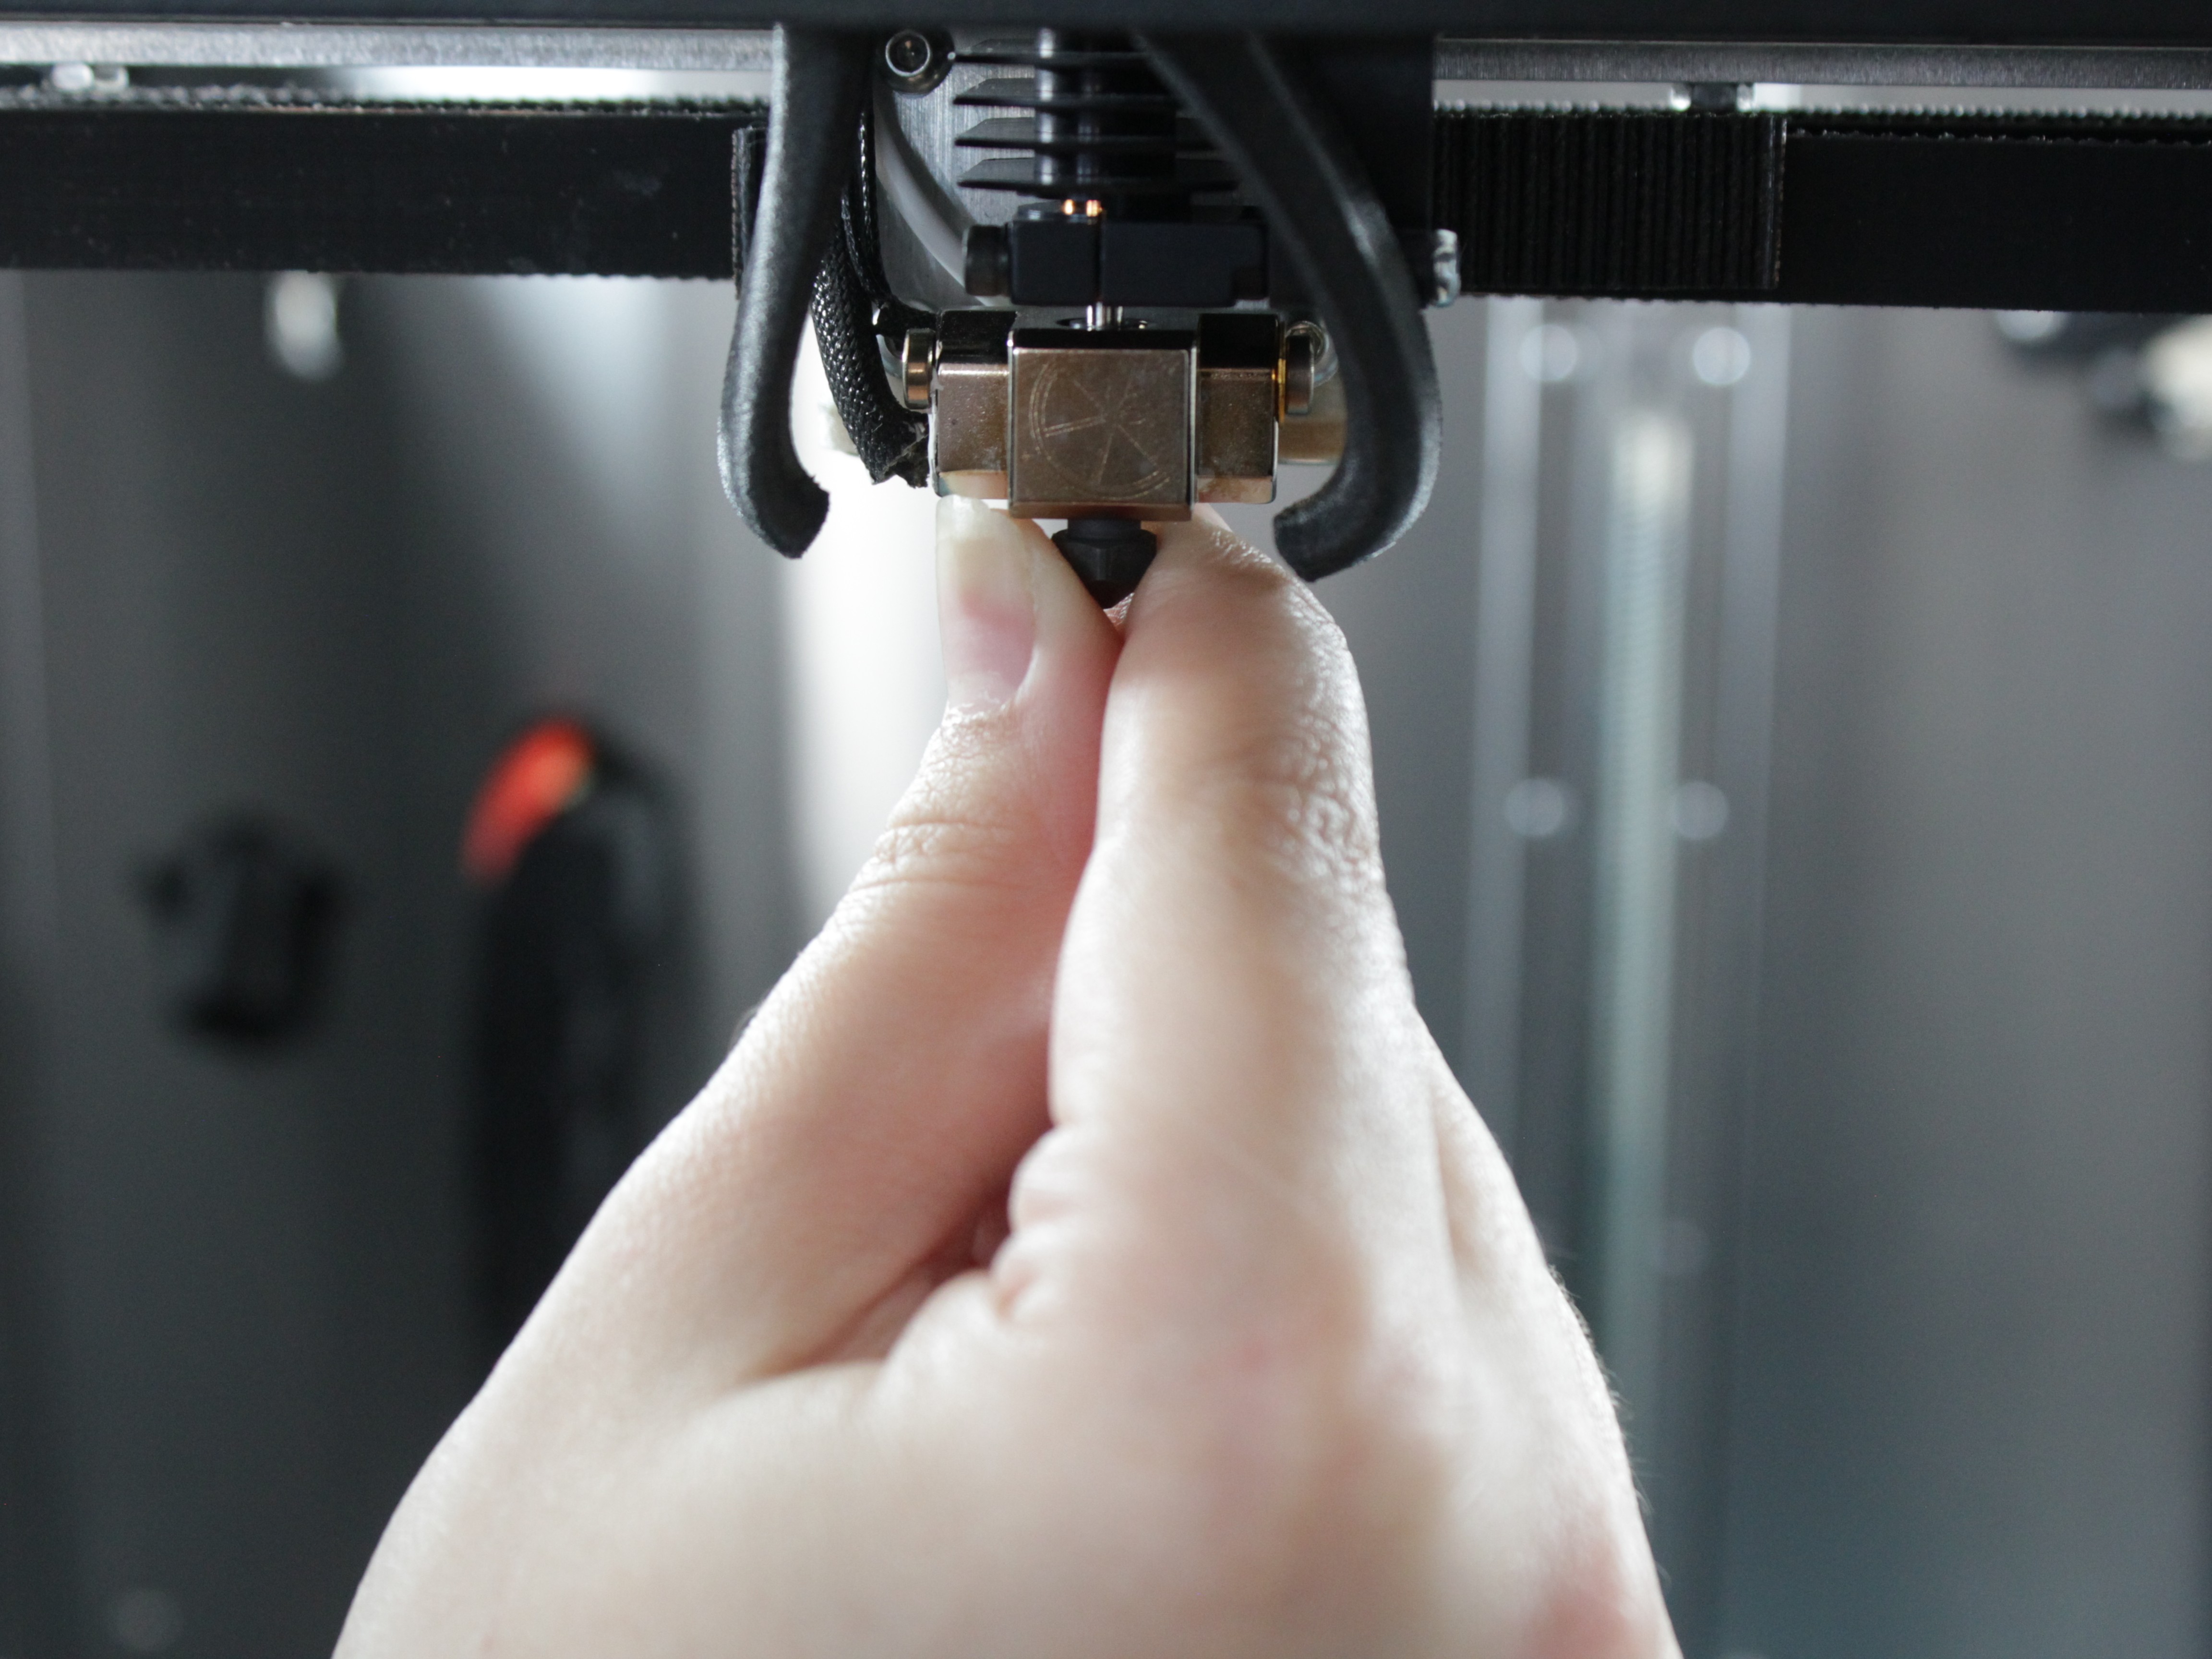
Thread the nozzle in by hand. Screw the nozzle in counter-clockwise (looking up from the nozzle tip) by hand or at about 1 Nm, holding the heat block with a wrench to avoid twisting the new heat break.
- Heat soak. Plug the printer in, power it on, and heat the hotend to your normal printing temperature. Let it sit for a few minutes so all components expand and seat properly.
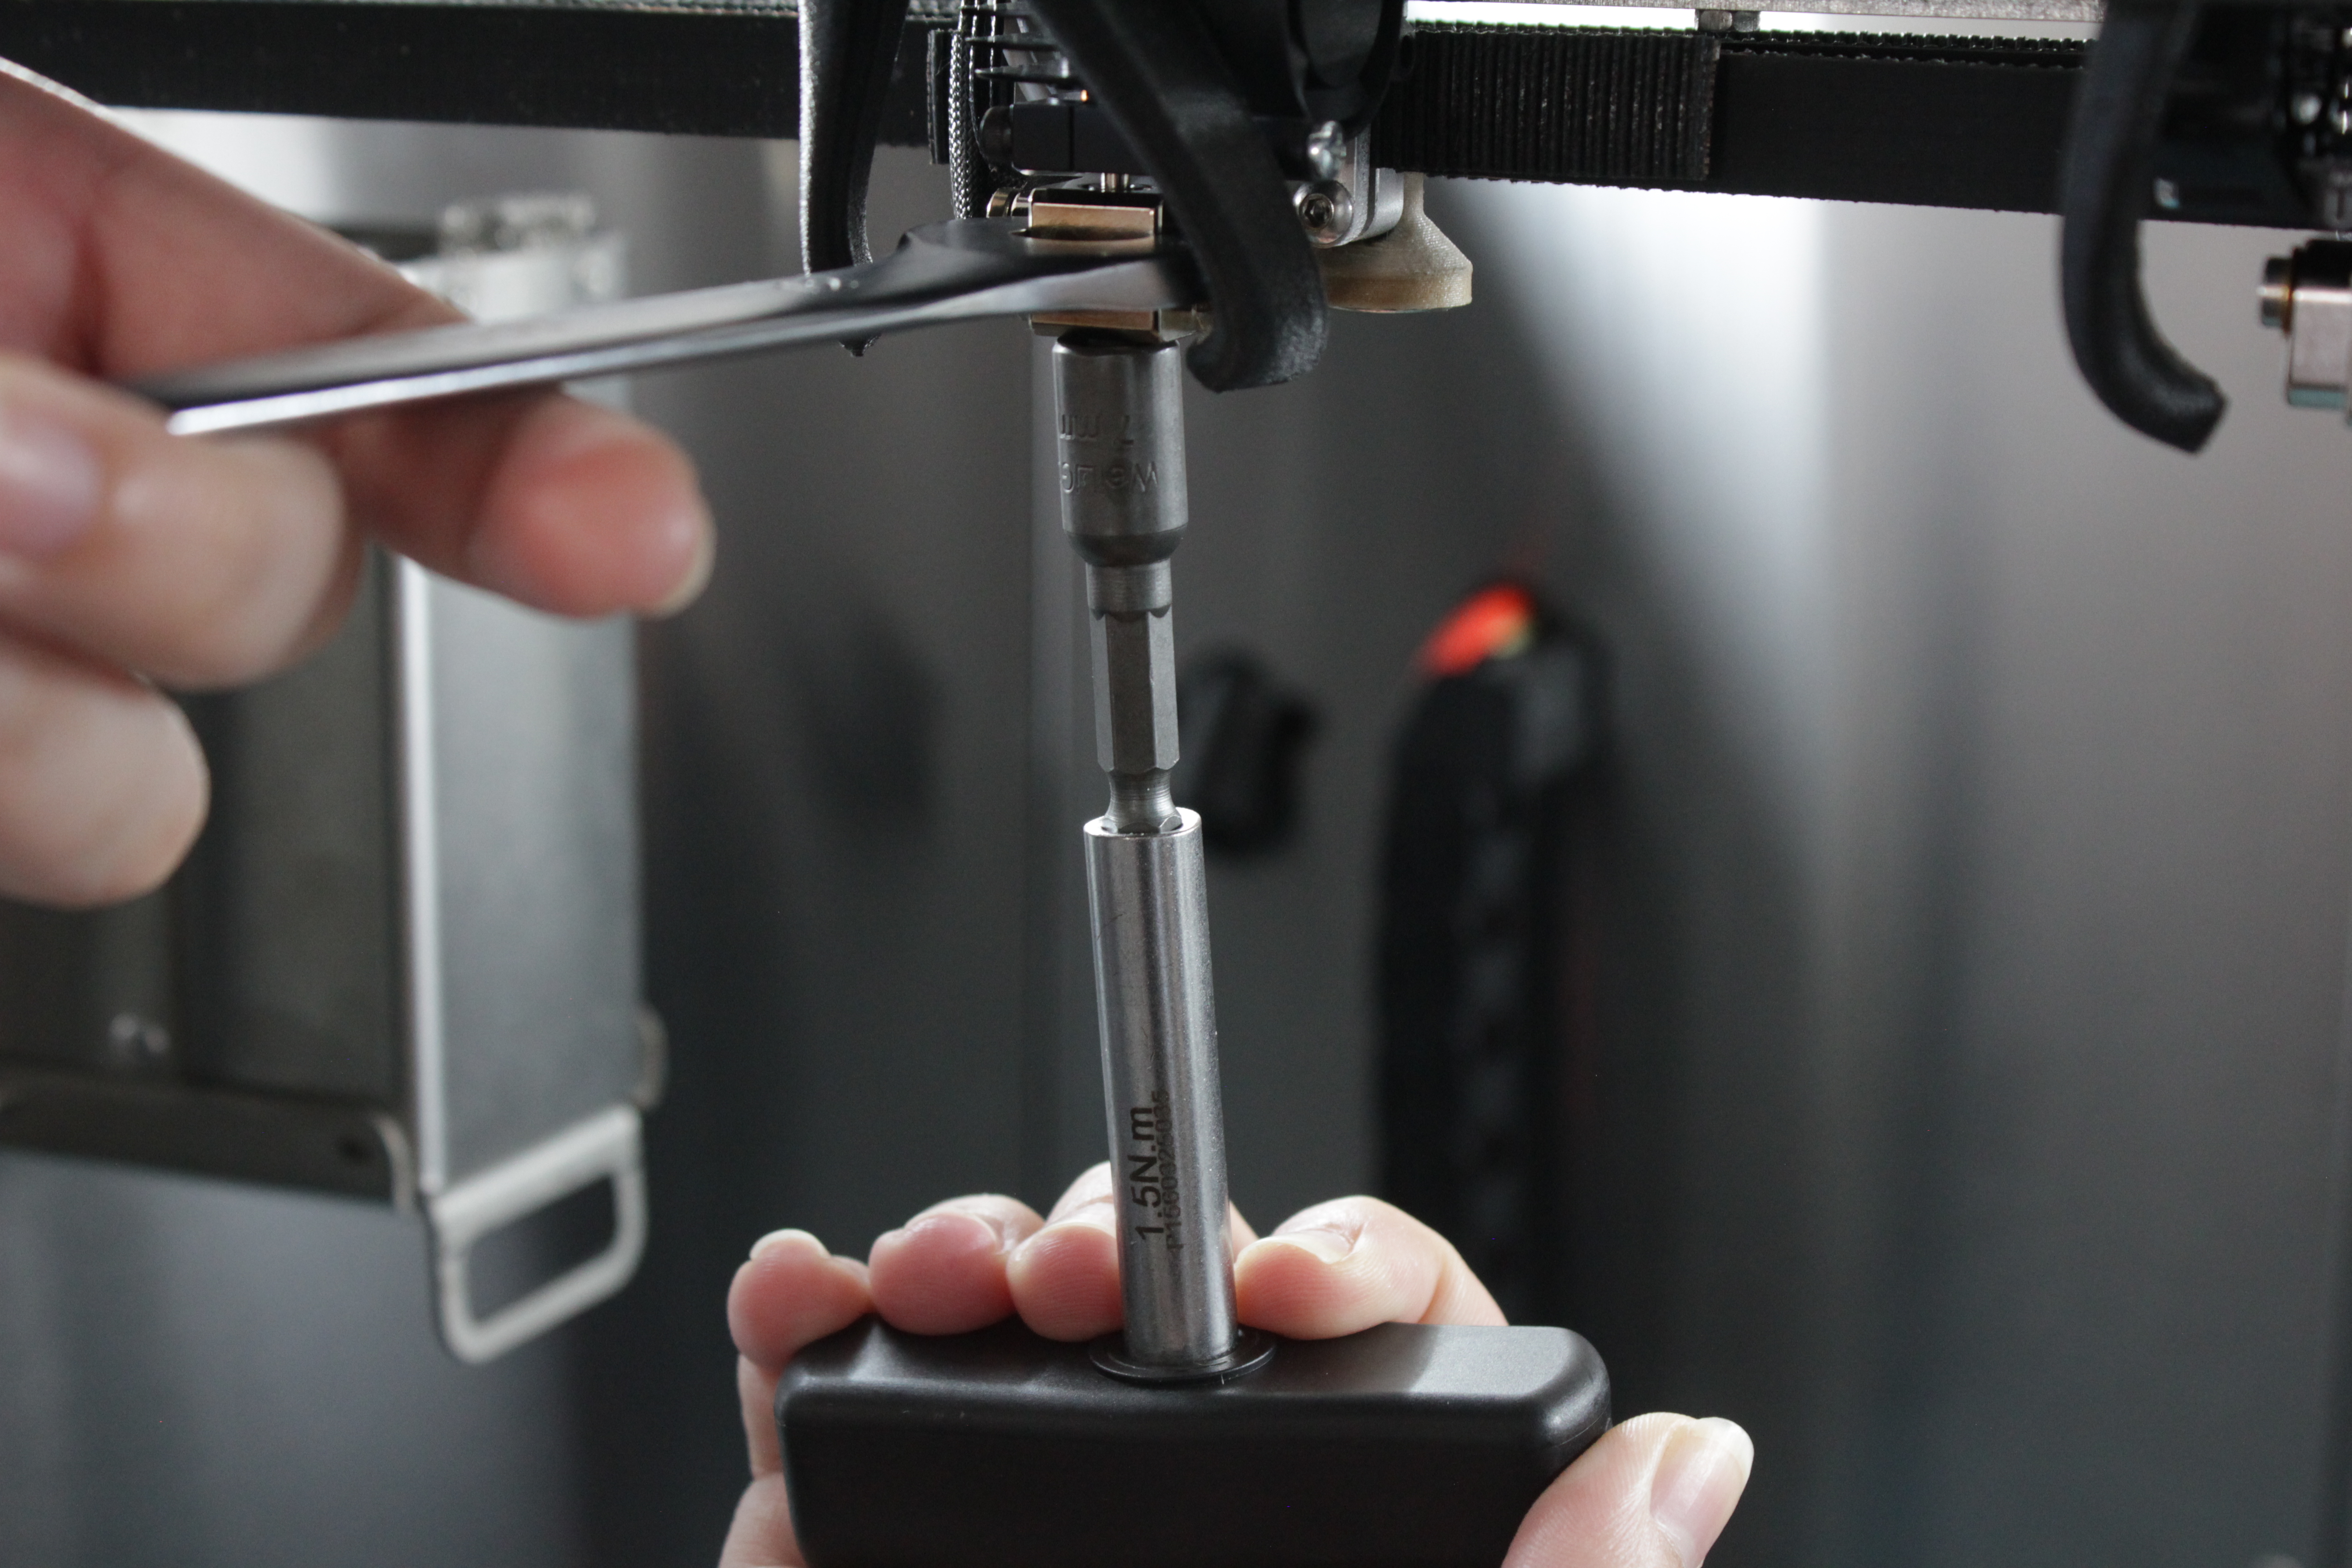
- Tighten the nozzle hot. Hold the heat block with pliers or an adjustable wrench and slightly tighten the nozzle with the 7 mm torque wrench to about 1-1.5 Nm. This seals the threads and prevents leaks.
Verification
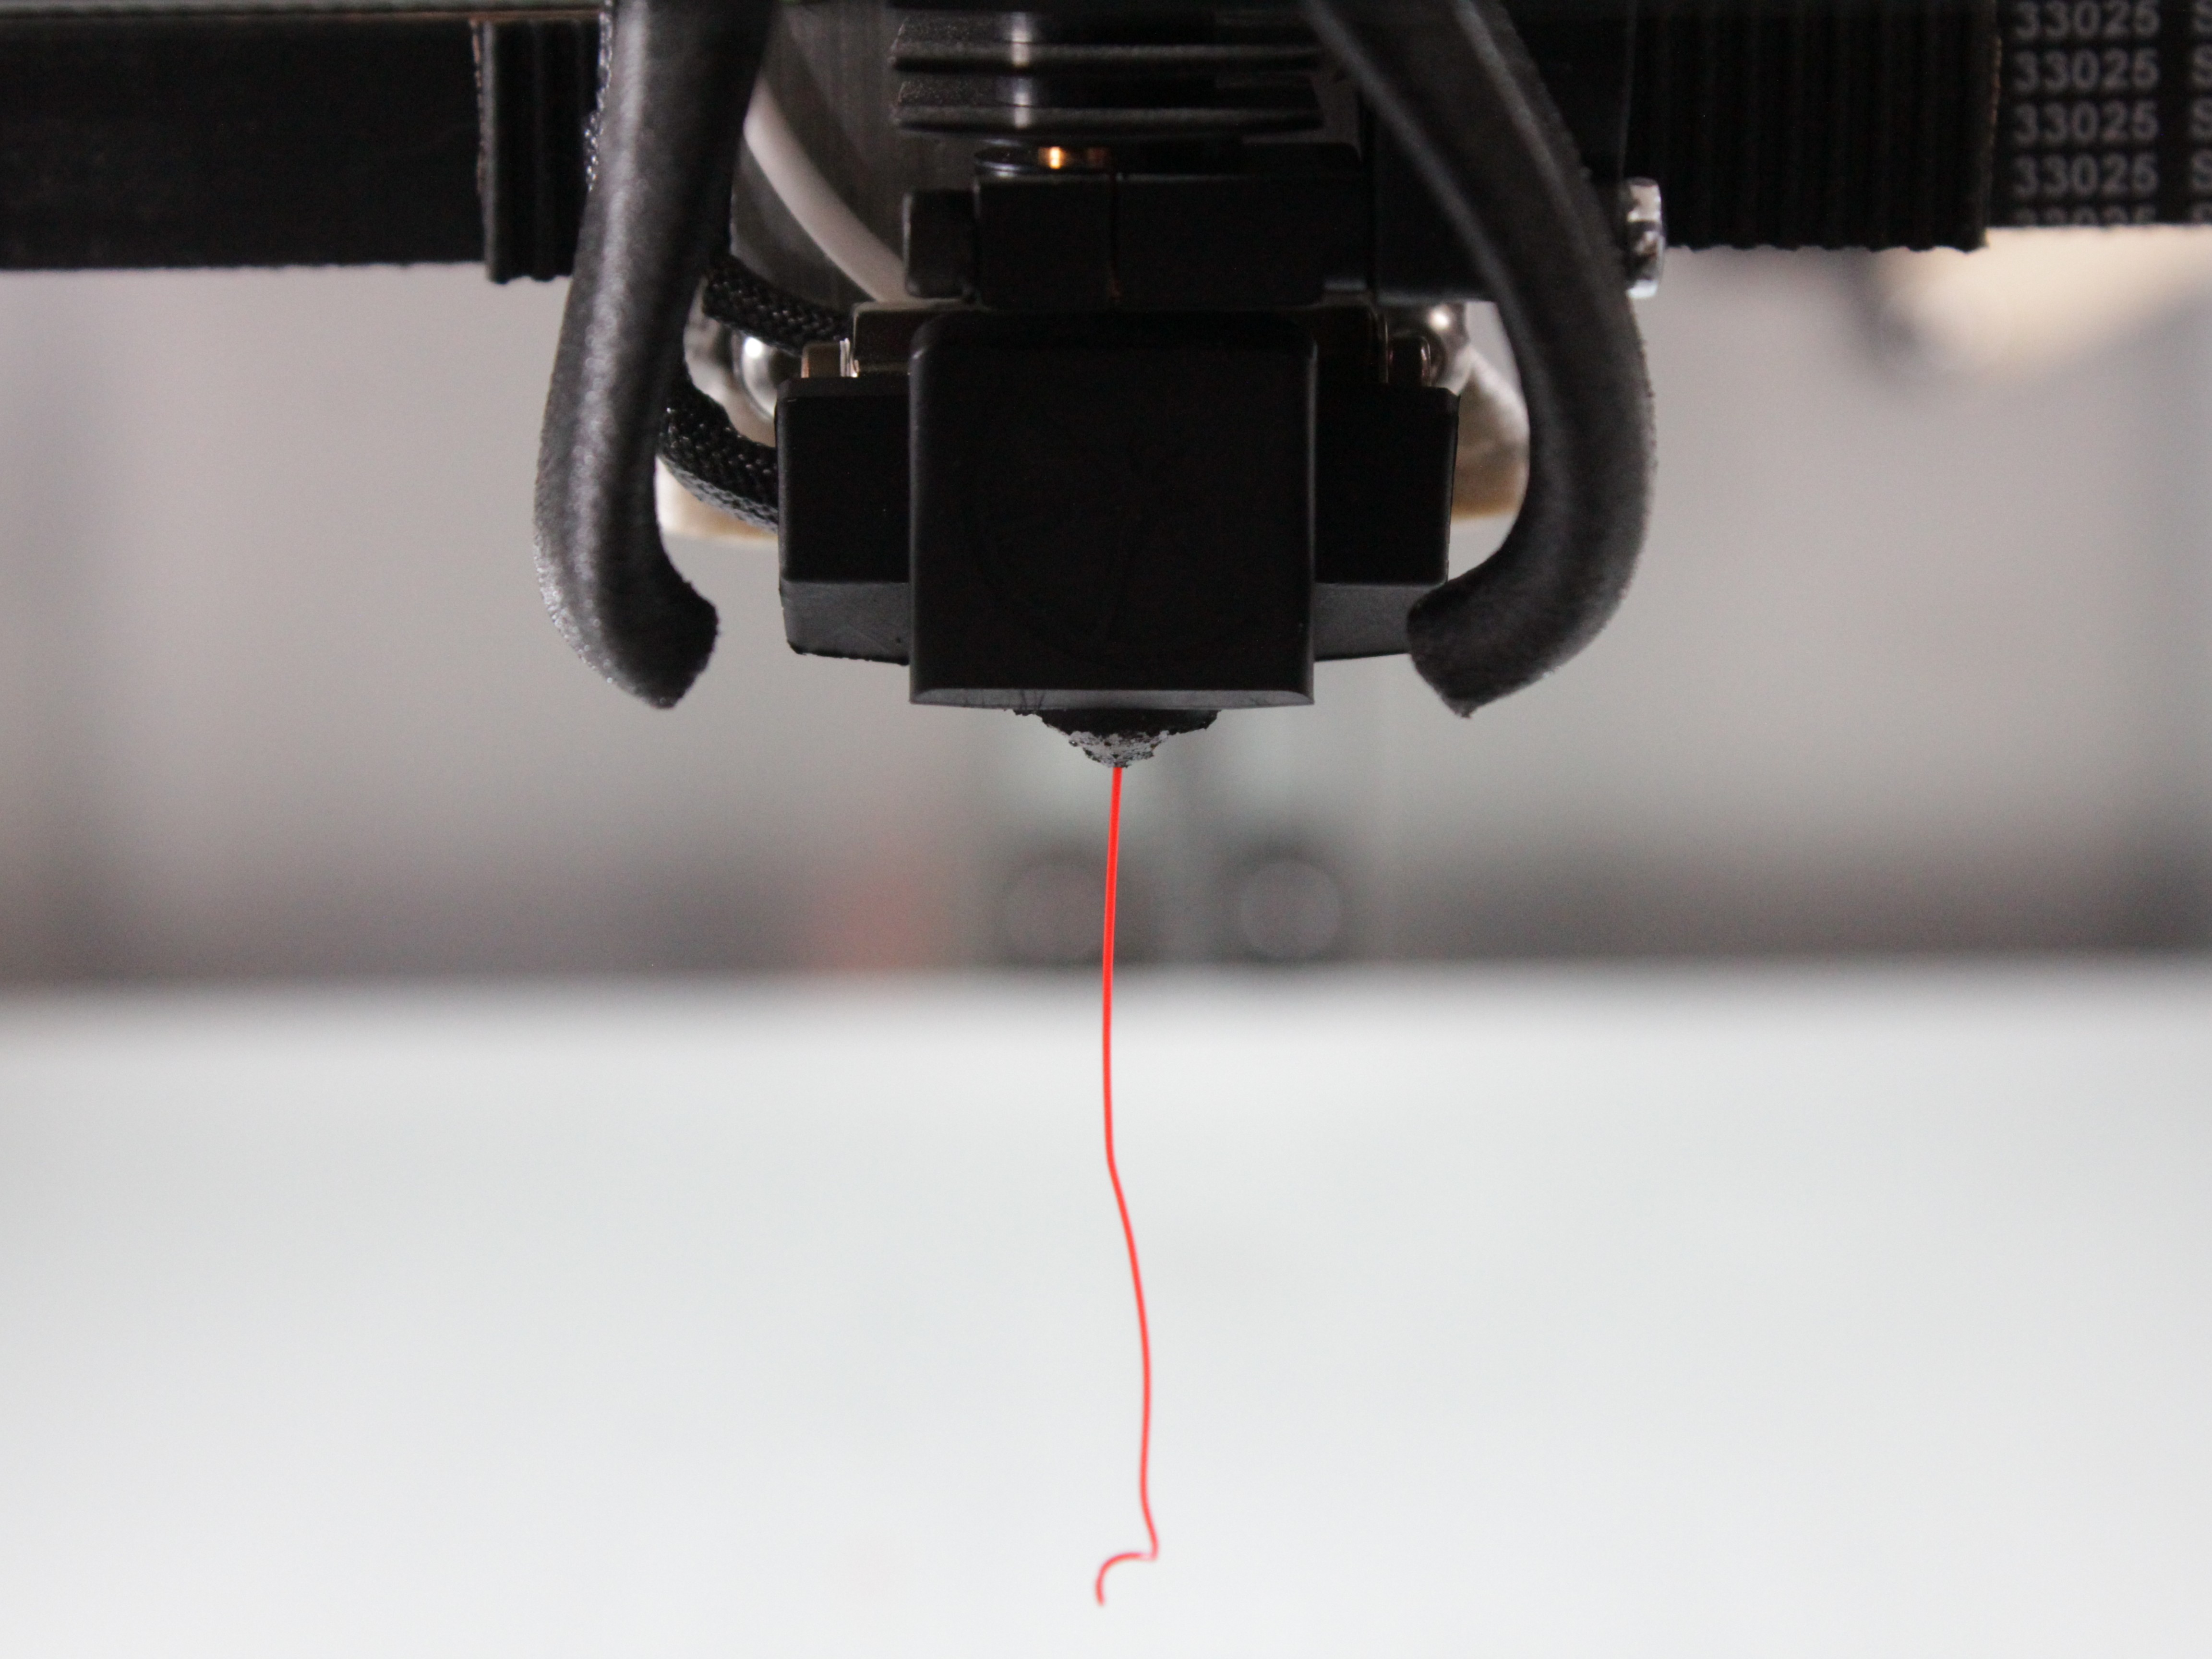
- Test extrusion. Load filament and extrude to confirm a clear path with no jams and no leaks around the nozzle threads.
- Run Auto Calibration. In the Web Interface, open the
Macrostab and runAuto Calibration. The new heat break changes the nozzle position, so the full calibration, including Tool Height and Z-Offset, is required. See the Auto Calibration guide.
FAQ
Support
If you could not find an answer here, reach out to our support team.