¶ Introduction
Congratulations! You’ve completed the setup process for your Vision Miner 22 IDEX 3D printer. Now, it’s time to start learning and mastering high-temperature 3D printing. The journey may have challenges, but the rewards are worth it. We are here to support you every step of the way via email or phone. Use this manual as a resource to learn and implement your skills in practice.
Highly Recommended: Master the Fundamentals
To significantly accelerate your learning curve and potentially save years of trial-and-error in FDM printing, we strongly encourage you to explore our comprehensive Slicing and Printing Knowledge Base. We've distilled our extensive experience into this resource. Mastering this material will ensure you're speaking the same language as both our support team and the machine itself, leading to faster, better results.
¶ Getting Started
We suggest beginning your learning curve with simpler materials like PLA, ABS, or PETG to get familiar with the machine. Use the standard mode initially. As you gain experience, move on to higher temperature materials like Nylon. Once you master these, you can experiment with high-temperature materials with carbon fill or glass fill materials for ease of printing and begin with small prints. After achieving good results in standard mode, you can explore mirror and duplicate modes to double your throughput and productivity.
¶ Preparing the Build Plate
Proper build plate preparation is crucial for print adhesion and success.
Select the Build Plate:
- Use either a glass fiber build plate or a carbon fiber build plate.
- Cover it with nanopolymer adhesive according to the detailed instructions.
Note: For comprehensive steps on cleaning, applying adhesive, and maintaining your build plate, please refer to the full guide.
¶ Installing the Build Plate
- Install the Build Plate:
- Insert the build plate back into the machine.
- Secure it with the thumb screws lightly. Do not over-tighten them.
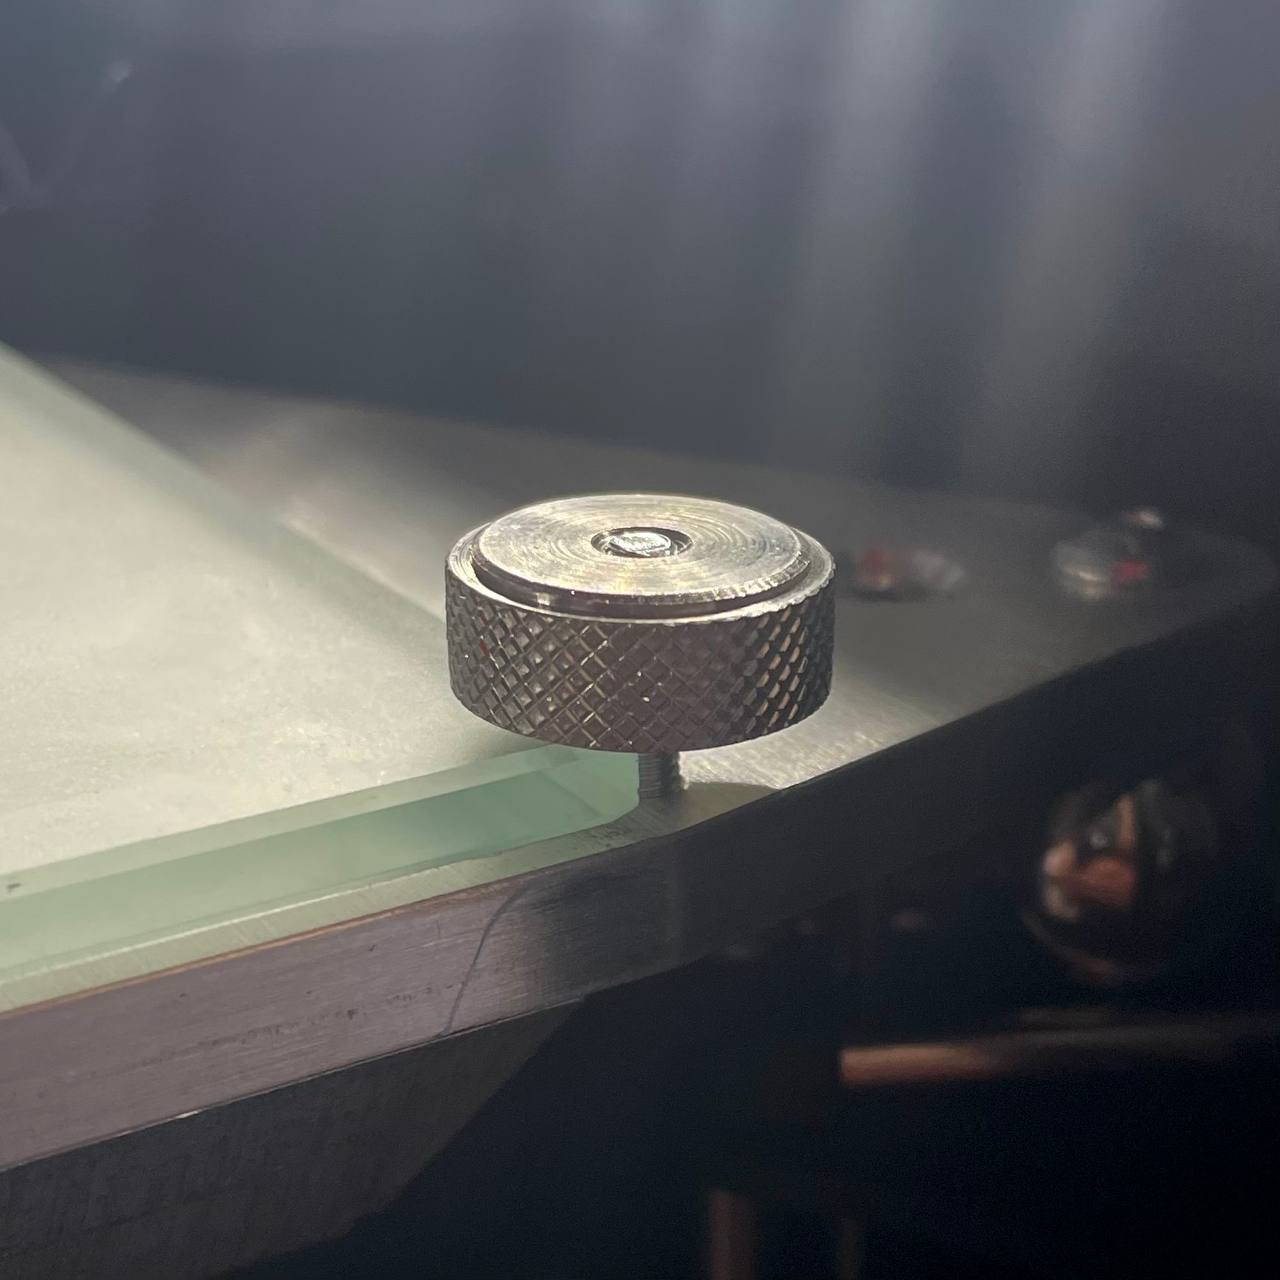
- The screws are designed to expand and tighten further when heated. Over-tightening them when the machine is cold can cause damage.
¶ Safety & Pre-checks
- Filament Condition: Ensure your filament is dry. Many high-temperature materials are hygroscopic (absorb moisture). Printing with wet filament causes poor quality and extrusion issues. Refer to the Filament Drying Guide for proper procedures.
- Pre-Print Checklist: Always run through the full checklist before starting any print to ensure the printer is calibrated and ready. Follow the Pre-Print Checklist Guide carefully.
- Make sure Extrude Lever is set Correctly: Extruder Lever Guide
¶ Slicing Your First Part
To help you get started, we will guide you through printing a simple, yet practical part: a phone holder. This phone holder is compact, designed to fit easily in your pocket or on a keychain, and can hold your phone in a horizontal orientation on your desk or wherever you are.
Download the File:
- Download the PhoneStand.stl
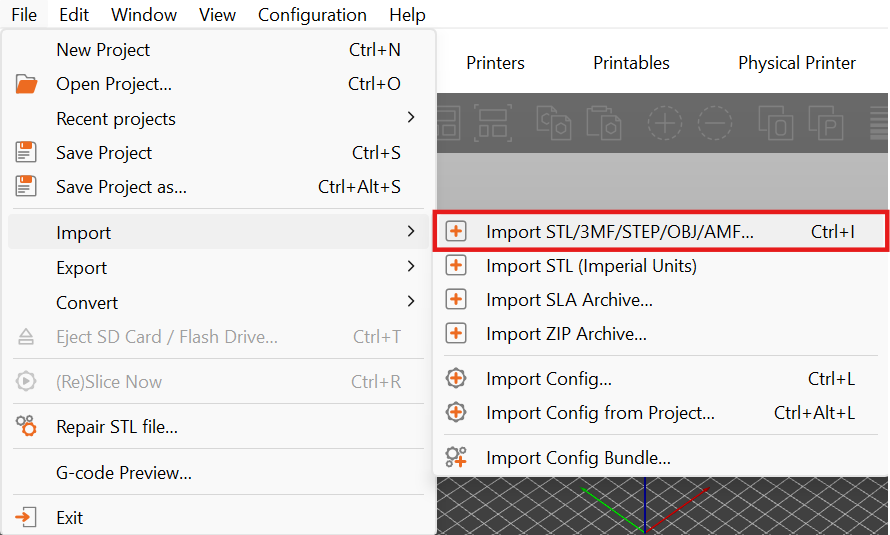
Open the Slicer:
- Drag and drop the STL file into the slicer, or go to Files > Import > Import STL, or press
CTRL-Ion your keyboard.
Set Up the Slicer:
- Ensure the selected printer is "22IDEX" in standard mode.
- Select the material you have previously loaded (ensure it's dry!). For this print, we recommend PLA, ABS, PETG, or CFNylon.
- If printing with PLA or PETG, open the lid and front door for optimal cooling.
- Select the print setting "22IDEX - Standard".
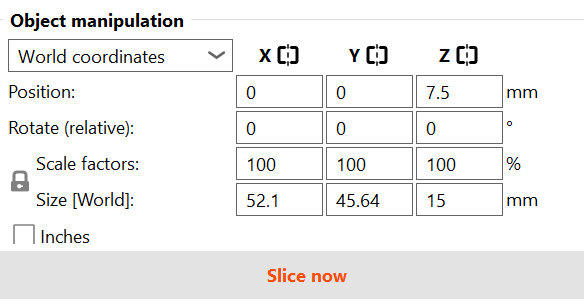
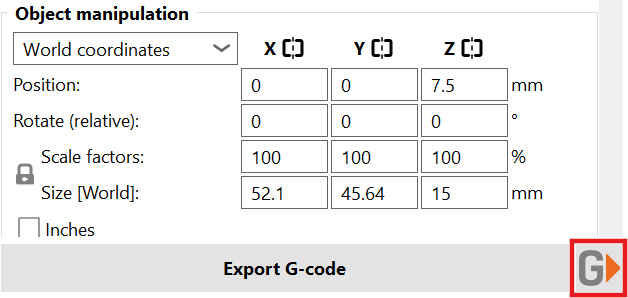
Generate G-Code:
- Click Slice now in the bottom right corner to generate the G-code for your file.
- After the G-code is generated, send it to the printer by clicking Send to printer and selecting Upload.
¶ Starting the Print
- Initiate the Print:
- Go to the Jobs tab and select the print you have sliced and sent to the machine.
- The machine will preheat, turning the LEDs inside blue to indicate it's cold.
- Once it reaches the desired temperature, the LEDs will turn red, and the machine will start homing.
- After homing, the machine will move to the purging buckets, heat the nozzles to the desired temperature, and purge plastic to prepare the nozzle for printing.
- The print will then begin.
¶ Monitoring the Print
Observe the Print:
Warning: The first layer is the most critical part of the print. It is essential to monitor the first layer closely to ensure proper adhesion and extrusion. Do not leave the printer unattended until the first layer is successfully completed and verified.
- Watch the print closely to ensure the nozzle is laying plastic correctly.
- Adjust the Z-offset by Z-baby stepping up or down as needed during the first layer:
- If the layer lines are too far apart (poor adhesion, gaps), the nozzle is too high.
- If the lines are too close (squished, wavy, signs of over-extrusion), the nozzle is too low.
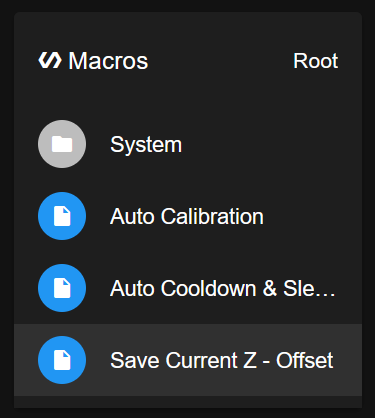
- If you adjusted the Z-offset, save the new value for future prints:
- Navigate to Dashboard > Macros > Save Current Z - Offset
- Navigate to Dashboard > Macros > Save Current Z - Offset
Bed Calibration for Large Parts:
If you are planning to print large parts that utilize a significant portion of the build plate, it is recommended to perform a mesh bed calibration. This process maps the minor variations across the build surface for optimal first-layer adhesion over large areas. This calibration typically only needs to be done once and the results will be stored on your machine.
Please follow the guide here: Mesh Bed Leveling Calibration
Continuing the Print:
If the first layer looks good and adheres well, you can let the print continue. If you made significant adjustments or the first layer failed, it is recommended to cancel the current print, clean the build plate thoroughly (refer to the adhesive guide), and start the print again from the beginning.
Caution: Always allow the build plate and hotend to cool to safe temperatures before cleaning or handling components.
Finish the Print:
- Once the print is complete, allow the machine and build plate to cool down. Opening the door and lid can accelerate this process.
- Carefully remove the part from the build plate once it has cooled. Refer to the adhesive guide for tips on part removal.
- Clean any stray plastic from the build plate and the nozzle cleaning brushes.
- Your printer is now ready for your next project.
¶ Conclusion & Additional Resources
You've completed your first print! Continue experimenting and learning. Remember, mastering high-temperature 3D printing is a process, and resources are available to help.
Highly Recommended: Master the Fundamentals
To significantly accelerate your learning curve and potentially save years of trial-and-error in FDM printing, we strongly encourage you to explore our comprehensive Slicing and Printing Knowledge Base. We've distilled our extensive experience into this resource. Mastering this material will ensure you're speaking the same language as both our support team and the machine itself, leading to faster, better results.
¶ Support
We are here to support you throughout your learning journey. If you need assistance, please reach out via email or phone.